Fall and winter suppers beg for chili. Hearty, warming, and versatile, chili is a one pot wonder perfect for brisk nights that begin to get dark as early as 4:30pm, casual get togethers with friends and family to watch a game in front of a roaring fire, or coming in from the cold after time spent raking leaves or shoveling snow. Of all evenings, Halloween is the ideal night for chili, shoring up your stamina (as well as that of any goblins or ghouls spooking you) for a night of trick or treating. Whether you are out in the neighborhood or manning the candy bowl at home, a warm bowl of chili before or after a night of haunts will keep you going and be an excellent antidote to all the sugar consumed.
Depending on your preferences chili can suit a wide variety of eaters… vegetarians or vegans at your table? Skip the meat and add more vegetables or beans. Offer an interesting assortment of toppings and sides like cheeses, cornbread, tortilla chips, avocado, and sour cream (I use greek yogurt) and let your family and friends build a complete meal around your chili base. And, like most stews and soups, making chili ahead of time allows it to become even more delicious. Chili only gets tastier as it “ages.”
 This recipe is my own. Most of the ingredients are typical, but there are a few surprises. Dijon mustard adds a wonderful brightness and tang; the chipotle peppers in adobe sauce add a subtle smokiness, while the cinnamon delivers a hint of sweet warmth. It is also very easy to play with this recipe. Please experiment to suit your taste. Love bell peppers? Add more. Need more spice? Add a chopped jalapeño. Can’t stand onions? Eliminate or reduce the amount. Don’t like beans in your chili (I’m talking to you, dear husband!), then don’t add them. Play with your food and have fun!
The buttermilk cornbread is adapted from Kathleen’s Bake Shop Cookbook. Kathleen King owned Kathleen’s Bake Shop in Southhampton, NY in the 80s and 90s. One summer, I was fortunate enough to visit the bakery and in addition to the cookies I bought (which were quickly consumed), I also purchased a copy of her cookbook, a lasting souvenir. It was a wise purchase. My copy of the small spiral bound book is splattered, tattered, and torn- all signs of an excellent cookbook. The book practically opens itself to certain recipes, like the Devil’s Food Cake I use for birthdays, in addition to the recipe that inspired this cornbread.
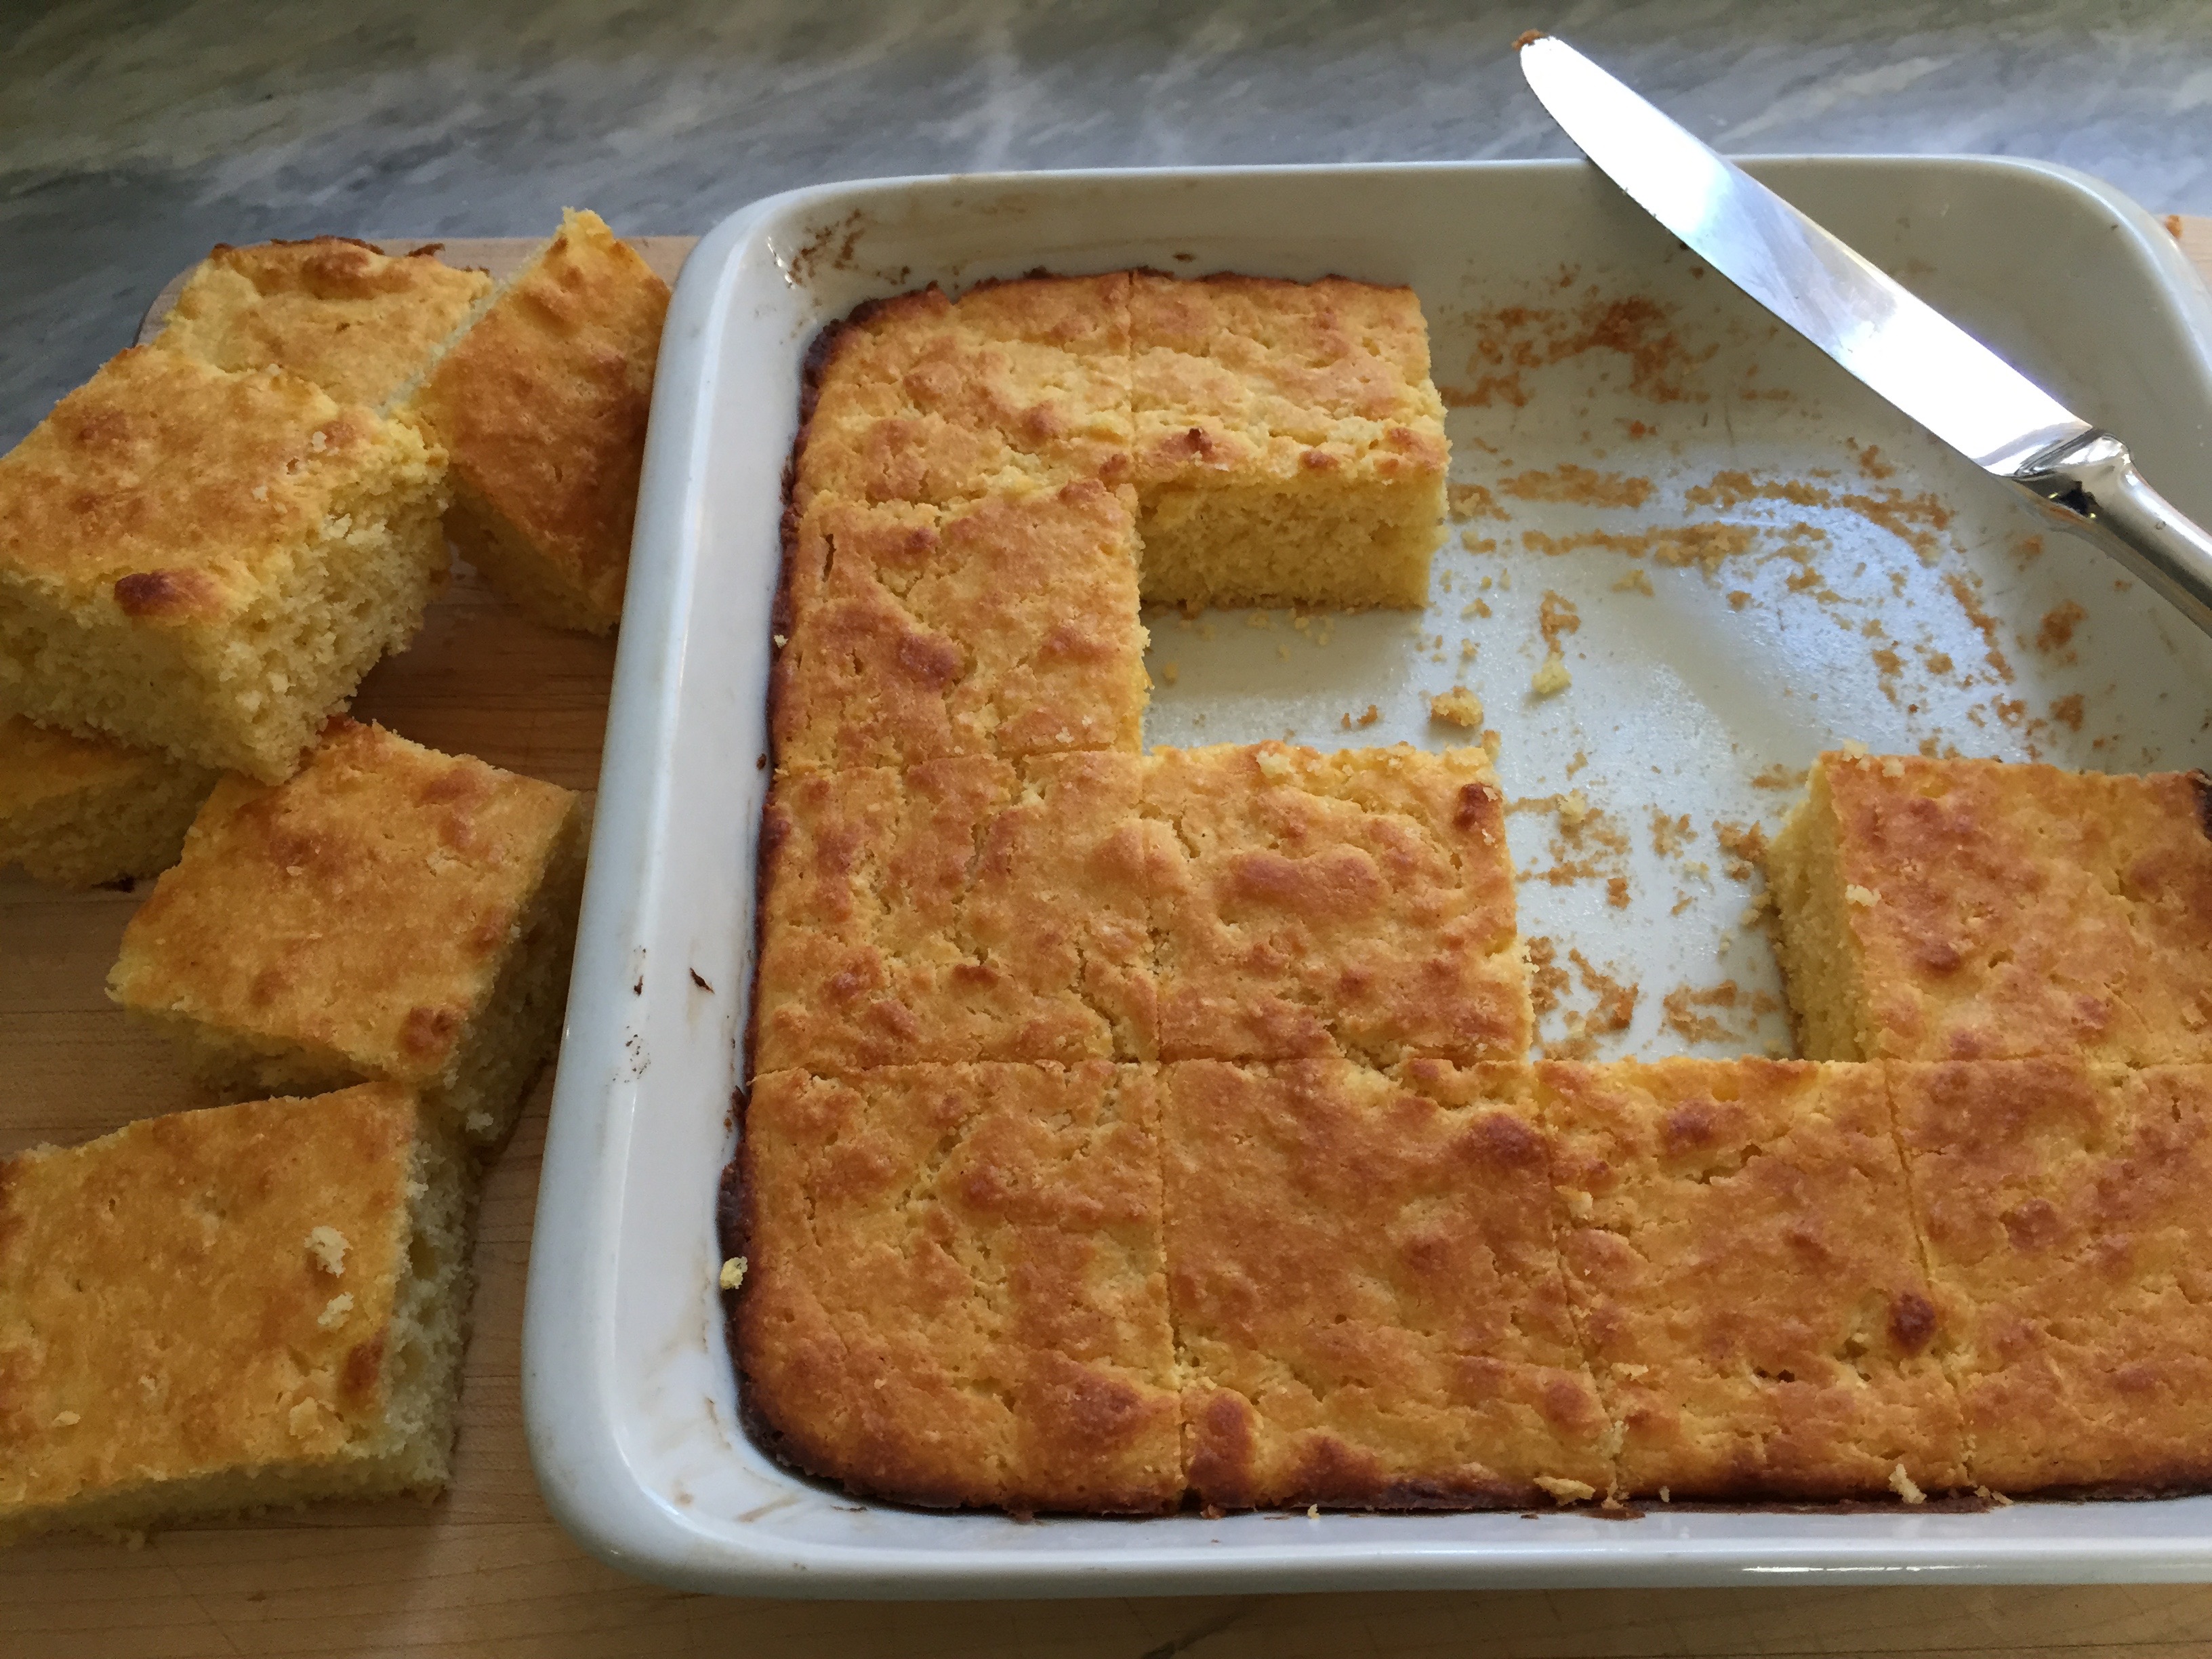 In Kathleen’s intro to the original recipe, which was for corn muffins, she explains how the recipe has changed since she first received it. Her baker altered the formula by adding half-and-half instead of milk; I’ve tweaked it again by using buttermilk, instead of half-and-half or milk. In any case, the choice is yours… buttermilk, half-and-half, and regular milk all work just fine. The buttermilk lends a wonderful tanginess that seems a natural counterpart to the sweetness of the bread; the half-and-half produces a really rich cornbread, while using regular milk leaves you with a lovely straightforward cornbread. Another occasional adjustment I make is to add frozen corn kernels to the batter, maybe a handful or two. The kernels contribute a wonderful texture to the cornbread and add pops of sweetness too.
What are your favorite sides and toppings for chili? Do you have a go to dinner for Halloween night?

Chili con Carne
Ingredients:
1lb ground beef or turkey
2 medium onions, coarsely chopped
2 bell peppers, coarsely chopped
3 cloves of garlic, finely chopped
1 Tablespoon of extra virgin olive oil
1 Tablespoon chili powder
1 chipotle chili in adobe sauce, finely chopped
1 ½ teaspoons Dijon mustard
1 teaspoon cumin
½ teaspoon coriander
¼ teaspoon cayenne
1/8 teaspoon cinnamon
1 28oz can of whole tomatoes, with juice
1 16 oz can kidney beans or black beans, rinsed and drained
salt and pepper to taste
Instructions:
In a large pot or dutch oven, heat olive over medium heat. Add onions and sauté until beginning to turn golden brown, approximately 5 minutes. Add bell peppers and sauté an additional 5 minutes. Add finely chopped garlic and cook for 30 seconds or until fragrant. Add ground meat, and cook over medium high heat, stirring often, until cooked through.
Reduce the heat to medium low and stir in chili powder, chipotle chili, mustard, cumin, coriander, cayenne, and cinnamon and cook for 30 seconds or so.
Add beans and tomatoes with juice, breaking up the tomatoes with a spoon. Stir well, and simmer for 15 minutes. Add salt and pepper to taste. Serve hot with accompaniments such as rice, tortilla chips, cornbread, shredded cheddar or Monterey jack, sour cream and chopped avocado.
*This is the perfect dish to make ahead. Like most soups and stew, the longer it sits the better it gets. Just reheat when needed.

Cornbread
*adapted from Kathleen’s Bake Shop Cookbook
Ingredients:
1 cup all-purpose flour
1 cup cornmeal or corn flour
½ cup granulated sugar
1 Tablespoon baking powder
½ teaspoon salt
½ cup unsalted butter, softened
1 cup buttermilk
1 egg, lightly beaten
Instructions:
Preheat oven to 400°F. Grease a 9×9 inch baking pan.
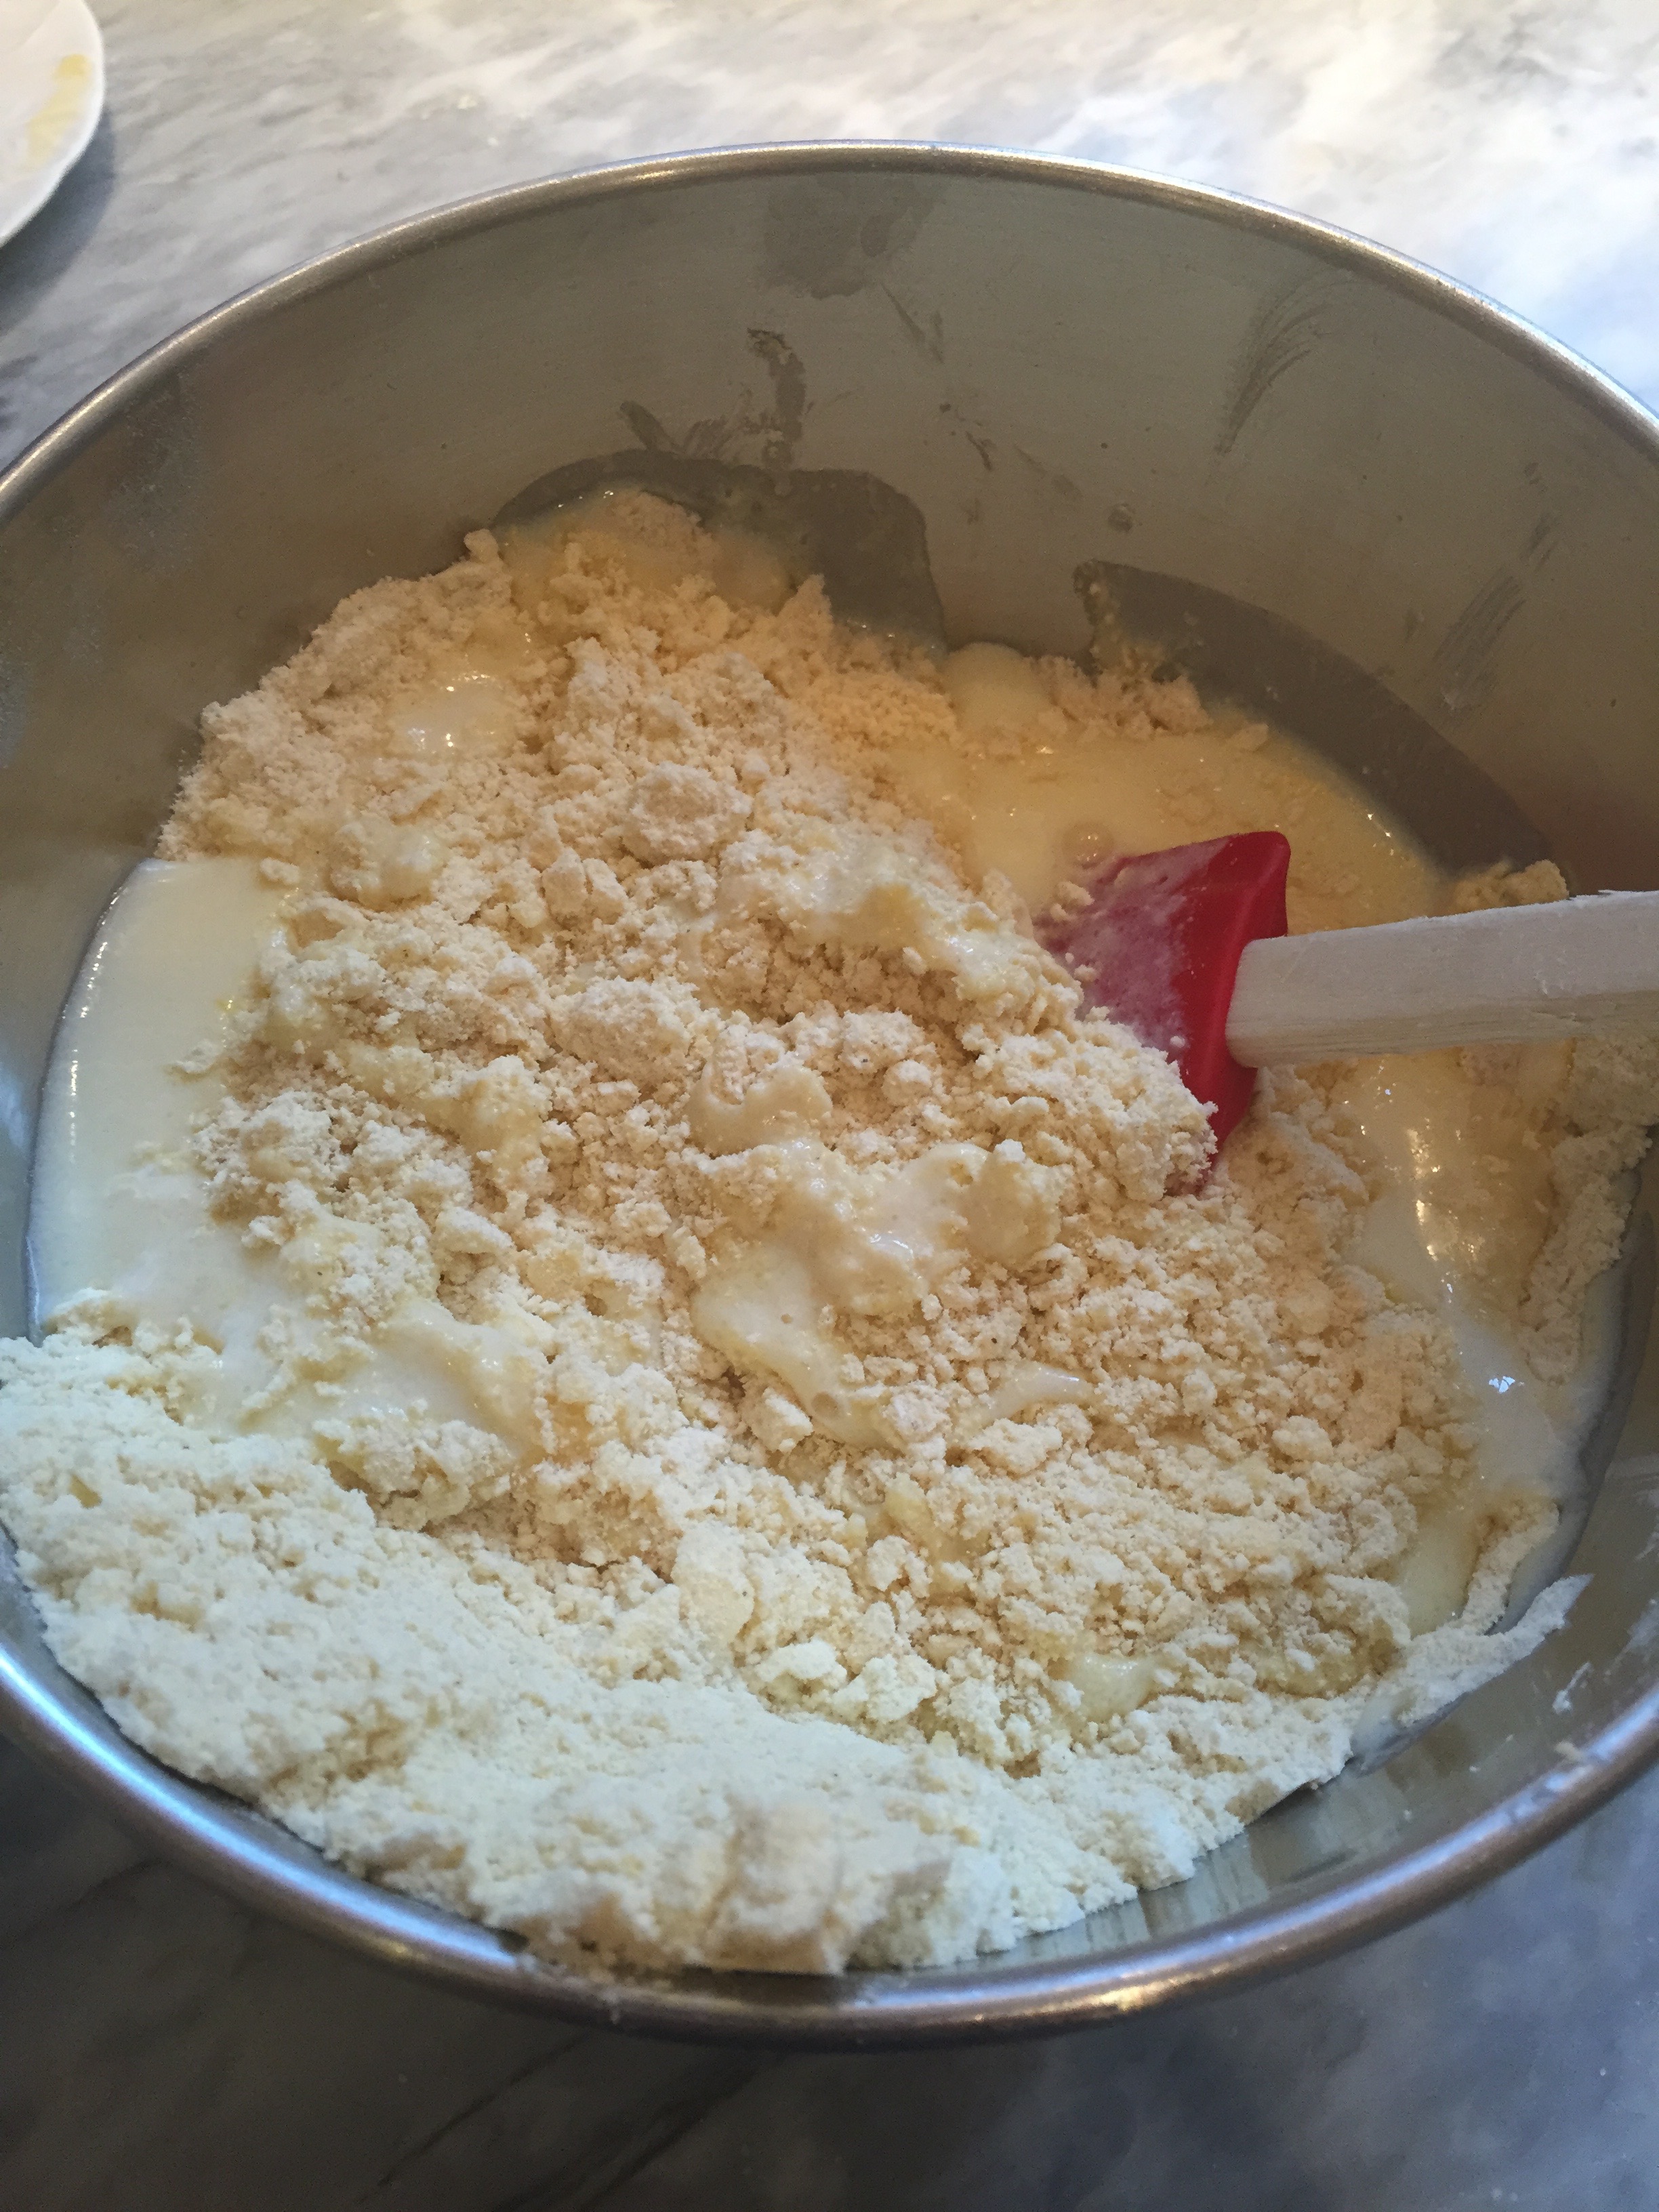
In a large bowl, stir together flour, cornmeal, sugar, baking powder, and salt. Using a pastry blender, cut in butter and mix until crumbly. If you don’t have a pastry blender, use two knives, a fork, or even your fingers.
In a separate bowl, mix buttermilk and egg. Fold liquid ingredients into flour mixture, folding just until combined. Transfer batter to prepared baking pan.
Bake for 25 minutes, or until a toothpick inserted in the center comes out clean.