November 2017 Update: It’s been a long while since I posted. Life is busy, good busy, but busy; we have two in high school, one in middle school and a 77lb puppy who thinks she’s a lap dog. My passion for cooking and all things food related still runs strong (not to worry- we are eating over here at White House Red Door!), but finding the time to sit down to document recipes and edit photos seems to be elusive at the moment. I’m hoping to make carving out time for the blog a priority in the new year.
As I was wrapping my head around Thanksgiving prep, I pulled up this blog post. Immediately, a feeling a calm enveloped me… the day to day planning, core recipes, and to do list set my mind at ease. I’m reposting in the hope that it helps you too.
Wishing you and your loved ones a very Happy Thanksgiving! ~Jean
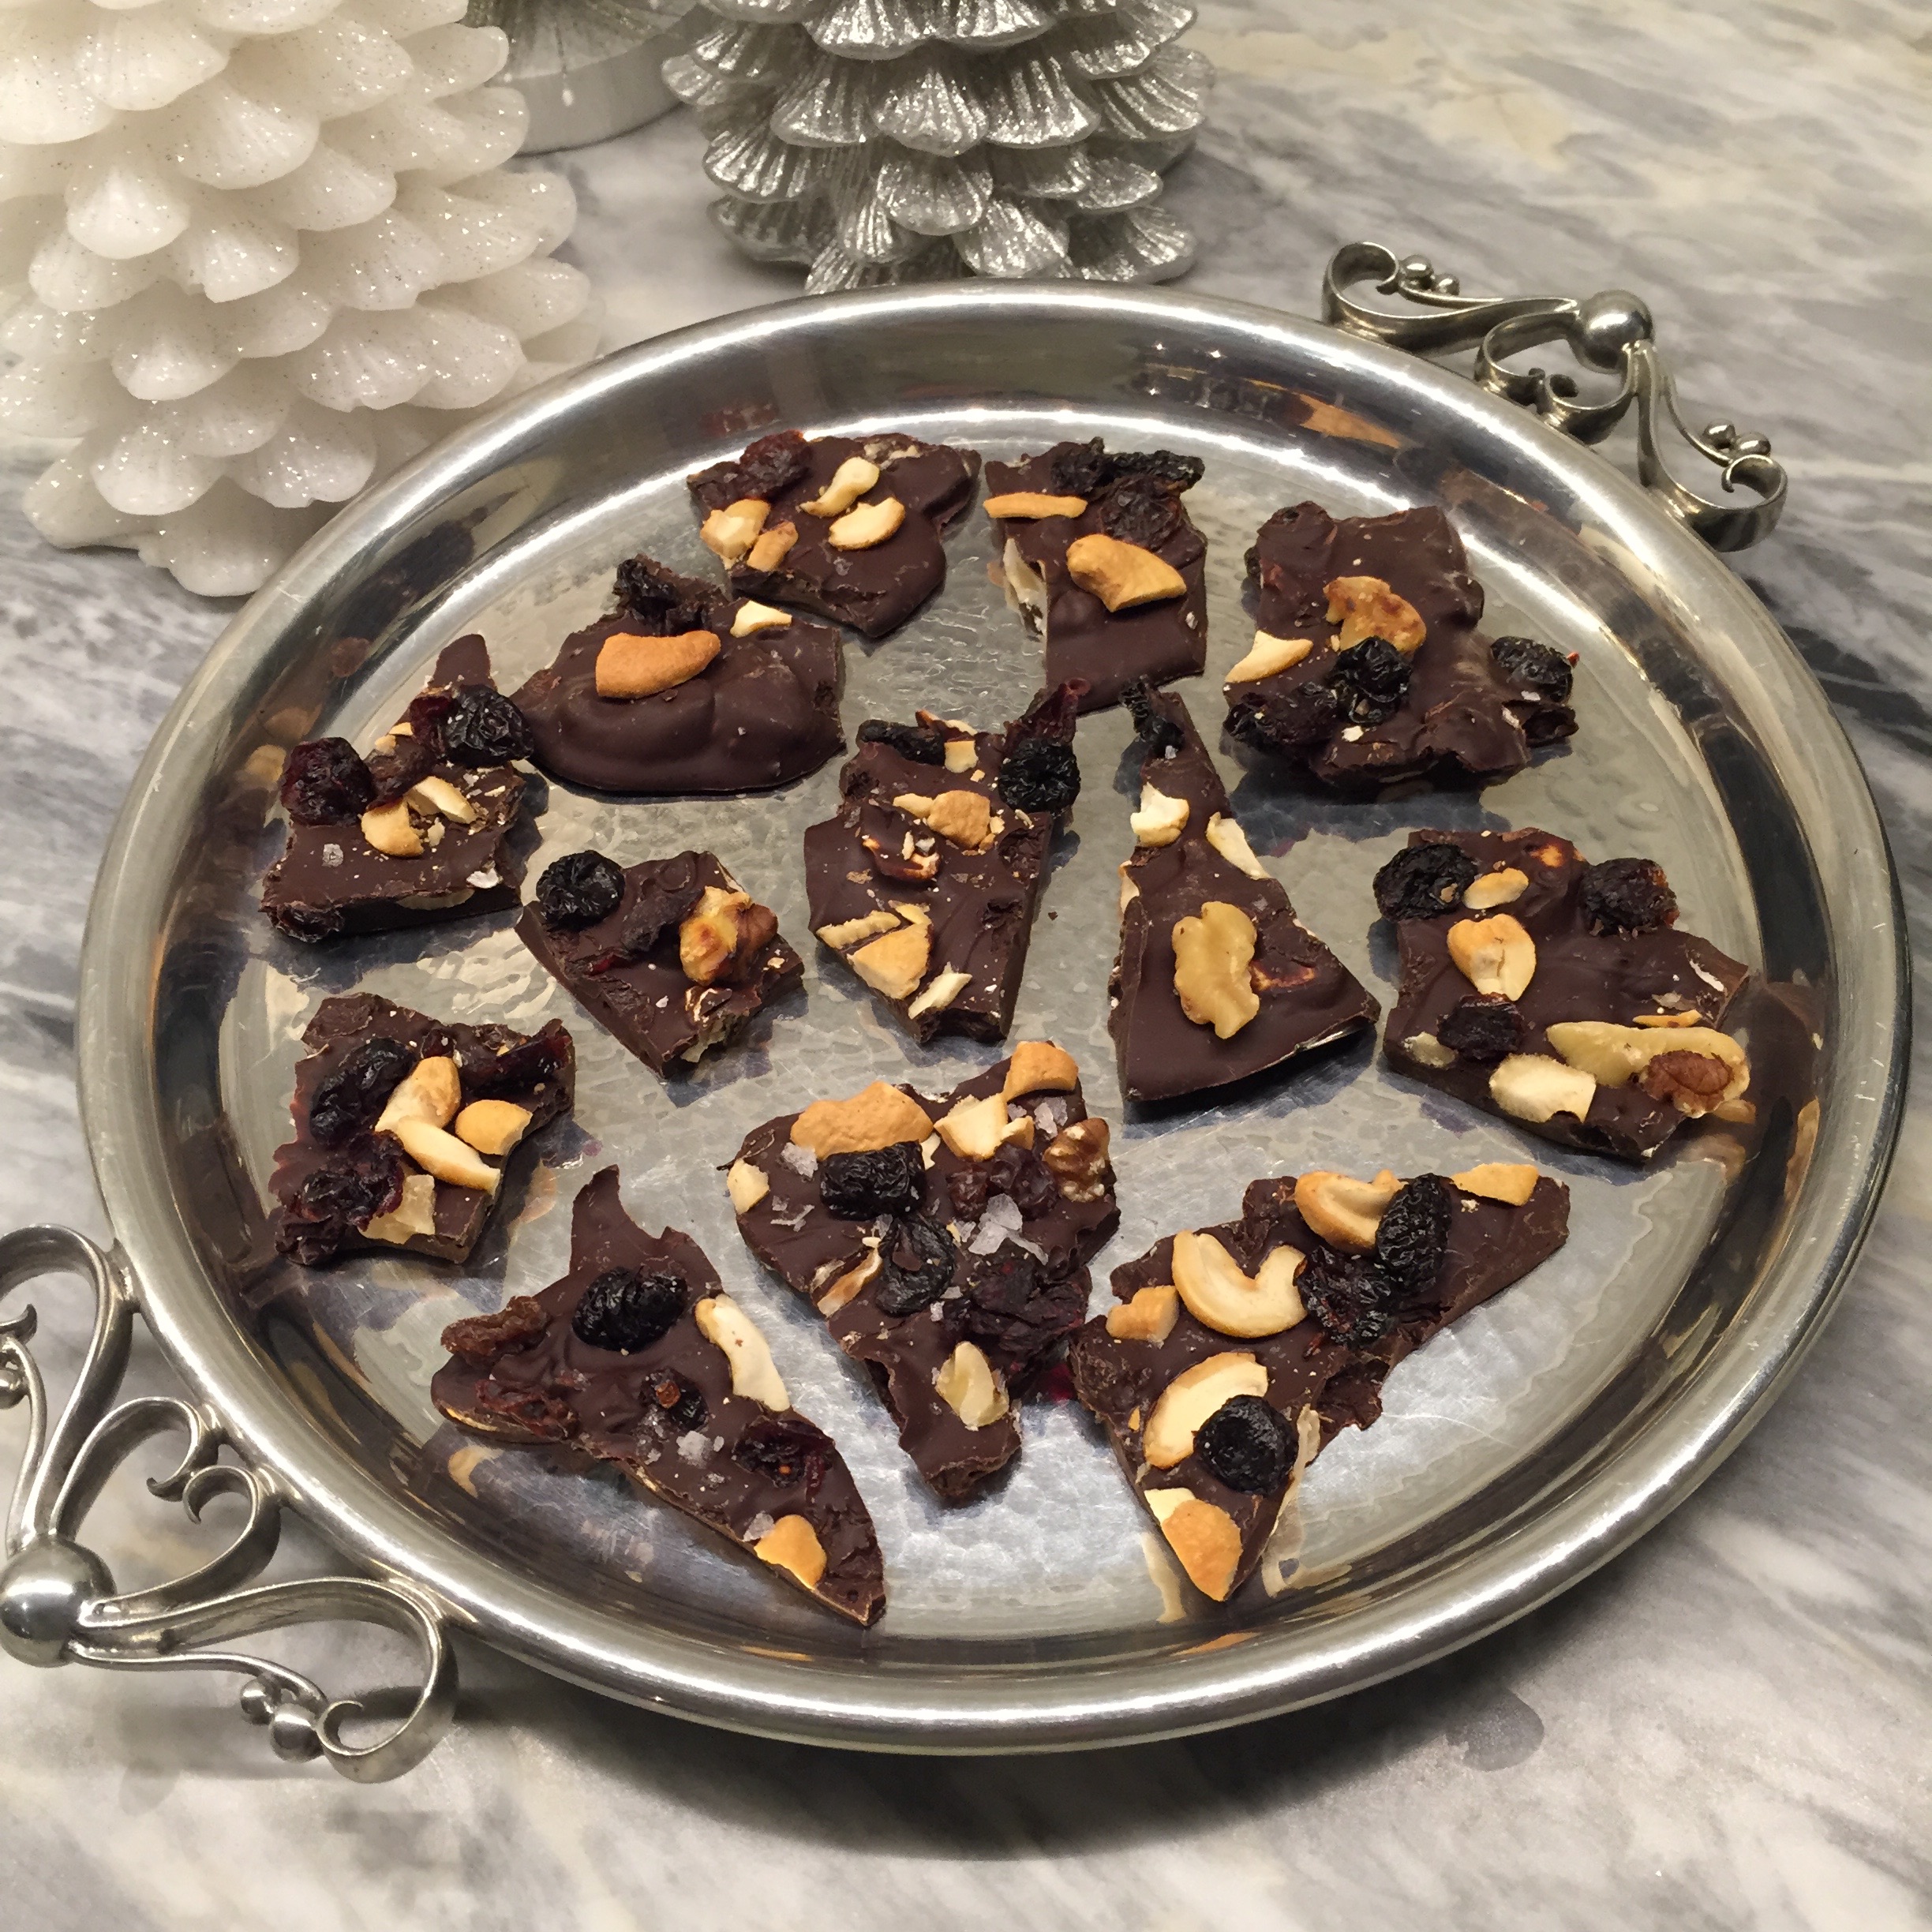
Throughout November, I’ve posted some of our traditional family Thanksgiving recipes. You may have noticed that there are no appetizers. This is not without thought, we have so much food for dinner, that I don’t want people to fill up beforehand! We’ll have a few nibbles out… nuts and a “relish tray.” It wouldn’t be Thanksgiving without one.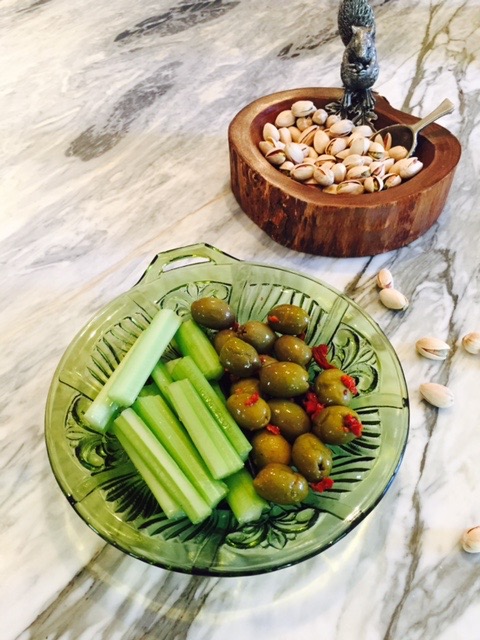
At our house, a relish tray is simply a small platter of olives and celery sticks lying side by side; the celery sticks bathing in the salty brine of the olives. Every year my mom would set the tray on the dining room table before anything else. The grown-ups would walk by in passing and grab an olive or celery stick.

As a child I thought this was incredibly sophisticated, and by default, if I ate the olives and celery I, too, would be incredibly sophisticated- braces and all. I willed myself to eat the green olives stuffed with pimento, chasing them down with celery. A fake grin pasted on my face, I proudly showed my younger sister and brothers that I was well on my to adulthood. It wasn’t until I was an adult that I actually enjoyed the relish tray, the crunch of the celery alongside the saltiness of the chilled olives is terrific and definitely whets the appetite. So I will continue the tradition, setting out a tray of my own. The kids will reach for it when they’re ready, a culinary right of passage.

Do you set out appetizers? Or, is it all about the main event and desserts?

Happy Thanksgiving from White House Red Door!
Thanksgiving 2015
Ingredients:
Turkey- this year my husband will be cooking the bird on his Big Green Egg. In previous years the turkey has been fried or roasted in the oven. This is the first time doing the turkey on the Egg, I’ll let you know how it goes!
Chestnut and Sausage Stuffing
Mashed Potatoes
Candied Yams
Green Beans with Almonds
Peas with Sautéed Mushrooms and Roasted Red Peppers
Creamed Onions
Cranberry Pineapple Sauce
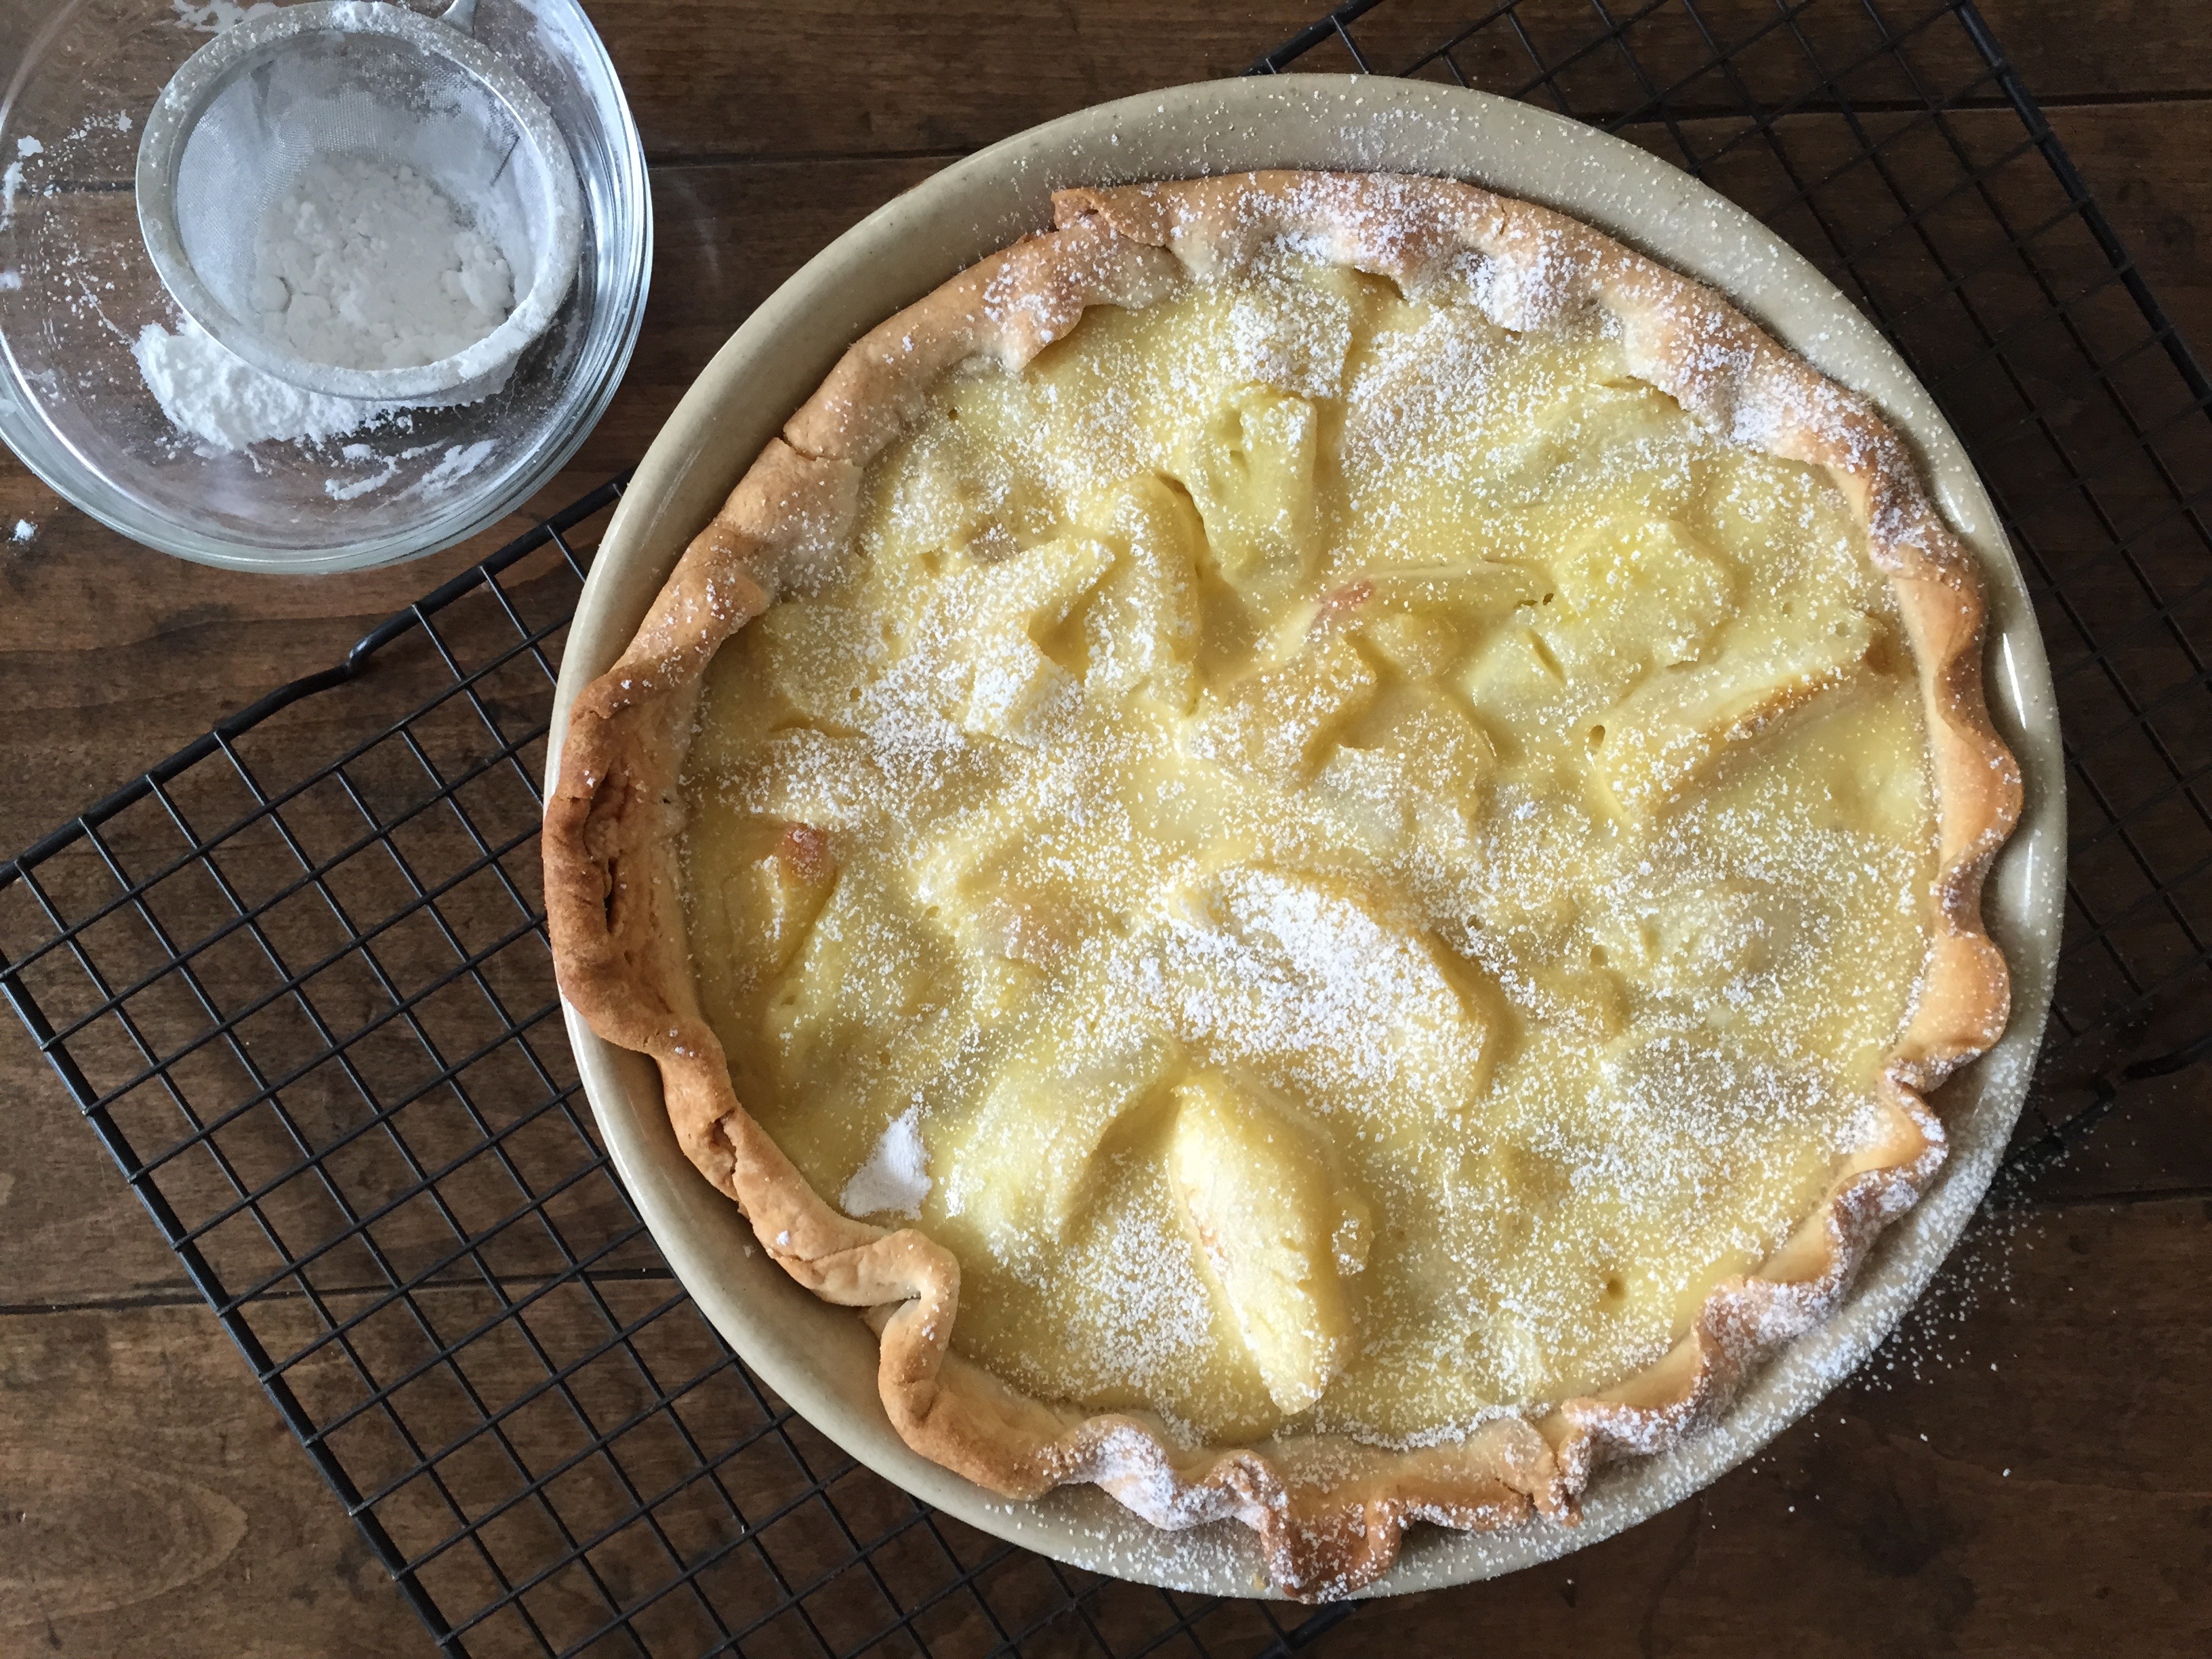
Apple Cream Pie
Sweet Potato Pie with Maple Meringue
Instructions:
Monday:
* Make cranberry pineapple sauce
Tuesday:
* Cube bread for stuffing and allow to dry overnight.
Wednesday:
* Brine turkey
* Make stuffing
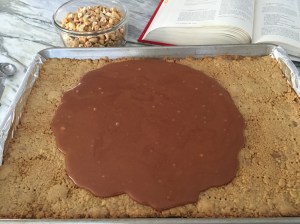
* Make pecan graham cracker crust for sweet potato pie
* Roast sweet potatoes for pie and puree
* Roast sweet potatoes for candied yams and slice
* Prepare topping for candied yams- chopped pecans, brown sugar, and butter
* Sauté mushrooms and dice roasted red peppers for peas
* Toast silvered almonds for green beans
* Set table
* Organize and label serving platters/pieces
Thursday:
* Cook turkey
* Make apple cream pie (morning)
* Finish sweet potato pie (morning)
* Make creamed onions (morning- stove top)
* Make mashed potatoes (afternoon-stove top)
* Finish candied yams (afternoon- oven)
*Finish green beans and peas (afternoon- stove top)
* Have a drink!


 England and Ireland. For Americans, the name itself is rather confusing as this dessert contains neither plums nor is it a pudding in the Jell-O sense of the word. The “plums” are actually a pre-Victorian term for raisins and pudding is a reference to dessert in general. Some compare plum pudding to fruit cake, but I respectfully disagree. My family’s plum pudding is not heavy and dense like a fruitcake. It is light in texture, but very rich in flavor; heady with cinnamon, cloves, mace, and brandy. Served with a dollop of chilled hard sauce which begins melting as soon as it hits the warm pudding… it’s like tasting Christmas.
 throughout my father’s childhood, and then passed the recipe on to my mother, who continues to make it to this day. The handwritten recipe from my grandmother refers to the pudding as “Aunt Annie’s Plum Duff.” It seems that centuries ago, the pudding would have been steamed or boiled in cloth, but during the Victorian era the cloth was replace by pudding molds. That said, modern recipes for “duff” do exist and usually instruct the reader to boil the pudding in cloth rather than “pudding” recipes that use a mold. Perhaps my great great aunt originally boiled her pudding in cloth? Unfortunately, I’ll never know. What I do know is that my grandmother steamed her puddings in coffee cans lined with buttered wax paper. And today, I use pudding molds.
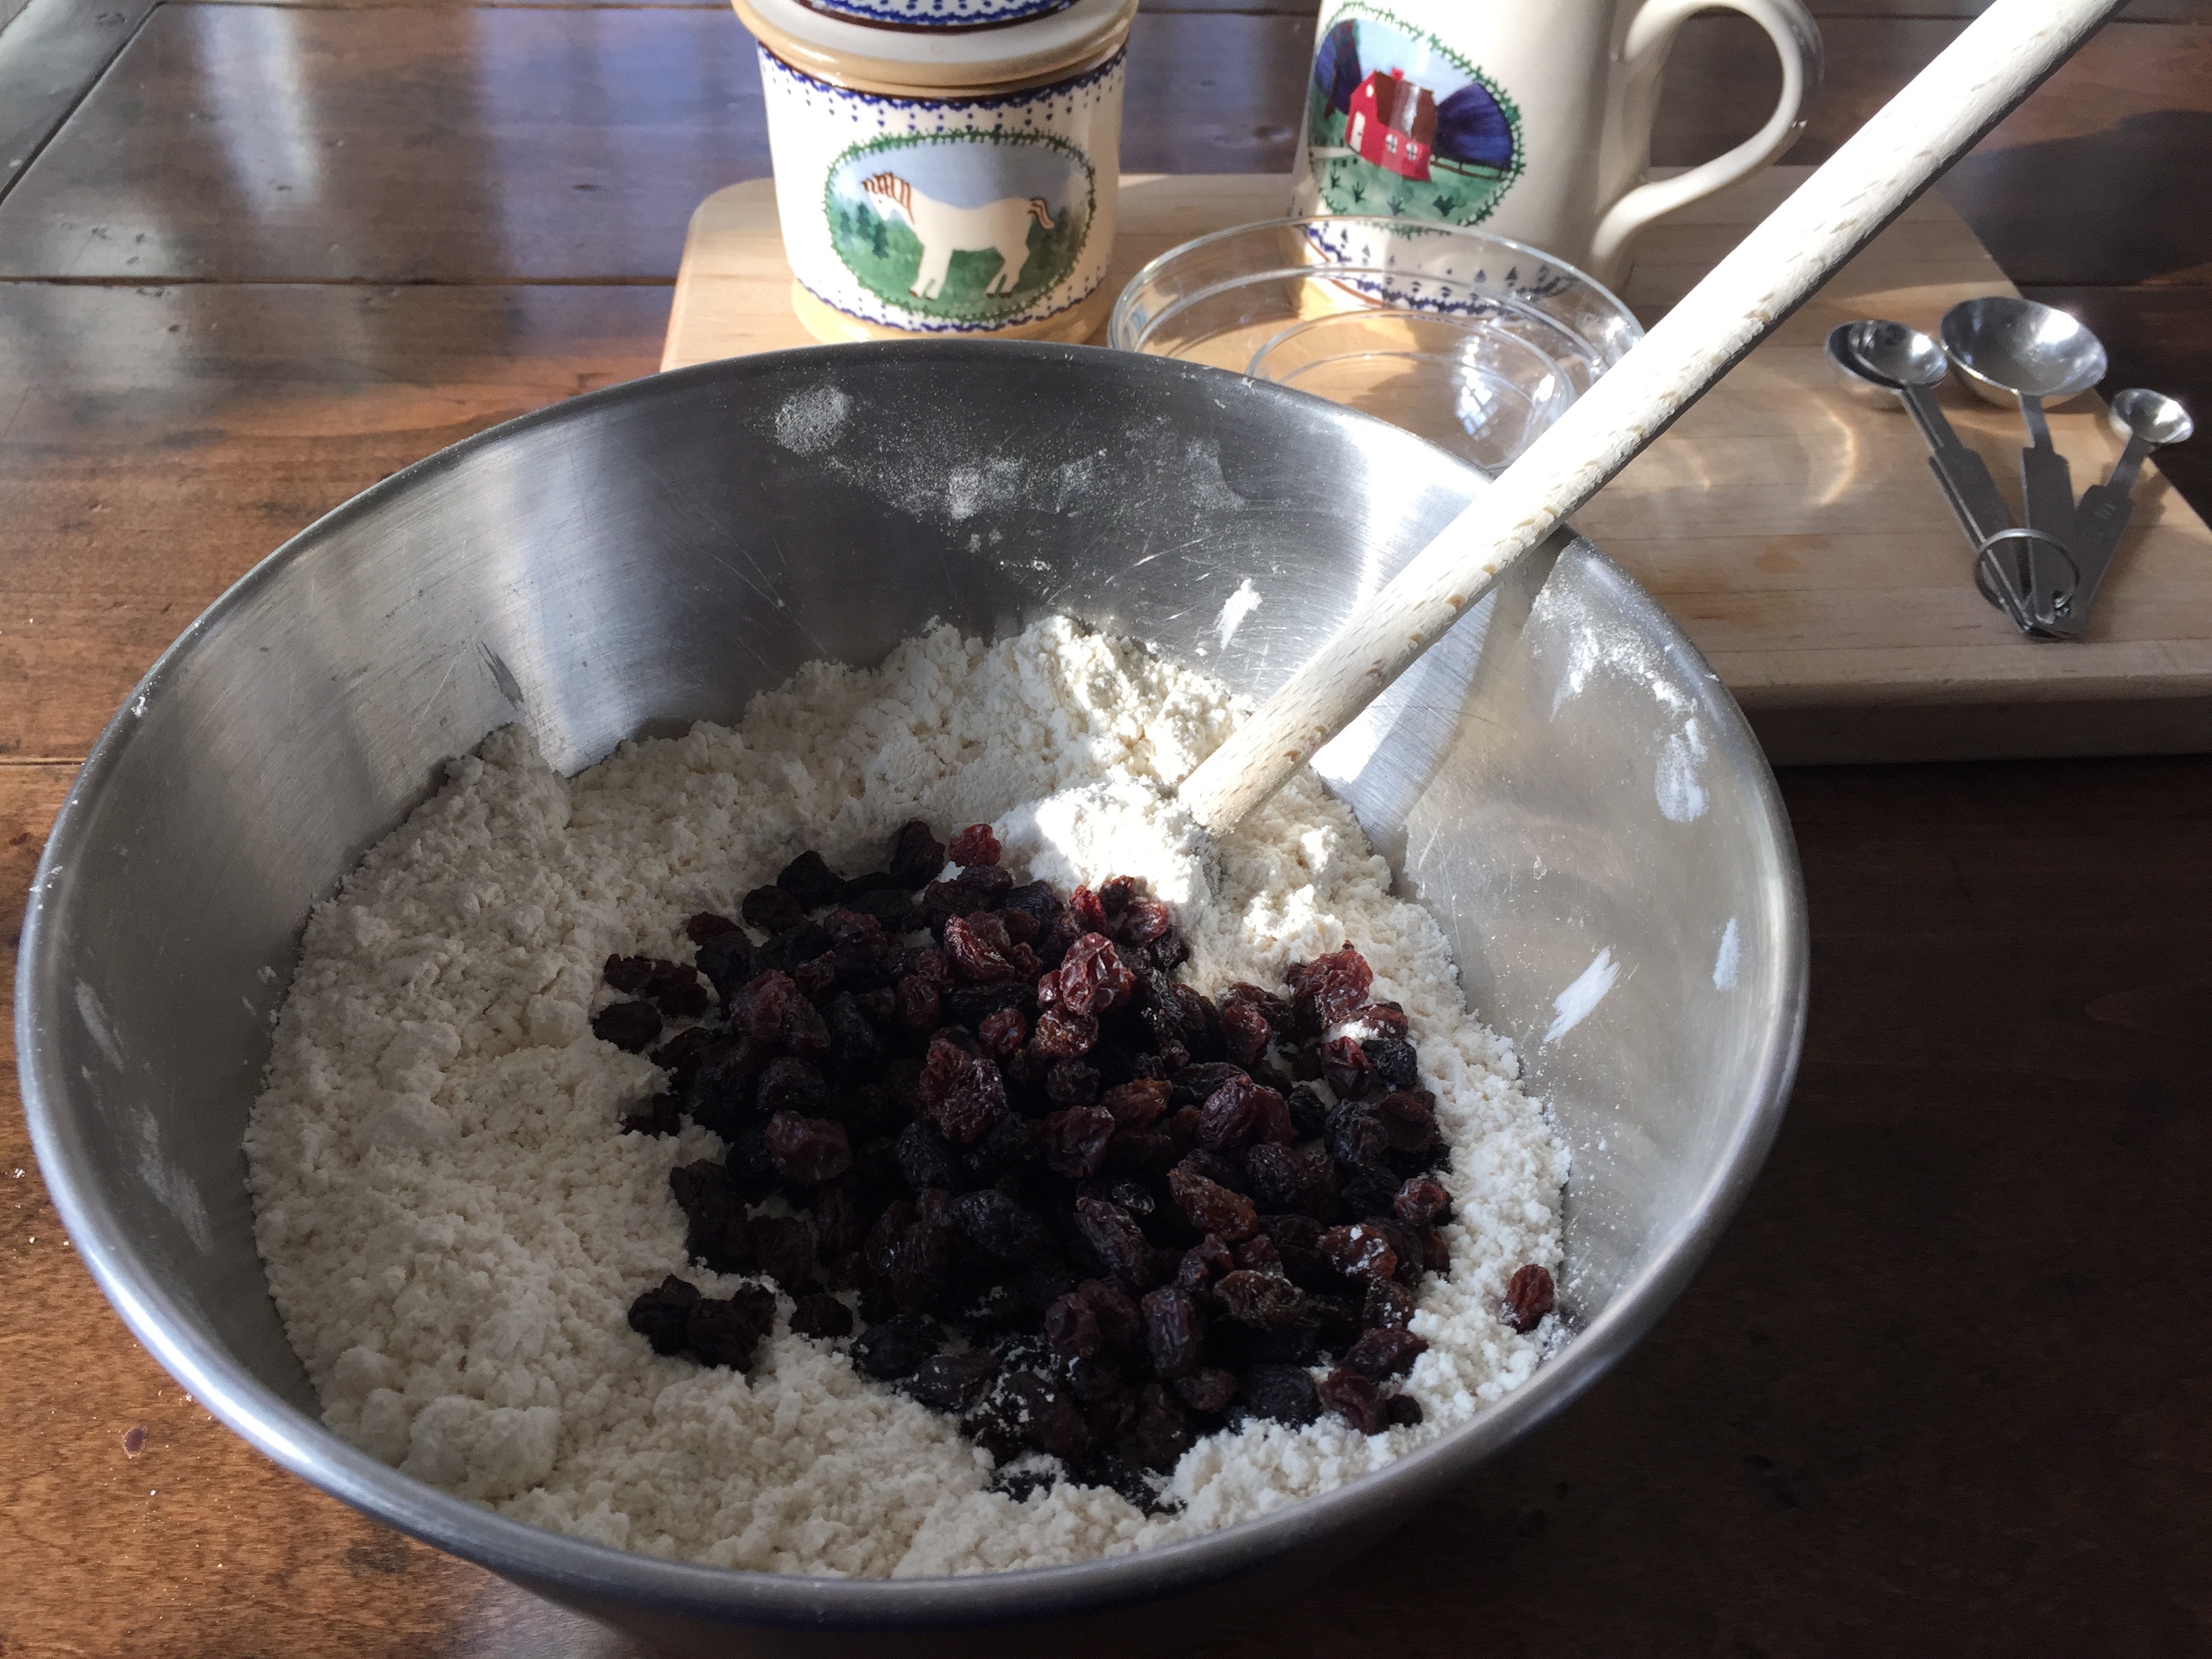
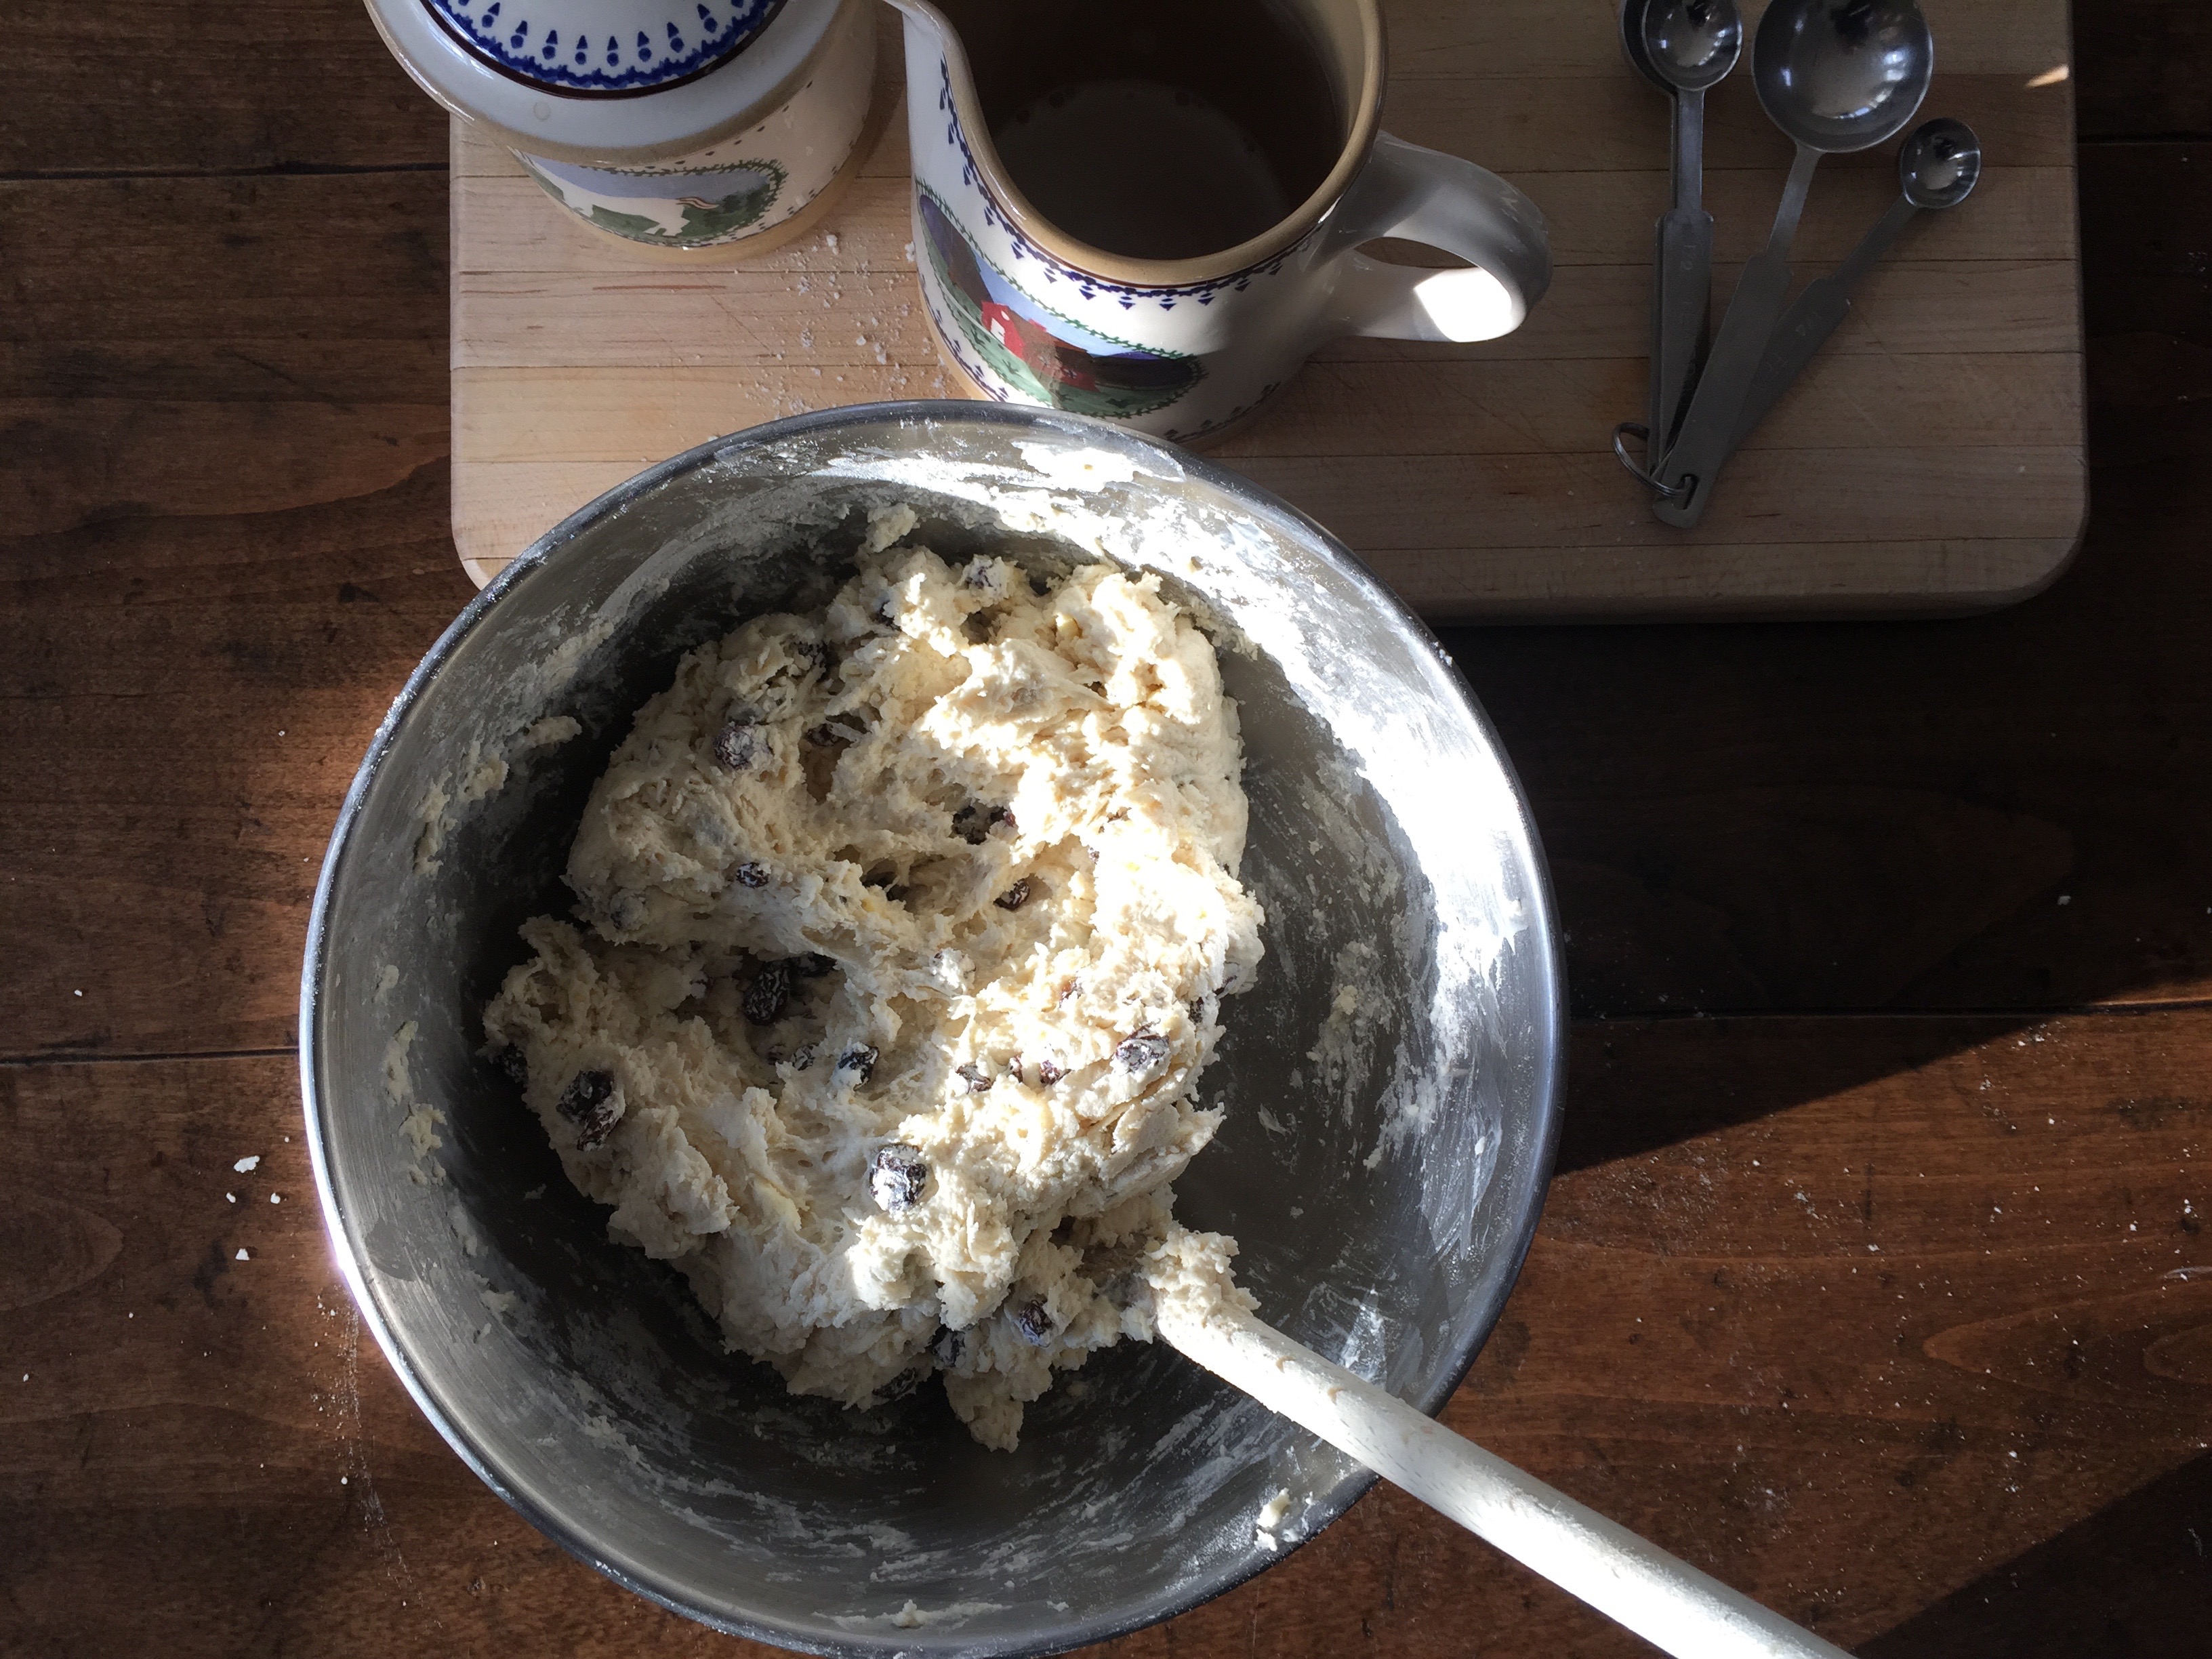
 tougher to find suet (NOT the kind you get at the garden store to feed the birds). I actually stumbled across some quite by chance at a butcher shop in Boston just a couple of weeks ago. The other ingredients are pretty standard pantry items, and though it’s a two day process, most of the time is hands-off and the technique is very easy. Once the mixture is in the molds, they are steamed for a couple of hours and cooled. After cooling, they are removed from the molds. The molds are washed, the puddings rewrapped in clean parchment, returned to the molds, splashed with more brandy, and tucked away in the fridge until Christmas Day. Before serving, the pudding is steamed again to warm through. Hard Sauce is passed along with it… a creamy combination of butter, confectioners sugar, and- you guessed it, more brandy!