Jamaican Rice and Peas

Jamaican Rice and Peas in bowl

We just got back from a wonderful trip to Jamaica. This is our third visit, and it’s always such a welcome treat to dip our toes in the sand, feel the warm tropical breezes, hear birds chirping, and see every shade of blue imaginable all in the middle of winter!

IMG_9693

And the food! Amazing locally grown coffee from the Blue Mountains; fresh caught conch straight from the sea, tropical fruits dazzle with a rainbow of color, coconuts plucked right from the tree, notched open, and a straw stuck in. Sidenote… I didn’t know until our first visit that not all coconuts are brown and “hairy.” By the time a coconut has reached that point, it is already dried up inside, leaving only the meat. The green coconuts, still hanging on the tree, are full of sweet coconut water, ready for drinking. After you finish drinking the water, the coconut can be completely split open allowing you to scoop the soft flesh enjoying it like custard. My daughter loves it sprinkled with sugar before she digs in!

IMG_9668

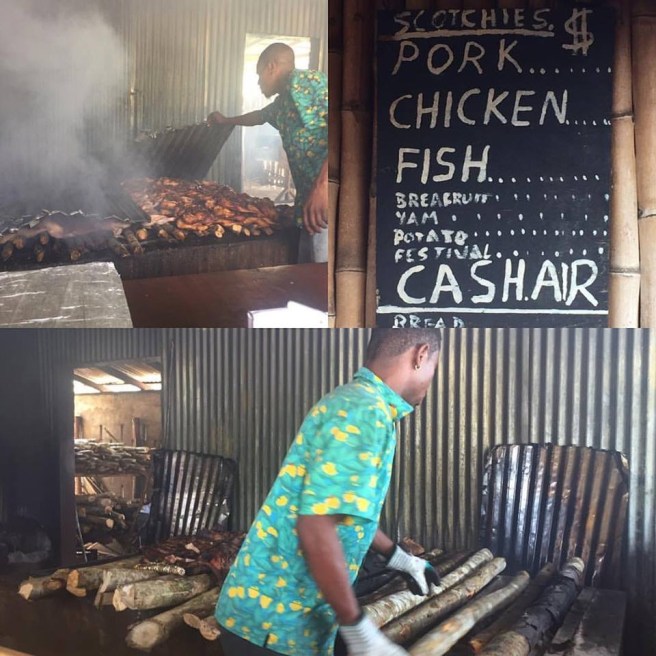
We ate well everyday… oxtail, curry goat, fish, coconut shrimp, and of course, jerk chicken and pork. Almost every dinner included a side of rice and peas, not green peas, but beans. The rice and peas are steamed in sweet coconut milk with onions, garlic, and thyme; they are perfect to eat on their own or served as a side dish.

Scotchie's

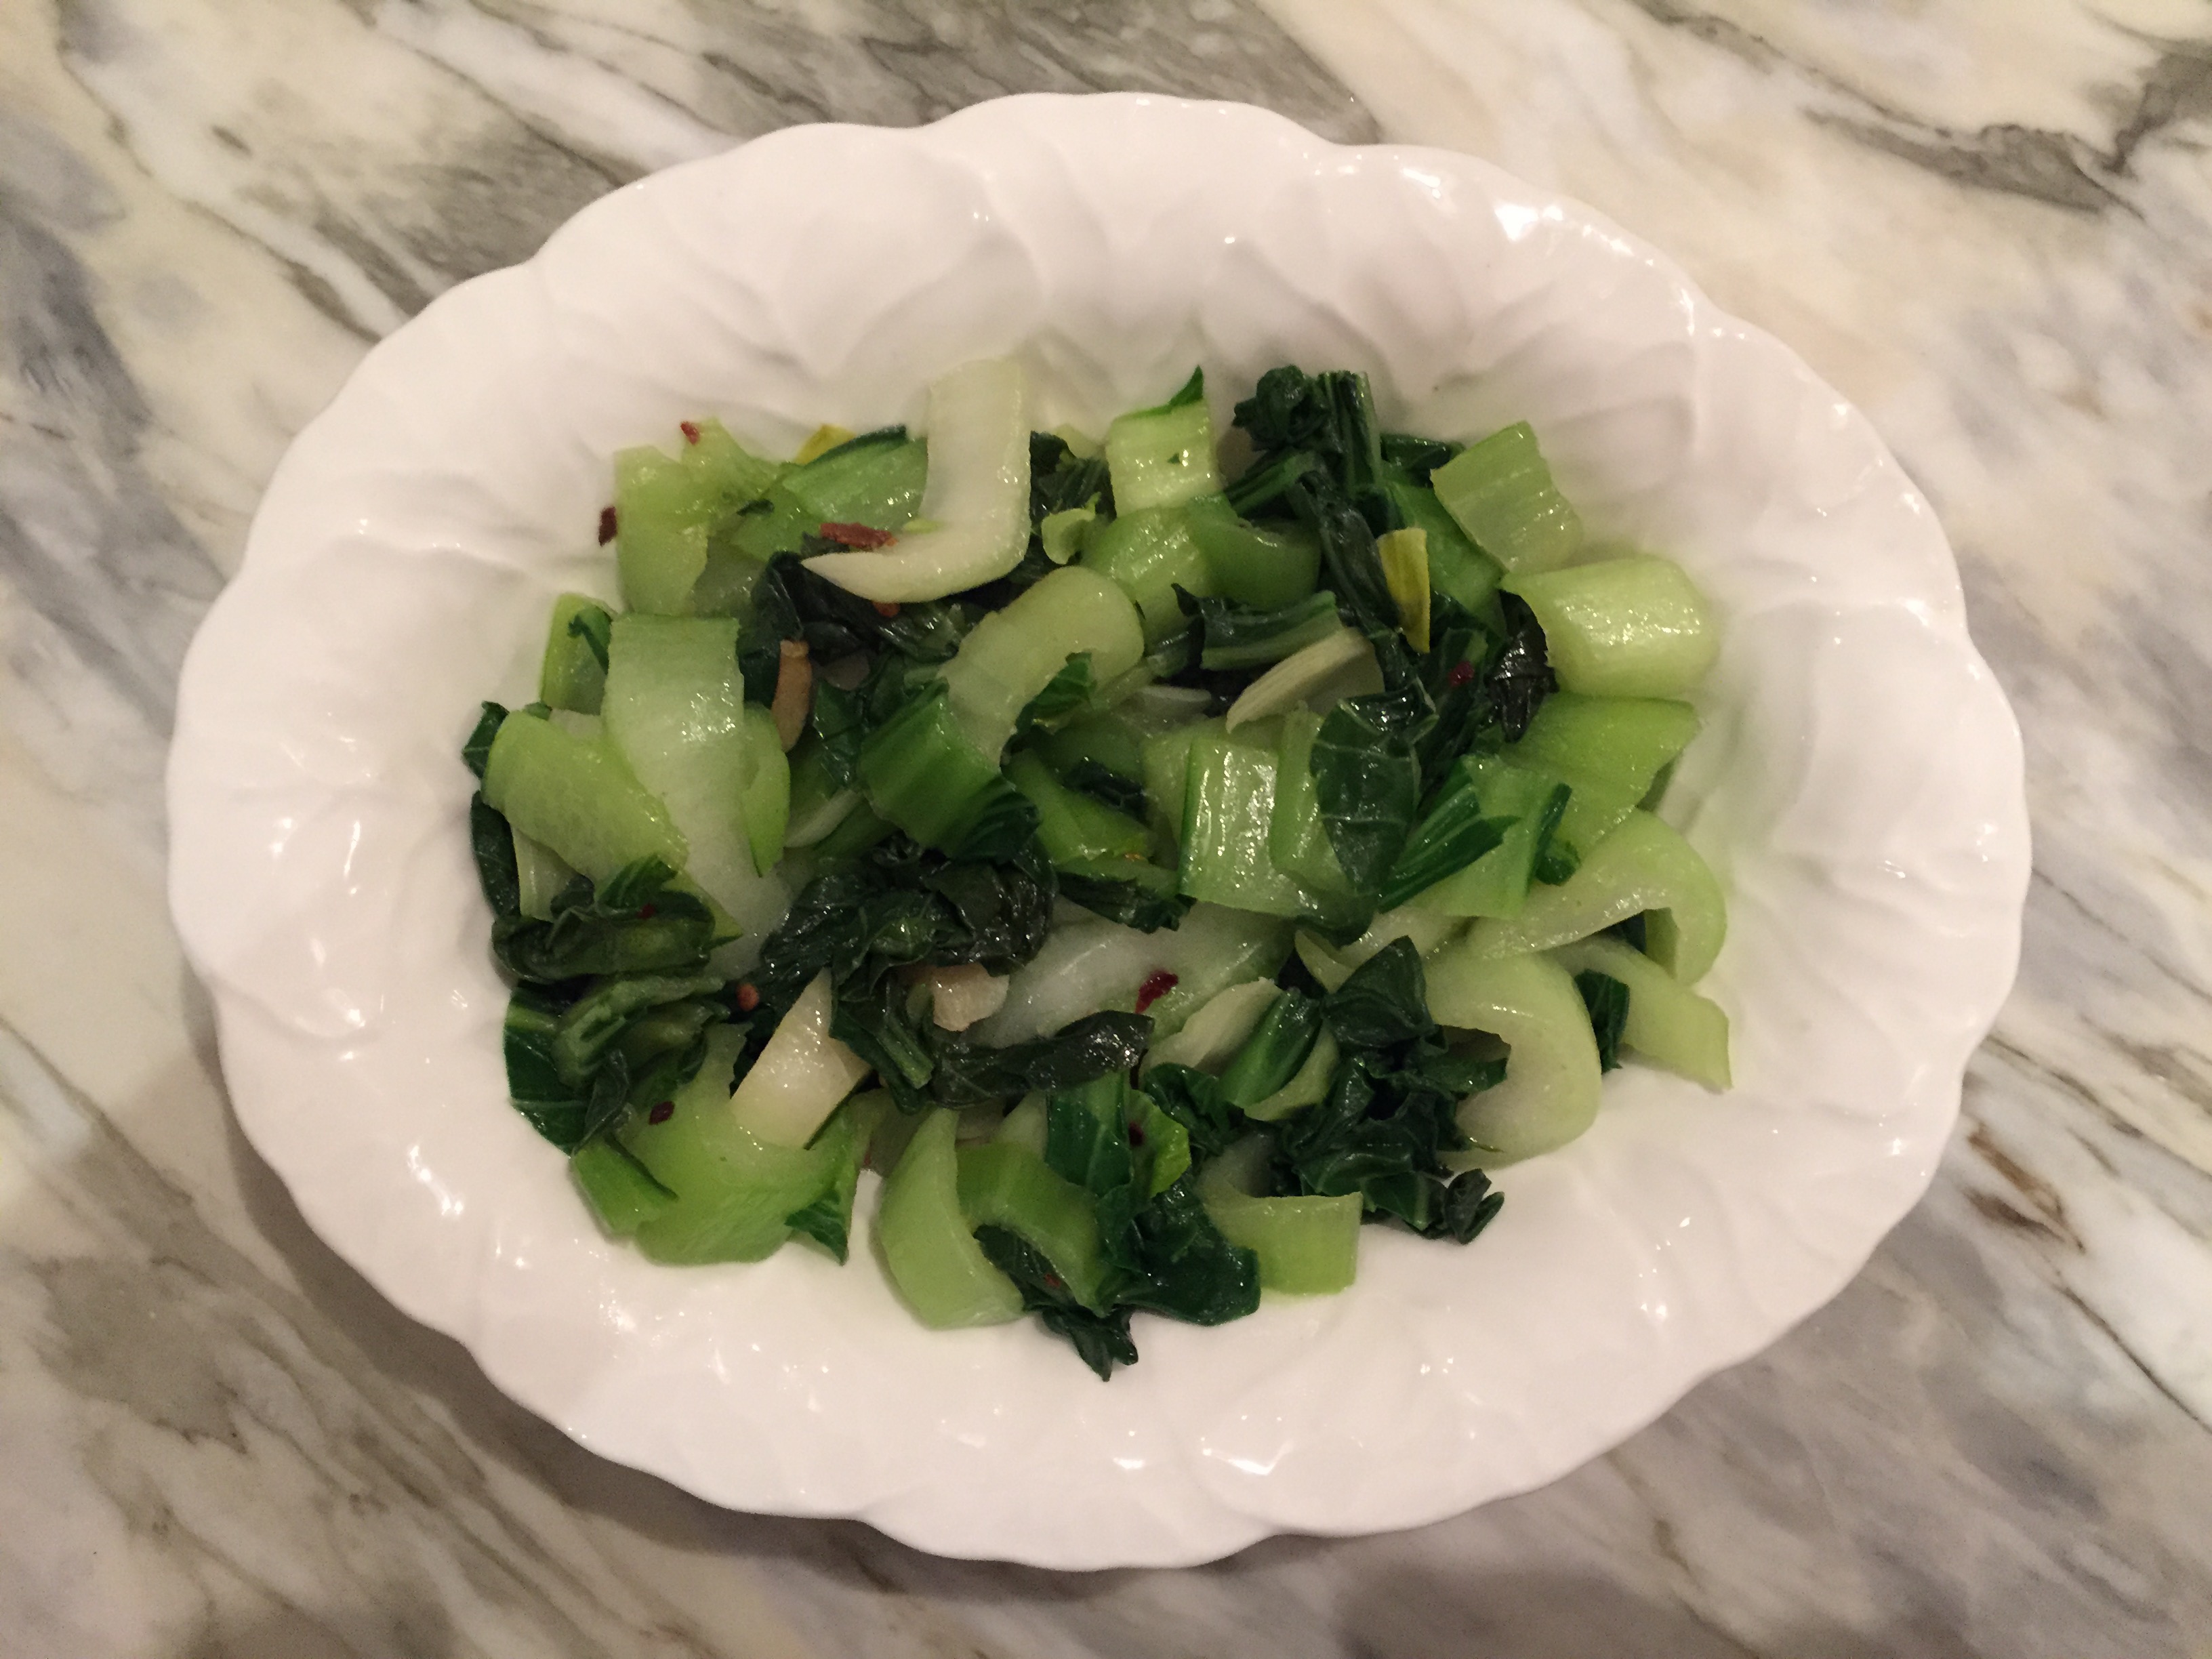
I’ve already made Jamaican Rice and Peas since we’ve been home, and it’s definitely going into the rotation. I served it alongside pork tenderloin that had been marinated in a wet rub of jerk seasoning. But again, this dish works with a wide variety of meats and fish, or stands alone with a simple green salad as a complete meal.

Cook’s notes:  Check for salt as you go along… the coconut milk is naturally sweet, and combined with the low sodium broth, you may find it necessary to add more salt to suit your taste. The hot pepper isn’t required, but it does add the most lovely hint of fruity heat because it’s kept whole. Allspice is a very traditional component of jerk seasoning and I like bringing that flavor into the dish. This recipe uses canned kidney beans as a matter of convenience; feel free to use dried beans that you soak and cook yourself. If you go that route, be sure to save some of the cooking liquid to use for cooking the rice- just swap out an equal amount of chicken broth. Finally, the cooking method, baking the rice in the oven, is from the New York Time’s Cookbook,  “The Perfect Batch of Rice”. It’s hands down my favorite no-fail method of cooking rice.

Jamaican Rice and Peas in bowl

Jamaican Rice and Peas

  • Servings: 8-10 as a side dish
  • Print

Ingredients:
2 Tablespoons coconut oil, butter, or extra virgin olive oil
½ cup finely chopped onion
1 clove garlic, smashed
2 cups long grain white rice, rinsed and drained
salt to taste
3 cups liquid (1 13.5oz can coconut milk + enough chicken broth to total 3 cups combined)
4 sprigs thyme
¼ tsp allspice or 3 allspice berries
1 scotch bonnet or habanero pepper, left whole
1 15oz can kidney beans, rinsed and drained

Instructions:
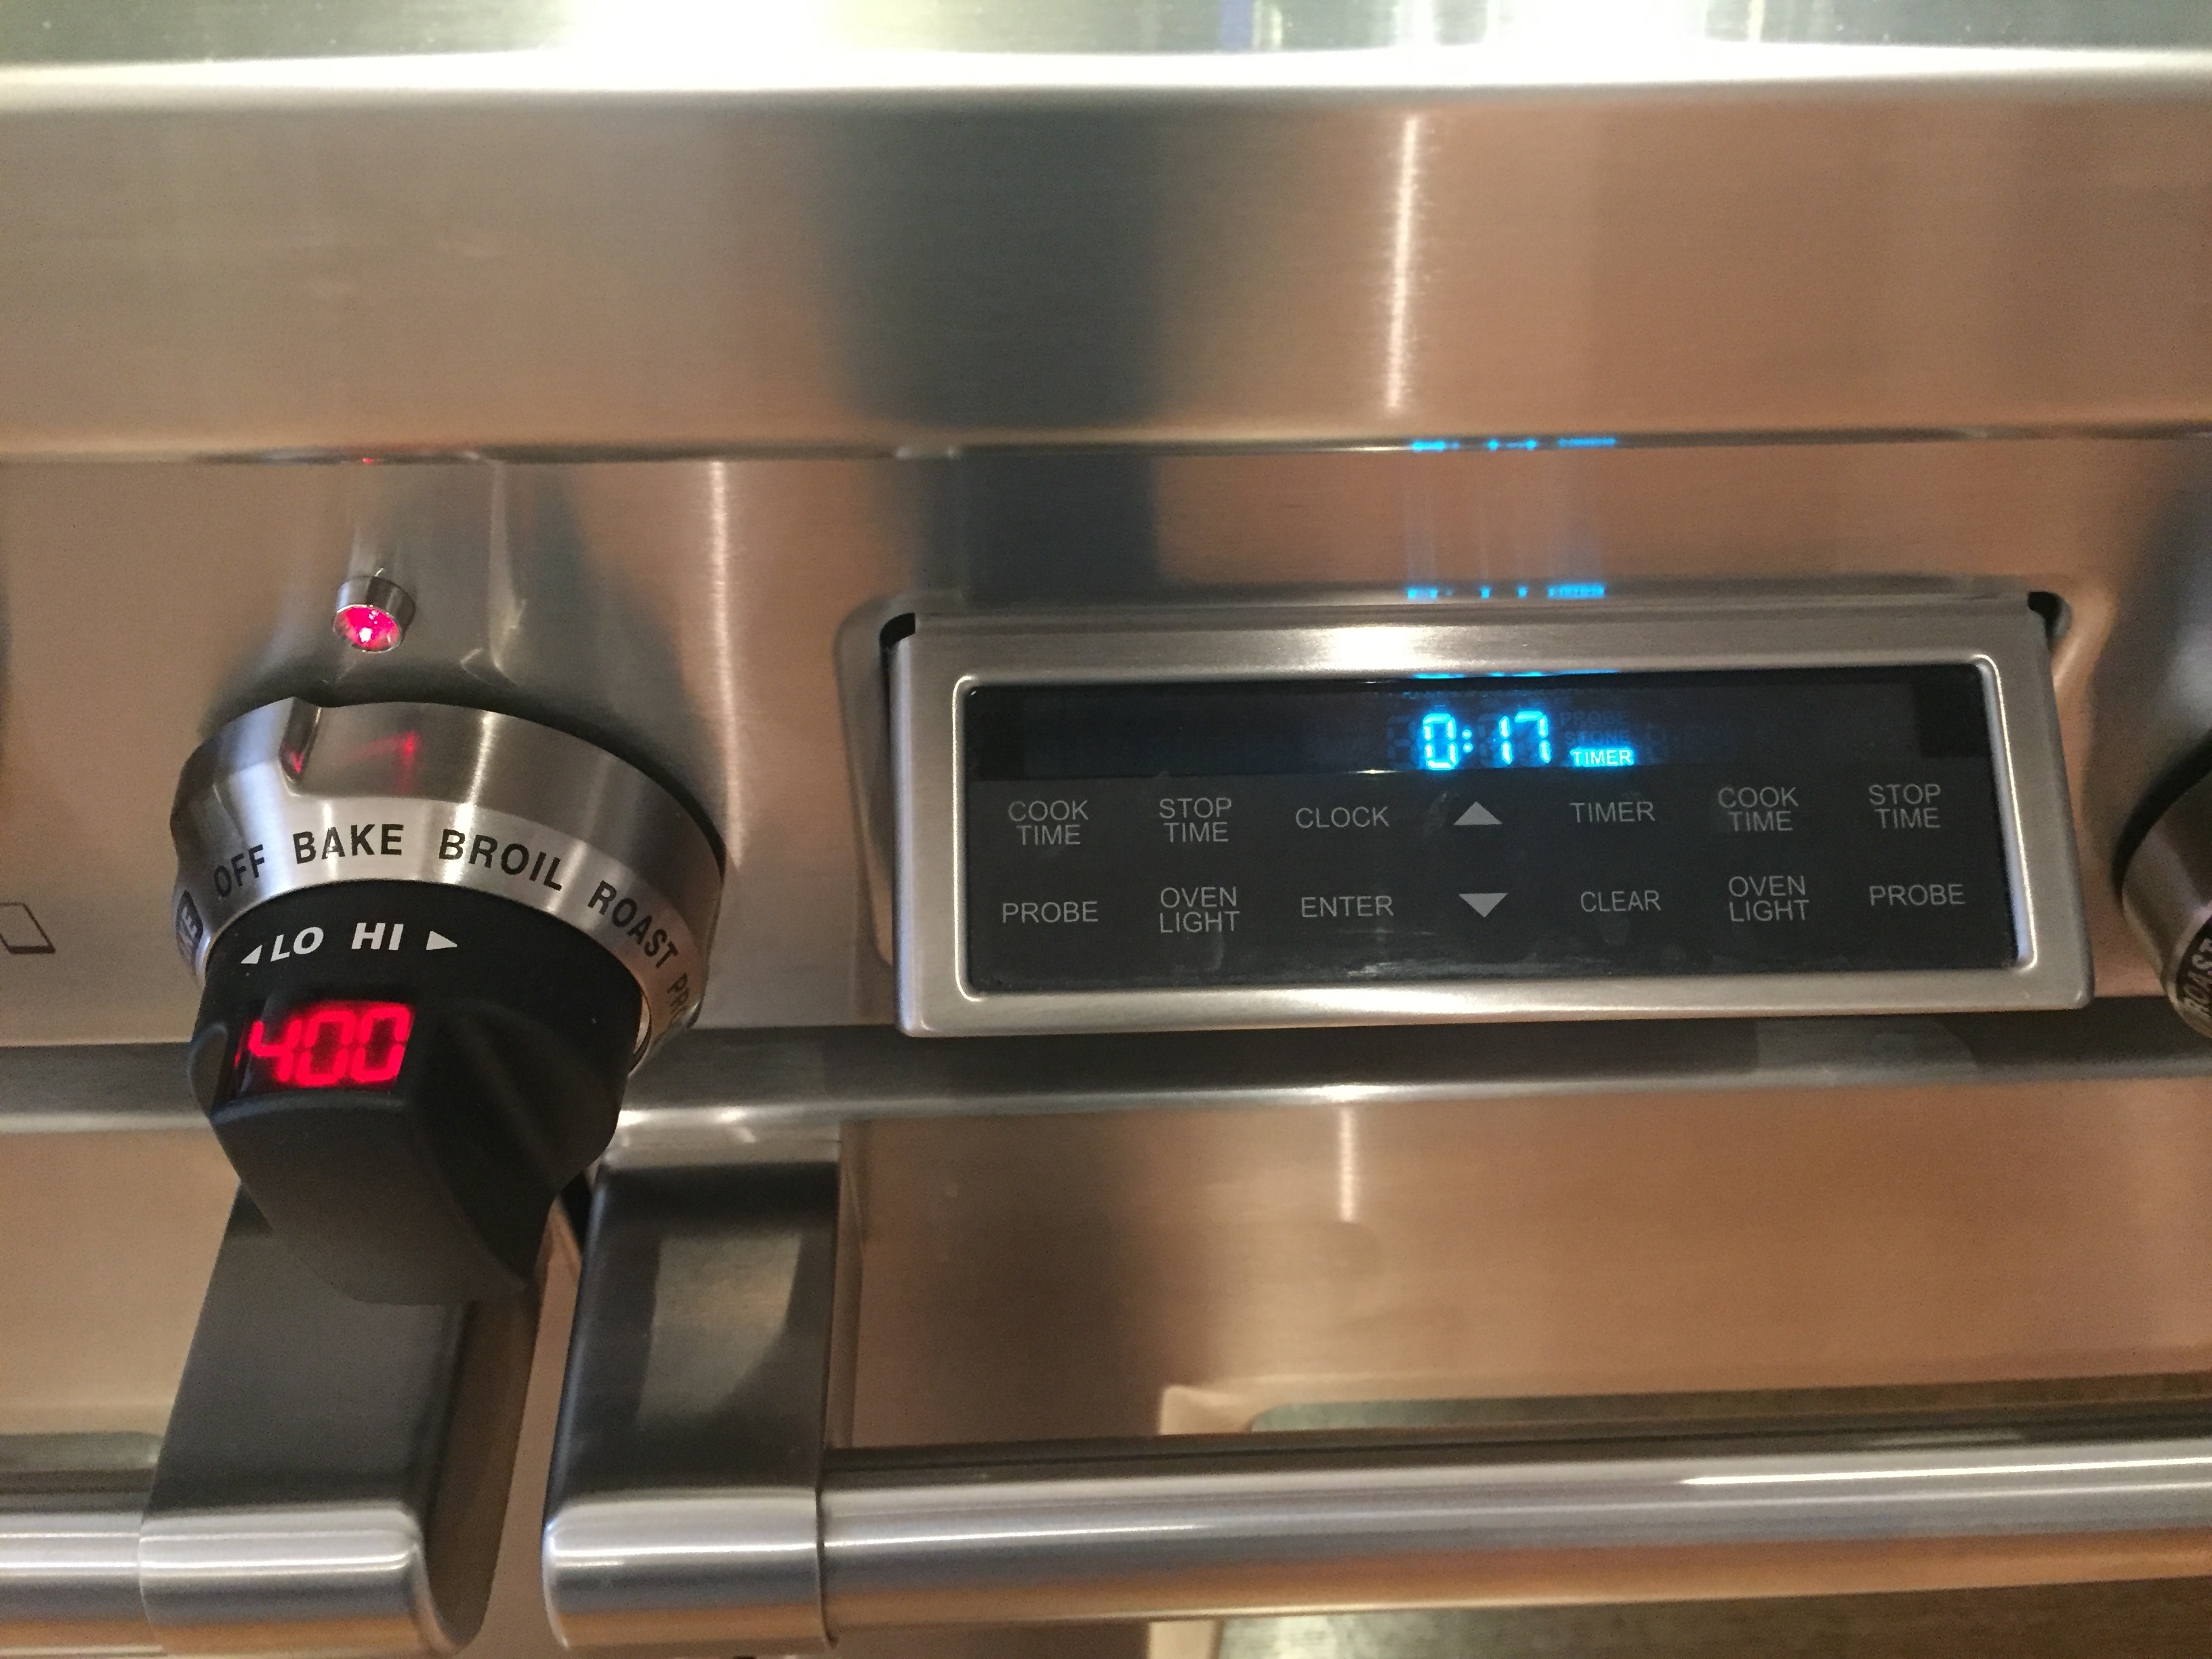
Preheat oven to 400°F.

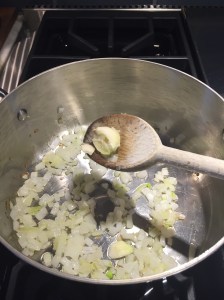
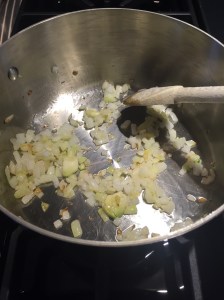
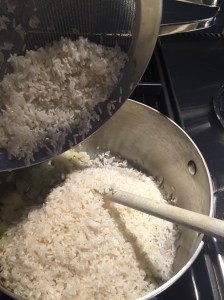
Heat oil or butter bottom in bottom of ovenproof saucepan. Add the finely chopped onion. Stir and cook until onion wilts. Add the smashed garlic and sauté for 30 seconds or until fragrant. Add the rice and stir until the grains are coated. Add salt to taste.

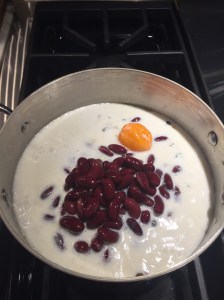
Add the coconut milk and chicken broth. Add hot pepper, thyme, and allspice to the rice and let broth come to a boil.

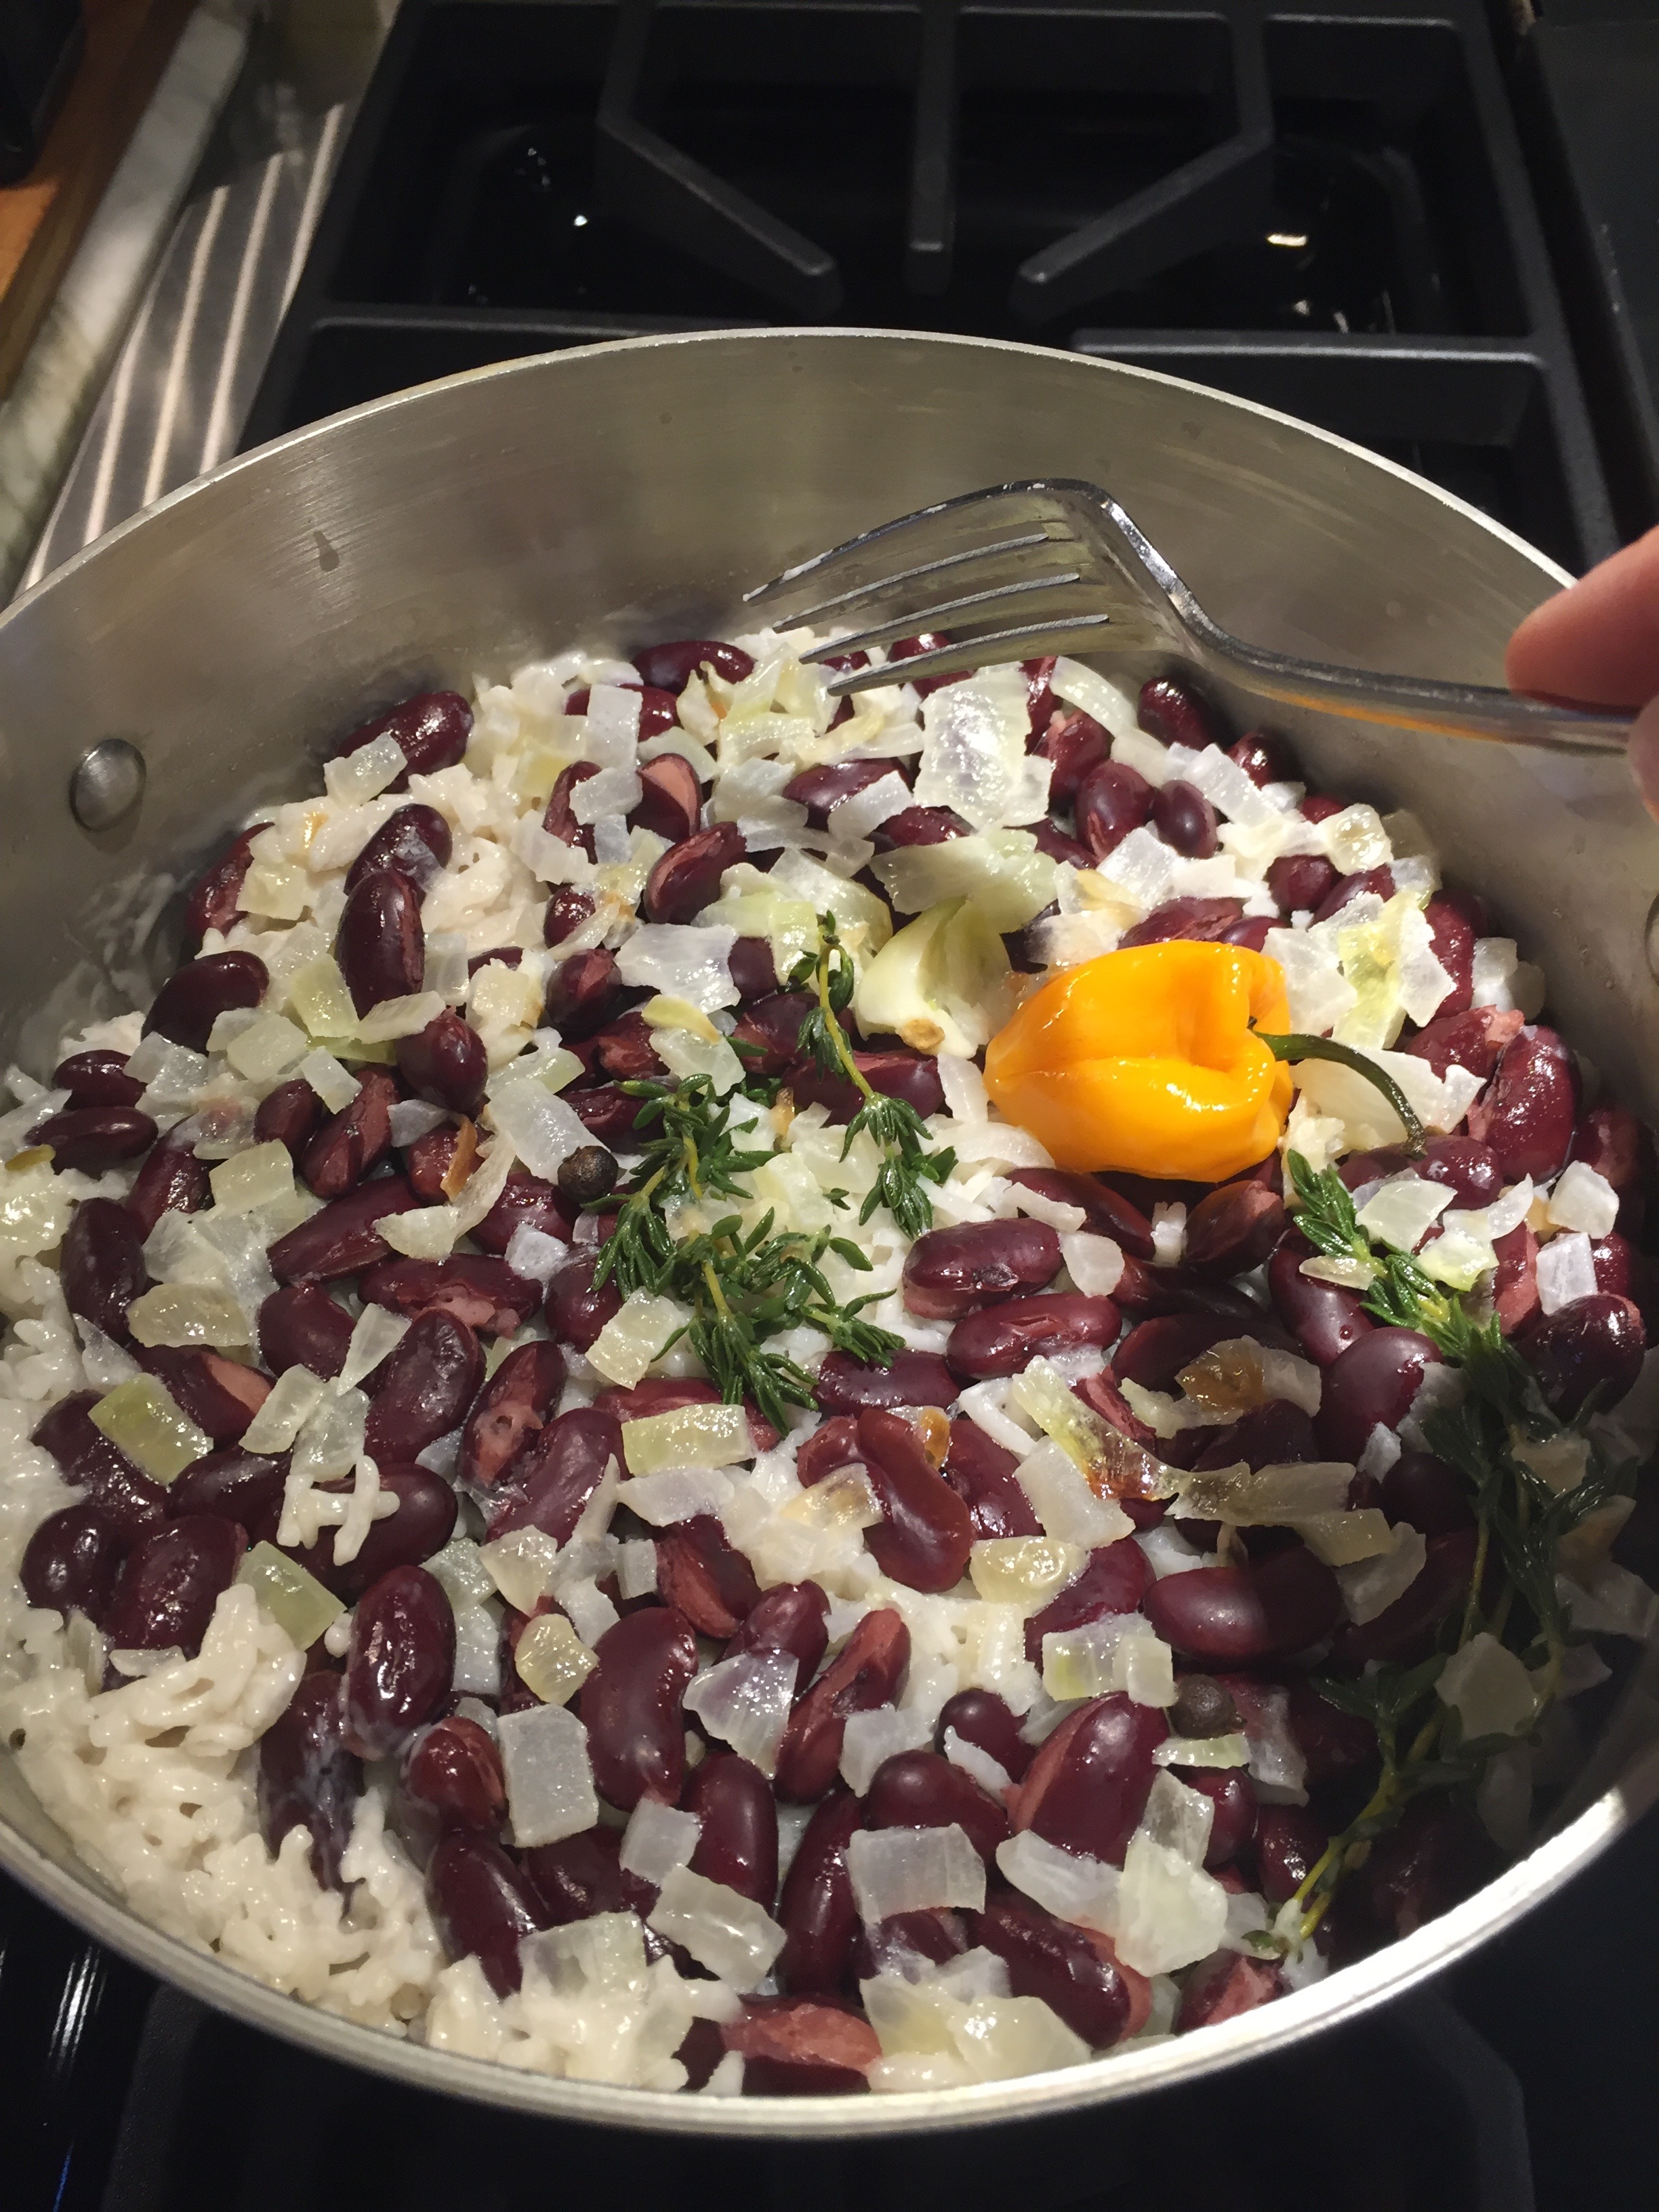
Stir in kidney beans. Cover pan and place in the oven. Set timer for 17 minutes.

Remove pan from the oven. Let stand 5 minutes, then uncover. Remove thyme, scotch bonnet, garlic clove, and allspice berries if using. Gently fluff rice with fork. Check for seasonings, adding salt and pepper to taste. Serve immediately.

Ingredients for Jamaican Rices and Peas: rice, beans, coconut milk, chicken broth, onion, thyme, allspice and pepper

Rinsing and draining rice in mesh strainer
Rinse and drain the rice as part of your prep.
Wilting finely chopped onion in saucepan.
Melt butter or coconut oil in ovenproof saucepan. Add finely chopped onion and sauté until wilted.
Adding coconut milk/chicken broth mixture to rice
Add coconut milk/chicken broth mixture to rice.
Timer set for 17 minutes
Set timer for 17 minutes.
Jamaican Rice and Peas
After 17 minutes, remove pan from oven. Let stand for 5 minutes before removing lid.
Fluffing rice with fork
Use a fork to gently fluff rice. Carefully remove pepper, thyme sprigs, garlic clove, and allspice berries (if using). Check seasonings, adding salt and pepper to taste.
Jamaican Rice and Peas in bowl
Serve immediately and enjoy!

Miso Glazed Fish and Bok Choy

Miso Glazed Halibut

A preschool teacher once declared about my now 15yr old son, “you better have a plan, because if you don’t, he does!” The same sentiment holds true for my January calendarentire household. With two active teenage boys, and one “sign me up for everything” tween, things can quickly get derailed. In my attempts to contain the chaos as much possible, I have a general plan or template for dinners each week. This is so helpful when grocery shopping; daily trips to the store are only occasional, and money is saved because I’m shopping more efficiently with menus in mind. I’ve learned the hard way, that if I don’t have a solid dinner plan in place by the time the kids get home from school, we’re probably doing take out!

That said, things do come up and this is a very flexible “schedule.” Nothing is set in stone. It really just serves as a general guideline and helps me organize my shopping (and mind) for the week. Here’s a look at my weekly template for dinners:
Meatless Monday– Fish
Taco Tuesday– Build your own tacos, fajitas, burritos, etc. I usually set out a protein, with loads of grilled/sautéed veggies, rice, beans, tortillas, cheese, guacamole, and salsa.
Wednesday– Pasta
Thursday– Soup or stew (especially in fall/winter)
Friday– Take-out, and by the end of the week I’m ready for it.
Saturday– My husband usually grills (even in the snow!)
SundayHomemade Pizza

Meatless Monday usually means fish, like Fast and Crunchy Baked Cod or fillets simply seasoned with salt and pepper and briefly roasted in the oven.Ingredients for miso glazed fish: white miso, rice vinegar, vermouth, sugar, black vinegar Recently, Miso Glazed Fish has made several successful appearances. The glaze is slightly sweet/salty and perfect for firm fish like swordfish, halibut, and salmon. Sea bass and sable (black cod) would be wonderful as well, but they are expensive compared to the others. The dish is quick and easy. Popped into the oven, it is done in no time. Serve with rice and something green. We love it with bok choy sautéed with ginger, garlic, and a pinch of red pepper flakes (recipe follows miso glazed fish).

Note about the photos- You’ll see that there is no beautifully plated finished product. This is the result of the aforementioned active teens and tween. As soon as the fish came out of the oven, I was able to quickly snap a few pics before it was gobbled up. Then it was off to drop one son at basketball, pick the other up from his basketball practice, and get my daughter to ballet. In my ideal world, the final shot would have been a gorgeous piece of fish, lightly sprinkled with sliced green onions, presented on a bed of rice, with bright green bok choy on the side. Use your imagination!  You can see it, right?

Bok Choy
On the bright side, the bok choy did make it into a serving bowl!


How about you? Do you have a general idea of what your dinners will look like throughout the week? Or, do you decide day by day?

Miso Glazed Halibut

Miso Glazed Fish

Ingredients:
2 Tablespoons vermouth*
2 Tablespoons rice vinegar
3 Tablespoons white miso
1 Tablespoon sugar
1 teaspoon black vinegar
24oz firm fleshed fish (swordfish, halibut, sea bass, sable (black cod) salmon)

Instructions:
Preheat oven to 375°F. In a small saucepan over medium heat, place vermouth, rice vinegar, white miso, sugar, and black vinegar. As the glaze warms, stir to dissolve sugar. Remove from heat and let cool.

In a parchment lined casserole or sheet pan place fish or fish fillets. With a pastry brush, off-set spatula, or spoon, glaze top and sides of fish. I always have glaze left over, so don’t feel the need to use it all.

Place fish in oven. Cook times will vary depending on thickness of the fish. I usually start checking at the 15 minute mark. The fish is done when it is opaque in the center and easily flakes with a fork. Alternatively, you can place the fish under the broiler for approximately 6 minutes… but keep an eye on it, it can quickly burn.

*If you have sake, please feel free to use in place of vermouth.  But we don’t have sake, and I probably won’t buy an entire bottle just to have on hand for this dish.  Vermouth works well, as would dry sherry.

Vermouth, rice vinegar, white miso, sugar, and black vinegar in a small saucepan.
Put vermouth, rice vinegar, white miso, sugar, and black vinegar in a small saucepan.
Ingredients for miso glaze in a small saucepan over medium heat.
Place the saucepan over medium heat, and whisk the ingredients together until sugar dissolves.
Miso glaze in a saucepan
Miso glaze is done. Remove from heat and allow to cool briefly.
Halibut fillets in parchment lined casserole with miso glaze in the background.
The fillets are ready for the miso glaze.
A pastry brush glazes the top and sides of fish fillet.
Using a pastry brush, off-set spatula, or spoon, glaze the top and sides of the fish.
Raw miso glazed fish ready to go into the oven.
Place miso glazed fish into a 375°F oven. Bake for approximately 15-20 minutes, or until fish is opaque inside and can be easily flaked. Alternatively, place under a broiler for about 6 minutes, but remember to keep an eye on it! The glaze and fish can quickly burn.
Miso Glazed Halibut
Out of the oven… the fish looks done, but need to be sure.
Checking fish for doneness, opaque and easily flakes with a fork.
Checking for doneness… the fish is opaque and easily flakes with a fork.
IMG_8964
Quickly served and then off to basketball and ballet! No time for a beautifully styled shot…


Bok Choy

Sautéed Bok Choy with Ginger, Garlic, and Red Pepper Flakes

  • Servings: 4-6
  • Print

Ingredients:
2 heads of bok choy, rinsed and chopped
2 Tablespoons vegetable oil (I used grapeseed)
1-inch piece of ginger, peeled and cut in half
1 clove of garlic, peeled and smashed with the flat side of a knife
pinch of red pepper flakes
salt and pepper to taste

Instructions:
In a large skillet, heat vegetable oil over medium high heat. Add ginger, garlic, and red pepper flakes, stirring frequently for approximately 1 minute. The ginger, garlic, and red pepper flakes are there to flavor the oil.

Add chopped bok choy to skillet, stirring so that it mingles with the oil. Reduce heat to medium low and cover. The water from rinsing the bok choy will help steam it. Cook for 3-5 minutes, checking and stirring occasionally.

Season to taste with salt and pepper. Serve immediately.

The bok choy will reduce down by quite a bit. The leaves will wilt and stems will be tender but retain some crunch. We happen to like the contrast of textures, but if you’d prefer more uniformity, give the stems a head start by adding them to the skillet first. A minute or so later, add the leafy part of the bok choy.

Chopped bok choy on cutting board with garlic clove, ginger, and red pepper flakes.
Rinse and chop the bok choy. Peel and cut a 1-inch piece of ginger in half. Peel a garlic clove and smash with the flat side of a knife. If you want a little bit of spice, you’ll also need a pinch of red pepper flakes.
Garlic, ginger, and red pepper flakes warming in a skillet.
In a large skillet over medium high heat, warm a tablespoon of vegetable oil with ginger, garlic, and red pepper flakes for a minute or so. Watch carefully, so the garlic doesn’t burn.
Stir the bok choy, giving it a light coat of the flavored oil.
Stir in the bok choy so that all the pieces have had a chance to meet the garlic, ginger, and red pepper flakes. Reduce heat to medium low and cover.
Cooked bok choy in skillet
Cook for 3-5 minutes until leaves have wilted and stems are slightly tender, but retain a bit of crunch.

Bok Choy

Cranberry Pineapple Sauce

Cranberry Pineapple Sauce

As a child, my only frame of reference for cranberries was cranberry bread at Christmastime and cranberry sauce on Thanksgiving. The smooth jellied sauce emerged quivering and jiggling from the can with a satisfying pop as the seal broke, sliding onto the plate whole, retaining its cylindrical shape and conveniently molded rings marking individual servings. A regular butter knife easily cut the cranberry sauce into perfectly round discs waiting to be plated alongside the turkey and stuffing.

For years this was the only cranberry sauce I knew, until one Thanksgiving when my aunt decided to bring something different. Change is never easy, and there was resistance. What was this lumpy whole berry blob? Where wereCranberry pineapple sauce in a crystal serving dish the smooth, neat slices of cranberry sauce? Eyebrows were raised, whispers hushed as tentative spoonfuls were dropped onto plates in the spirit of being polite. Aunt Rosaleen held her head high and reassured us with confidence; the cranberry sauce was still from a can, though it was whole berry not jellied, to that she added a can of chopped pineapple and handful of walnuts. Initially skeptical, we were quickly won over by the contrast in texture between the whole berries and pineapple and the crunch of the walnuts. The sweetness of the pineapple also complemented and rounded out the dish.

Cranberries, pineapple, walnuts, satsumas, cinnamon, cloves, allspice berries and ginger on a cutting board.Aunt Rosaleen’s cranberry sauce has been on the table ever since, though it has evolved. Today I use fresh cranberries and pineapple, and turn to some of my favorite fall spices- cloves, cinnamon, allspice berries, and ginger to infuse the cranberry cooking liquid, along with oranges (satsumas and clementines work very well, too). The result is a delicious mix of texture, tartness, sweetness, and spice. The sauce is a wonderful addition to your Thanksgiving plate and excellent on your leftover turkey sandwiches.

Do you or your family have a favorite cranberry sauce? Jellied or whole berry?

Cranberry Pineapple Sauce

Cranberry Pineapple Sauce

  • Servings: makes approximately 4 cups
  • Print

Ingredients:
1 12-ounce bag fresh cranberries, rinsed and picked over
¾ cup granulated sugar
½ cup water
5 whole cloves
2 allspice berries
1 cinnamon stick
1” piece ginger, peeled
1 orange, cut in half
1 cup chopped pineapple
1 cup toasted and chopped walnuts

Instructions:
Bring cranberries, sugar, water, cloves, allspice berries, cinnamon stick, ginger and orange to a boil in a medium sized sauce pan, stirring often to dissolve sugar. Reduce heat and simmer, stirring occasionally and pressing on the oranges (or satsumas/clementines) to release their juices, until the cranberries have popped, about 10 minutes.

Remove from heat and cool slightly. The sauce will continue to thicken as it cools. Remove cloves, allspice berries, cinnamon stick, ginger, and orange. Stir in pineapple and walnuts. Cover tightly and refrigerate until ready to serve. Sauce can be made up to a 1 week ahead. Serve chilled or at room temperature.

Cranberry pineapple Sauce ingredients in a saucepan.
Put the cloves and allspice berries in an infuser or small cheesecloth sachet. Place the spices, ginger, cinnamon stick, cranberries, orange halves, sugar, and water in a saucepan and bring to a boil, stirring to dissolve the sugar.
Simmering cranberry pineapple sauce ingredients
Reduce the heat to low and simmer until the cranberries have popped, approximately 10 minutes.
Add chopped walnuts and pineapple to cranberries.
Remove spices, ginger, cinnamon stick and orange halves. Allow cranberries to cool slightly before adding chopped pineapple and chopped walnuts. The sauce can be made ahead and will keep in the refrigerator for a week.
Cranberry pineapple sauce in a crystal serving dish
Serve Cranberry Pineapple Sauce chilled or at room temperature.


Chestnut and Sausage Stuffing

Chestnut and Sausage Stuffing

Heirloom recipes, tattered and splattered notes scrawled in cookbooks, on index cards, and handwritten on scraps of paper are gifts from our individual pasts as well as time capsules for us collectively. Holiday dinners celebrated around the world, of all traditions and faiths, are windows into our kitchens, our mothers’ and grandmothers’ kitchens, and all the cooks who went before them.

My family’s chestnut and sausage stuffing recipe has been on our Thanksgiving table since before I was born. My grandfather was the head tennis pro at a club for over 30 years. The chef at the Club made this dressing for their Thanksgiving dinners and at some point shared the recipe with my mother. As a child I remember going to the Club and visiting “Chef” in the hot humid kitchen, delicious smells enveloping me while the sounds of banging pots and pans filled the air. My little girl self recalls the Chef as a big man with a Scandinavian accent, always gifting me with an ice-cream cone- my choice of any flavor, before heading back to the tennis courts with Pop-Pop.

This is Chef’s own recipe; I am forever grateful that he shared it with my mother, Jean at the Thanksgiving table 1972and though he couldn’t have known it at the time, he now shares it with me. My childhood is full of taste memories, and every Thanksgiving, as I step into the kitchen with my own children to help, this delicious stuffing serves as a direct connection to not only my past, but theirs, the fourth generation to have it on their table each November.

The stuffing is so much easier to make these days. I can recall many Wednesdays before Thanksgiving filled with burnt fingers as my mom spent what seemed like hours cutting x’s into fresh chestnuts, boiling and peeling them, only to discover they were rotten. Happily that has not happened to me, as cooked and shelled chestnuts are now readily available in jars! The stuffing is made the day before Thanksgiving, which frees up some oven space on Thursday, and makes you feel like you’ve got a head start on your preparations. It also smells incredible! As soon as the sausage, followed by the onions and celery hit the sauté pan, you are clearly announcing to the world- or at least your household, that delicious things are in store.

*Fun Fact: Dressing vs Stuffing? Dressing and stuffing are one in the same, Thanksgiving Tableonly dressing does NOT get stuffed into the bird. It is cooked separately in a casserole, while stuffing does go into the bird. However, in the American South, most everyone calls it dressing whether it is cooked inside or outside the bird.  This recipe allows for both. The dressing is cooked the day before, and on Thursday you can take a portion of it and stuff the bird. Or, you can do as I do, and use drippings from the turkey or stock to moisten the dressing and then reheat it in the oven before serving.

Chestnut and Sausage Dressing

Chestnut and Sausage Stuffing

  • Servings: 12-16
  • Print

Ingredients:
4 stalks celery, cut fine
3 medium onions, diced
2 lbs sausage
1½ lbs chestnuts (cooked and shelled)
2 lbs day old bread, cubed
2 cups milk
2 eggs, slightly beaten
1 stick unsalted butter, melted
salt, pepper, and poultry seasoning* to taste

Instructions:
Preheat oven to 350°F.

Fry sausage until golden brown. Add celery and onion and cook 5 minutes. Soak bread in milk until moist, then squeeze out any excess. Add to the sausage mixture. Add 2 slightly beaten eggs, melted butter, and season to taste with poultry seasoning, salt and pepper.

Transfer to a deep casserole dish and bake for 1 hour. Let cool and refrigerate until next day.

Before reheating or stuffing the turkey, stir in 1½ lbs fresh chestnuts, roughly chopped.

*To make homemade poultry seasoning: combine 1 teaspoon each crumbled dried rosemary, crumbled dried sage, dried thyme, dried marjoram, and celery salt, with 1/4 teaspoon freshly ground black pepper.  Crush together in mortar and pestle, mini food processor, or spice grinder (poultry seasoning recipe from Thanksgiving 101 by Rick Rodgers).

**Another variation would be to use chopped fresh herbs like parsley, sage, and thyme in place of the dried poultry seasoning blend.

Drying bread cubes on sheet pan.
Trim crusts from bread and cube. Leave to dry overnight.
Diced onion, thinly sliced celery, and sausage on cutting board.
Dice onion and thinly slice celery.
Browned Sausage
The sausage is brown and ready for celery and onions.
Celery, onions, and sausage in skillet.
Add the celery and onions to the browned sausage. Cook for 5 minutes.
Adding milk to cubes of bread.
Add milk to bread cubes. Let sit and squeeze out any excess… (I rarely have to squeeze out any excess).
Bread cubes, melted butter, egg, and sausage mixture ready to combine.
Add sausage mixture to bread cubes and stir to combine. Add slightly beaten egg and melted butter.
Stuffing mixture in bowl, ready to season with salt and pepper.
Season to taste with salt, pepper, and poultry seasoning.
Stuffing mixture in casserole, ready for the oven.
Transfer stuffing mixture to casserole and bake at 350°F for 1 hour.
Cooked stuffing in casserole.
Stuffing is nicely browned after an hour in the oven.  We still need to add the chestnuts, though!
Roughly chopped chestnuts on cutting board.
Roughly chop chestnuts and add to cooked stuffing.
Chestnut and Sausage Stuffing
The stuffing is ready to go into your bird OR serve it as dressing. Just moisten with turkey drippings or stock and reheat.