
Sunday night is pizza night at White House Red Door. This is different than when I grew up; back then Friday night was pizza night. Our go to pizzeria was right next to the train station, which meant my mom could call in the order, timing it perfectly with dad’s commute home from NYC. He’d hop off the train, grab the pizza (Sicilian style for him, regular pie for us), and head home. Toppings varied from week to week based on who was eating with us, but the general drill stayed the same. Friday night was pizza.

Just two towns over, my husband’s family (though I didn’t know him at the time) grew up with Sunday night pizza night. His mom deserved a much needed break from the daily ritual of dinner making (my husband is one of six kids!), and they had their own favorite local pizza place.
Years later, after a move to a rural town without good pizza, my mother-in-law took matters into her own hands, literally! She had an oven dedicated to pizza making installed. Lucky for me I was on hand one Sunday evening. I had never had “homemade” pizza. Well, I take that back… the only homemade pizza I had growing up was English muffin pizza. Not that there is anything wrong with that! Delicious in its own right, a personal pizza I could bake and customize all by myself. My taste memories of English muffin pizzas rank right up there with the frozen individual pot pies we had when my parents were going out for the night, leaving a babysitter in charge. Ahh… the culinary pleasures of growing up in the 70s and 80s! But I digress!
Back to my mother-in-law, homemade pizza made in a dedicated pizza oven?! Homemade dough, too?! It was an eye-opening experience; she had complete control of the dough to sauce to cheese ratios and it was faster than ordering and picking up (or waiting for delivery). But most importantly the taste was amazing! That Sunday night was a game changer for me.

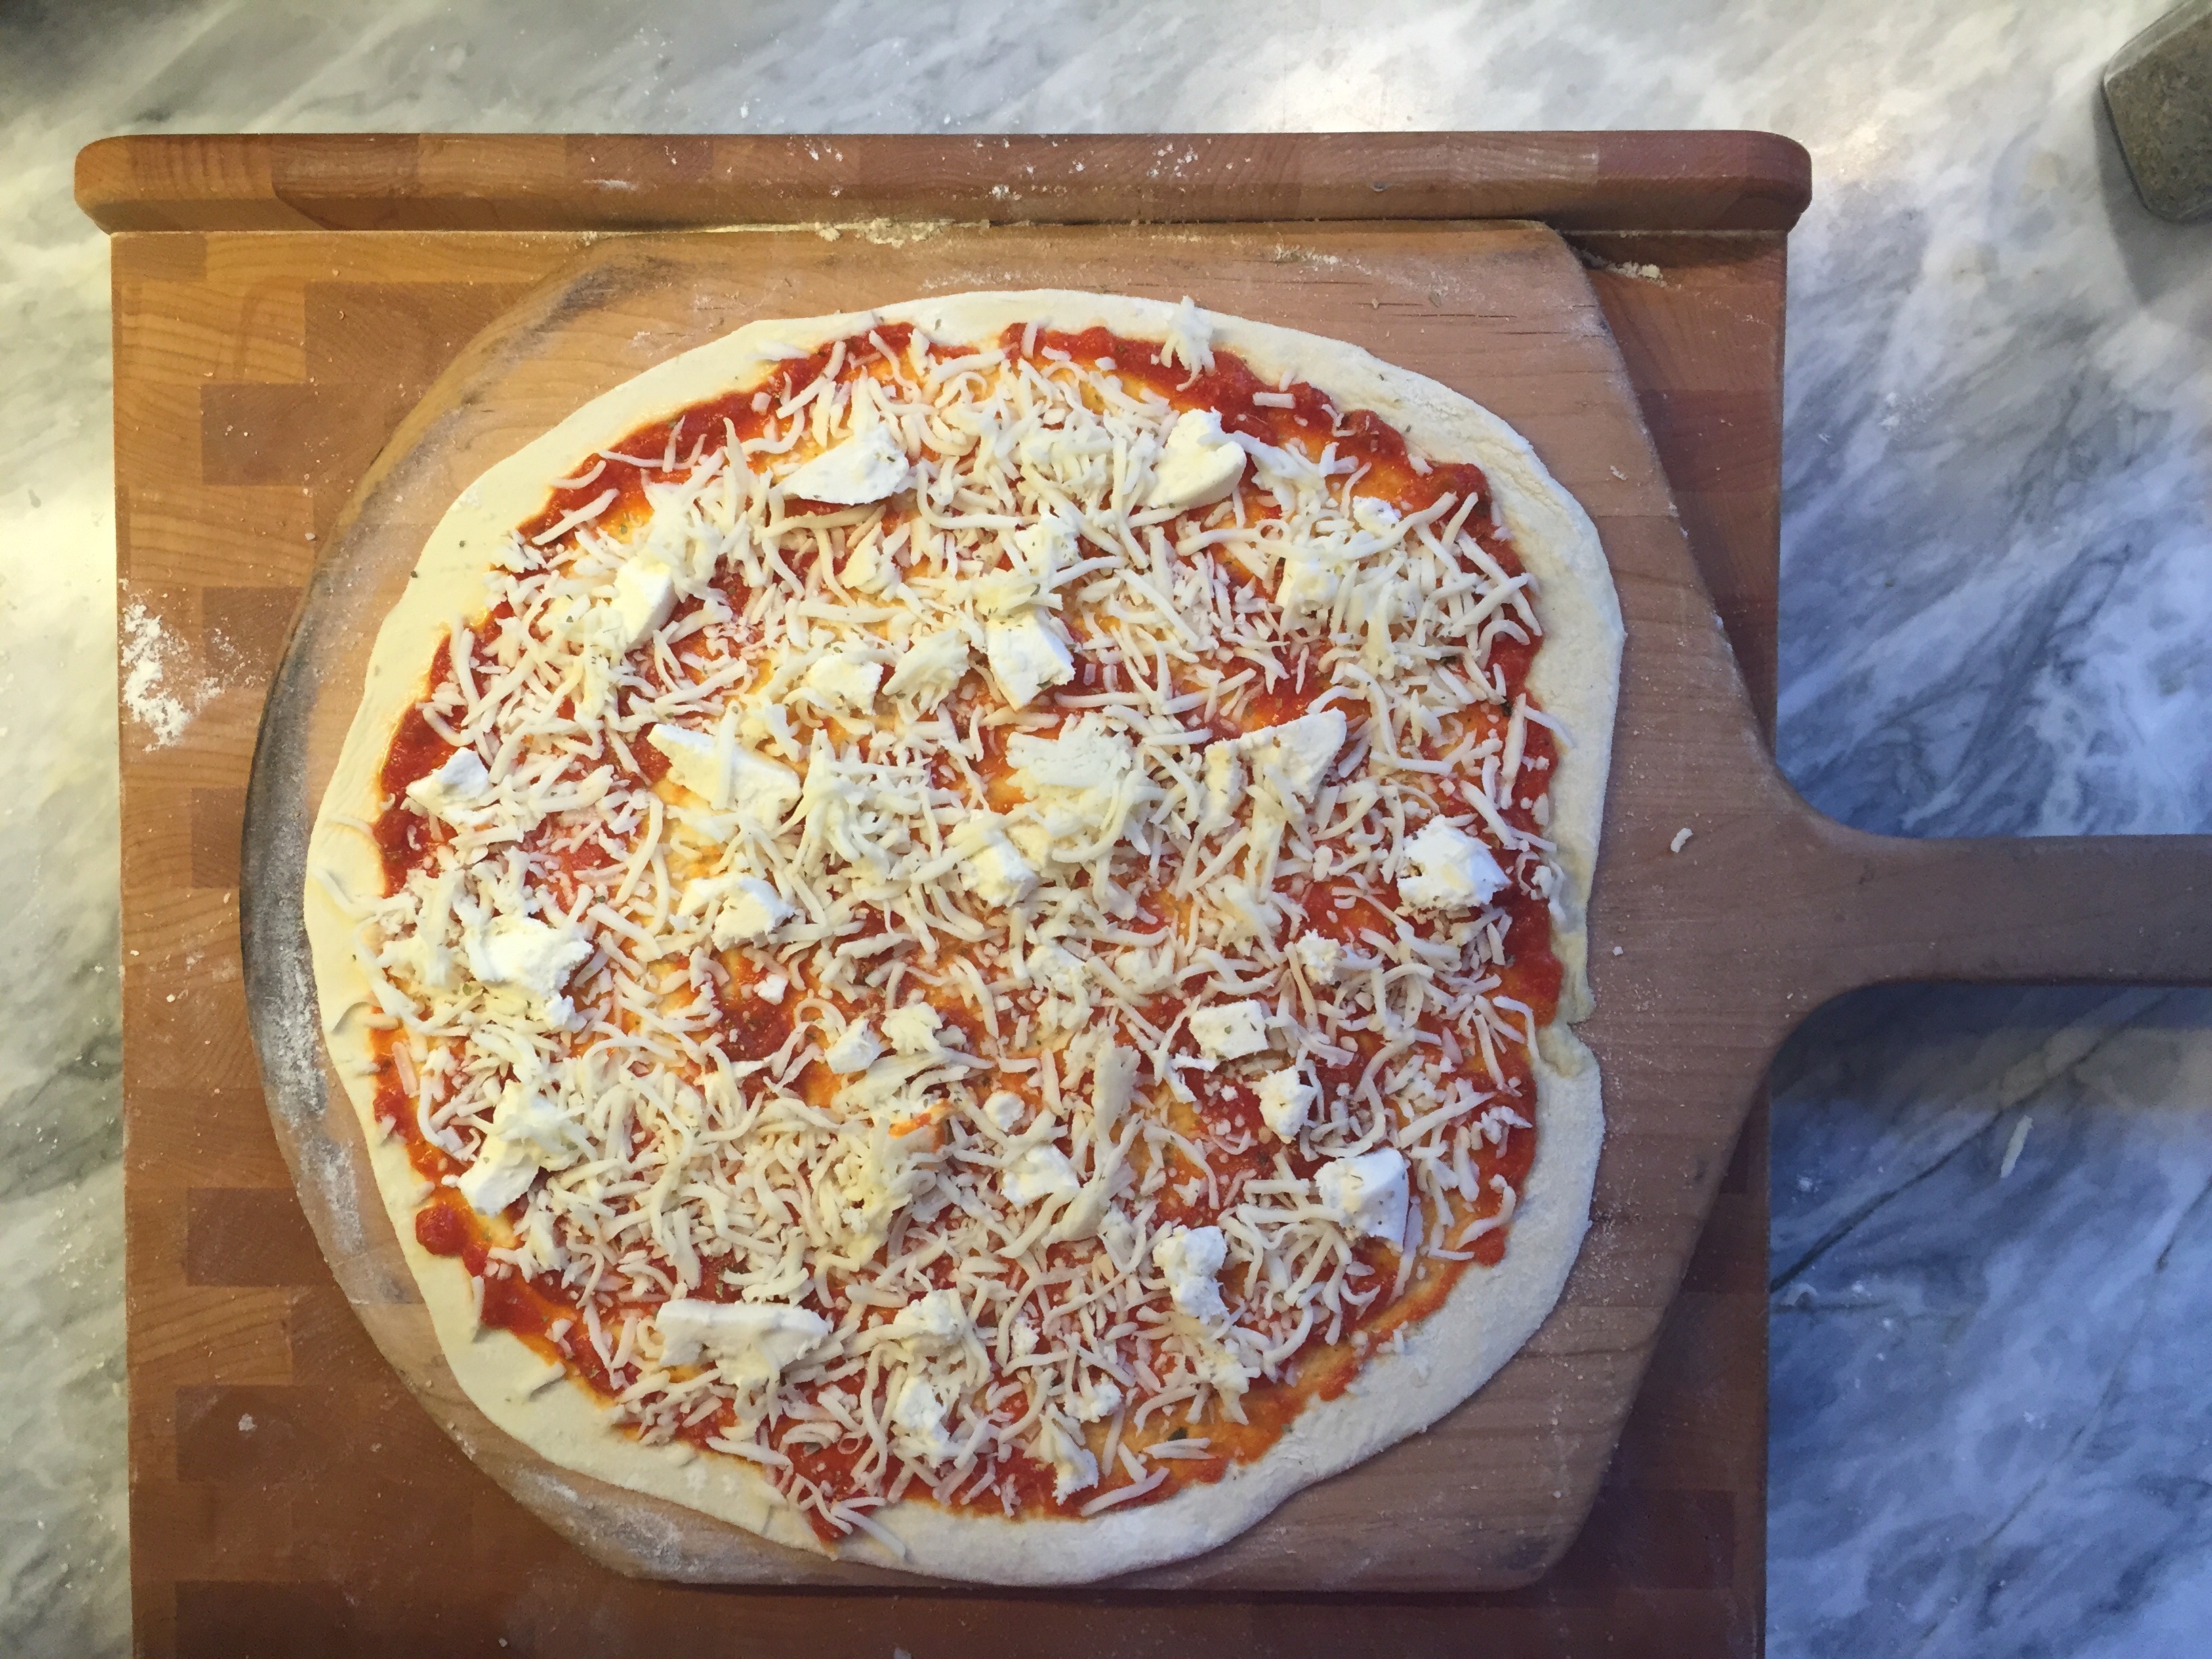
But how do you make pizza without a dedicated pizza oven? The answer for us (and you) is a baking stone, a flat baking surface made of ceramic or stone, easily found in kitchen or home stores, as well as online. Our stone has been well loved; every Sunday night for the past 17 years it has been pulled out from its normal resting place among sheet pans and cutting boards and called into service. The stone is placed on a rack about 6-7 inches from the top of the oven and preheated for at least 45 minutes at the highest temperature the oven will go, for us, 550°. Adding the stone and preheating for an extended period of time allows your oven to mimic the clay or brick oven your favorite pizza place uses. Because the stone has preheated for so long, thoroughly absorbing and radiating all that heat, your crust will start cooking as soon as it hits the stone. And because you have set the stone in the upper part of the oven, the top will immediately start cooking as well. The crust and the top cooking simultaneously is key. No one wants to eat burnt cheese on raw dough, or vice versa, burnt crust under cheese that hasn’t completely melted.

My husband is terrific in the kitchen, and Sunday night is his night. Earlier in the day, I make the dough- it only takes 20 minutes- and set it aside to rise, at least 2 hours. Don’t let the thought of making dough intimidate you! No special equipment or talent is needed. If that doesn’t suit you, go buy some dough. Most grocery stores carry it; I’ve even bought dough from a nearby pizza place in a pinch.

But please, do try making homemade pizza. It’s fun, tasty, and may even leave you with the feeling that you don’t have to reach for the phone every time you want to have a pizza night. Finally, a special hats off to our favorite childhood pizza places, Sunrise Pizzeria and Pizza Post, upon which every slice we eat is compared.
Let me know how it goes… I’d love to hear from you!

Basic Pizza Dough
*adapted from Essentials of Italian Cooking by Marcella Hazen
According to Marcella Hazen, “the recipes for pizza dough are beyond numbering. Although some formulas are certainly better than others, none may credibly claim to be the ultimate one. What matters is knowing what you are looking for. I like pizza that is neither too brittle and thin nor too thick and spongy, a firm chewy pizza with crunch to its crust. The dough that has satisfied my expectations most consistently is the single-rising one given below. I have never succeeded in getting the texture I like from pizza baked in pans, so I prefer to do mine directly on a baking stone.”
Ingredients:
1 ½ teaspoons active dry yeast
1 cup lukewarm water
3 ¼ cups unbleached flour
extra virgin olive oil
1 Tablespoon for the dough,
1 teaspoon for the bowl,
and some for the finished pizza
½ Tablespoon salt
A baking stone
A baker’s peel (paddle)
Cornmeal and/or flour
Instructions:
Dissolve the yeast completely in a large bowl by stirring it into ¼ cup lukewarm water. When dissolved, in 10 minutes or less, add 1 cup flour and mix thoroughly with a wooden spoon. Then, as you continue to stir, gradually add 1 Tablespoon olive oil, ½ Tablespoon salt, ¼ cup lukewarm water, and 1 cup more flour. When putting in flour and water for the last time, hold back some of both and add only as much of either as you need to make the dough manageable, soft, but not too sticky.

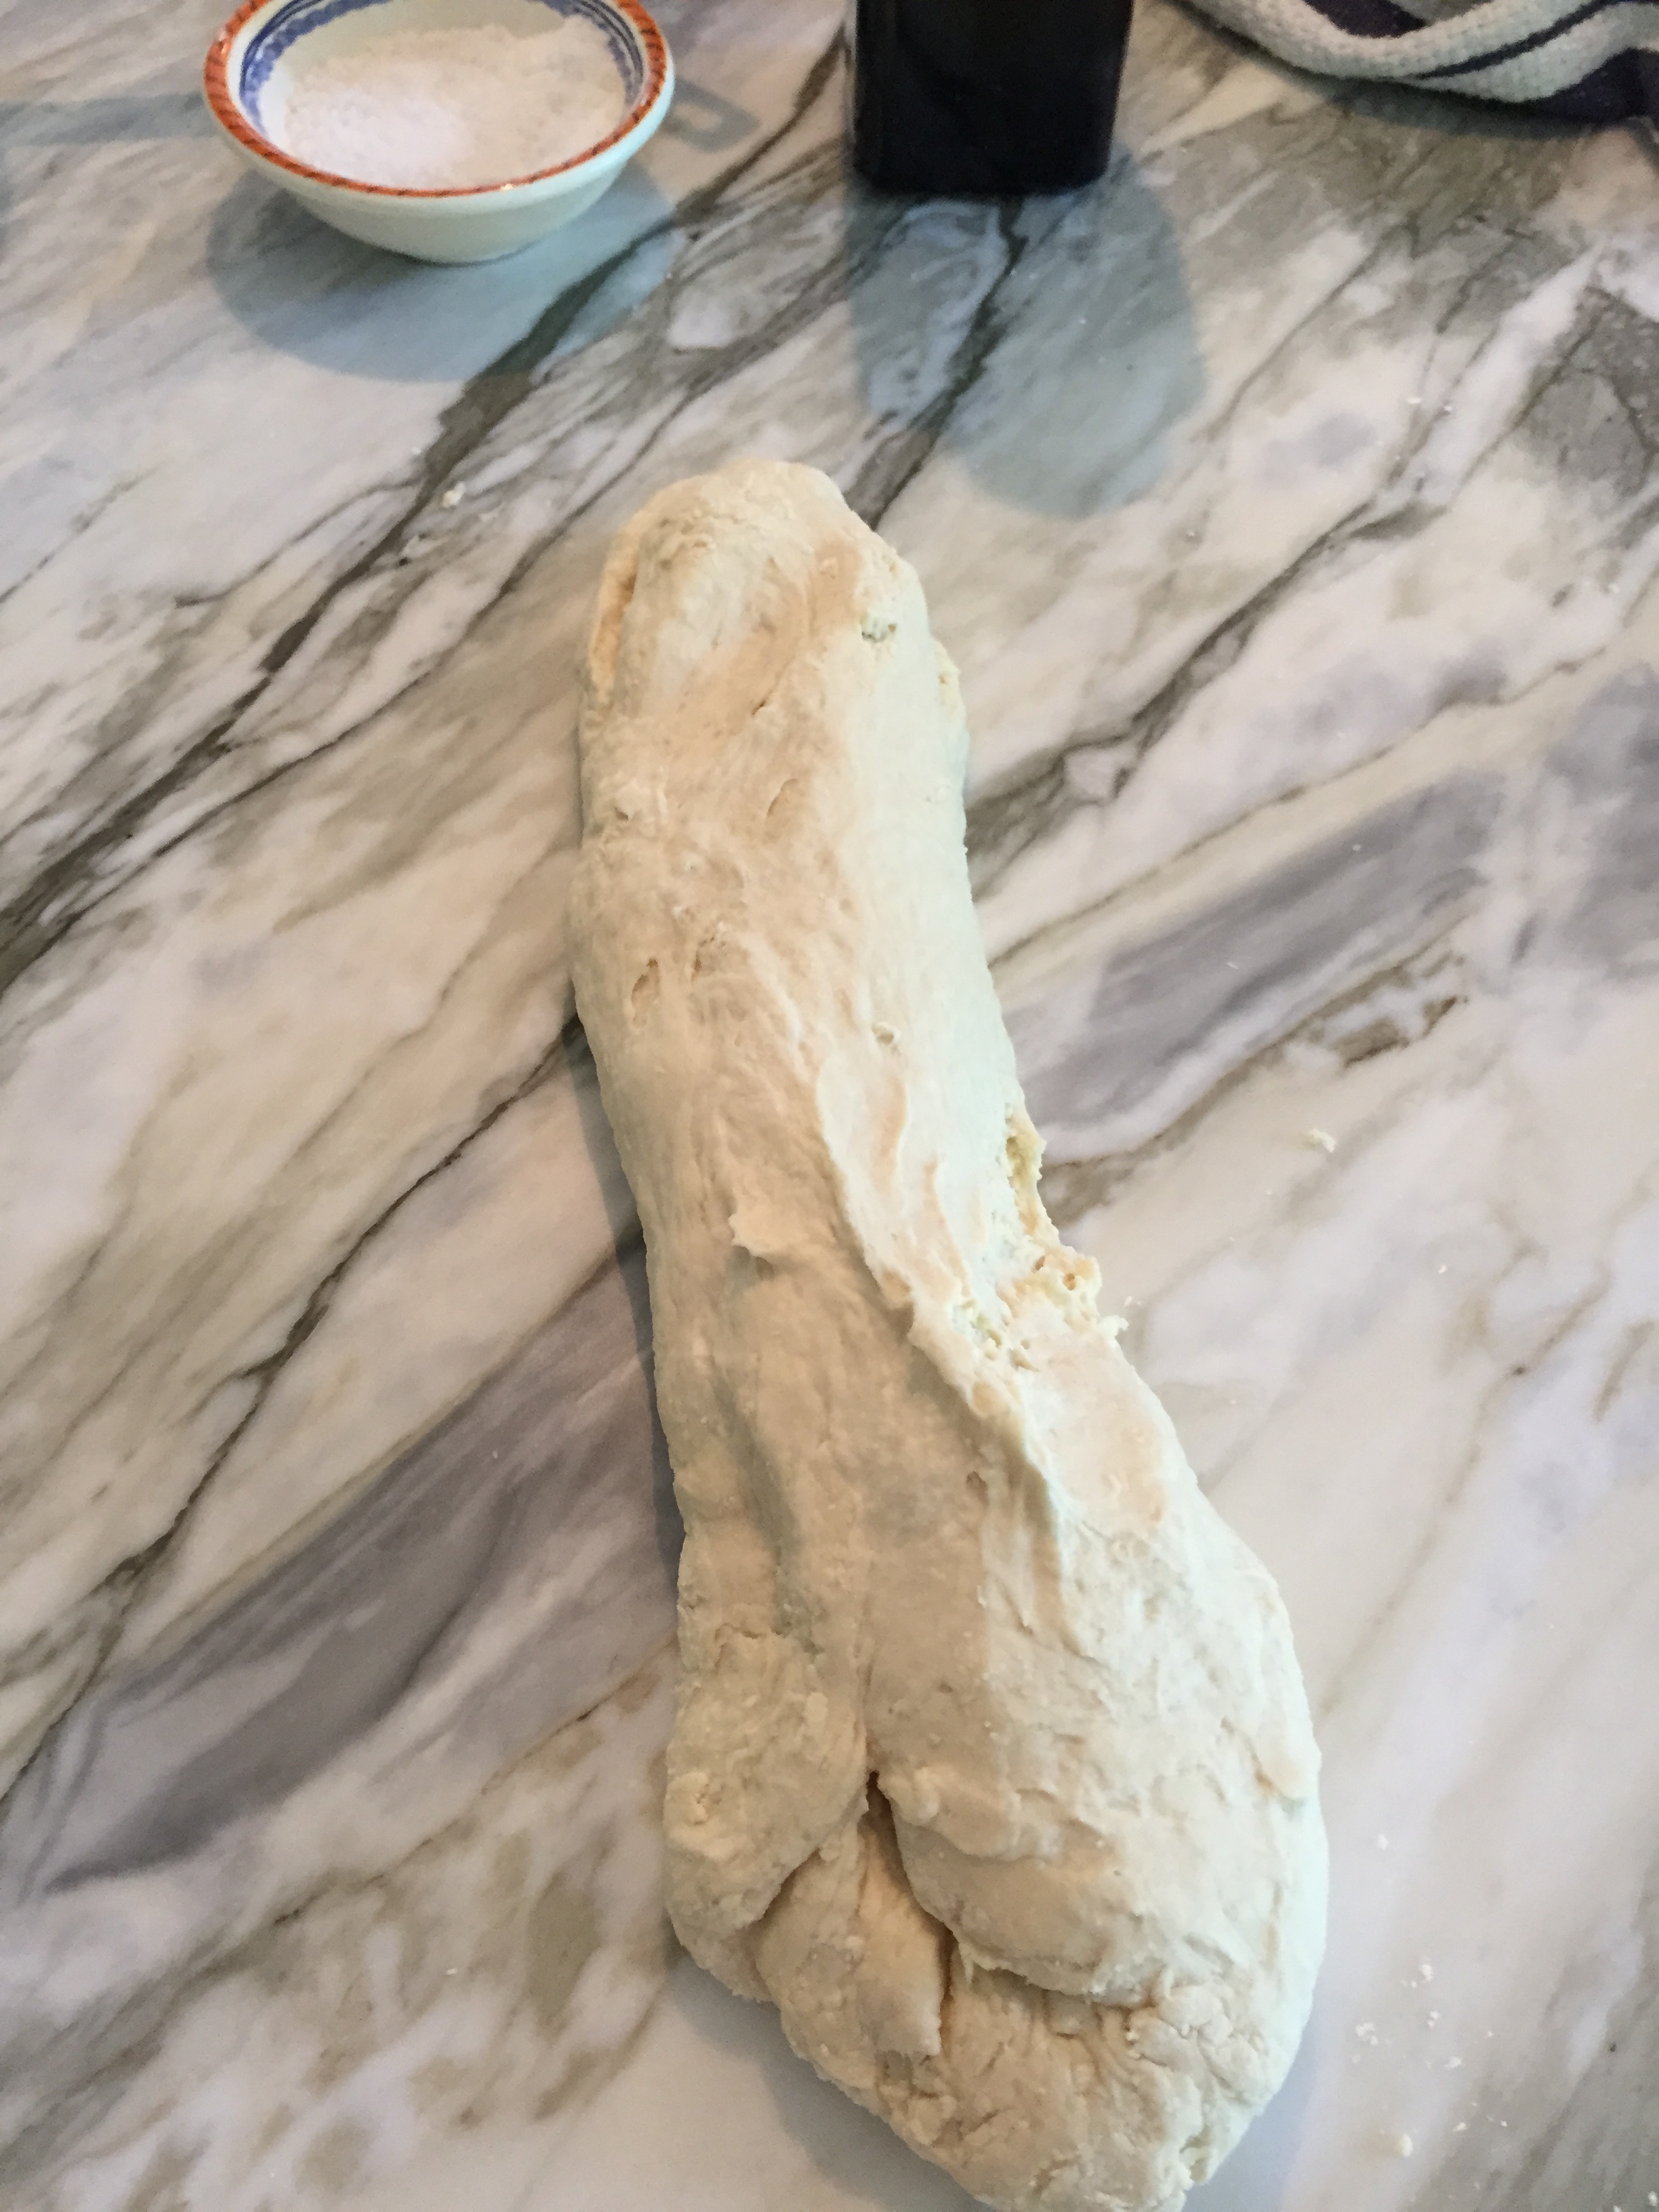
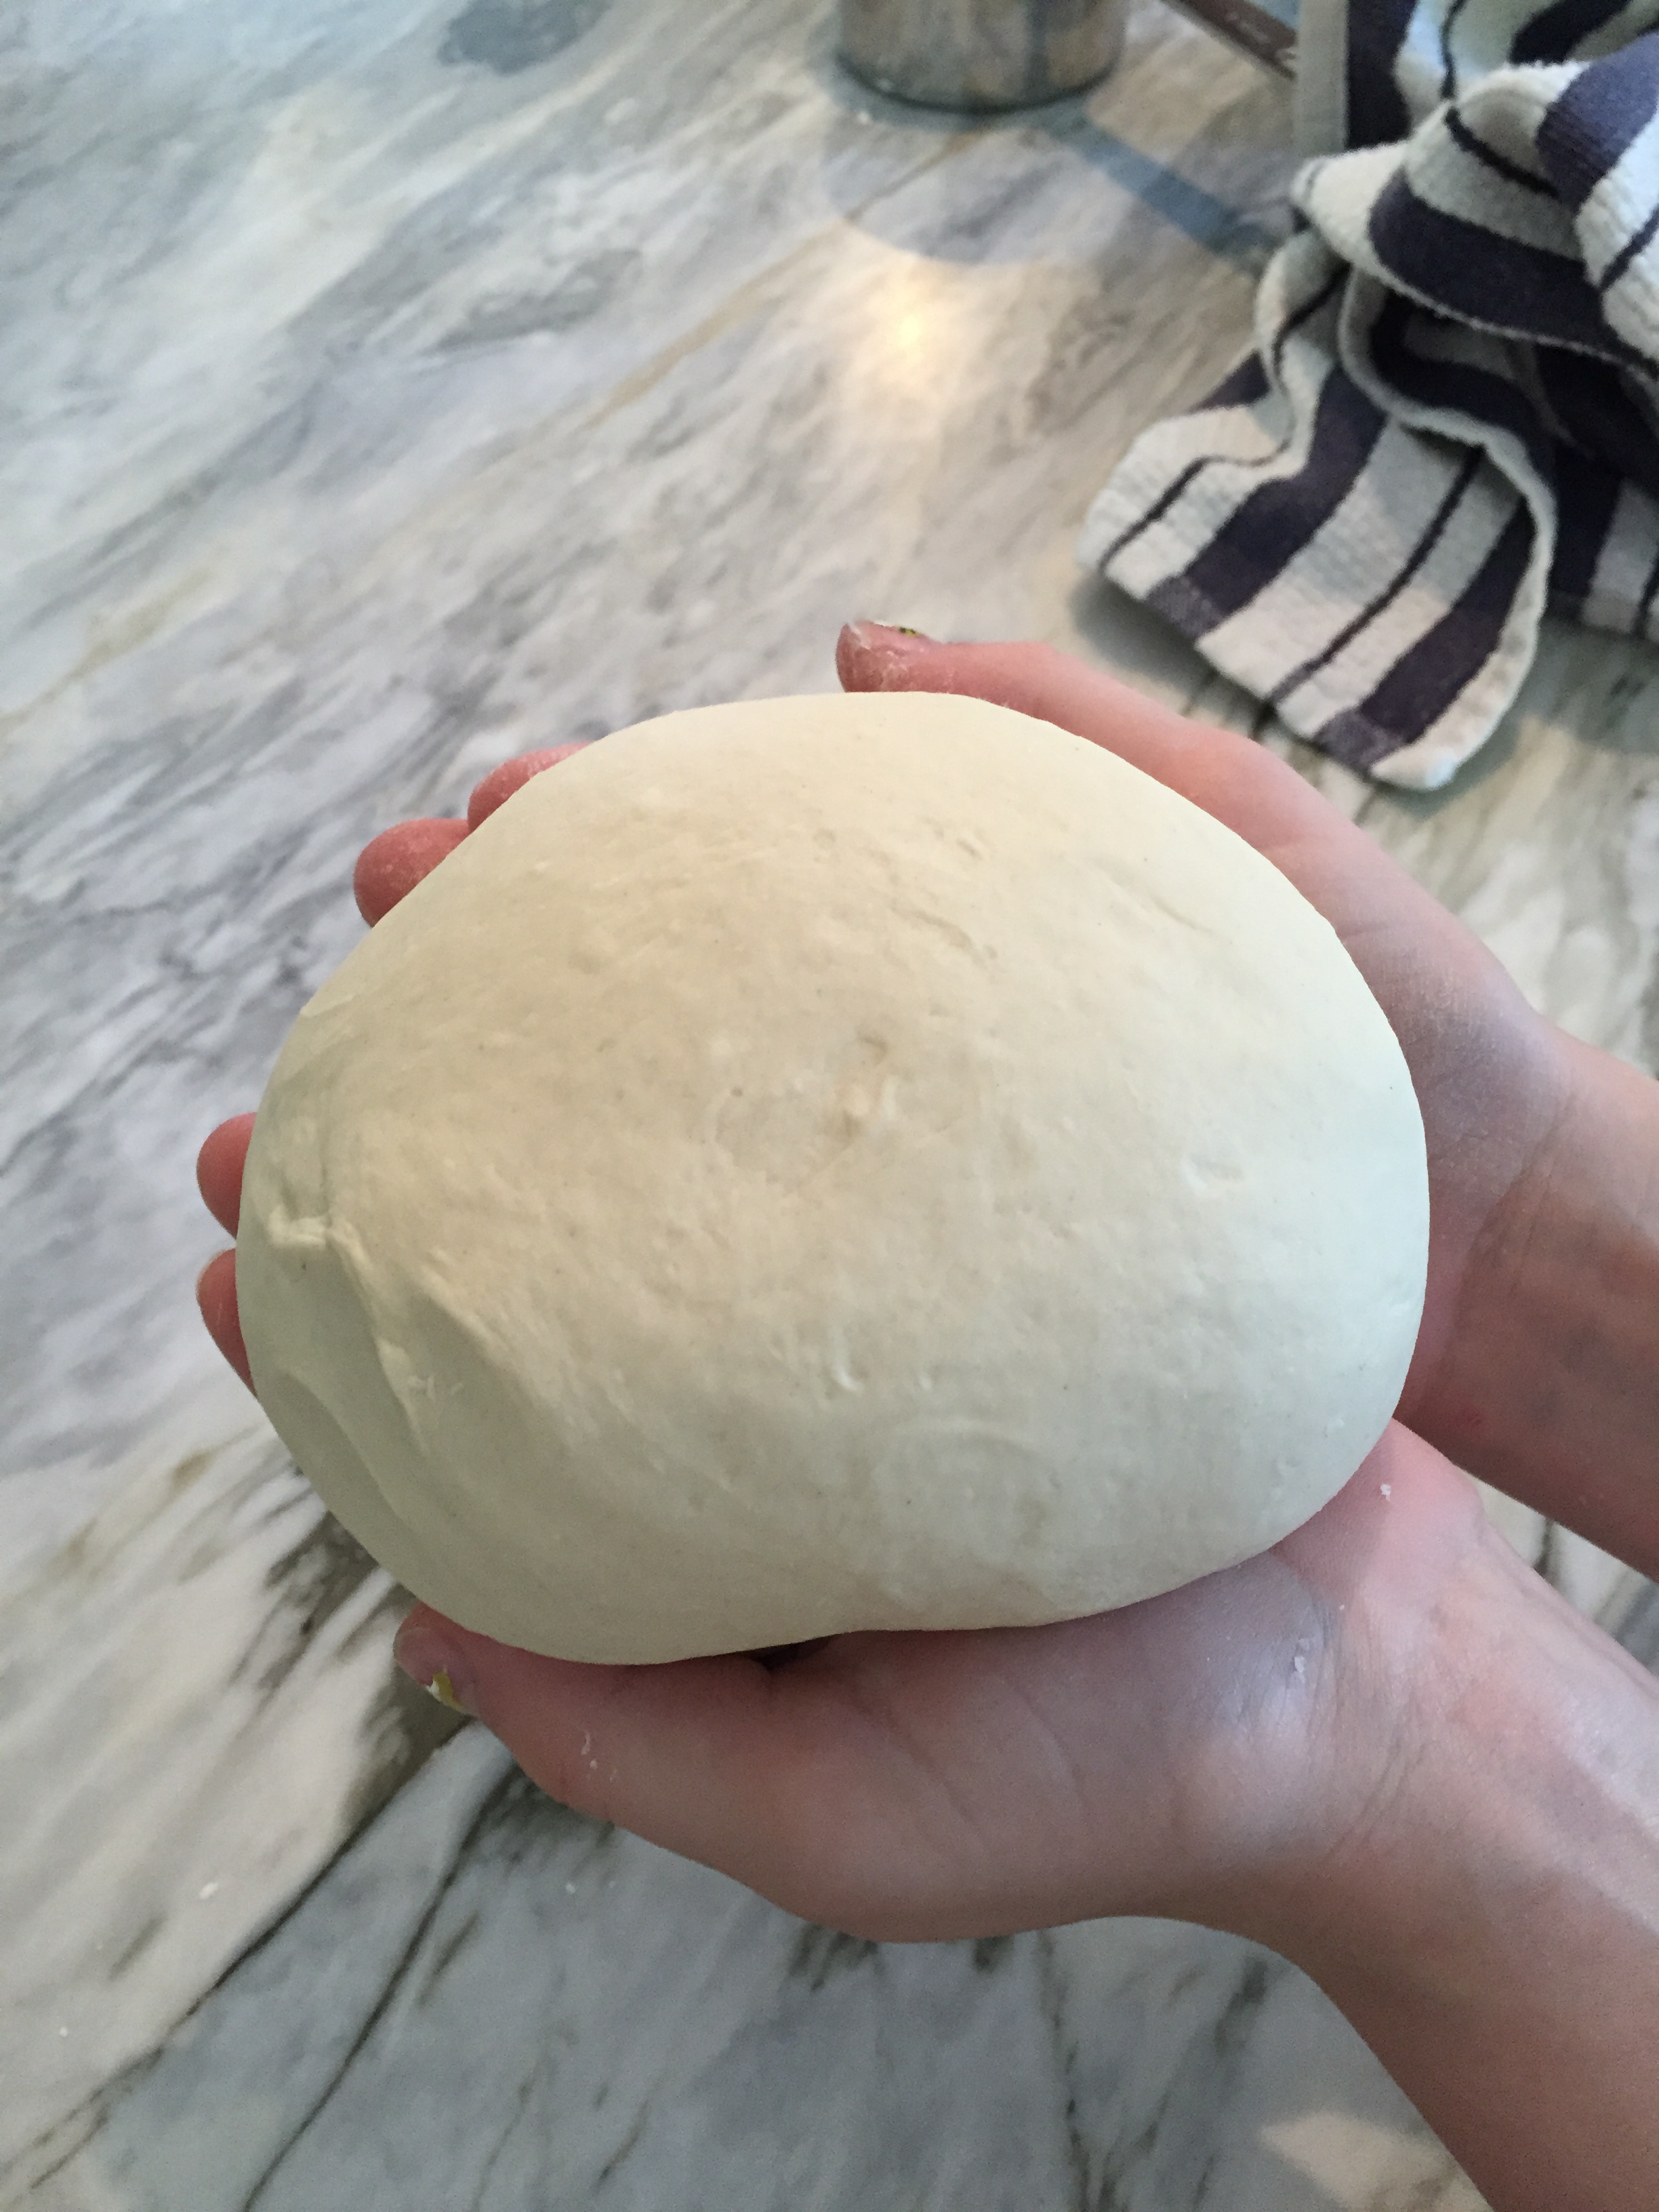
Take dough out of the bowl, and slap it down very hard against the work counter several times, until it is stretched out to a length of about 10 inches. Reach for the far end of the dough, fold it a short distance toward you, push it away with the heel of your palm, flexing your wrist, fold it, and push it away again, gradually rolling it up and bringing it close to you. Rotate the dough a one-quarter turn, pick it up and slap it down hard, repeating the entire previous operation. Give it another one-quarter in the same direction and repeat the procedure for about 10 minutes. Pat the kneaded dough into a round shape.

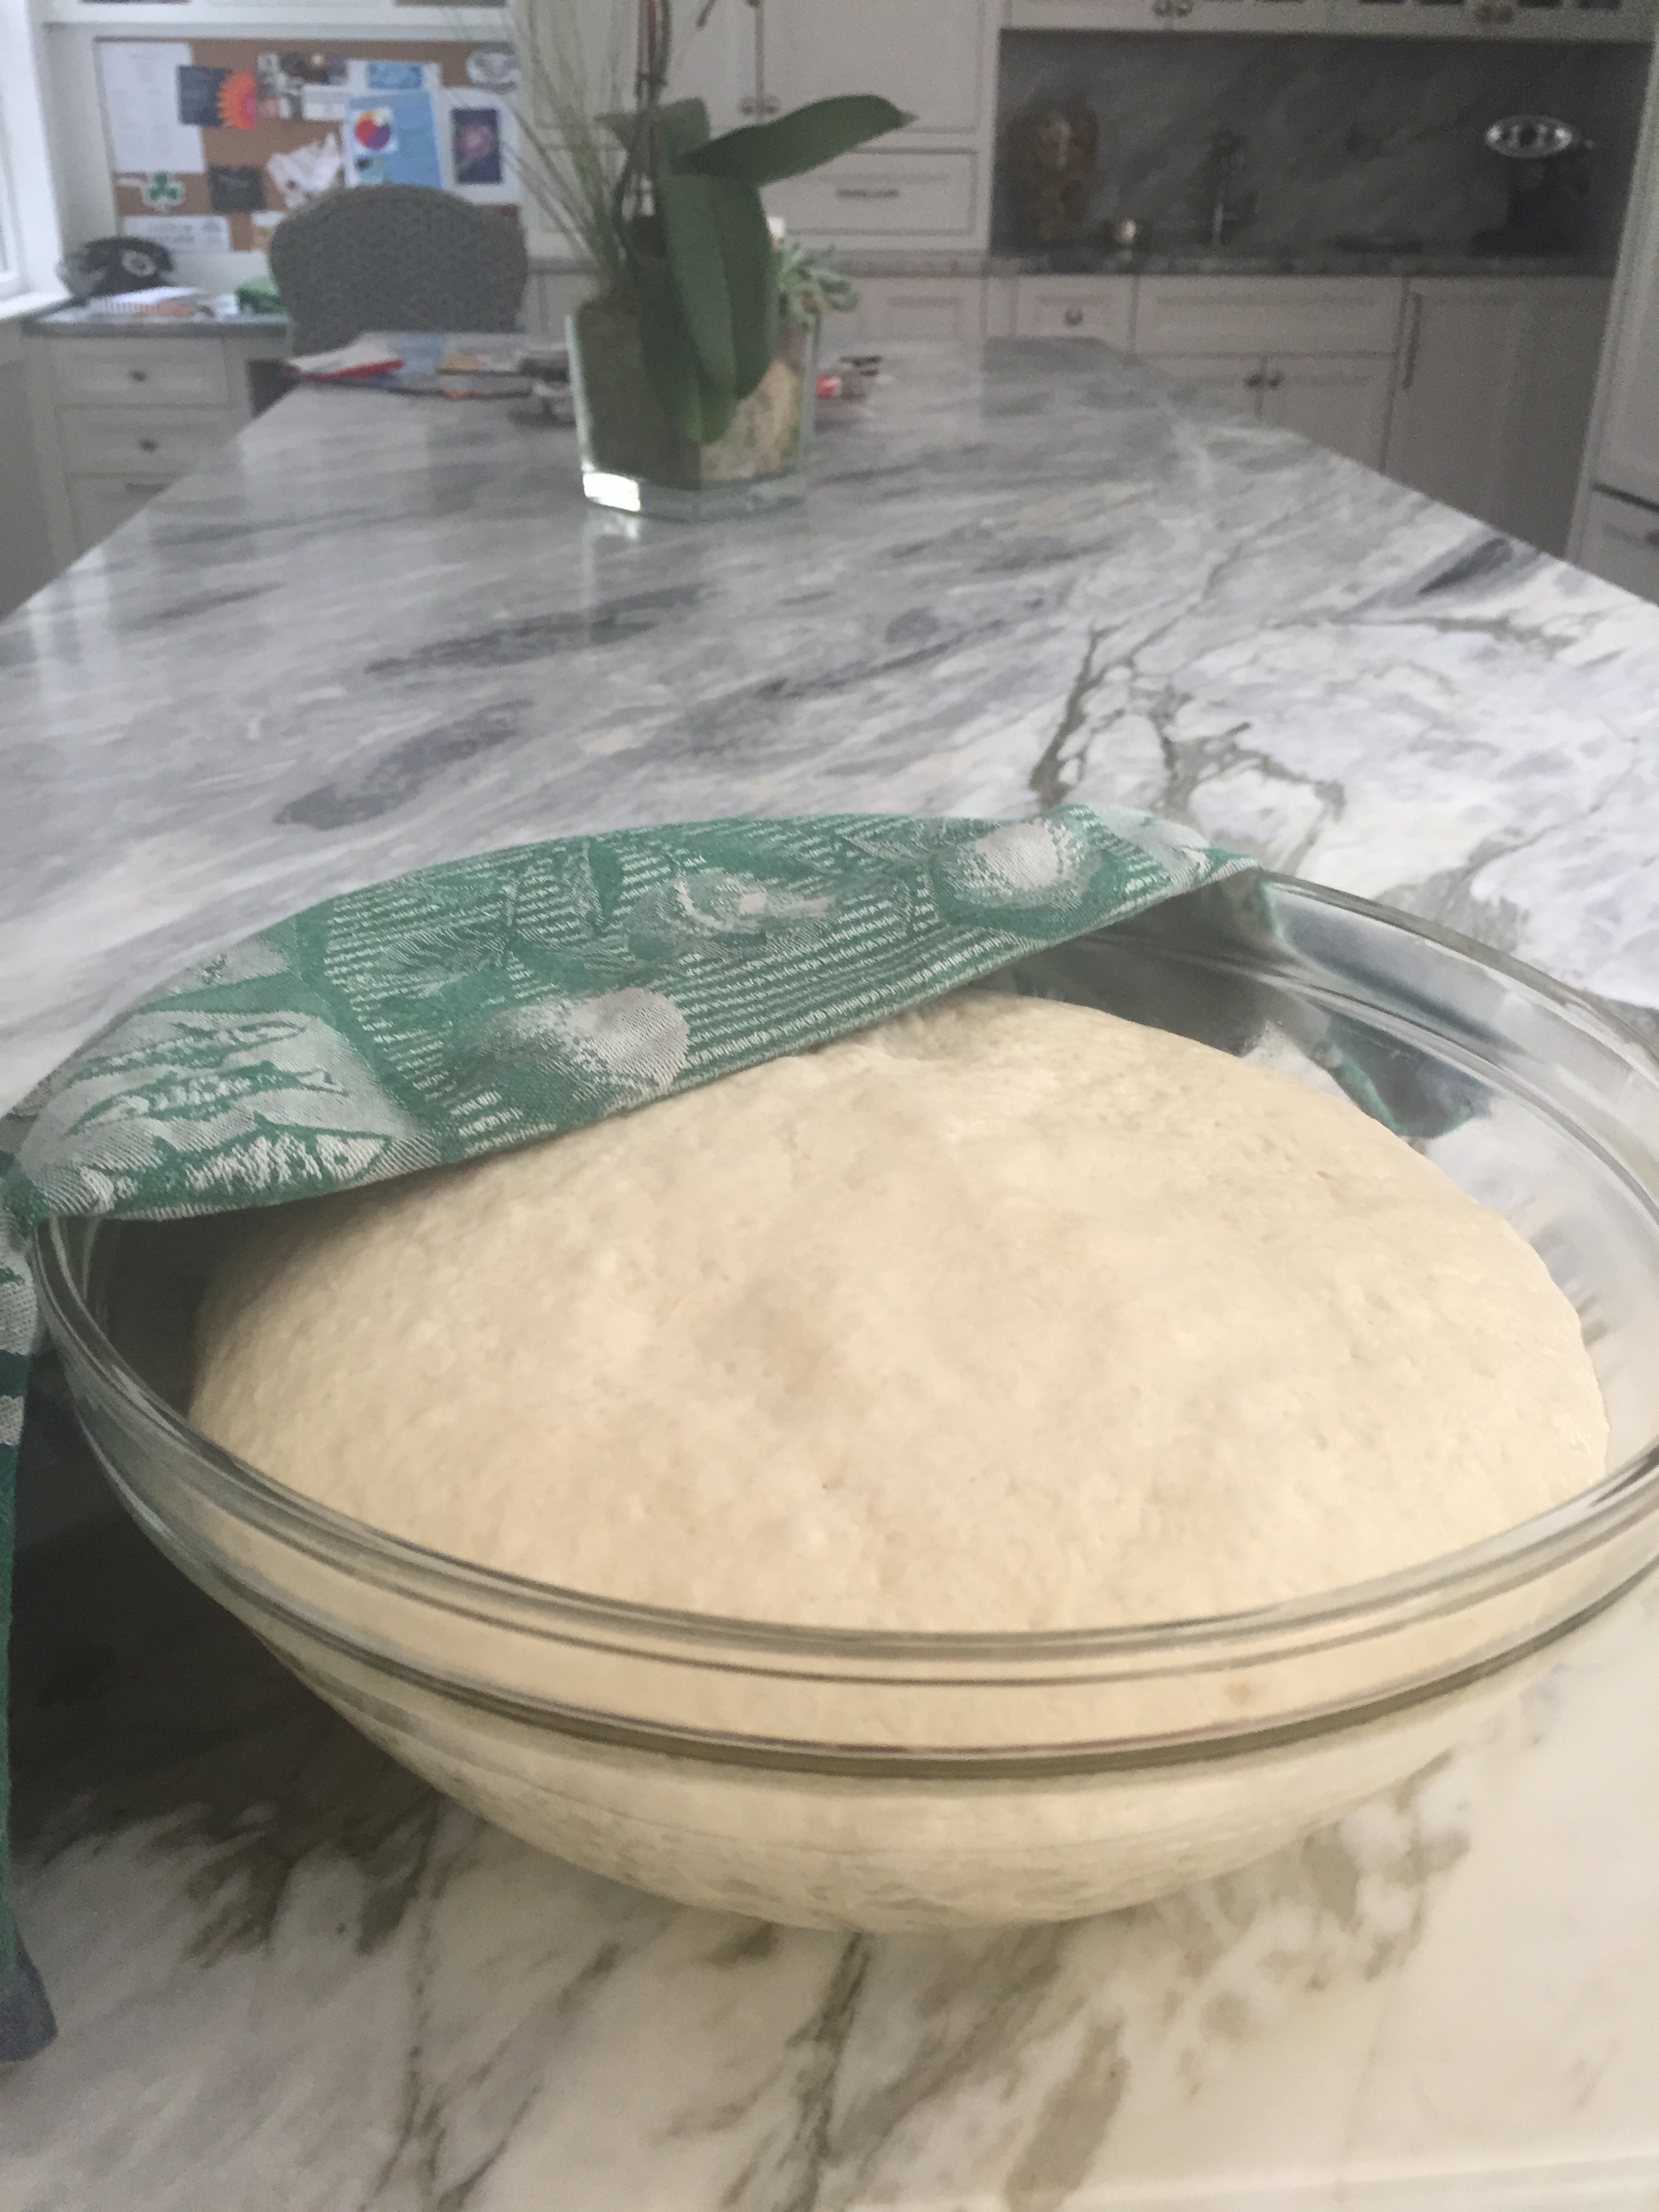
Film the inside of a clean bowl with 1 teaspoon olive oil, put in the dough, cover with plastic wrap, and put the bowl in a protected, warm corner. Let the dough rise until it has double in volume, about 3 hours. It can also sit a while longer.
At least 45 minutes before you are ready to bake, put the baking stone in the oven and preheat oven to at least 500°. The stone should be placed on a rack that is about 6-7” from the top of the oven.
Sprinkle your work surface generously with flour. Take the risen dough out the bowl and divide in half. Set one half aside and cover while you roll out the other half. Put that half on your work surface and flatten it as thin as you can, opening it out into a circular shape, using a rolling pin, but finishing the job with your fingers. Leave the edges somewhat higher than the rest. Carefully transfer the dough to a pizza peel generously dusted with flour or cornmeal.
Put the topping of your choice on the dough, and slide it, jerking the peel sharply away, onto the preheated baking stone. Bake for 8-10 minutes, but watch carefully! Each oven‘s cooking time will vary. As soon as it is done, drizzle lightly with olive oil. Follow the same procedure with the other half of dough, or freeze it for another day.

We make homemade pizza every Friday night in our house! We love it! I am going to have find us a pizza stone. I hear they work great. Great post!
LikeLike
Thank you! We love pizza night too. The pizza stone makes all the difference in the world- whether you are using homemade or store bought dough. Well worth it! You can also bake other goodies on it too…
LikeLike