Patricia Wells is a journalist, cookbook author, teacher, and four-time James Beard Award winner. For over 3 decades, she and her husband Walter have divided their time between Paris and Provence. Every year, Patricia holds several weeklong classes at her Provence farmhouse. She also offers a few classes in her Paris cooking studio, located on the Left Bank in the St. Germain des Pres neighborhood. My friend Joanne and I attended the April 11th-15th “Cooking in Paris” class, along with five other women. Our classmates (and new friends!) spanned the US, literally from East Coast to West Coast, with a stop in Chicago, as well as Panama in Central America. In what seemed like just moments, it was clear we all shared a passion for food, wine, and the traditions and cultures that influence them.
Patricia’s James Beard Award medals… #goals
Patricia was the most gracious host, welcoming us into her kitchen and life with a warm smile and open arms. She was an intuitive teacher, sensing just when to model technique or offer hands-on support. As with all good teachers, she carefully balanced direct instruction with the joy of watching her students work independently with success.
Friday’s lunch: Patricia holding the biggest rib-eye I have ever seen!
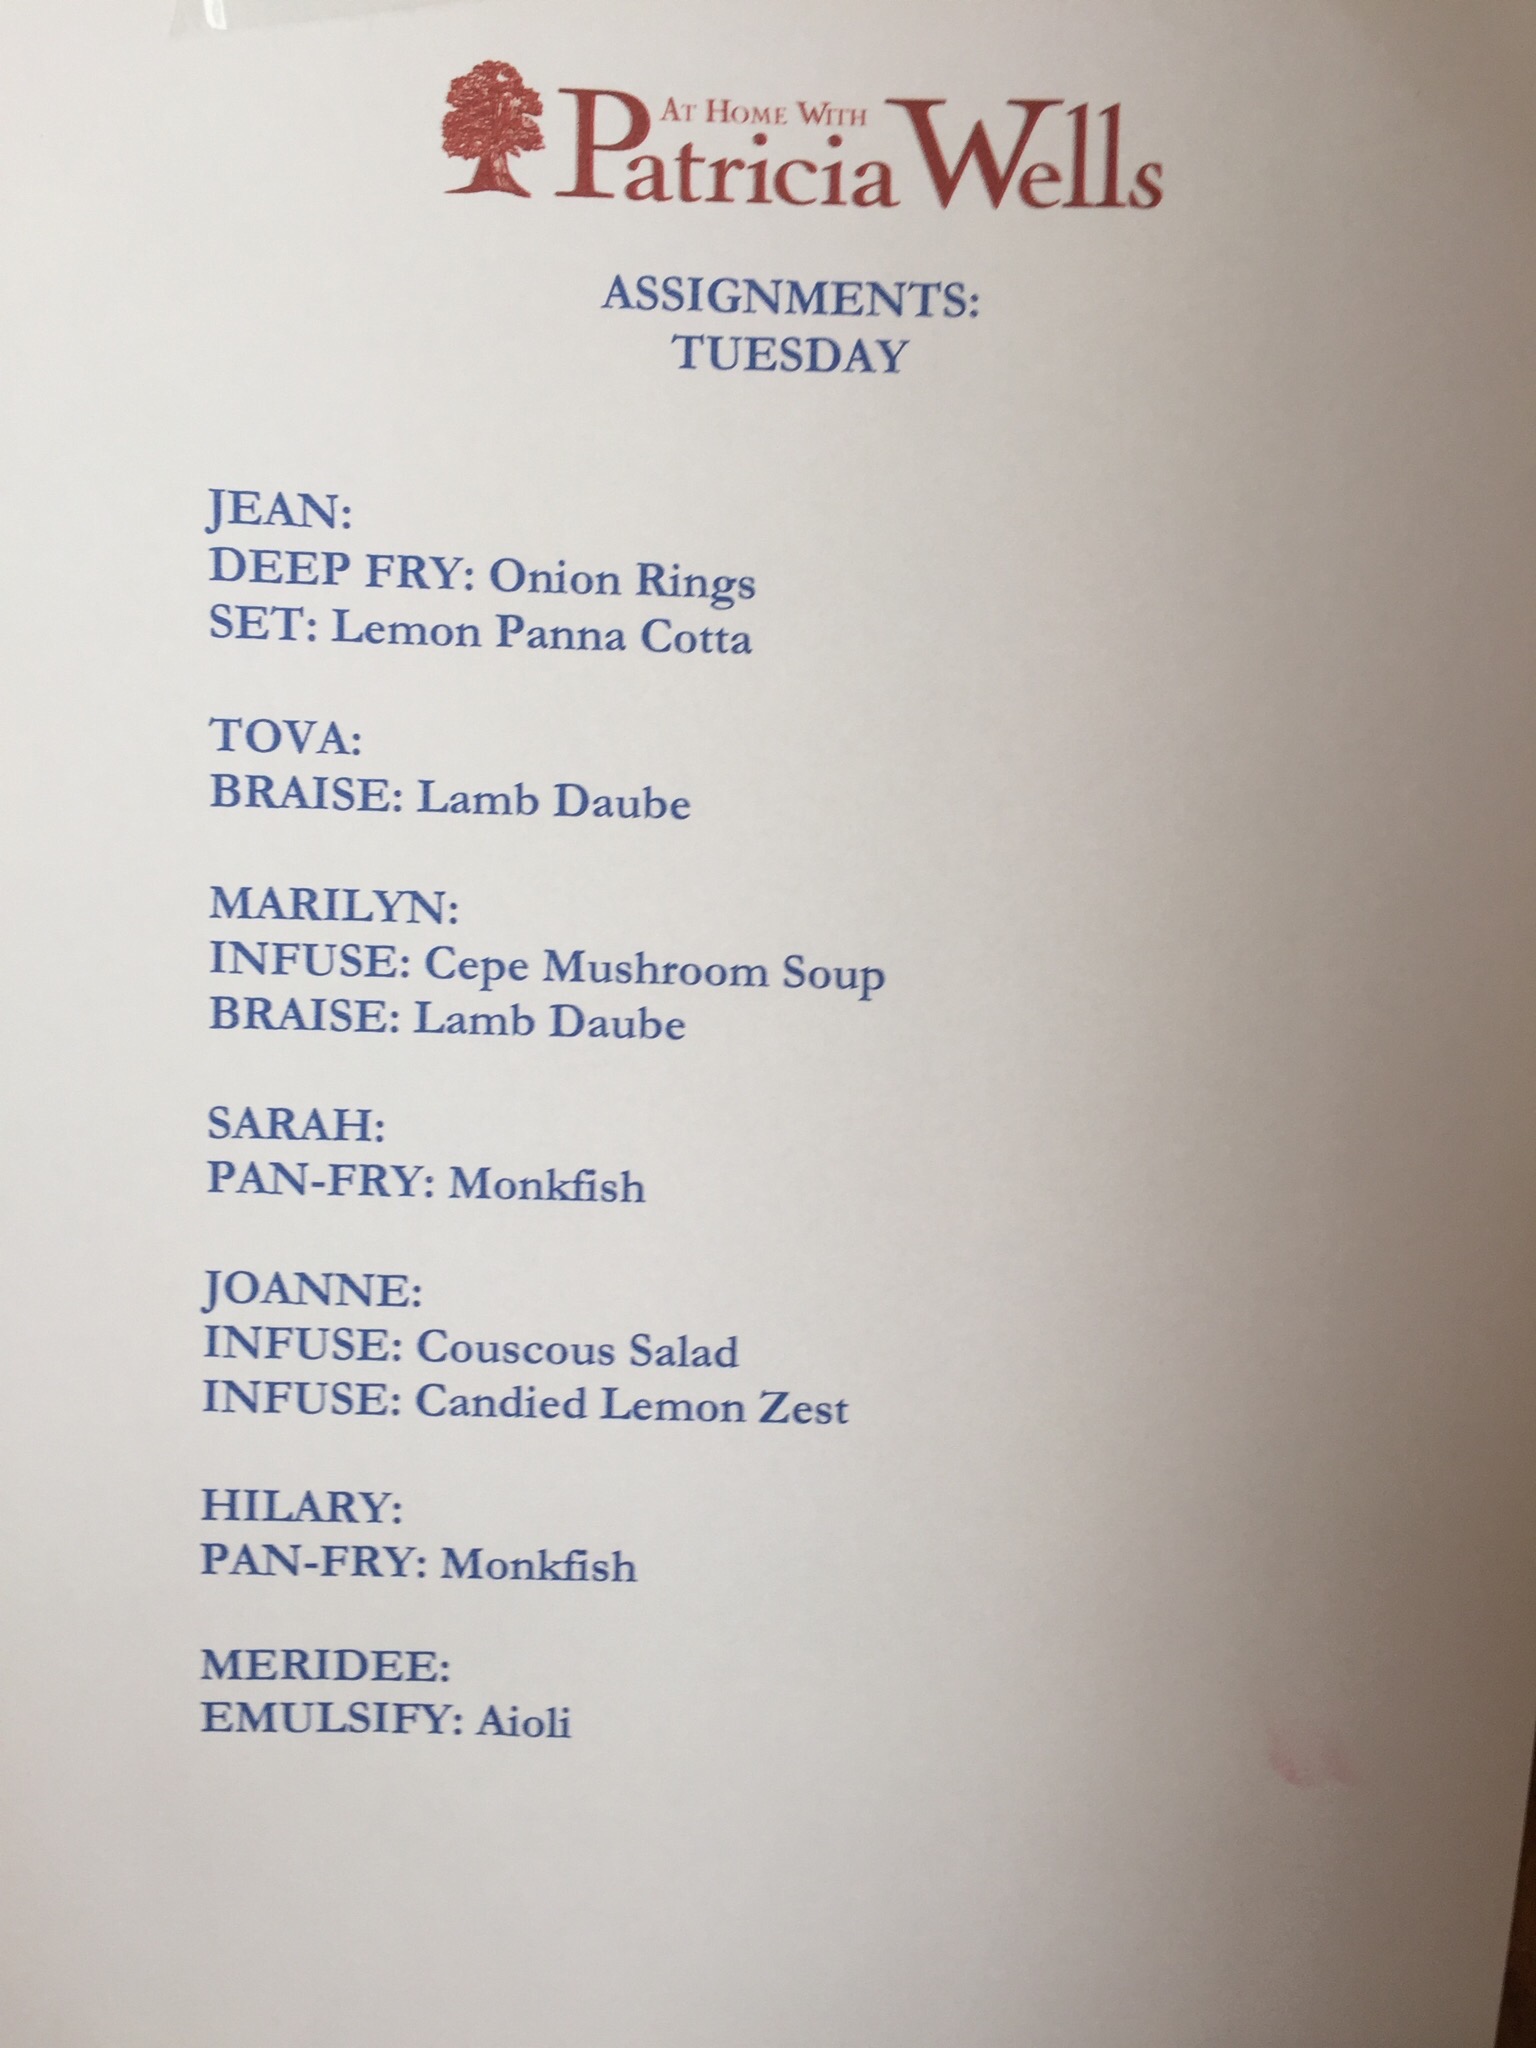
The class ran Monday-Friday, from about 10am-3pm. While not formally identified, I would say the overarching theme of the food we prepared was fresh, seasonal, and very manageable for cooks of all skill levels. The recipes were family friendly and perfect for entertaining, as many were make ahead. Each day focused on a different cooking technique. For example, Monday’s objective was cooking with water- braising, poaching, and blanching. While Tuesday found us cooking with oil in a variety of ways- deep frying, pan frying, and emulsifying.
Monday’s lessonTuesday’s assignments- before this, I had never made homemade onion rings OR panna cotta. Will definitely be making both again!
Upon arrival each morning, we found our assignments for the day, along with each student’s station complete with mise en place. Immediately, we donned our aprons and set to work as Patricia circulated among us. We were such a collaborative group; if one finished their task, offers of help were made to those still working. Chores were shared, dishes were washed, dried, and put away and the table set for lunch. Lunch was the BEST part of the day as we sat down to enjoy the fruits of our labor, while the conversation flowed.
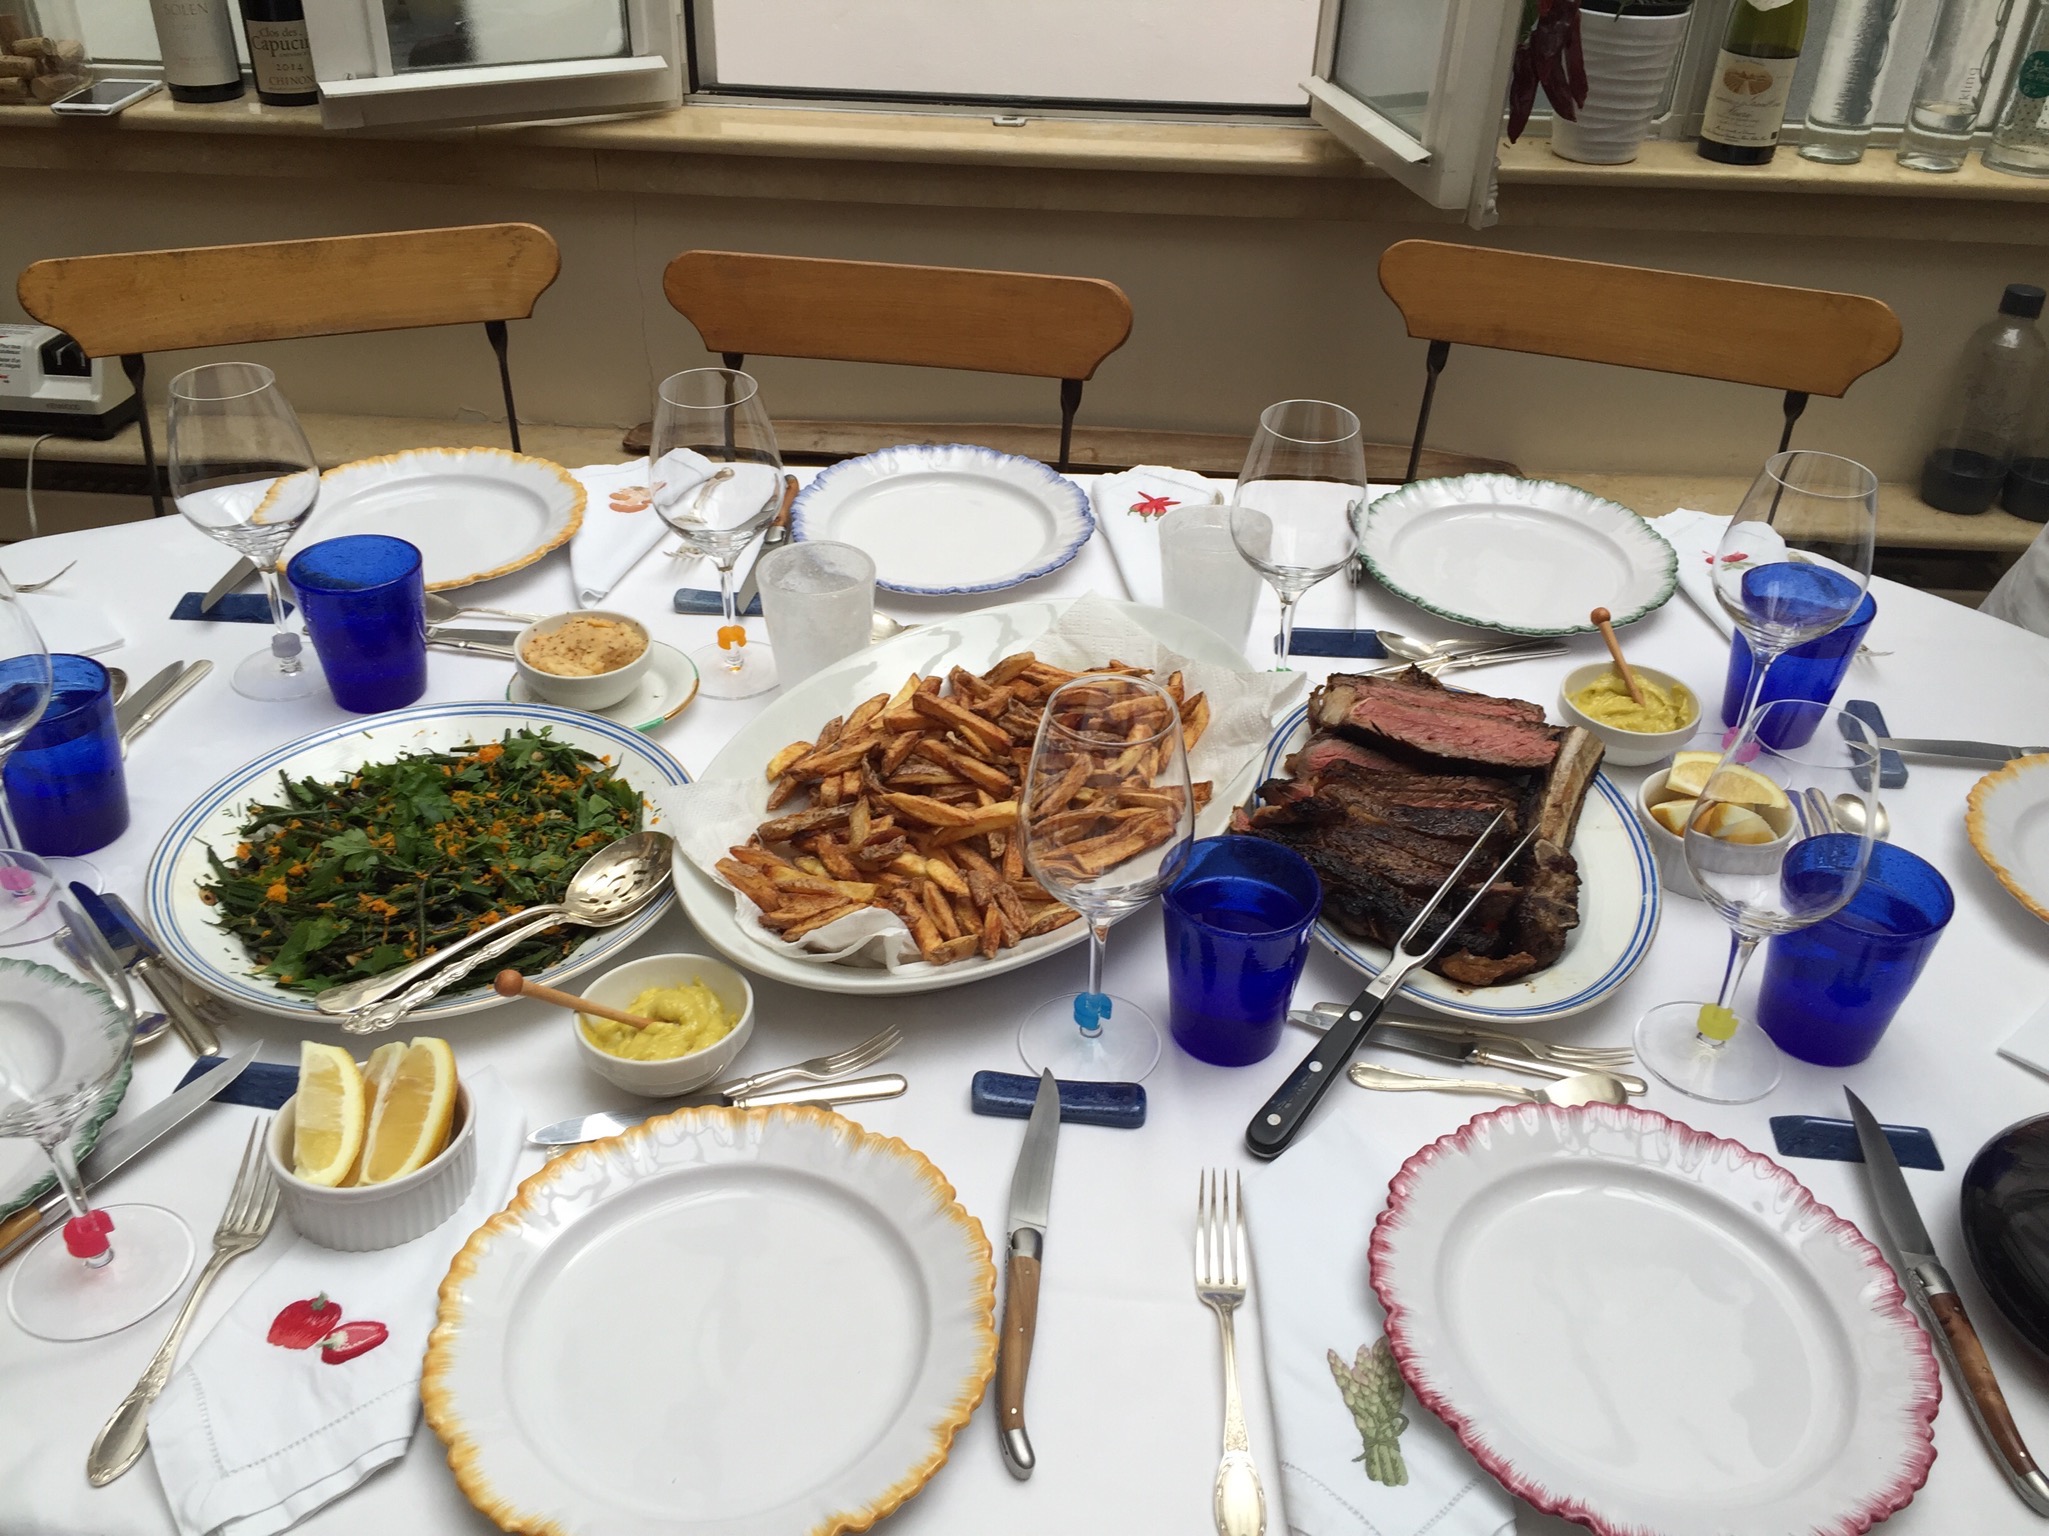
Hard at work…Beautifully set table with Friday’s feast… rib-eyes, steak frites, and seared green beans.
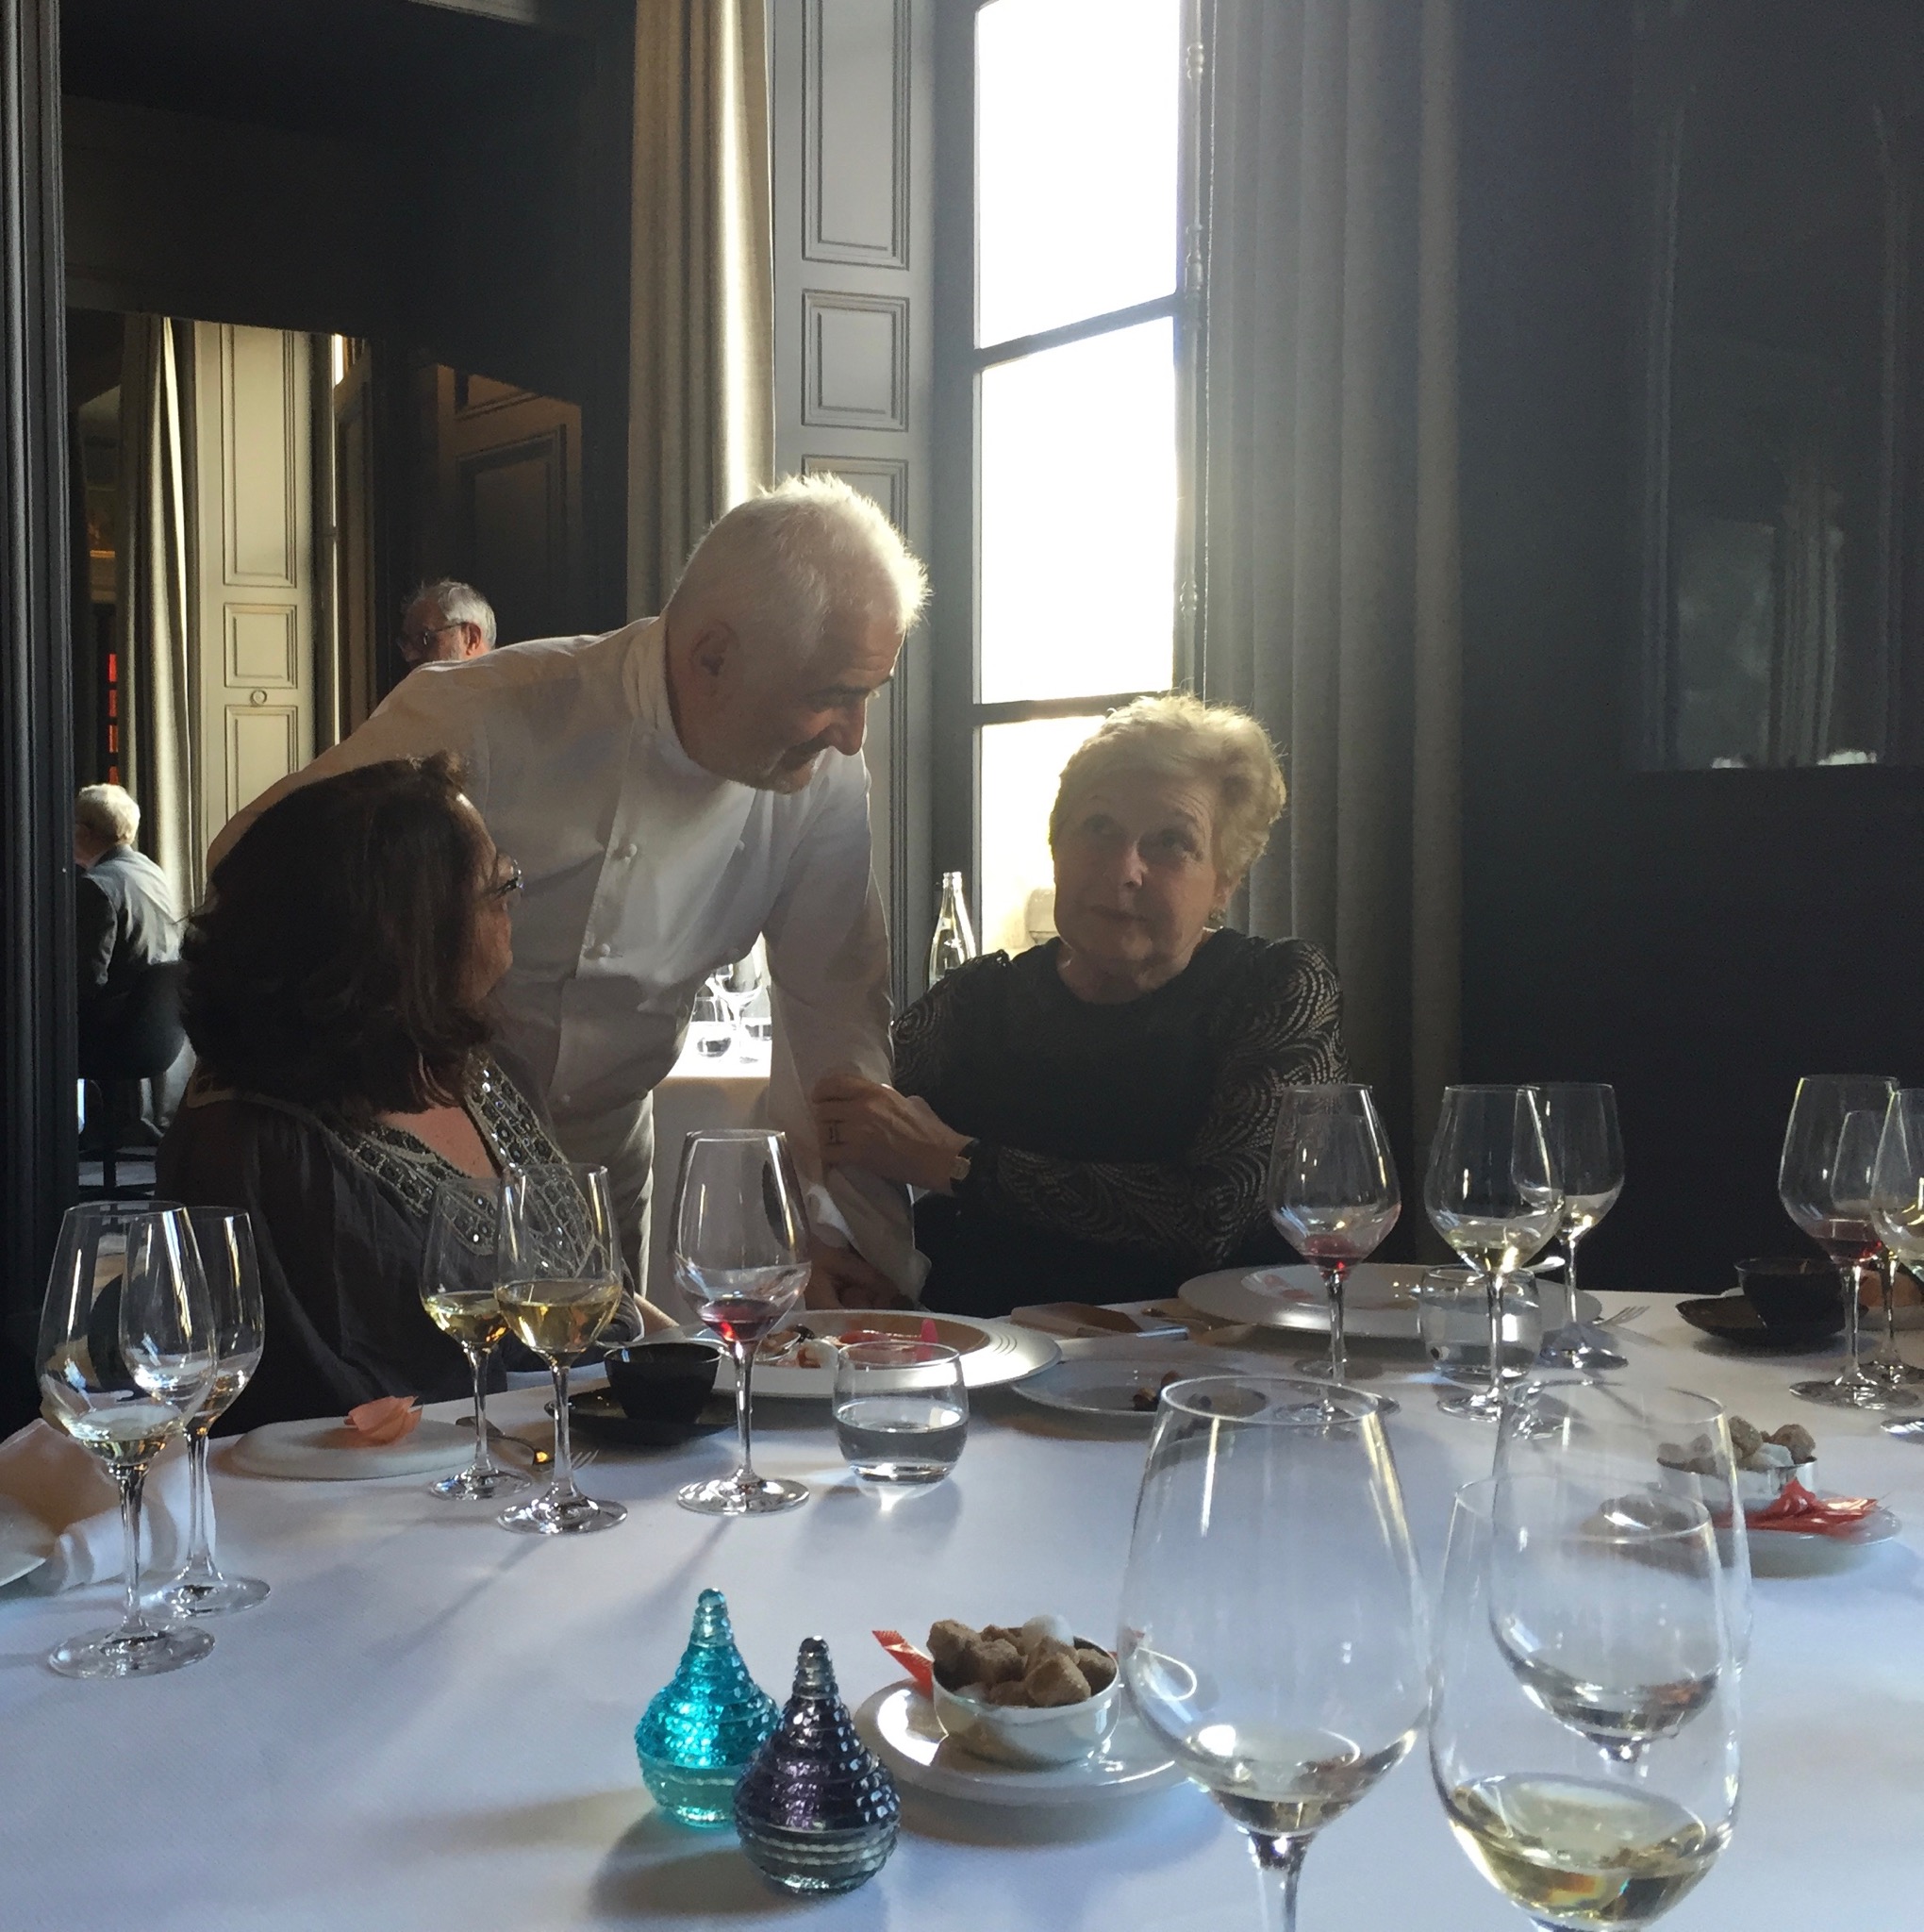
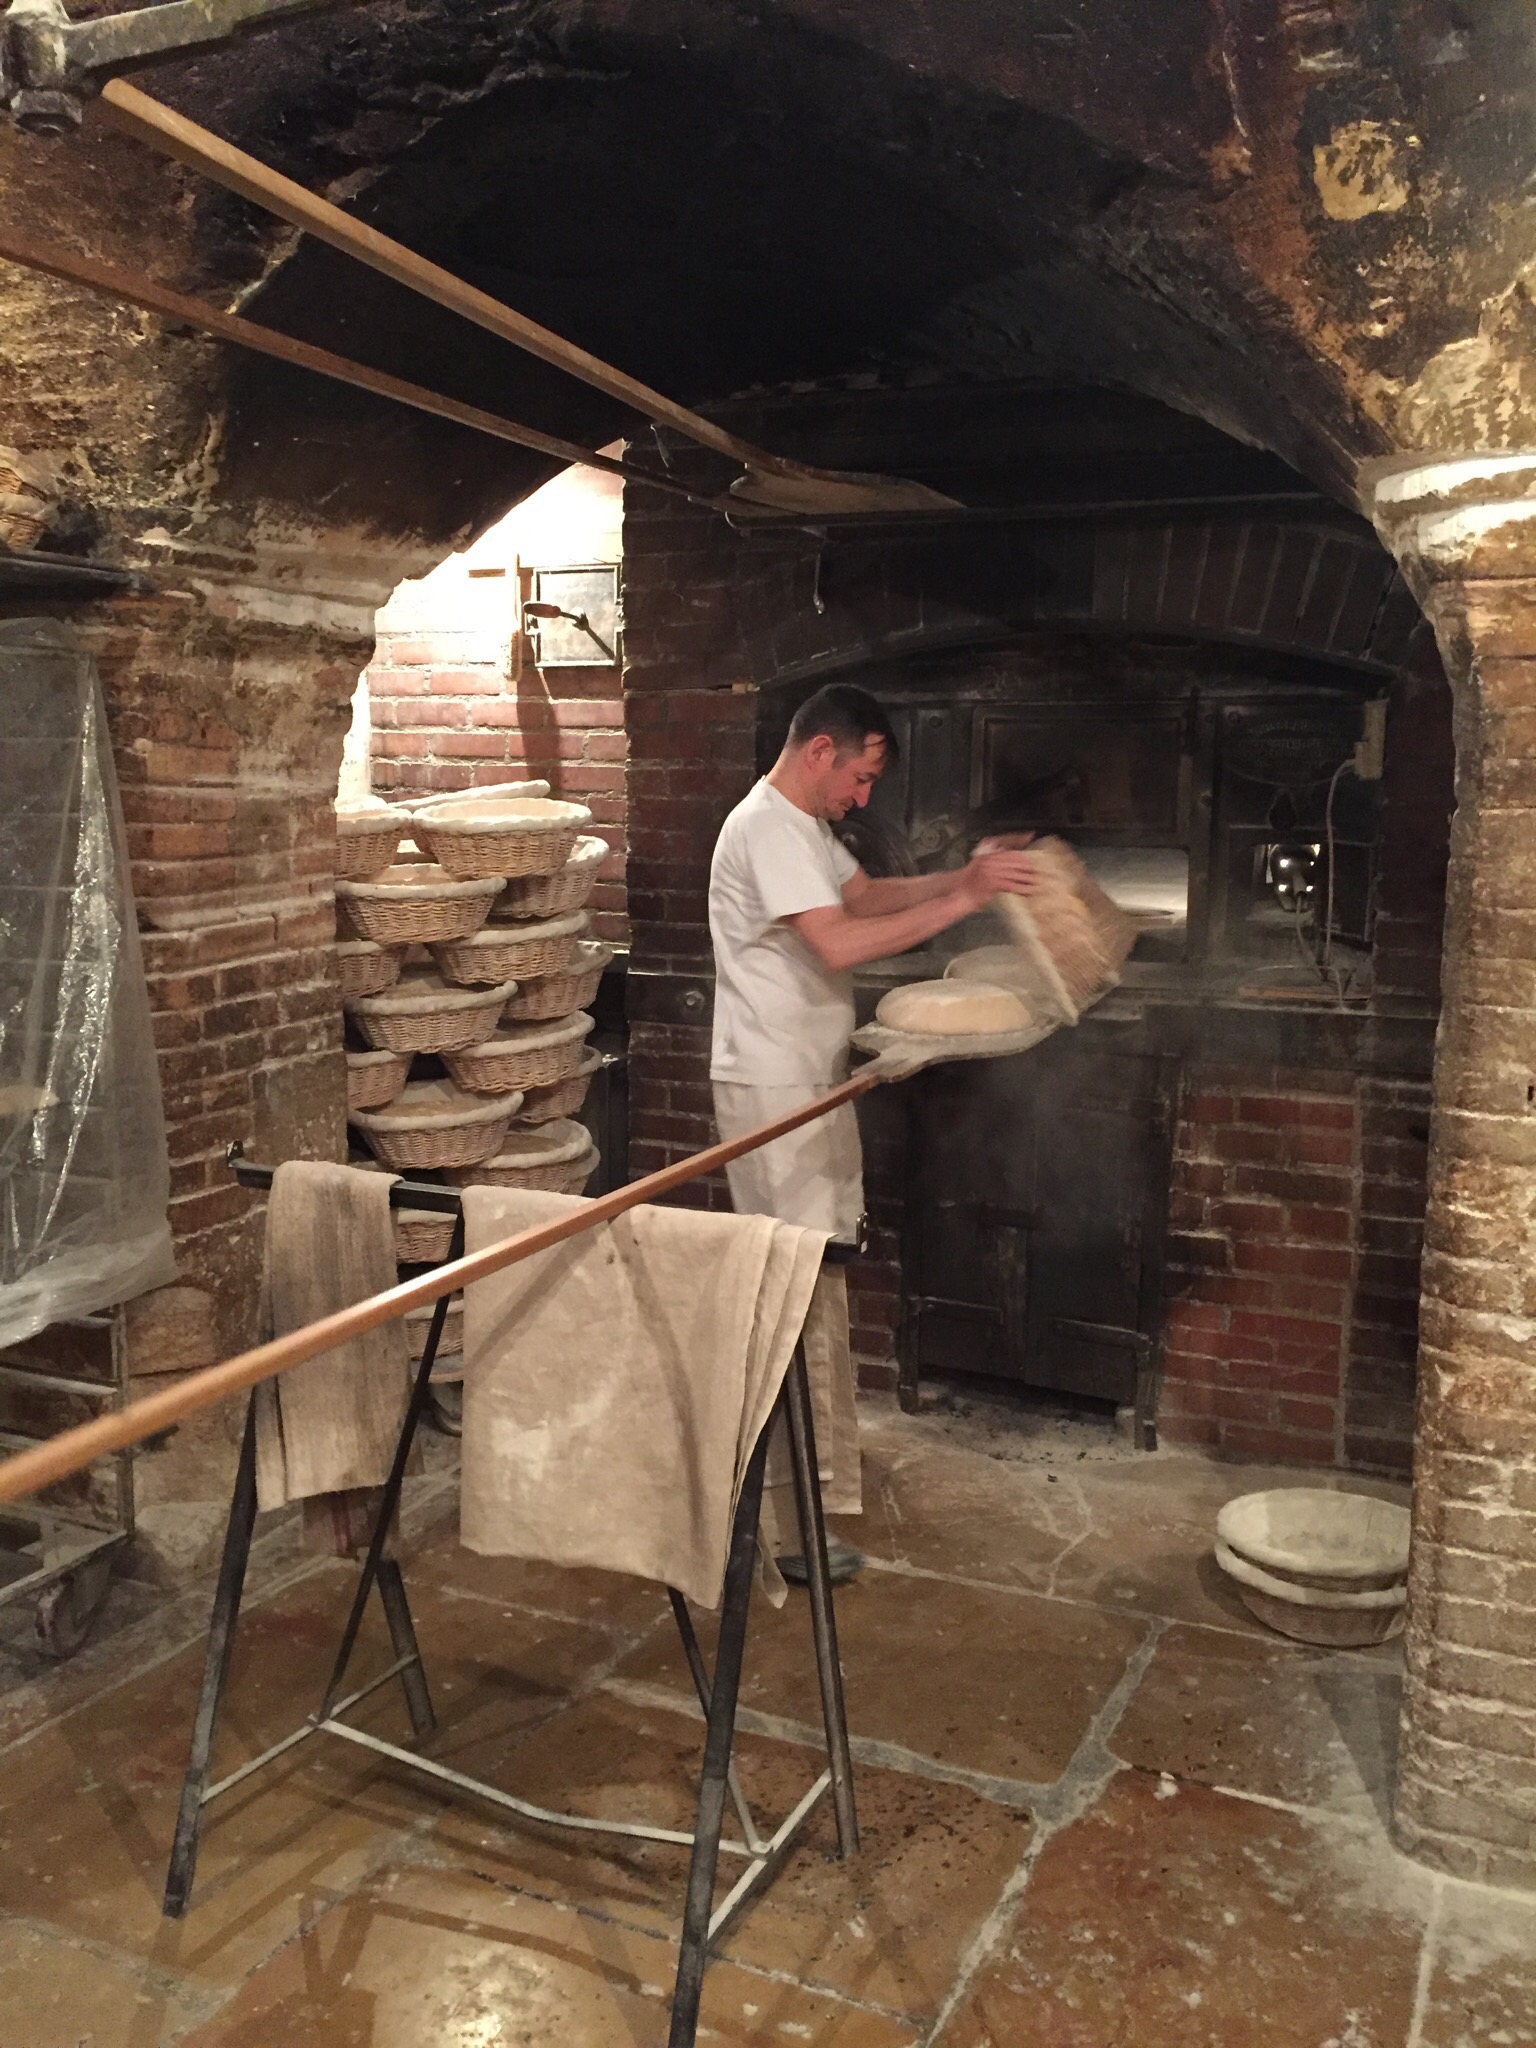
But it wasn’t all “work” and no play! We took field trips… on Wednesday we strolled through the President Wilson Market followed by an unbelievable lunch at Restaurant Guy Savoy; on Thursday we headed to Poilâne, going deep underground to see one of their bakers in action as he worked the wood fired oven, and then it was off to a late morning wine tasting at the charming La Dernière Goutte.
Incredible variety of mushrooms…and seafood at the President Wilson MarketMichelin starred chef Guy Savoy enjoying a moment with Patricia Wells and my classmate, Sarah, during our lunch at his restaurant.A visit to the renowned Poilâne…Dough has finished rising and is ready for the wood fired oven.During his shift, each baker bakes two batches of 75 loaves a piece in the wood fired oven.Display of freshly baked bread… the famous rounds are made with a sourdough starter that has been in continuous use since the 1930s.La Dernière Goutte is a gem of a wine shop run by Cuban-American, Juan Sanchez. The focus is mostly on organic and biodynamic wines.Wine tasting room at La Dernière Goutte.Wine tasting notes…
Noodles have long been a part of Chinese cuisine. In fact, back in 2005, a bowl of 4,000 year old noodles was unearthed at an archeological site in northwest China. On birthdays and during Chinese New Year celebrations, Longevity Noodles are often served; the longer the noodle the better, and to be able to eat the noodle without cutting or biting ensures an even better, longer life. This Longevity Noodle recipe comes from Eileen Yin-Fei Lo, a chef and author of 11 Chinese cookbooks.
Tip: The fresh egg noodles are quickly cooked, then rinsed and drained. It’s important that the noodles are drained well, the drier the strands, the better they will absorb the sauce at the end.
Tip: Once you start stir-frying, the recipe comes together very quickly, literally in minutes. Have everything prepped and ready to go; even the sauce should be made in advance so that all you have to do is pour it in.
The Longevity Noodles can be enjoyed on their own or as part of a larger meal. They would be wonderful with grilled chicken, shrimp, or tofu. We enjoyed the dish as is, adding a squeeze of Sriracha and a dash of extra soy sauce at the table.
Wishing you a wonderful Year of the Monkey and best wishes for a long and healthy life!
Ingredients:
2 quarts water
5 oz mung bean sprouts
1 ½ teaspoons salt
½ lb fresh Chinese egg noodles
¼ low sodium chicken or vegetable stock
1 Tablespoon plus ½ teaspoon low sodium soy sauce
½ teaspoon sesame oil
1 Tablespoon peanut oil
One ¼ inch thick slice of fresh ginger, lightly smashed
4 oz snow peas
6 canned water chestnuts, sliced ¼ inch thick
Instructions:
Bring the water to a boil in a large saucepan. Put bean sprouts in a strainer, lower into the boiling water and blanch for 10 seconds. Remove the strainer and rinse the sprouts in cold water; drain well.
Add salt to the water in the sauce and bring back to a boil. Add the noodles and cook, stirring for 1 minute. Drain the noodles thoroughly in a colander and rinse them in cold water and drain. Rinse again, then drain, lifting them carefully to separate and dry the strands.
In a small bowl combine the chicken stock with the soy sauce and sesame oil to make the sauce.
Warm a large skillet or wok over high heat for 45 seconds. Add the peanut oil and swirl to coat the skillet. Stir in the ginger and cook for 10 seconds. Add the snow peas and stir-fry until bright green, about 1 minute. Add the water chestnuts and stir-fry for 30 seconds. Add the bean sprouts and stir-fry for 1 minute.
Stir the sauce, then add it to the skillet and bring to a boil. Add the noodles and stir-fry until they absorb the sauce, about 2 minutes. Transfer noodles to a platter and serve immediately with Sriracha and soy sauce for passing.
Prep and gather all your ingredients, including making the sauce. This recipe comes together in minutes, so it’s important to have everything at the ready.Blanch the bean sprouts for 10 seconds. Remove strainer from water and rinse sprouts under cold water. Drain well.
Add salt and bring the water back to the boil. Add noodles.
Cook noodles for 1 minutes, stirring occasionally.
Remove noodles from water. Drain and rinse under cool water. Drain. Rinse again, gently pulling noodles apart to separate strands. Drain throughly and allow to dry slightly.
Warm a skillet or wok over high heat for 45 seconds. Add peanut oil and swirl to coat pan.Add ginger and cook for 10 seconds.Add snow peas and stir-fry until bright green, about 1 minute.Add the sliced water chestnuts, and stir-fry for 30 seconds.Add the bean sprouts, and stir-fry for 1 minute.Stir the sauce, add it to the wok and bring to a boil.Add the noodles and stir-fry until they absorb the sauce, about 2 minutes.
Butternut squash has a long shelf life- which works well for me when I receive large quantities of it as part of my CSA! As you can imagine the growing season in New England is short, though our local farm does an amazing job of squeezing every last bit of sunshine and warmth out of earth and sky to make the harvest last as long as possible. In fact, they do such a good job, that the farm offers an “Extended Harvest” share, with pick ups well into November.
Each week from June through November I am the happy recipient of culinary treasures… fruits and veggies of all sorts. The spring and summer pick ups generally contain perishable produce that has to be dealt with immediately… eaten, frozen, or canned for future meals. The November shares are far more forgiving in terms of shelf life; onions, garlic, potatoes, and winter squash can live on my kitchen counter or in a cool spot in the basement for a long while before I turn my attention to them. Cabbages, radishes, and carrots will survive almost the entire winter in the produce drawers of my fridge.
Butternut squash is one of my favorite winter veggies and incredibly versatile. It can be baked, roasted, or turned into soup, pairing well with many different types of flavors. According to The Flavor Bible, the wide range of combinations include (but is definitely not limited to):
Butternut squash + bacon + maple syrup + sage
Butternut squash + cilantro + coconut + ginger
Butternut squash + ricotta cheese + sage
Below is my take on Butternut Squash Soup with Cider Cream. The tart apples are beautiful with the rich nutty squash, while the cider’s sweetness rounds everything out. I usually use chicken stock, but vegetable stock will work equally well if you’d like to keep this strictly vegetarian.
Do you have a favorite winter vegetable that you like to use? What do you with it?
Ingredients:
5 Tablespoons unsalted butter
2 ½ lbs butternut squash, peeled, seeded, cut into ½-inch pieces (about 6 cups)
2 cups chopped leeks (white and pale green parts only)
½ cup chopped peeled carrot
½ cup chopped celery
2 small granny smith apples, peeled, cored, chopped
1 ½ teaspoons dried thyme
½ teaspoon crumbled dried sage leaves
5 cups chicken or vegetable stock
1 ½ cups apple cider, divided
2/3 cup plain greek yogurt or crème fraiche
Instructions:
Melt butter in a heavy large saucepan over medium high heat. Add squash, leeks, carrots, and celery; sauté until slightly softened, about 15 minutes. Mix in apples, thyme, and sage. Add stock and 1 cup cider. Bring to a boil; reduce heat to medium low. Cover and simmer until apples are tender, stirring occasionally, about 30 minutes. Cool slightly.
Using an immersion blender, puree soup. Alternatively, soup can be pureed, in batches, in a blender.
Make cider cream. Boil remaining ½ cup cider in heavy small saucepan until reduced to ¼ cup, about 5 minutes. Cool. Place yogurt or crème fraiche in small bowl. Whisk in reduced cider. (Soup and cider cream can be made 1 day ahead. Cover separately and refrigerate.)
Bring soup to simmer. Ladle soup into bowls. Dollop with cider cream and serve.
Melt butter in heavy large saucepan. Add squash, leeks, carrot, and celery.Sauté until veggies are softened, 15 minutes or so, then add apples, thyme, and sage.Add stock and 1 cup of cider. Bring to a boil.Reduce heat to medium-low, cover and simmer for 30 minutes or until apples are tender.Through the magic of the blogosphere, the soup has been pureed. Actually, I used an immersion blender, but couldn’t get an action pick- not enough hands! If you don’t have an immersion blender, puree the soup in batches in a regular blender.Boil remaining 1/2 cup cider until reduced to 1/4 cup, about 5 minutes.
Pour reduced cider into plain yogurt or creme fraiche
…and whisk.
Bring soup to a simmer, laden into bowls and dollop with cider cream.
A preschool teacher once declared about my now 15yr old son, “you better have a plan, because if you don’t, he does!” The same sentiment holds true for my entire household. With two active teenage boys, and one “sign me up for everything” tween, things can quickly get derailed. In my attempts to contain the chaos as much possible, I have a general plan or template for dinners each week. This is so helpful when grocery shopping; daily trips to the store are only occasional, and money is saved because I’m shopping more efficiently with menus in mind. I’ve learned the hard way, that if I don’t have a solid dinner plan in place by the time the kids get home from school, we’re probably doing take out!
That said, things do come up and this is a very flexible “schedule.” Nothing is set in stone. It really just serves as a general guideline and helps me organize my shopping (and mind) for the week. Here’s a look at my weekly template for dinners: Meatless Monday– Fish Taco Tuesday– Build your own tacos, fajitas, burritos, etc. I usually set out a protein, with loads of grilled/sautéed veggies, rice, beans, tortillas, cheese, guacamole, and salsa. Wednesday– Pasta Thursday– Soup or stew (especially in fall/winter) Friday– Take-out, and by the end of the week I’m ready for it. Saturday– My husband usually grills (even in the snow!) Sunday– Homemade Pizza
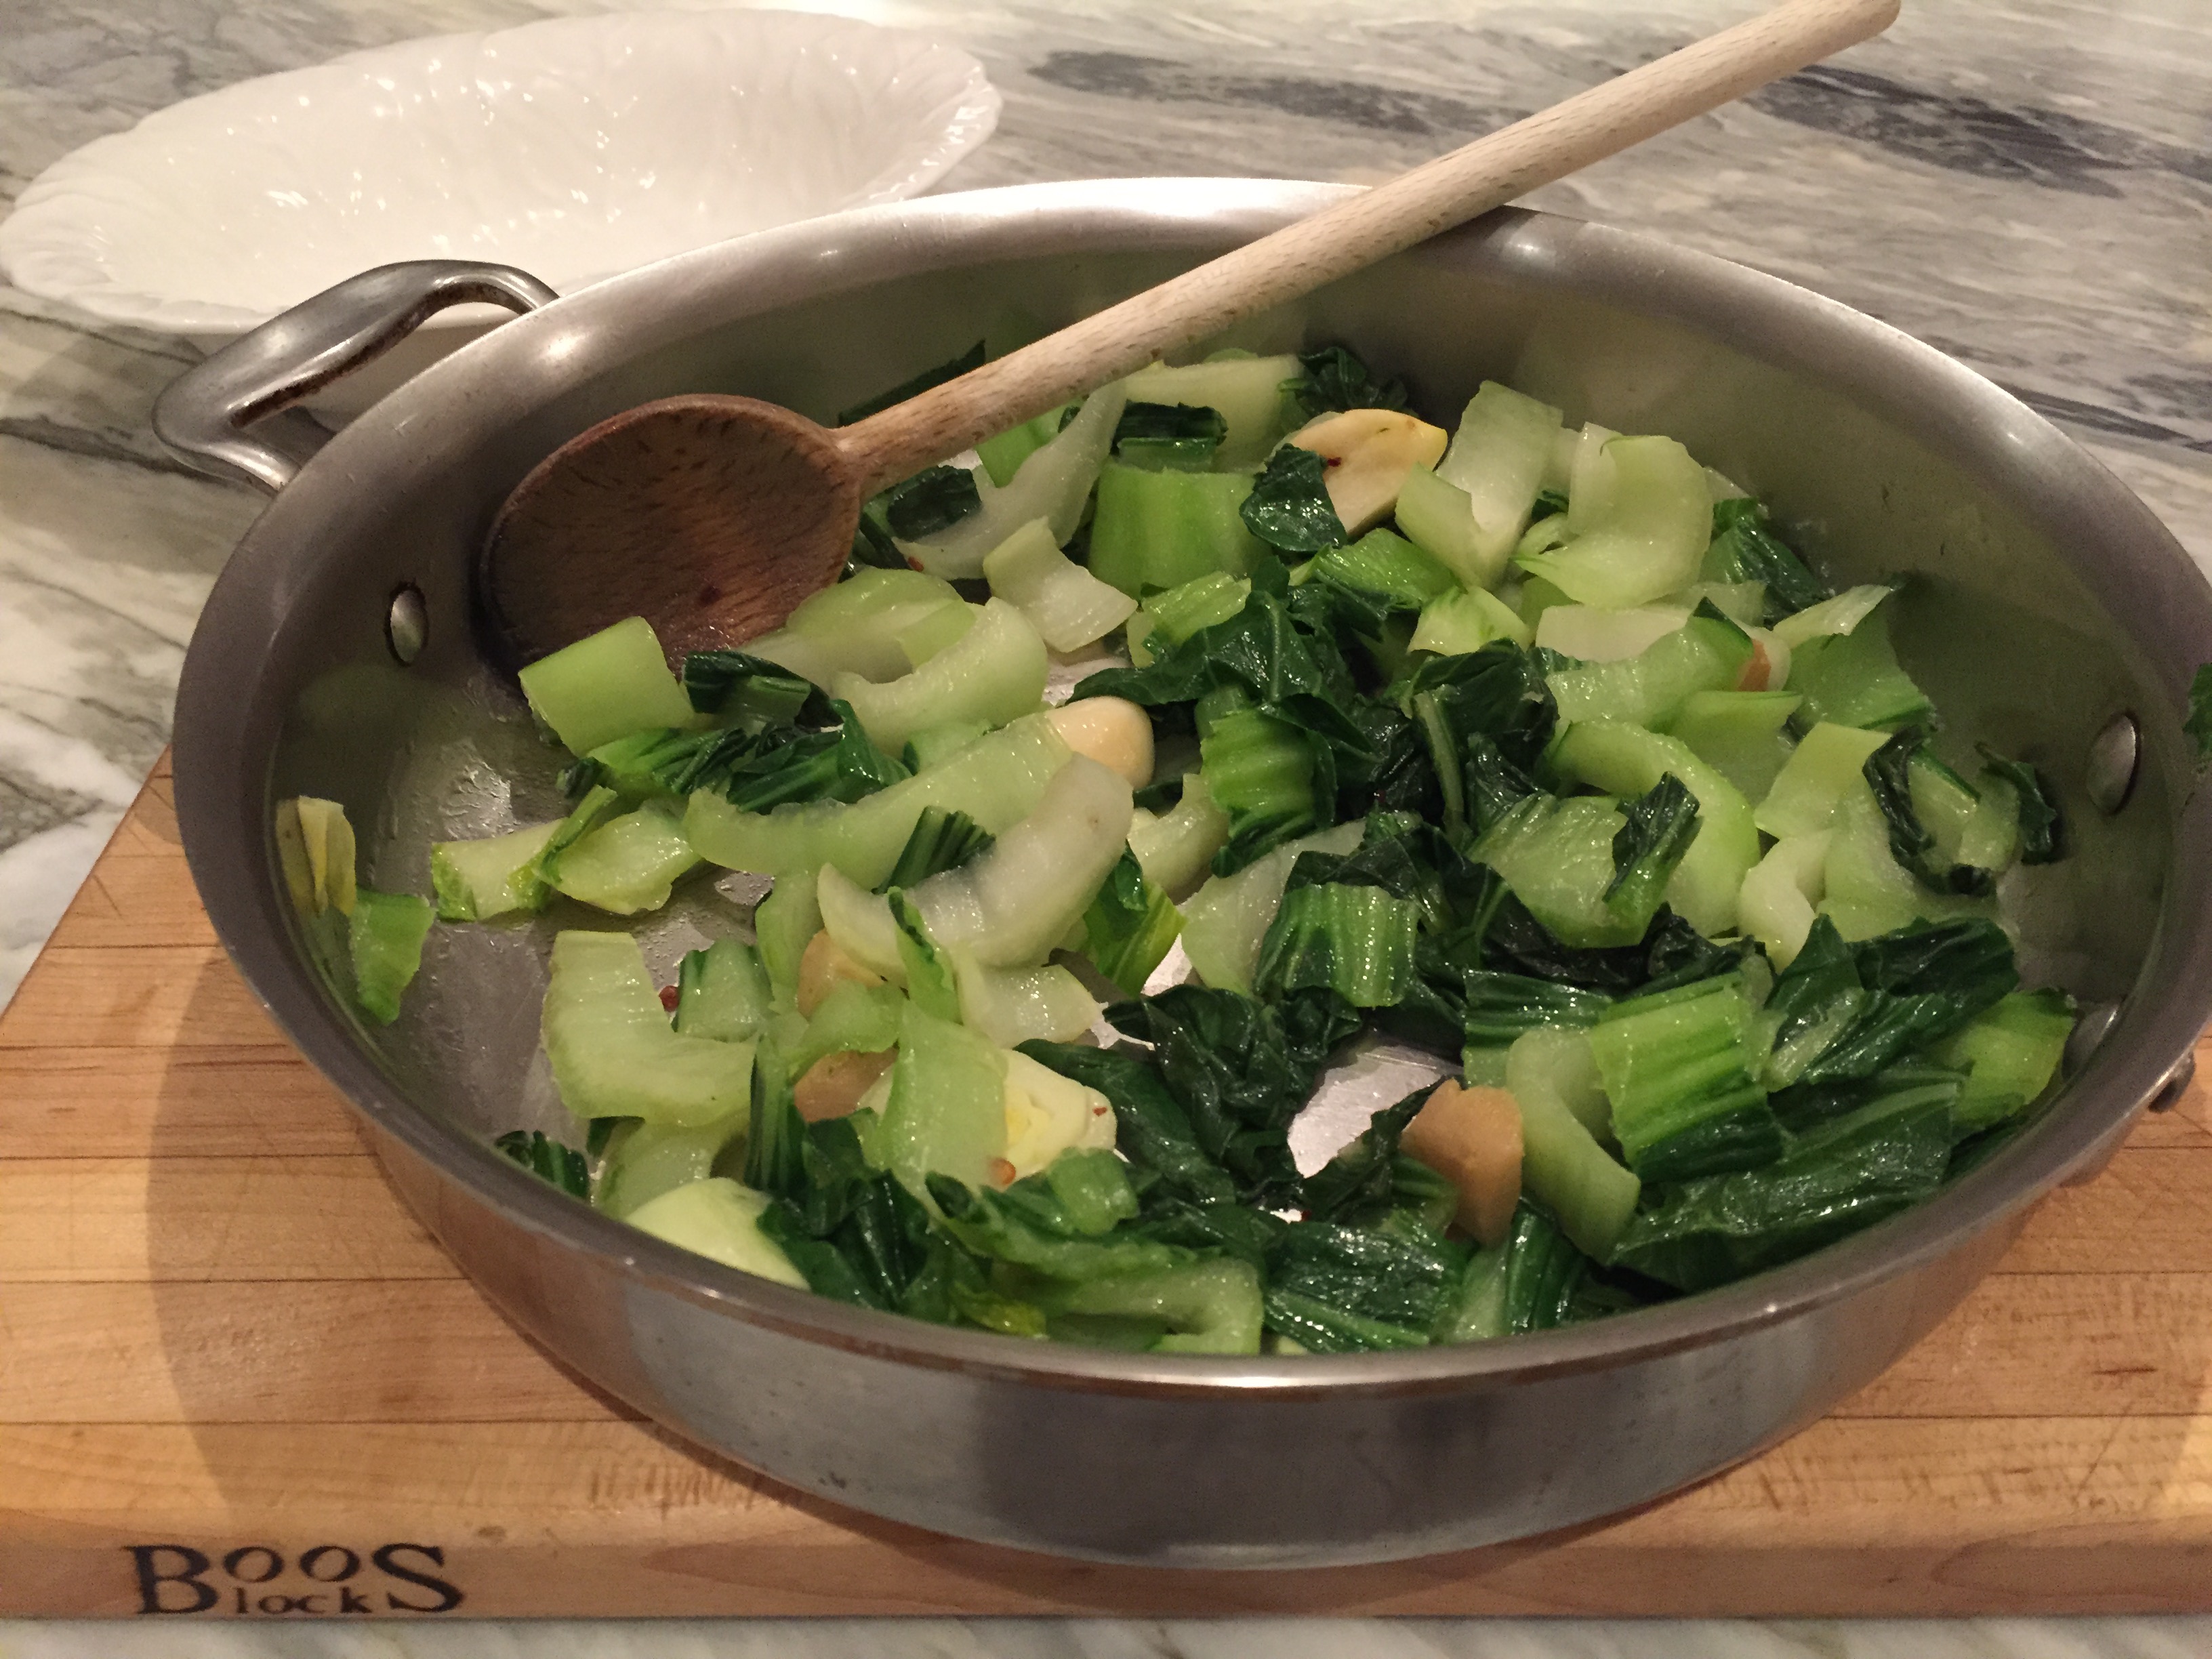
Meatless Monday usually means fish, like Fast and Crunchy Baked Cod or fillets simply seasoned with salt and pepper and briefly roasted in the oven. Recently, Miso Glazed Fish has made several successful appearances. The glaze is slightly sweet/salty and perfect for firm fish like swordfish, halibut, and salmon. Sea bass and sable (black cod) would be wonderful as well, but they are expensive compared to the others. The dish is quick and easy. Popped into the oven, it is done in no time. Serve with rice and something green. We love it with bok choy sautéed with ginger, garlic, and a pinch of red pepper flakes (recipe follows miso glazed fish).
Note about the photos- You’ll see that there is no beautifully plated finished product. This is the result of the aforementioned active teens and tween. As soon as the fish came out of the oven, I was able to quickly snap a few pics before it was gobbled up. Then it was off to drop one son at basketball, pick the other up from his basketball practice, and get my daughter to ballet. In my ideal world, the final shot would have been a gorgeous piece of fish, lightly sprinkled with sliced green onions, presented on a bed of rice, with bright green bok choy on the side. Use your imagination! You can see it, right?
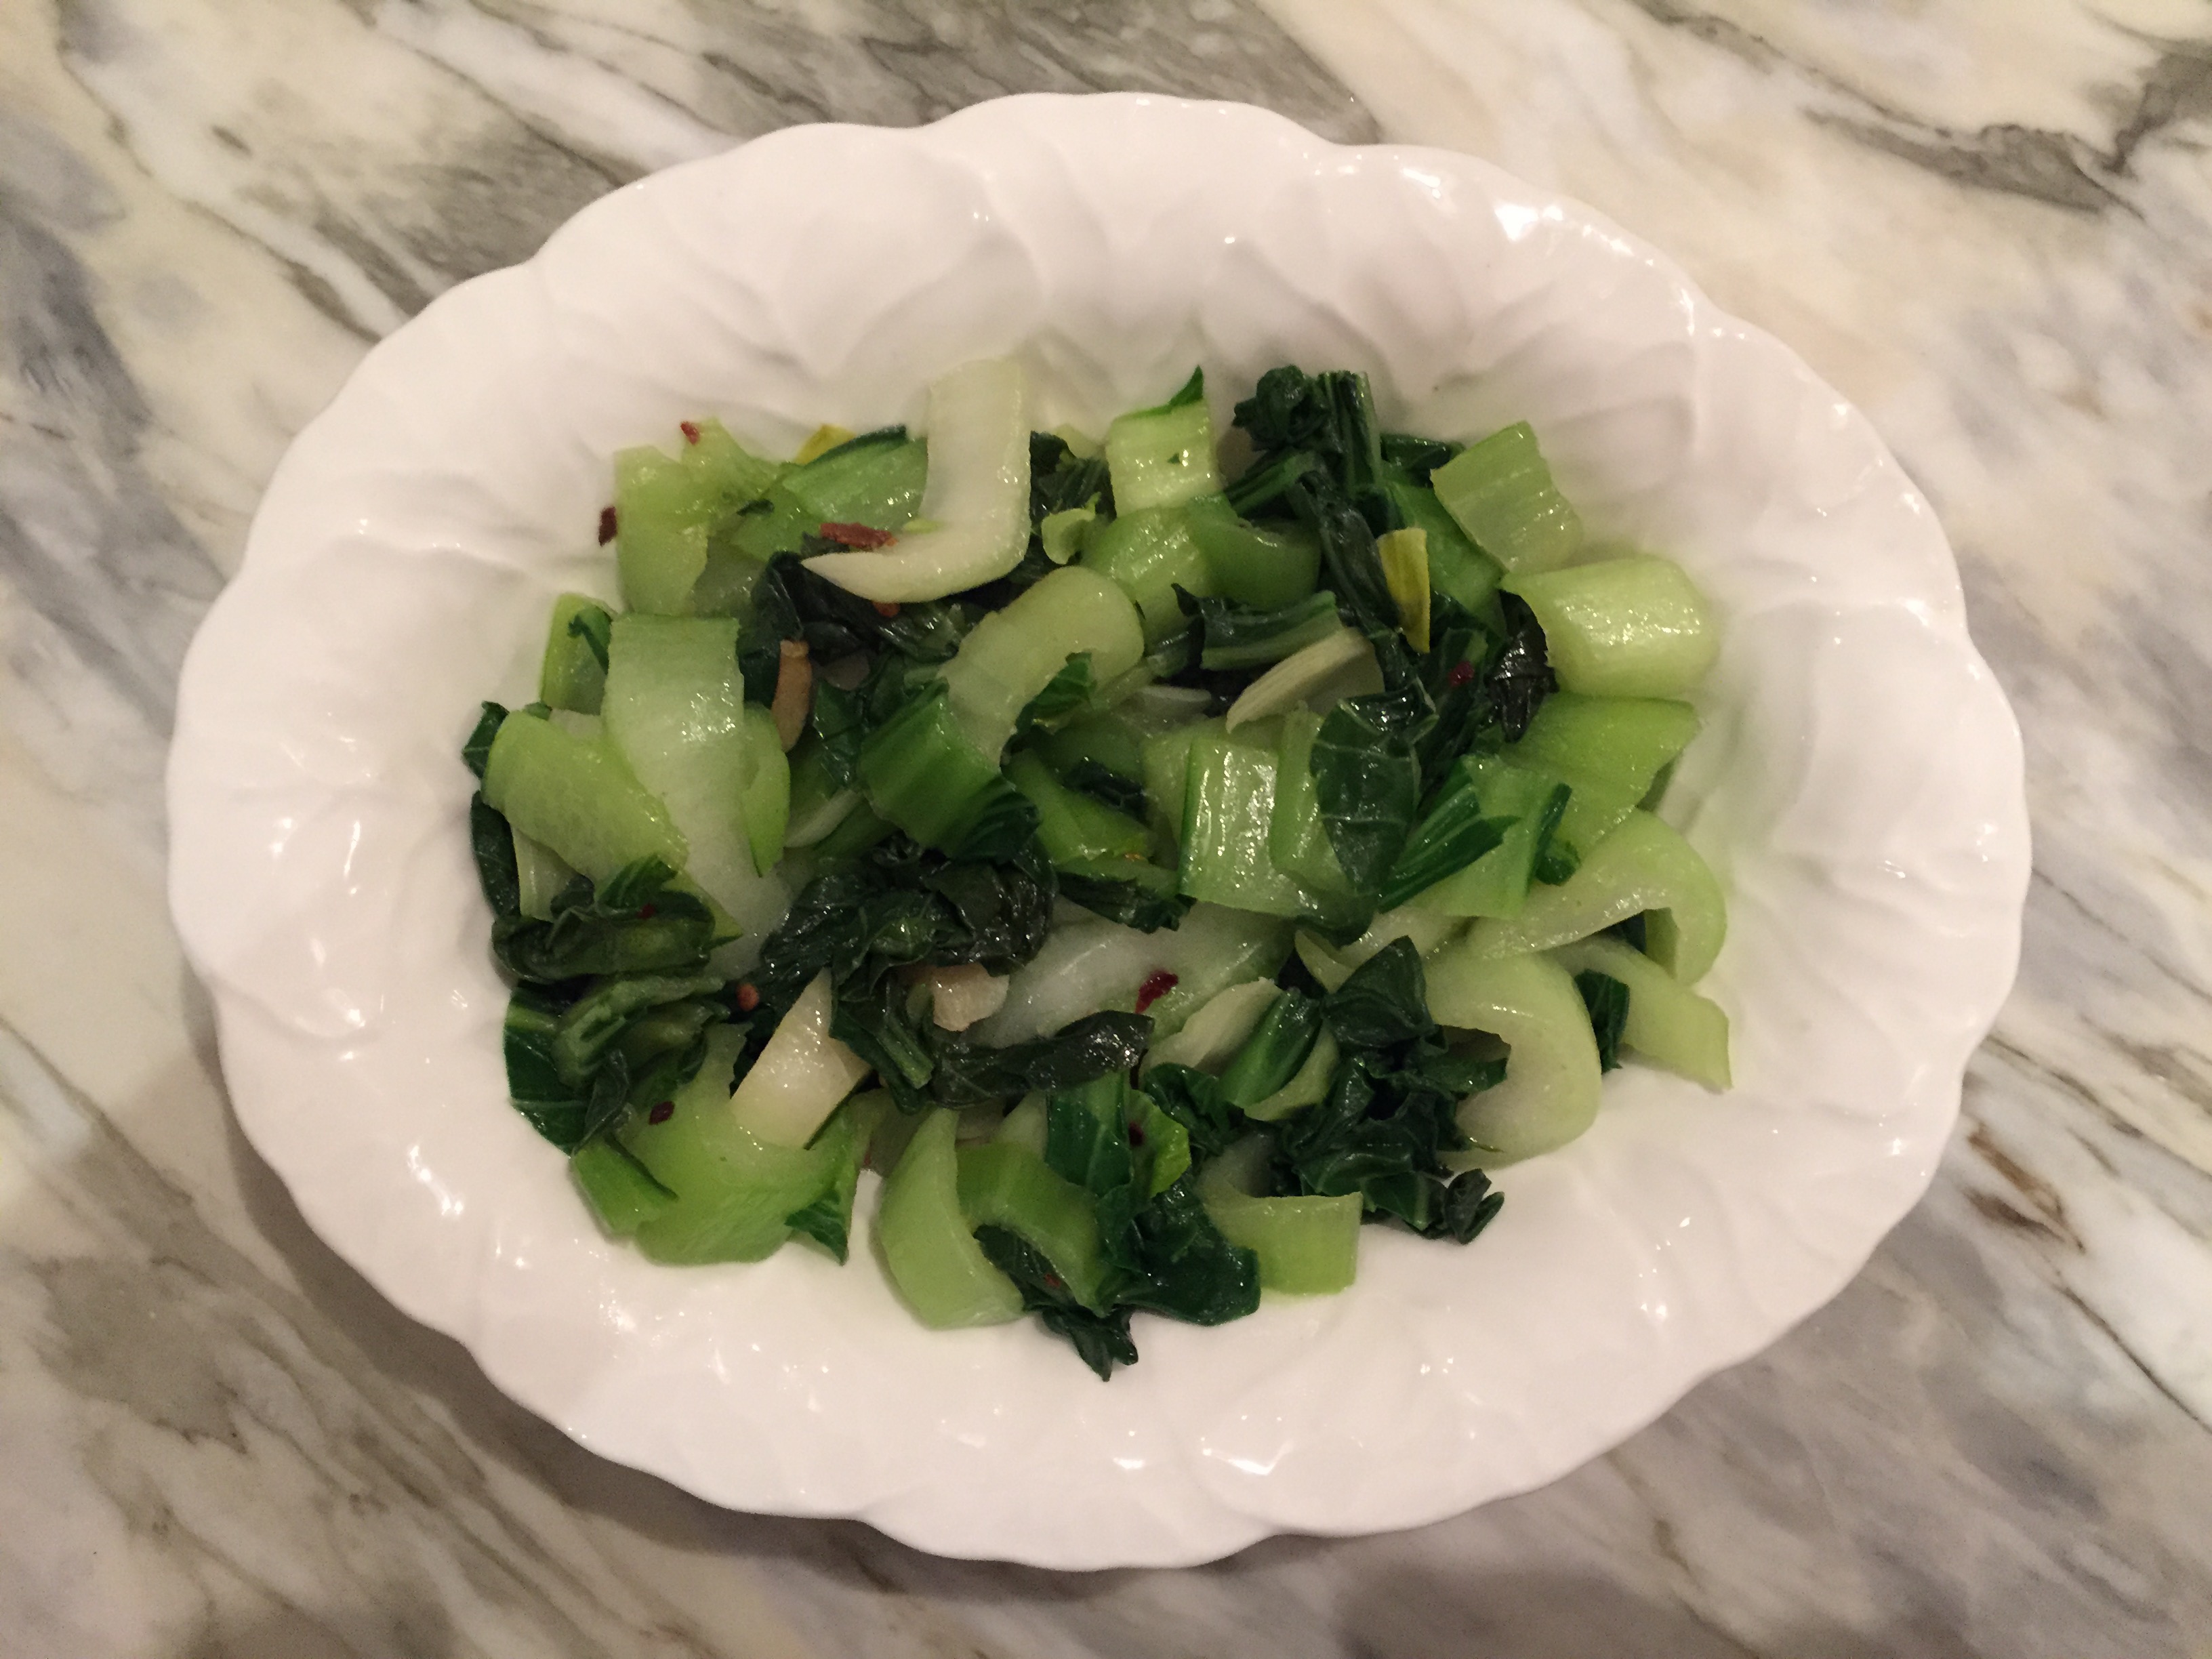
On the bright side, the bok choy did make it into a serving bowl!
How about you? Do you have a general idea of what your dinners will look like throughout the week? Or, do you decide day by day?
Instructions:
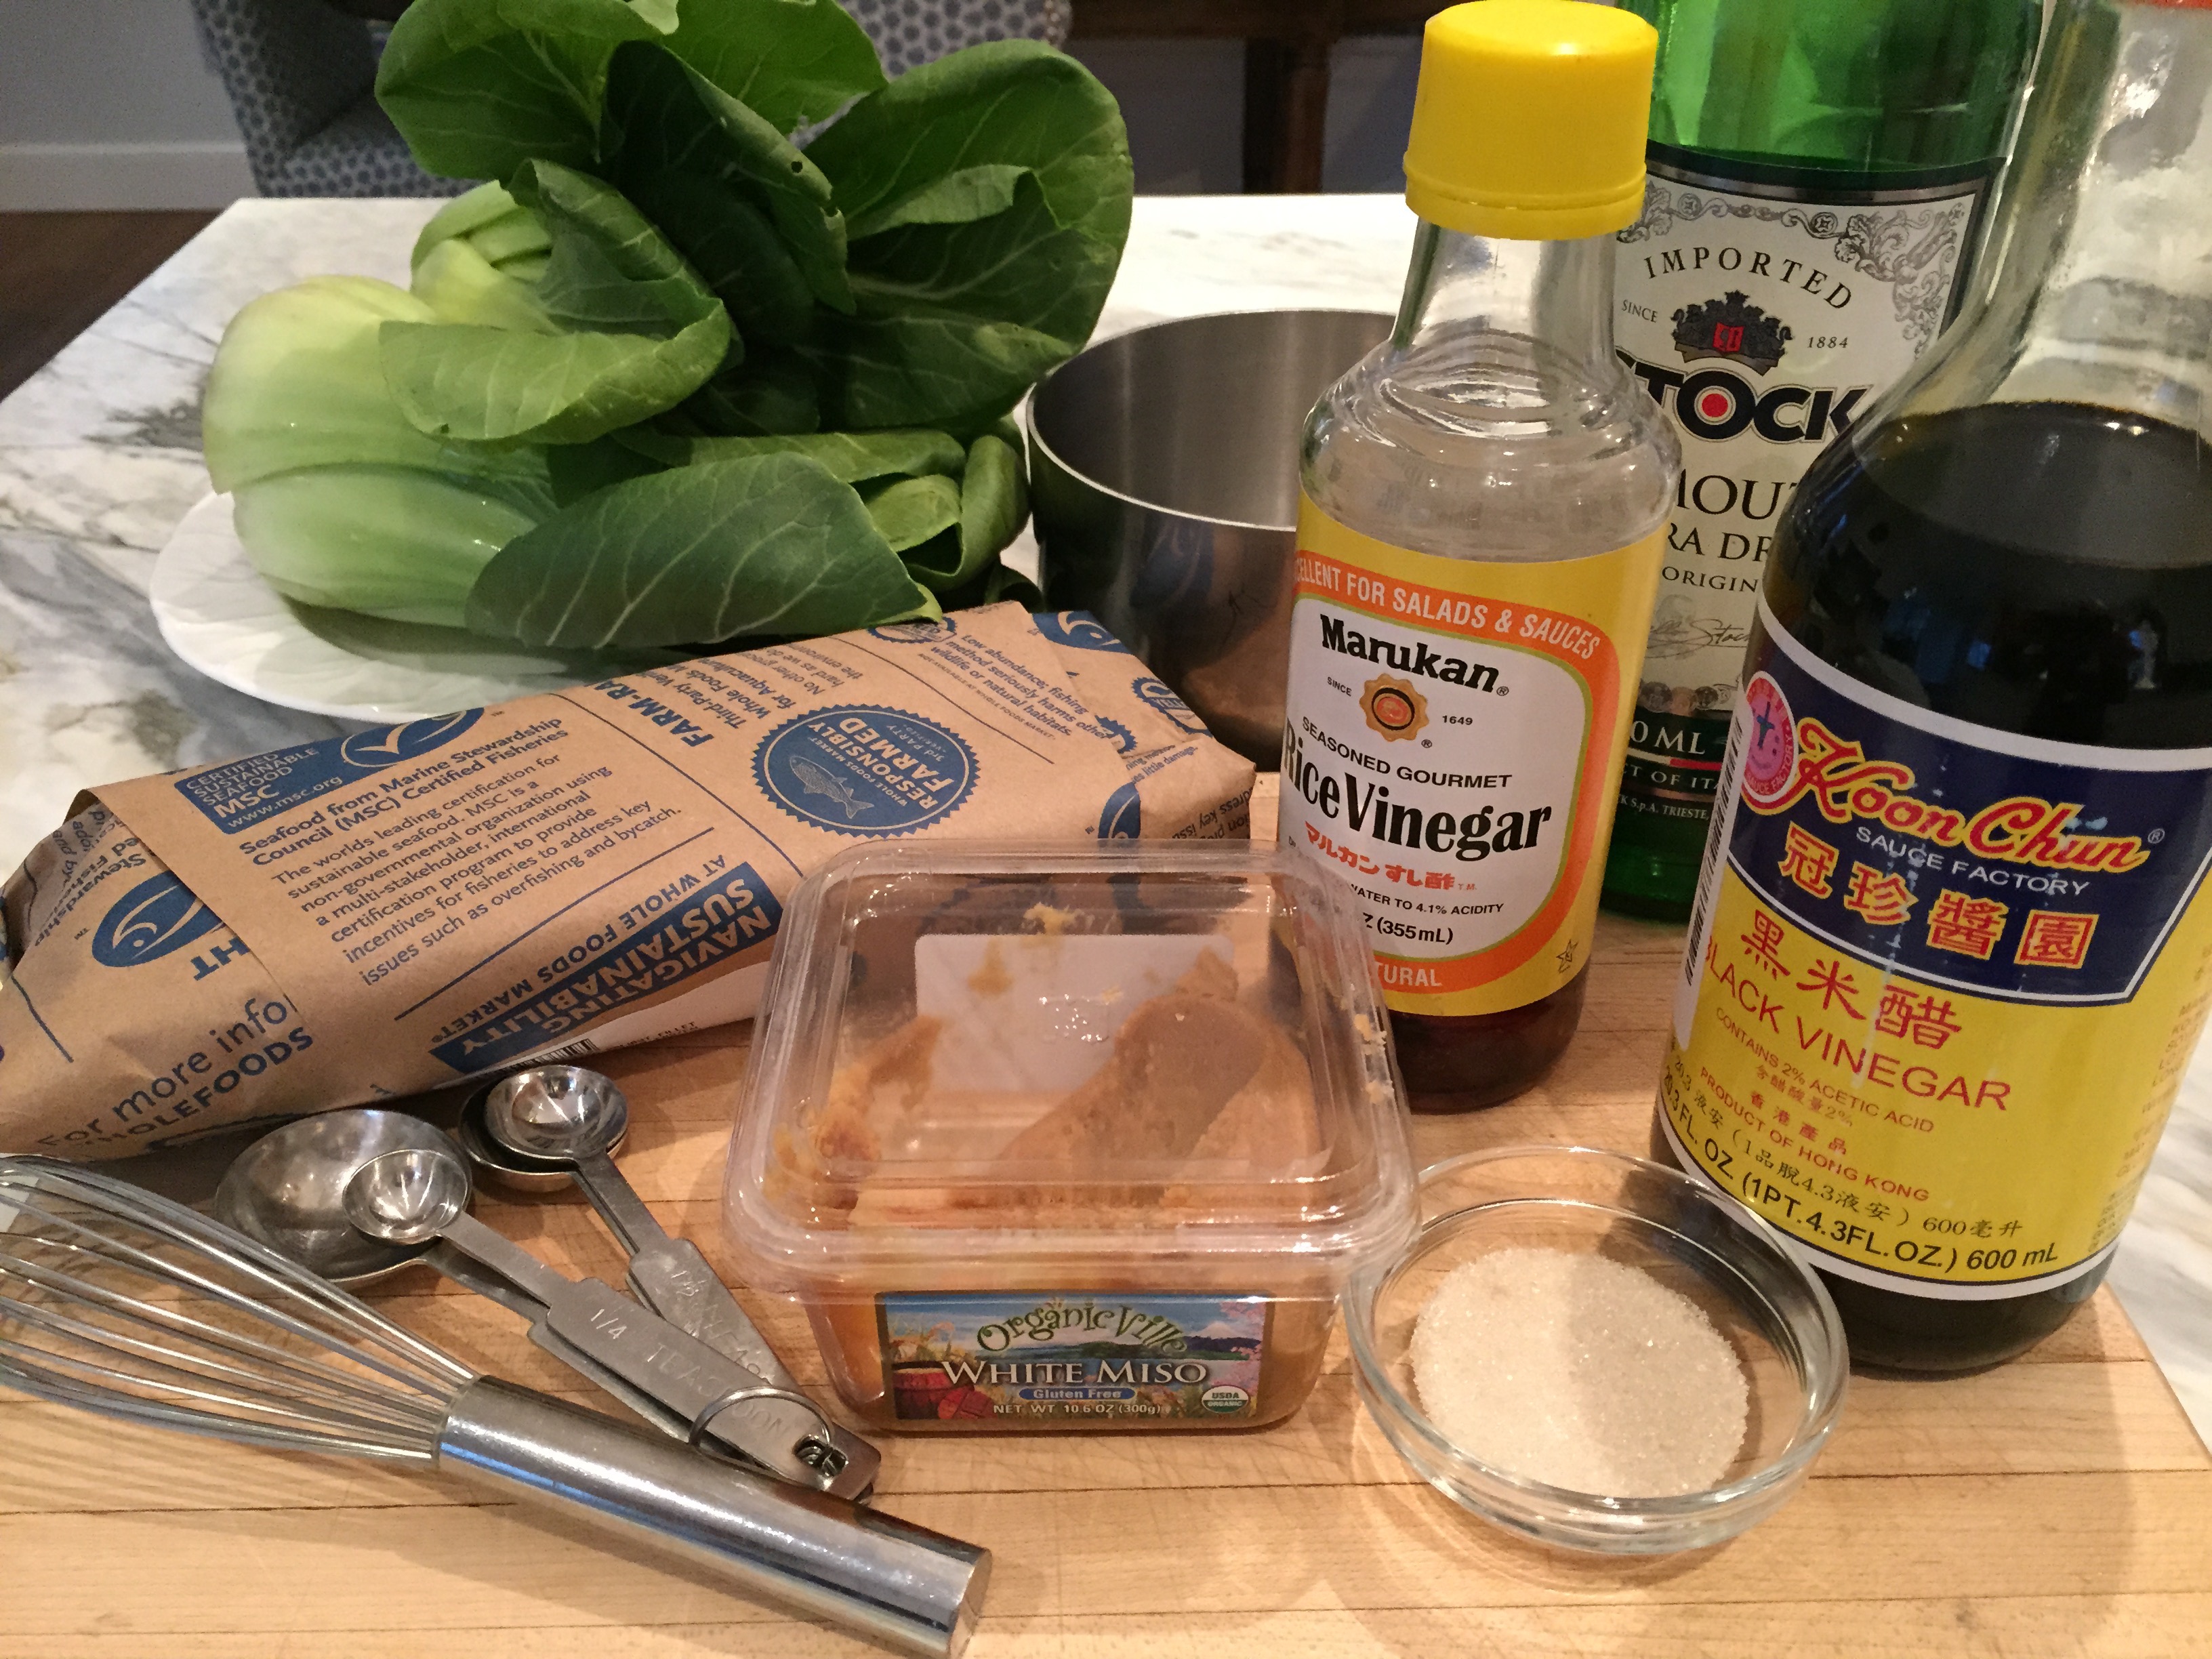
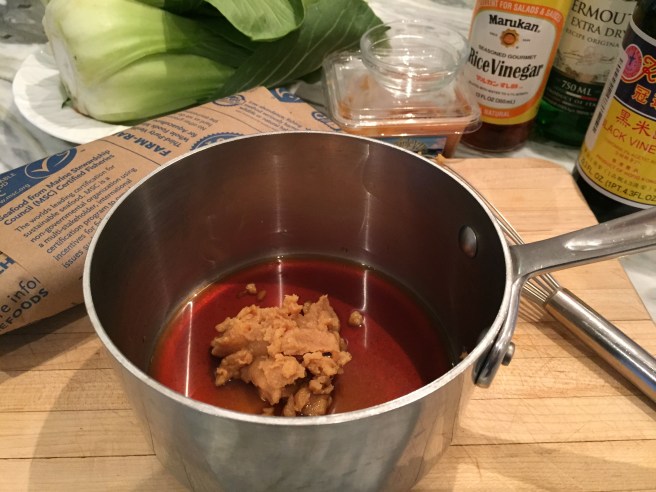
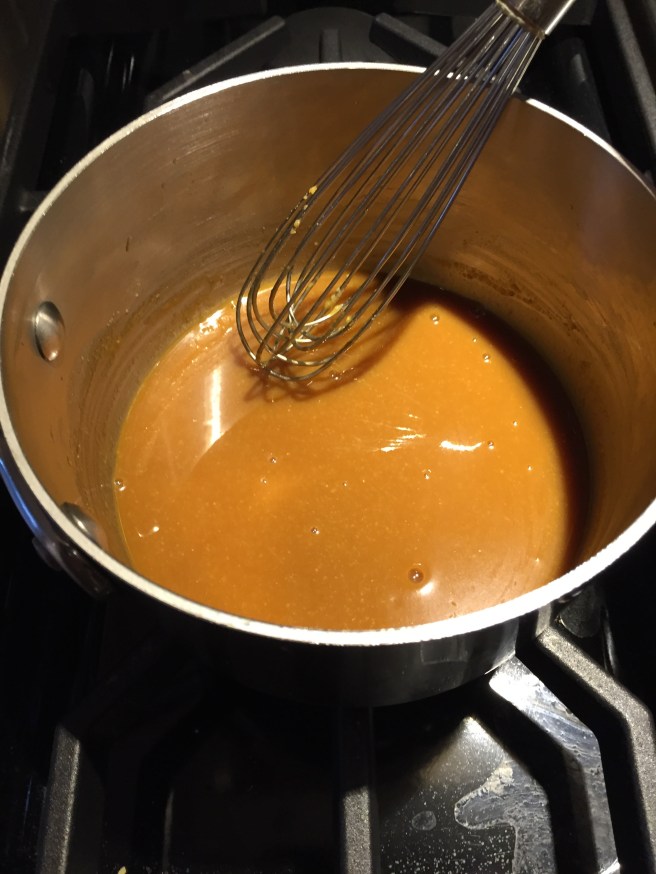
Preheat oven to 375°F. In a small saucepan over medium heat, place vermouth, rice vinegar, white miso, sugar, and black vinegar. As the glaze warms, stir to dissolve sugar. Remove from heat and let cool.
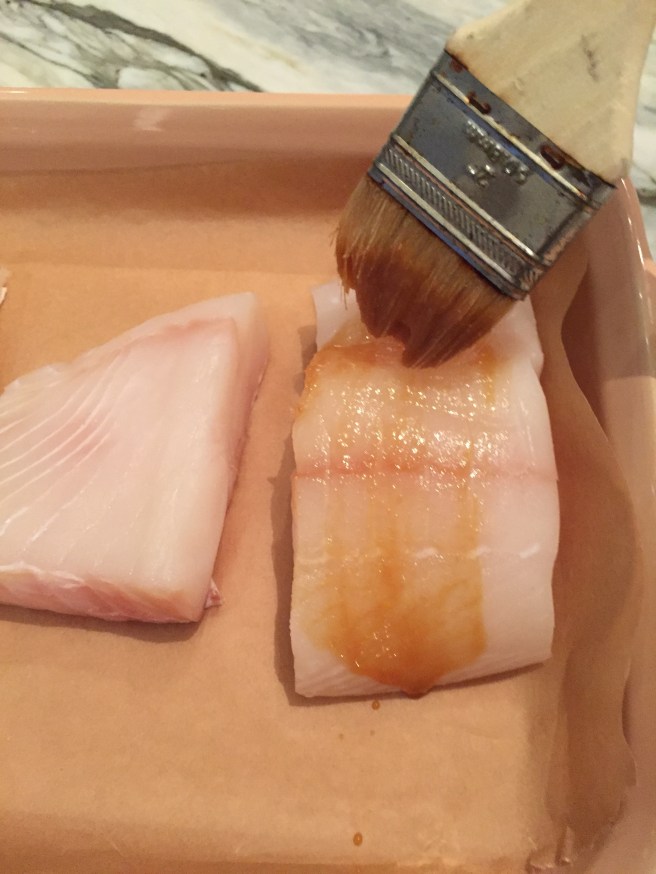
In a parchment lined casserole or sheet pan place fish or fish fillets. With a pastry brush, off-set spatula, or spoon, glaze top and sides of fish. I always have glaze left over, so don’t feel the need to use it all.
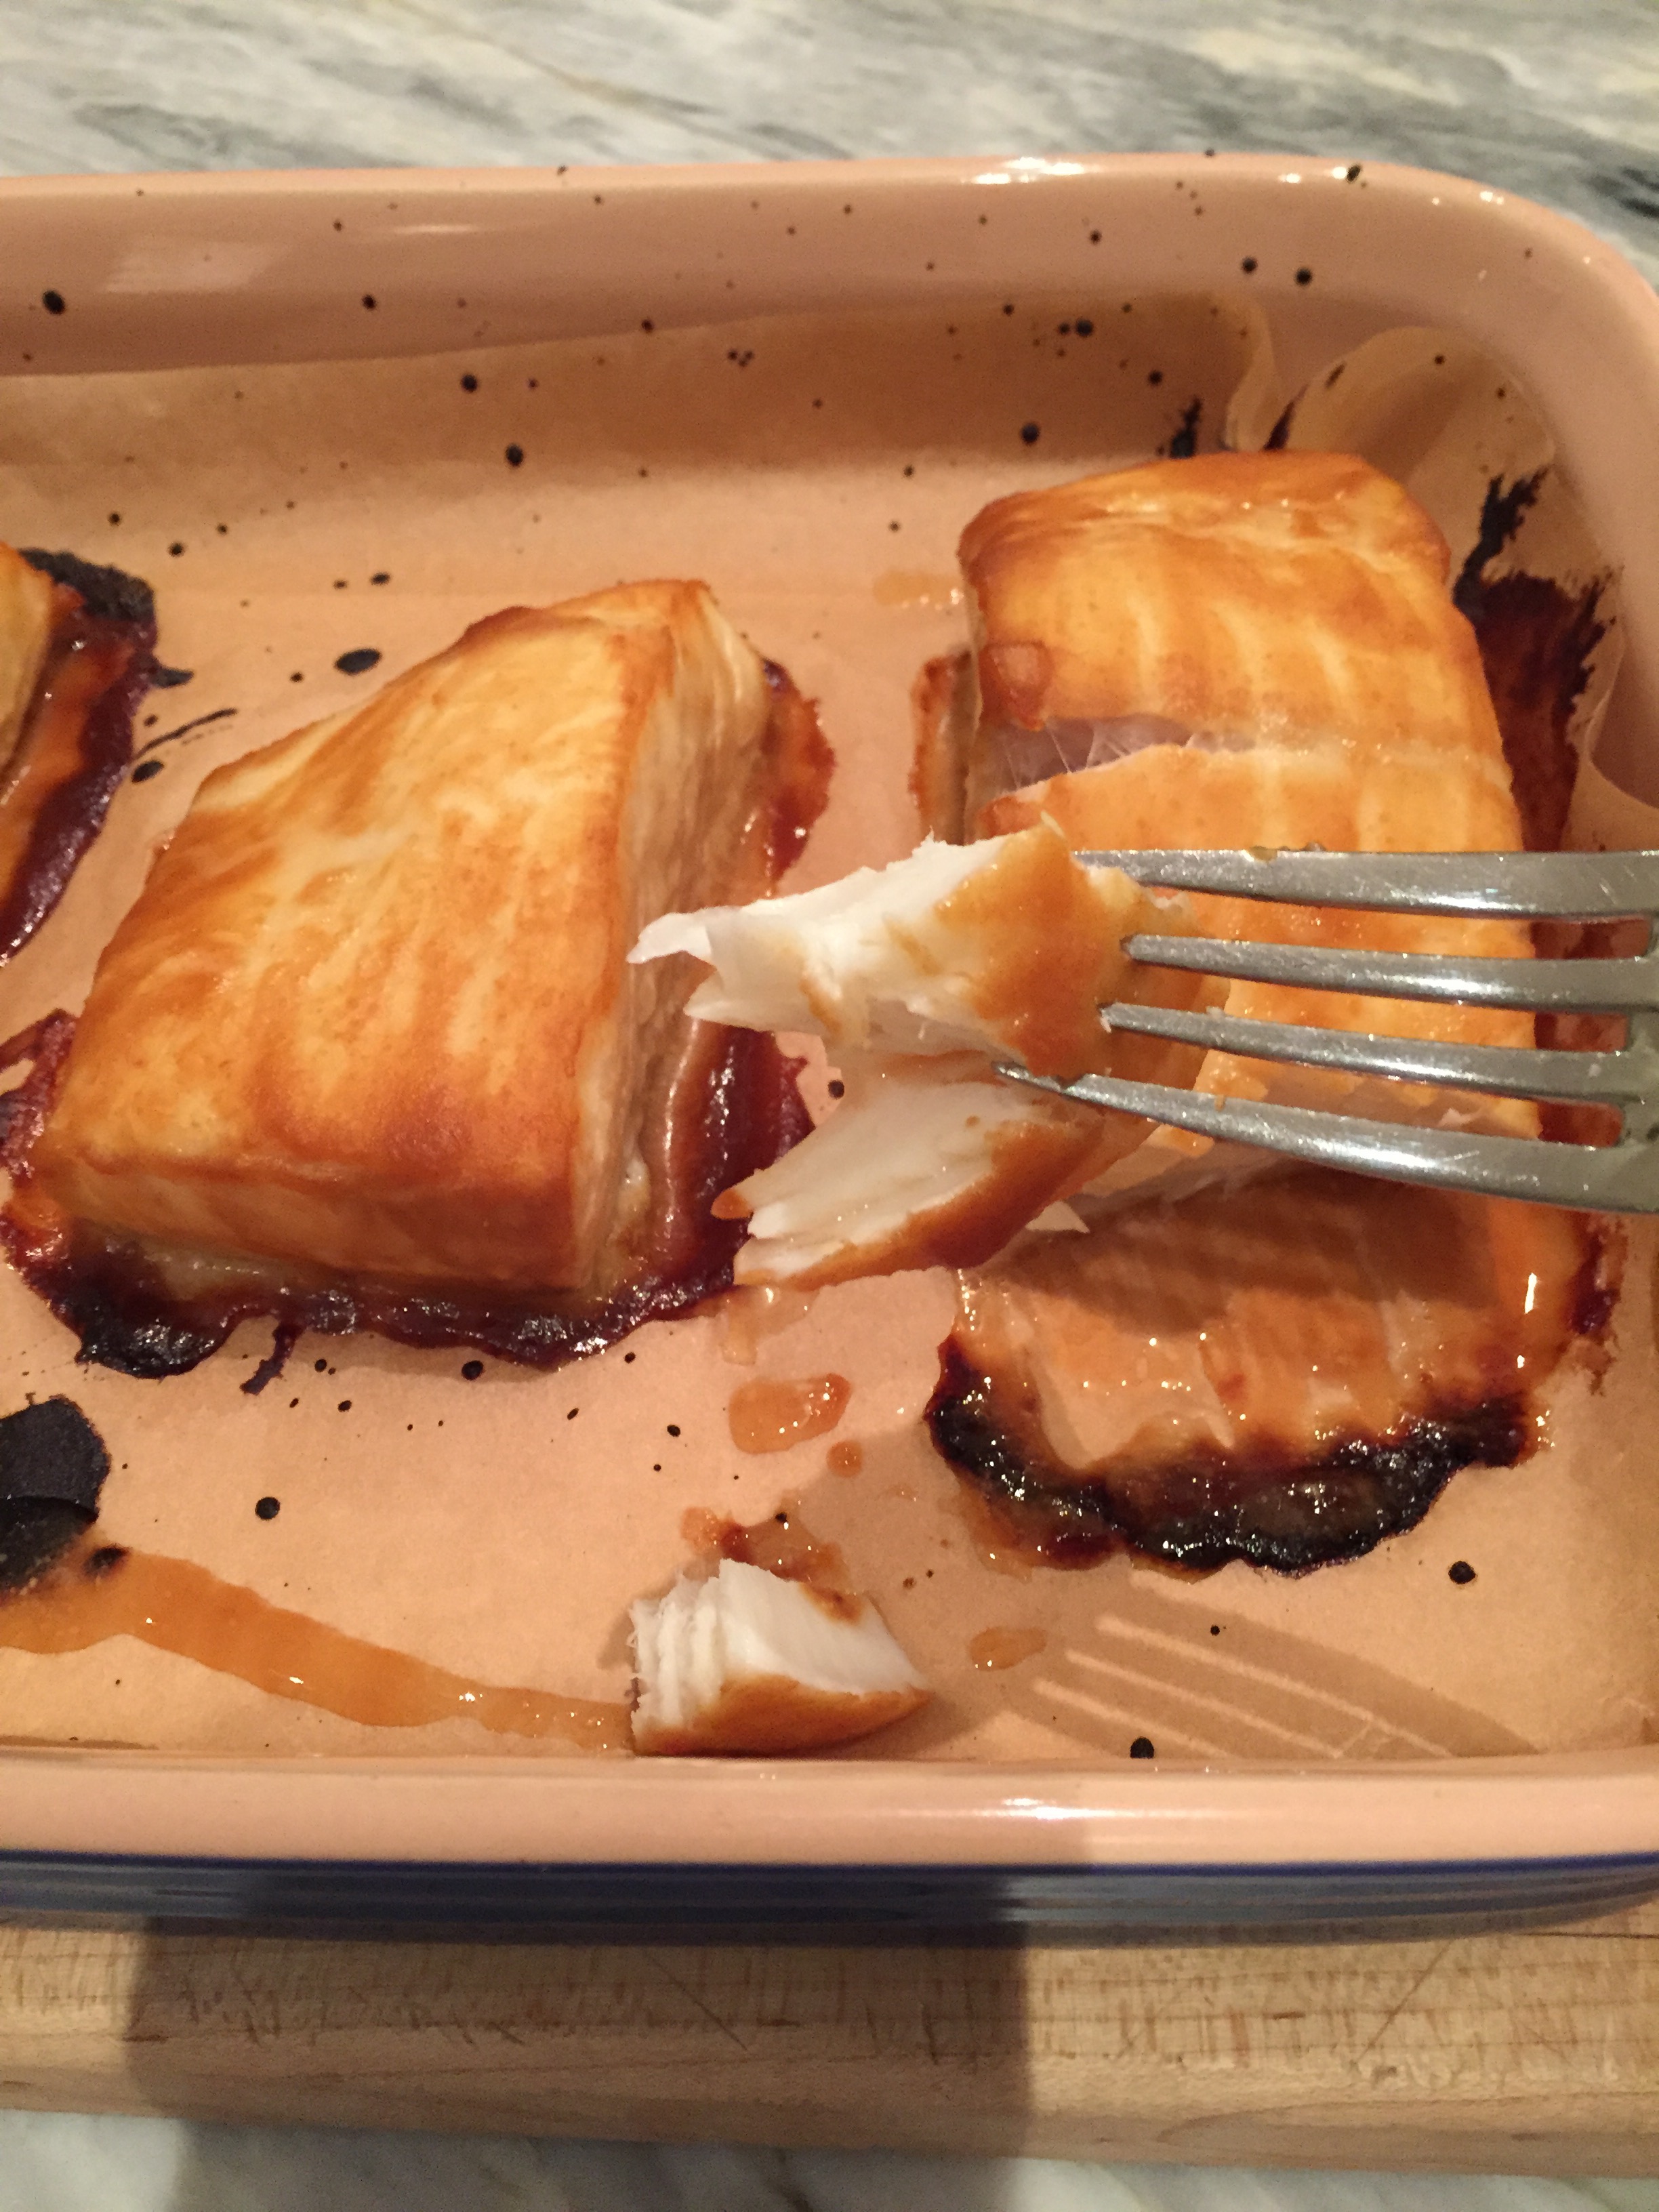
Place fish in oven. Cook times will vary depending on thickness of the fish. I usually start checking at the 15 minute mark. The fish is done when it is opaque in the center and easily flakes with a fork. Alternatively, you can place the fish under the broiler for approximately 6 minutes… but keep an eye on it, it can quickly burn.
*If you have sake, please feel free to use in place of vermouth. But we don’t have sake, and I probably won’t buy an entire bottle just to have on hand for this dish. Vermouth works well, as would dry sherry.
Put vermouth, rice vinegar, white miso, sugar, and black vinegar in a small saucepan.Place the saucepan over medium heat, and whisk the ingredients together until sugar dissolves.Miso glaze is done. Remove from heat and allow to cool briefly.The fillets are ready for the miso glaze.Using a pastry brush, off-set spatula, or spoon, glaze the top and sides of the fish.Place miso glazed fish into a 375°F oven. Bake for approximately 15-20 minutes, or until fish is opaque inside and can be easily flaked. Alternatively, place under a broiler for about 6 minutes, but remember to keep an eye on it! The glaze and fish can quickly burn.Out of the oven… the fish looks done, but need to be sure.Checking for doneness… the fish is opaque and easily flakes with a fork.Quickly served and then off to basketball and ballet! No time for a beautifully styled shot…
Sautéed Bok Choy with Ginger, Garlic, and Red Pepper Flakes
Ingredients:
2 heads of bok choy, rinsed and chopped
2 Tablespoons vegetable oil (I used grapeseed)
1-inch piece of ginger, peeled and cut in half
1 clove of garlic, peeled and smashed with the flat side of a knife
pinch of red pepper flakes
salt and pepper to taste
Instructions:
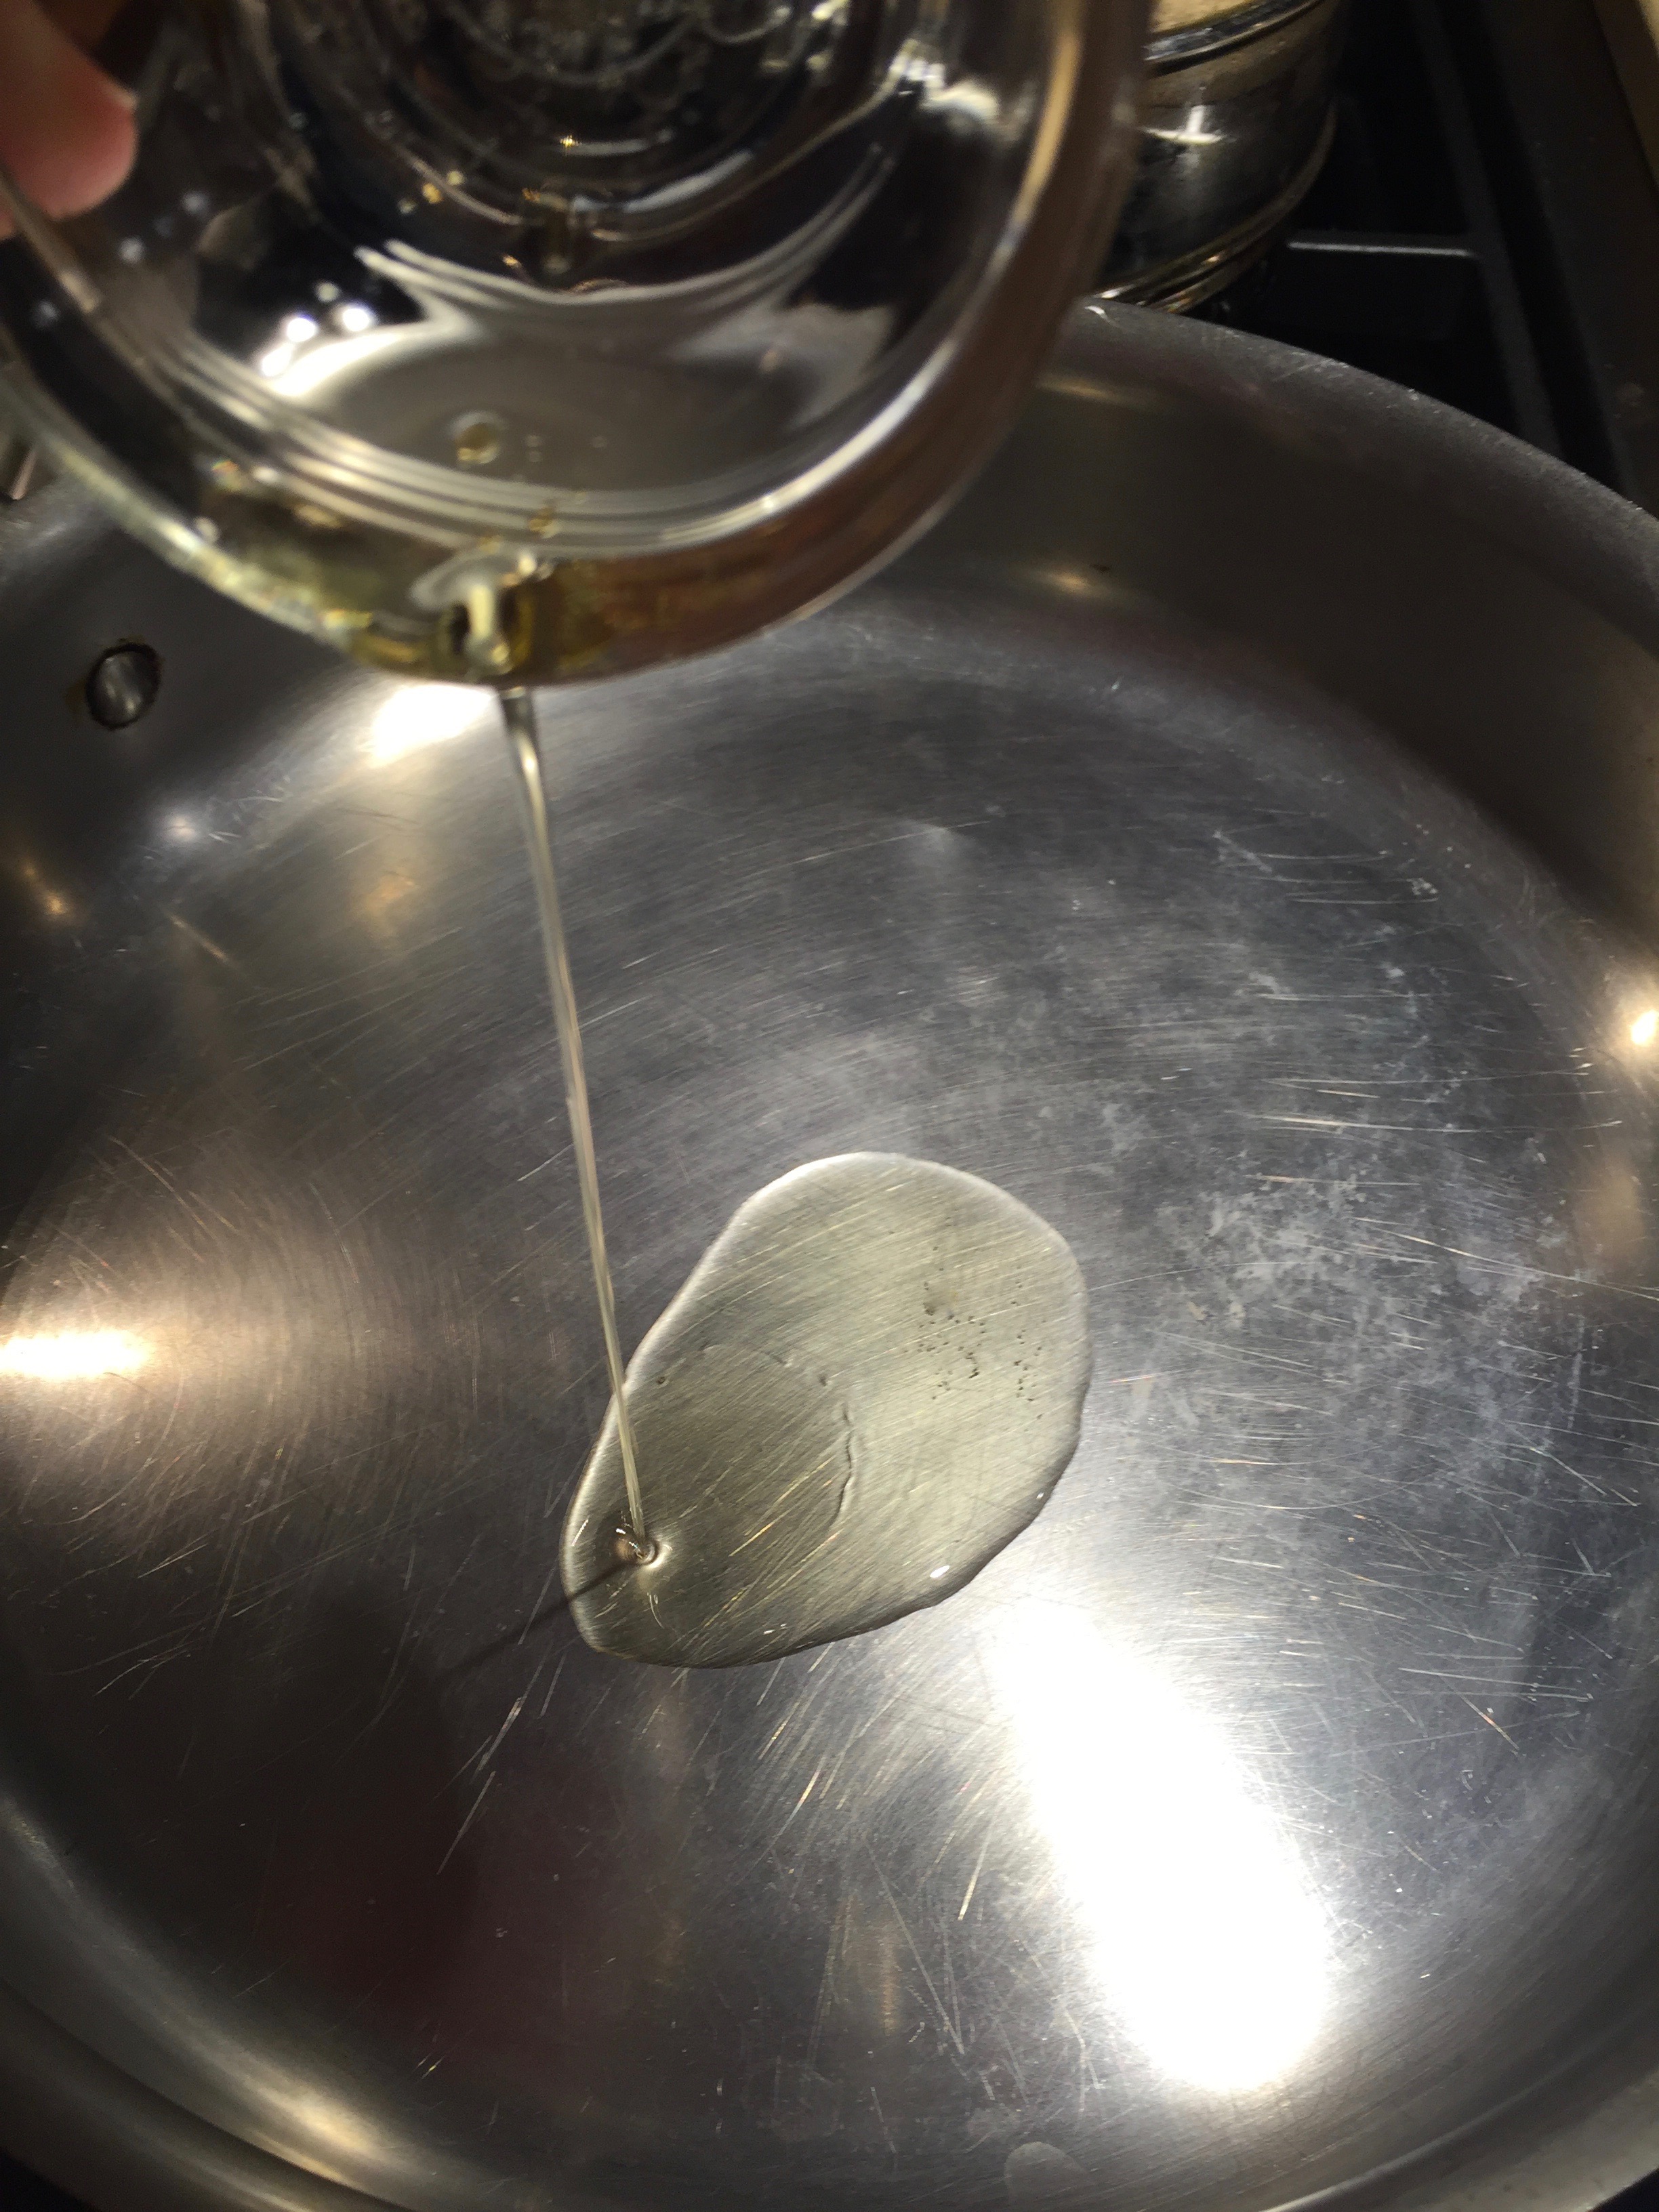
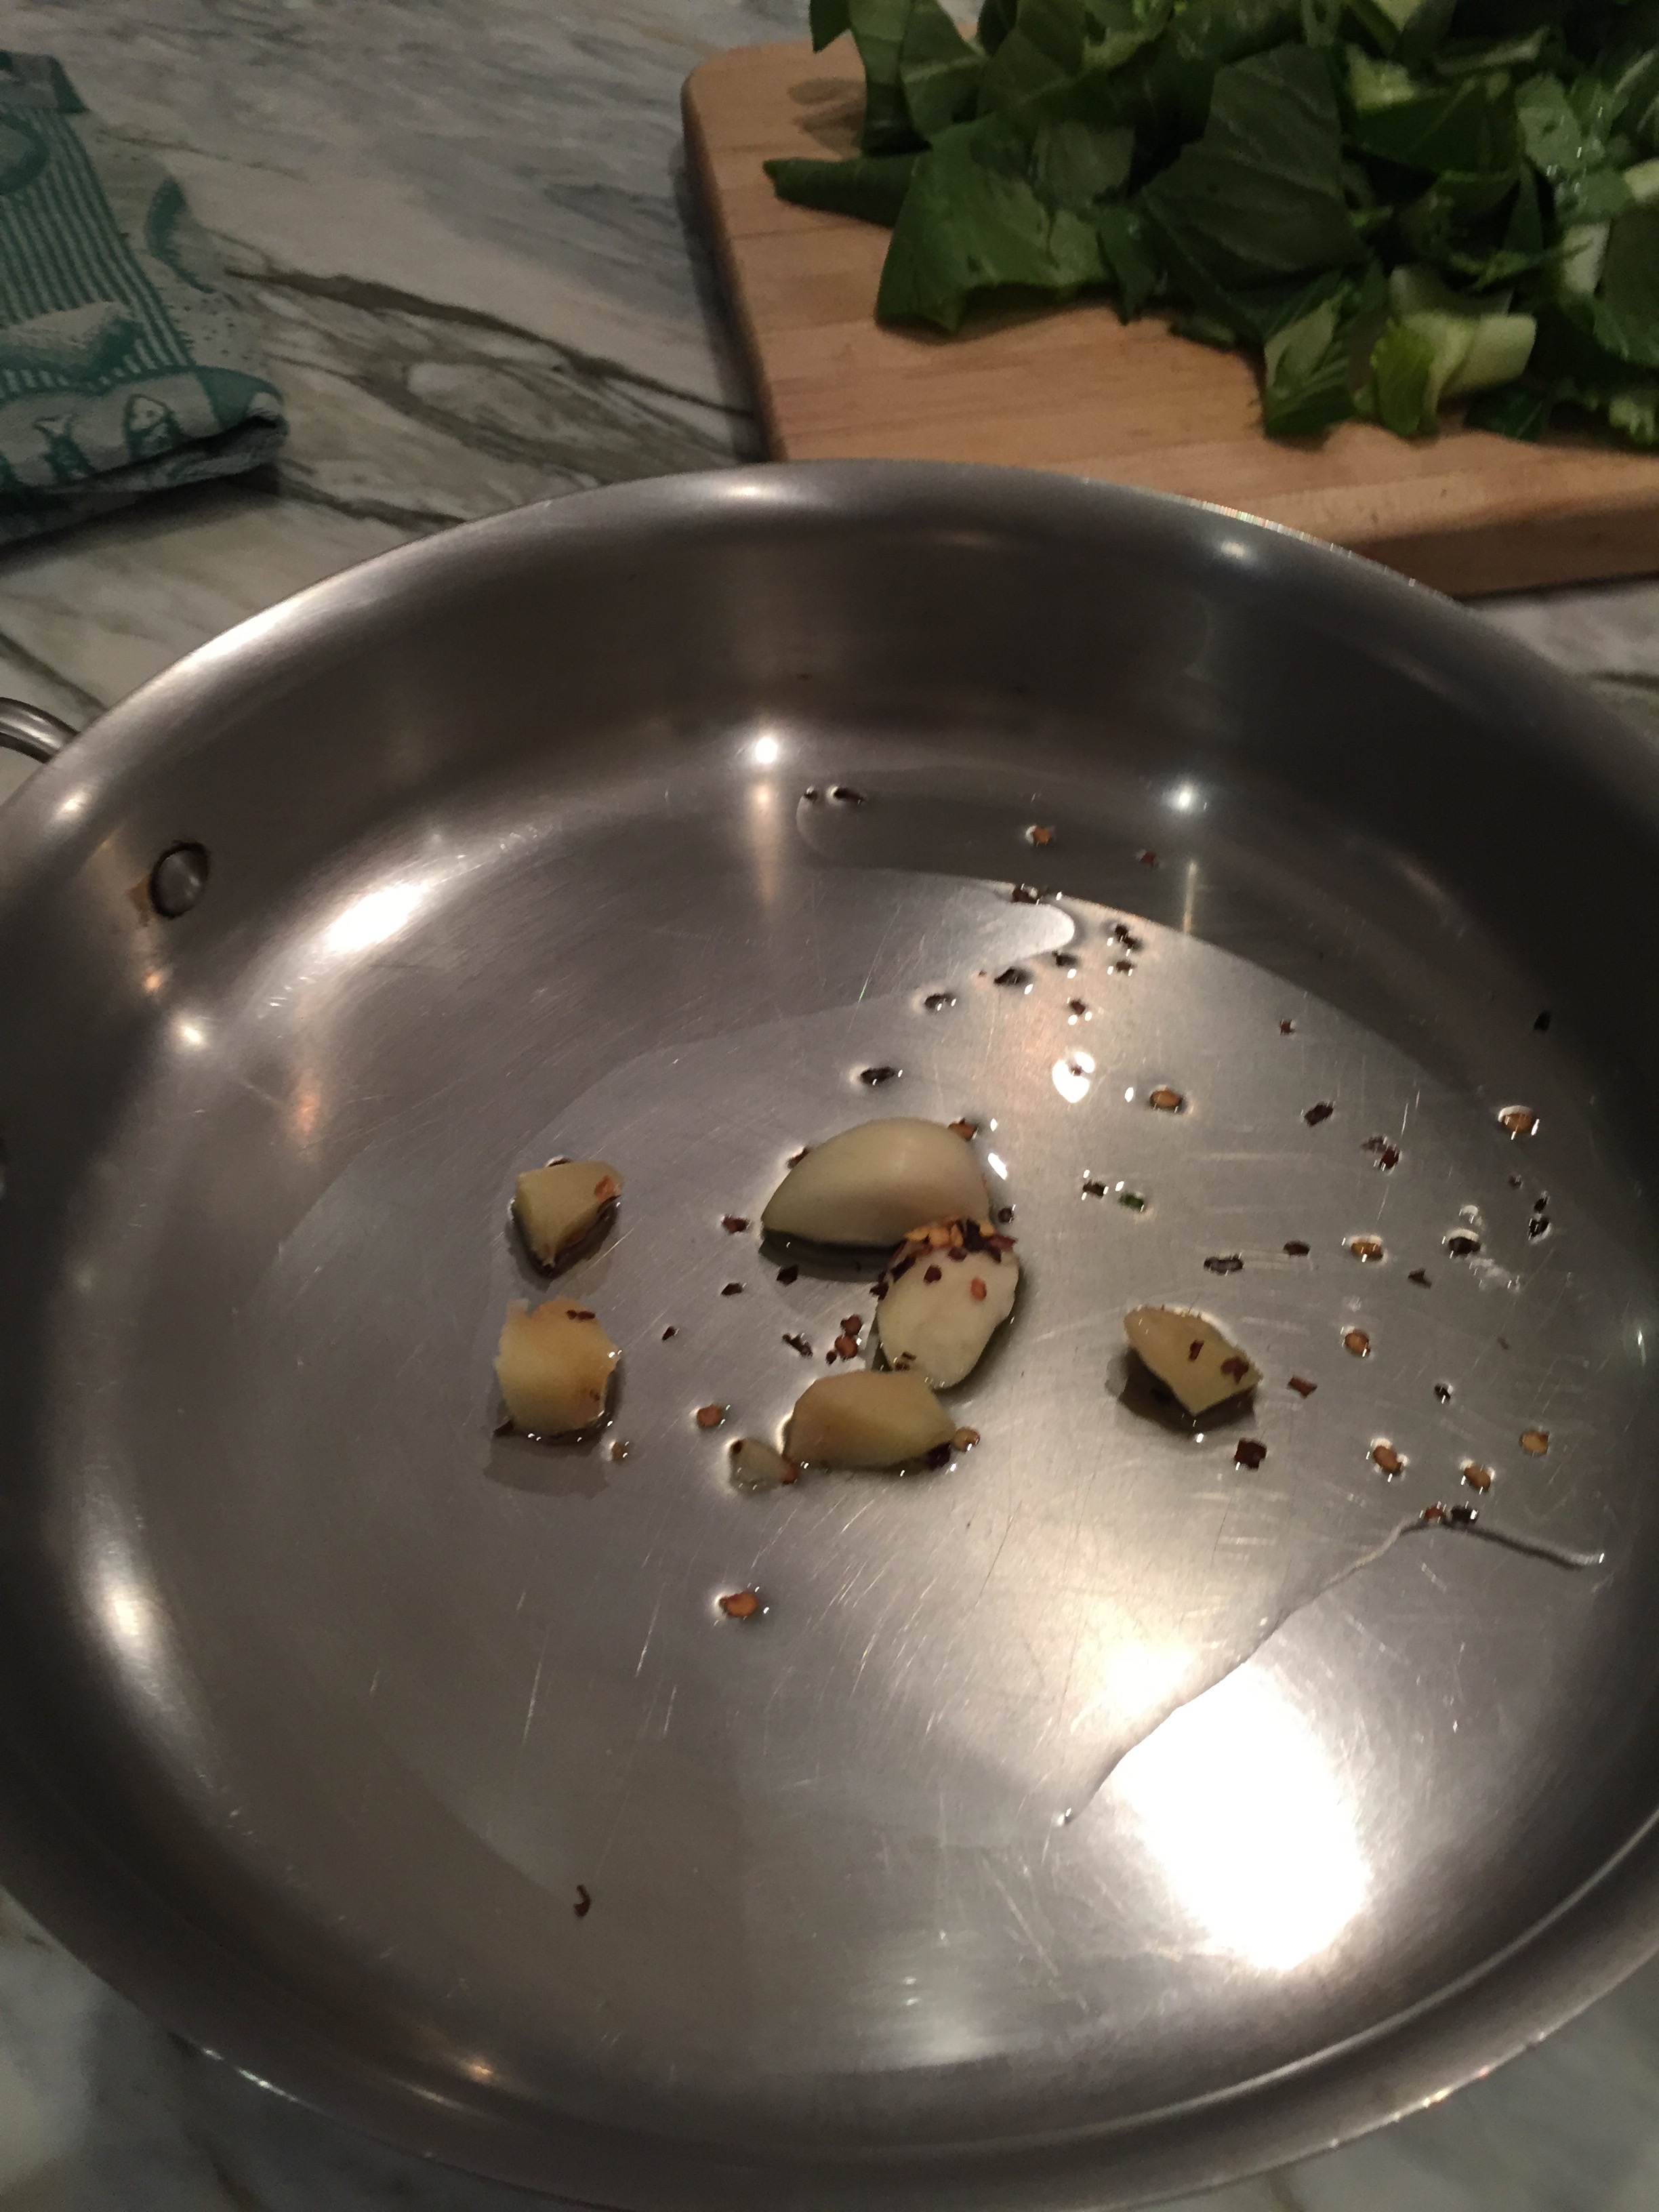
In a large skillet, heat vegetable oil over medium high heat. Add ginger, garlic, and red pepper flakes, stirring frequently for approximately 1 minute. The ginger, garlic, and red pepper flakes are there to flavor the oil.
Add chopped bok choy to skillet, stirring so that it mingles with the oil. Reduce heat to medium low and cover. The water from rinsing the bok choy will help steam it. Cook for 3-5 minutes, checking and stirring occasionally.
Season to taste with salt and pepper. Serve immediately.
The bok choy will reduce down by quite a bit. The leaves will wilt and stems will be tender but retain some crunch. We happen to like the contrast of textures, but if you’d prefer more uniformity, give the stems a head start by adding them to the skillet first. A minute or so later, add the leafy part of the bok choy.
Rinse and chop the bok choy. Peel and cut a 1-inch piece of ginger in half. Peel a garlic clove and smash with the flat side of a knife. If you want a little bit of spice, you’ll also need a pinch of red pepper flakes.In a large skillet over medium high heat, warm a tablespoon of vegetable oil with ginger, garlic, and red pepper flakes for a minute or so. Watch carefully, so the garlic doesn’t burn.Stir in the bok choy so that all the pieces have had a chance to meet the garlic, ginger, and red pepper flakes. Reduce heat to medium low and cover.Cook for 3-5 minutes until leaves have wilted and stems are slightly tender, but retain a bit of crunch.
Being part of a CSA has so many benefits… supporting and connecting with local farmers while picking up my weekly share under a tent in a field is far more interesting than maneuvering the aisles of the grocery store, and enjoying veggies that were literally just picked earlier that day, they don’t get any fresher and more delicious! Because the nature of a CSA promotes a “you get what you get, and you don’t get upset” mentality, another benefit is that I’m challenged to finds ways to use vegetables that I normally would pass by, as well as the ones that I don’t care for (I’m talking to you zucchini).
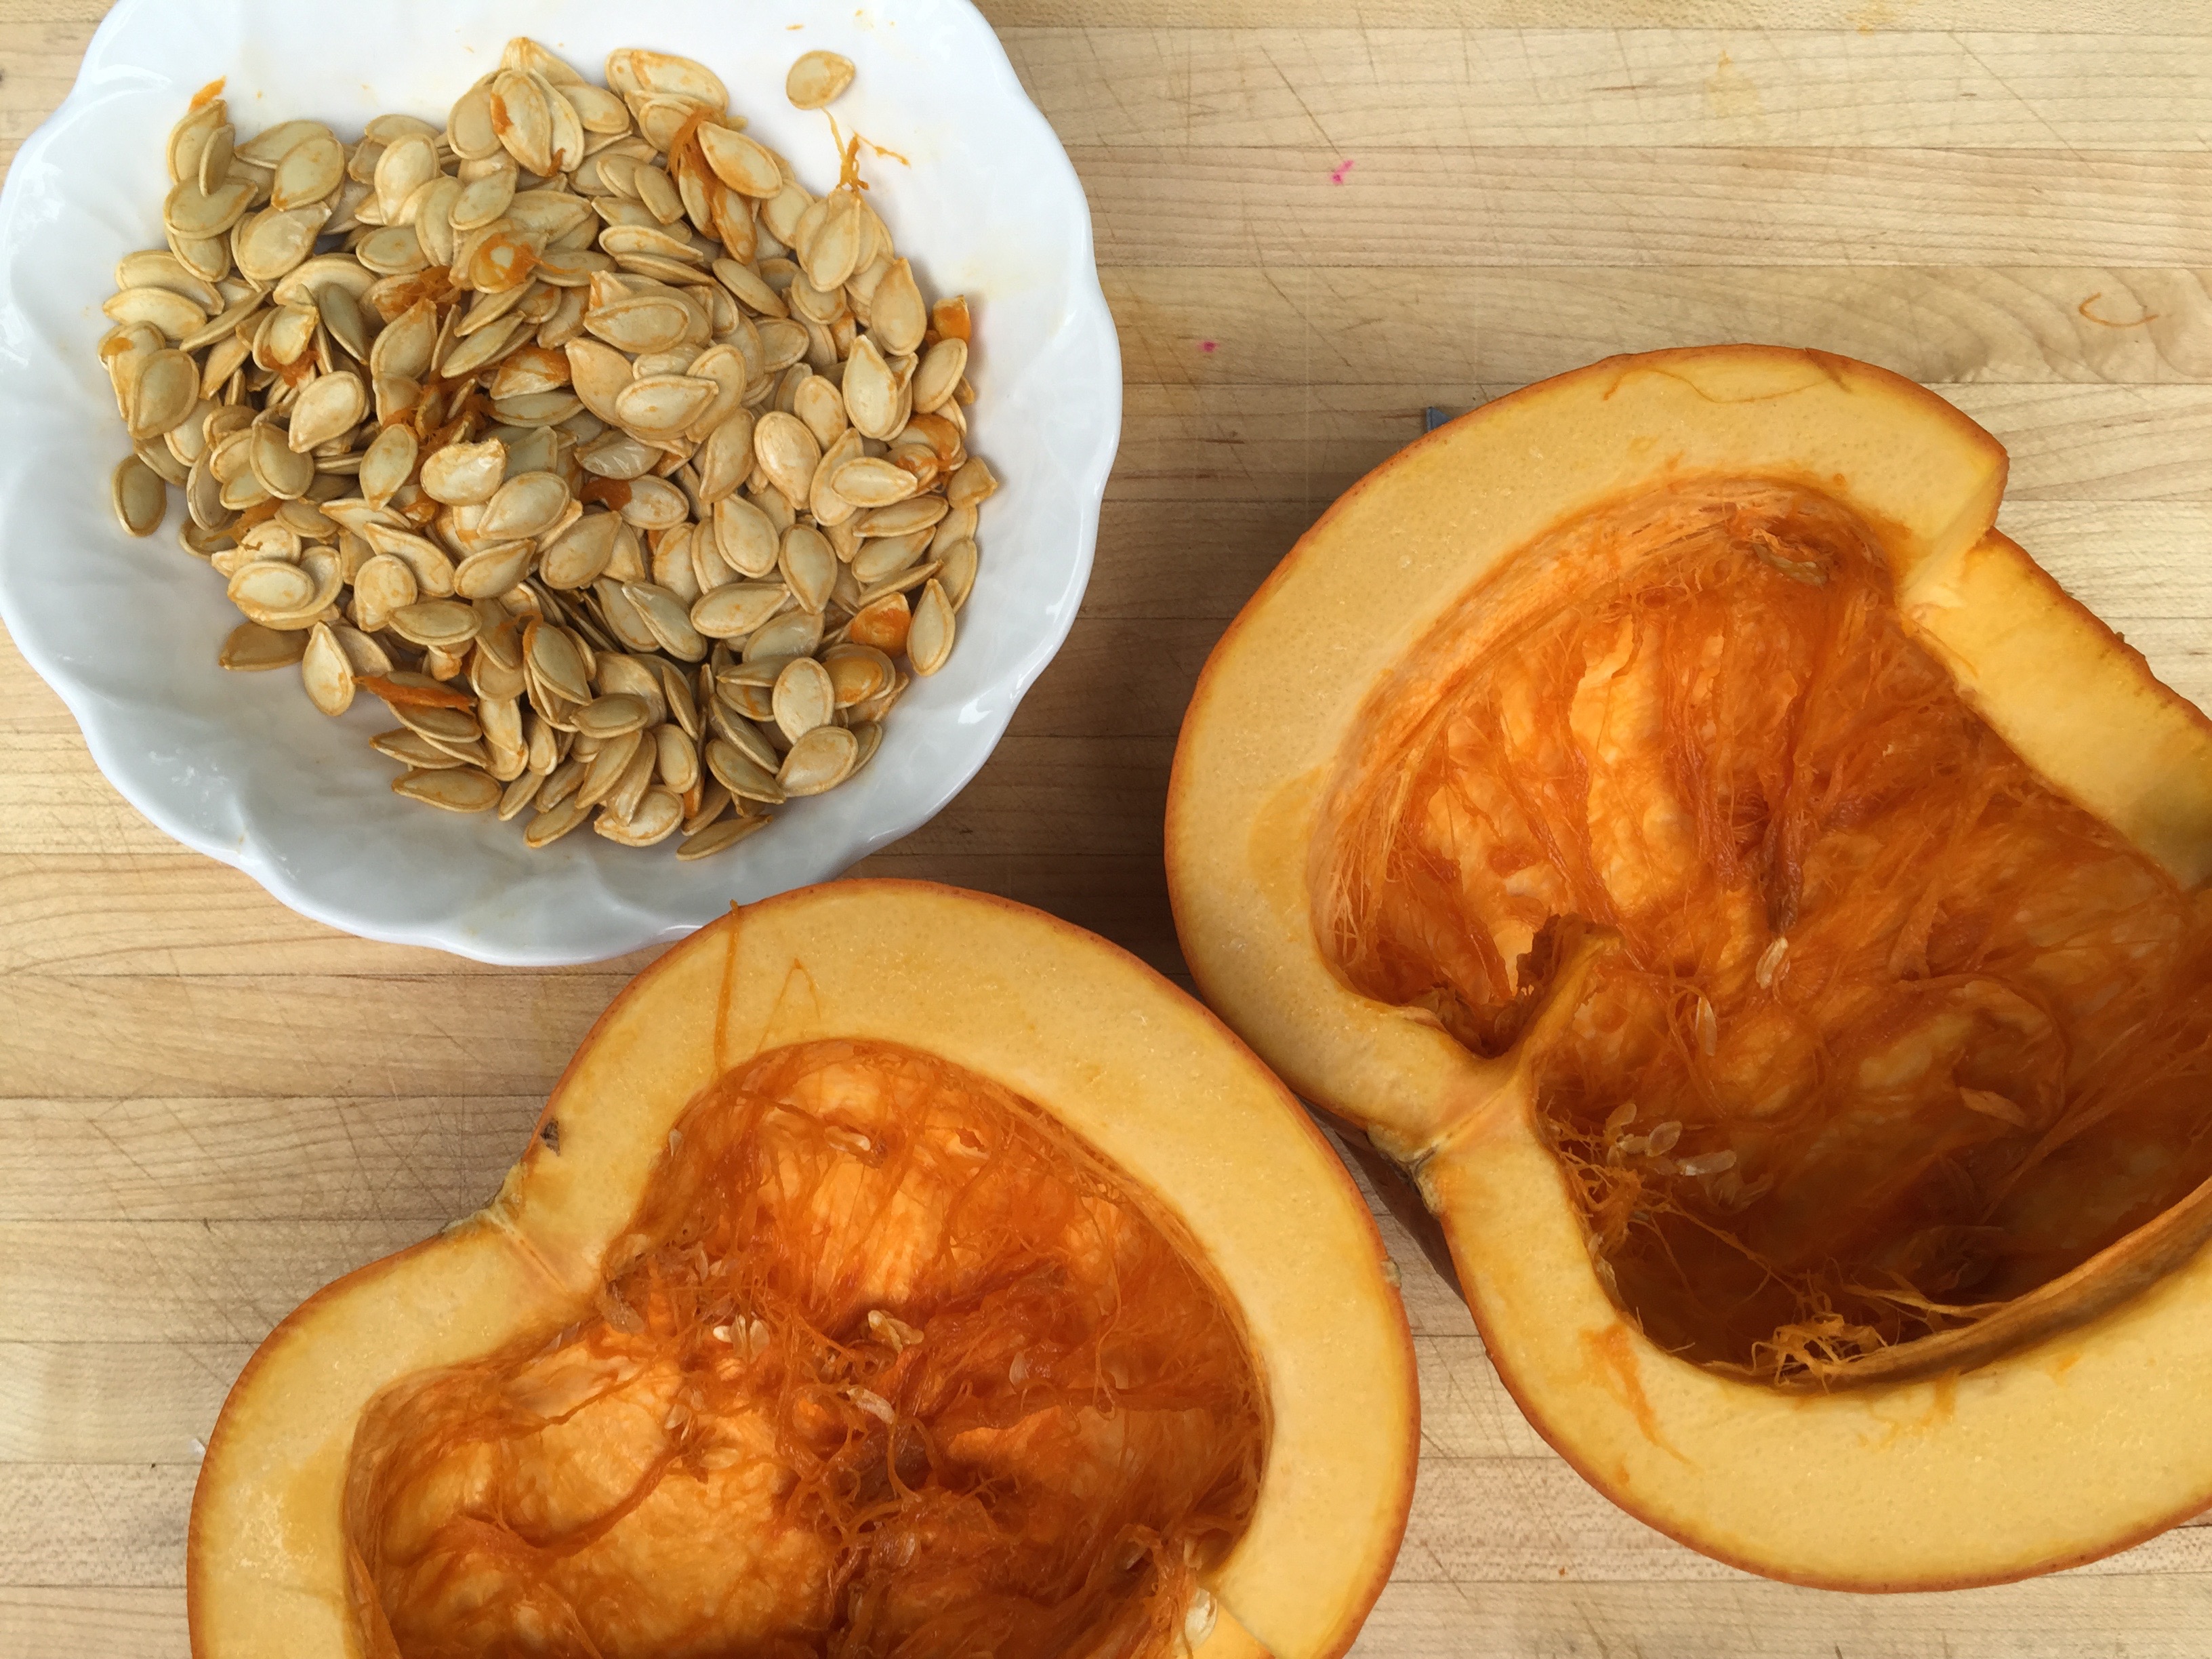
Each fall, sugar or pie pumpkin make appearances in our CSA pick up. At first I was intimidated, my hands on experience with pumpkin was limited to a once a year carving for Halloween, followed by roasting the seeds. The only other pumpkin I had ever used in the kitchen came from a can. But stretched to do something with this new addition to the weekly pick up, I found myself roasting pumpkins. It couldn’t be any easier. Lately, more and more sugar and pie pumpkins are showing up at the grocery store, so I can’t be the only one using them. And while definitely not necessary because canned pumpkin is so good (though it may not be all “pumpkin”), roasting your own pumpkin is fun to try.
***Important note- Do NOT use jack-o-lantern pumpkins, they are far too watery! Instead, look for small sugar or pie pumpkins, usually in the 3-6lb range.***
Instructions:
Preheat oven to 375°. Line a baking sheet with parchment or foil.
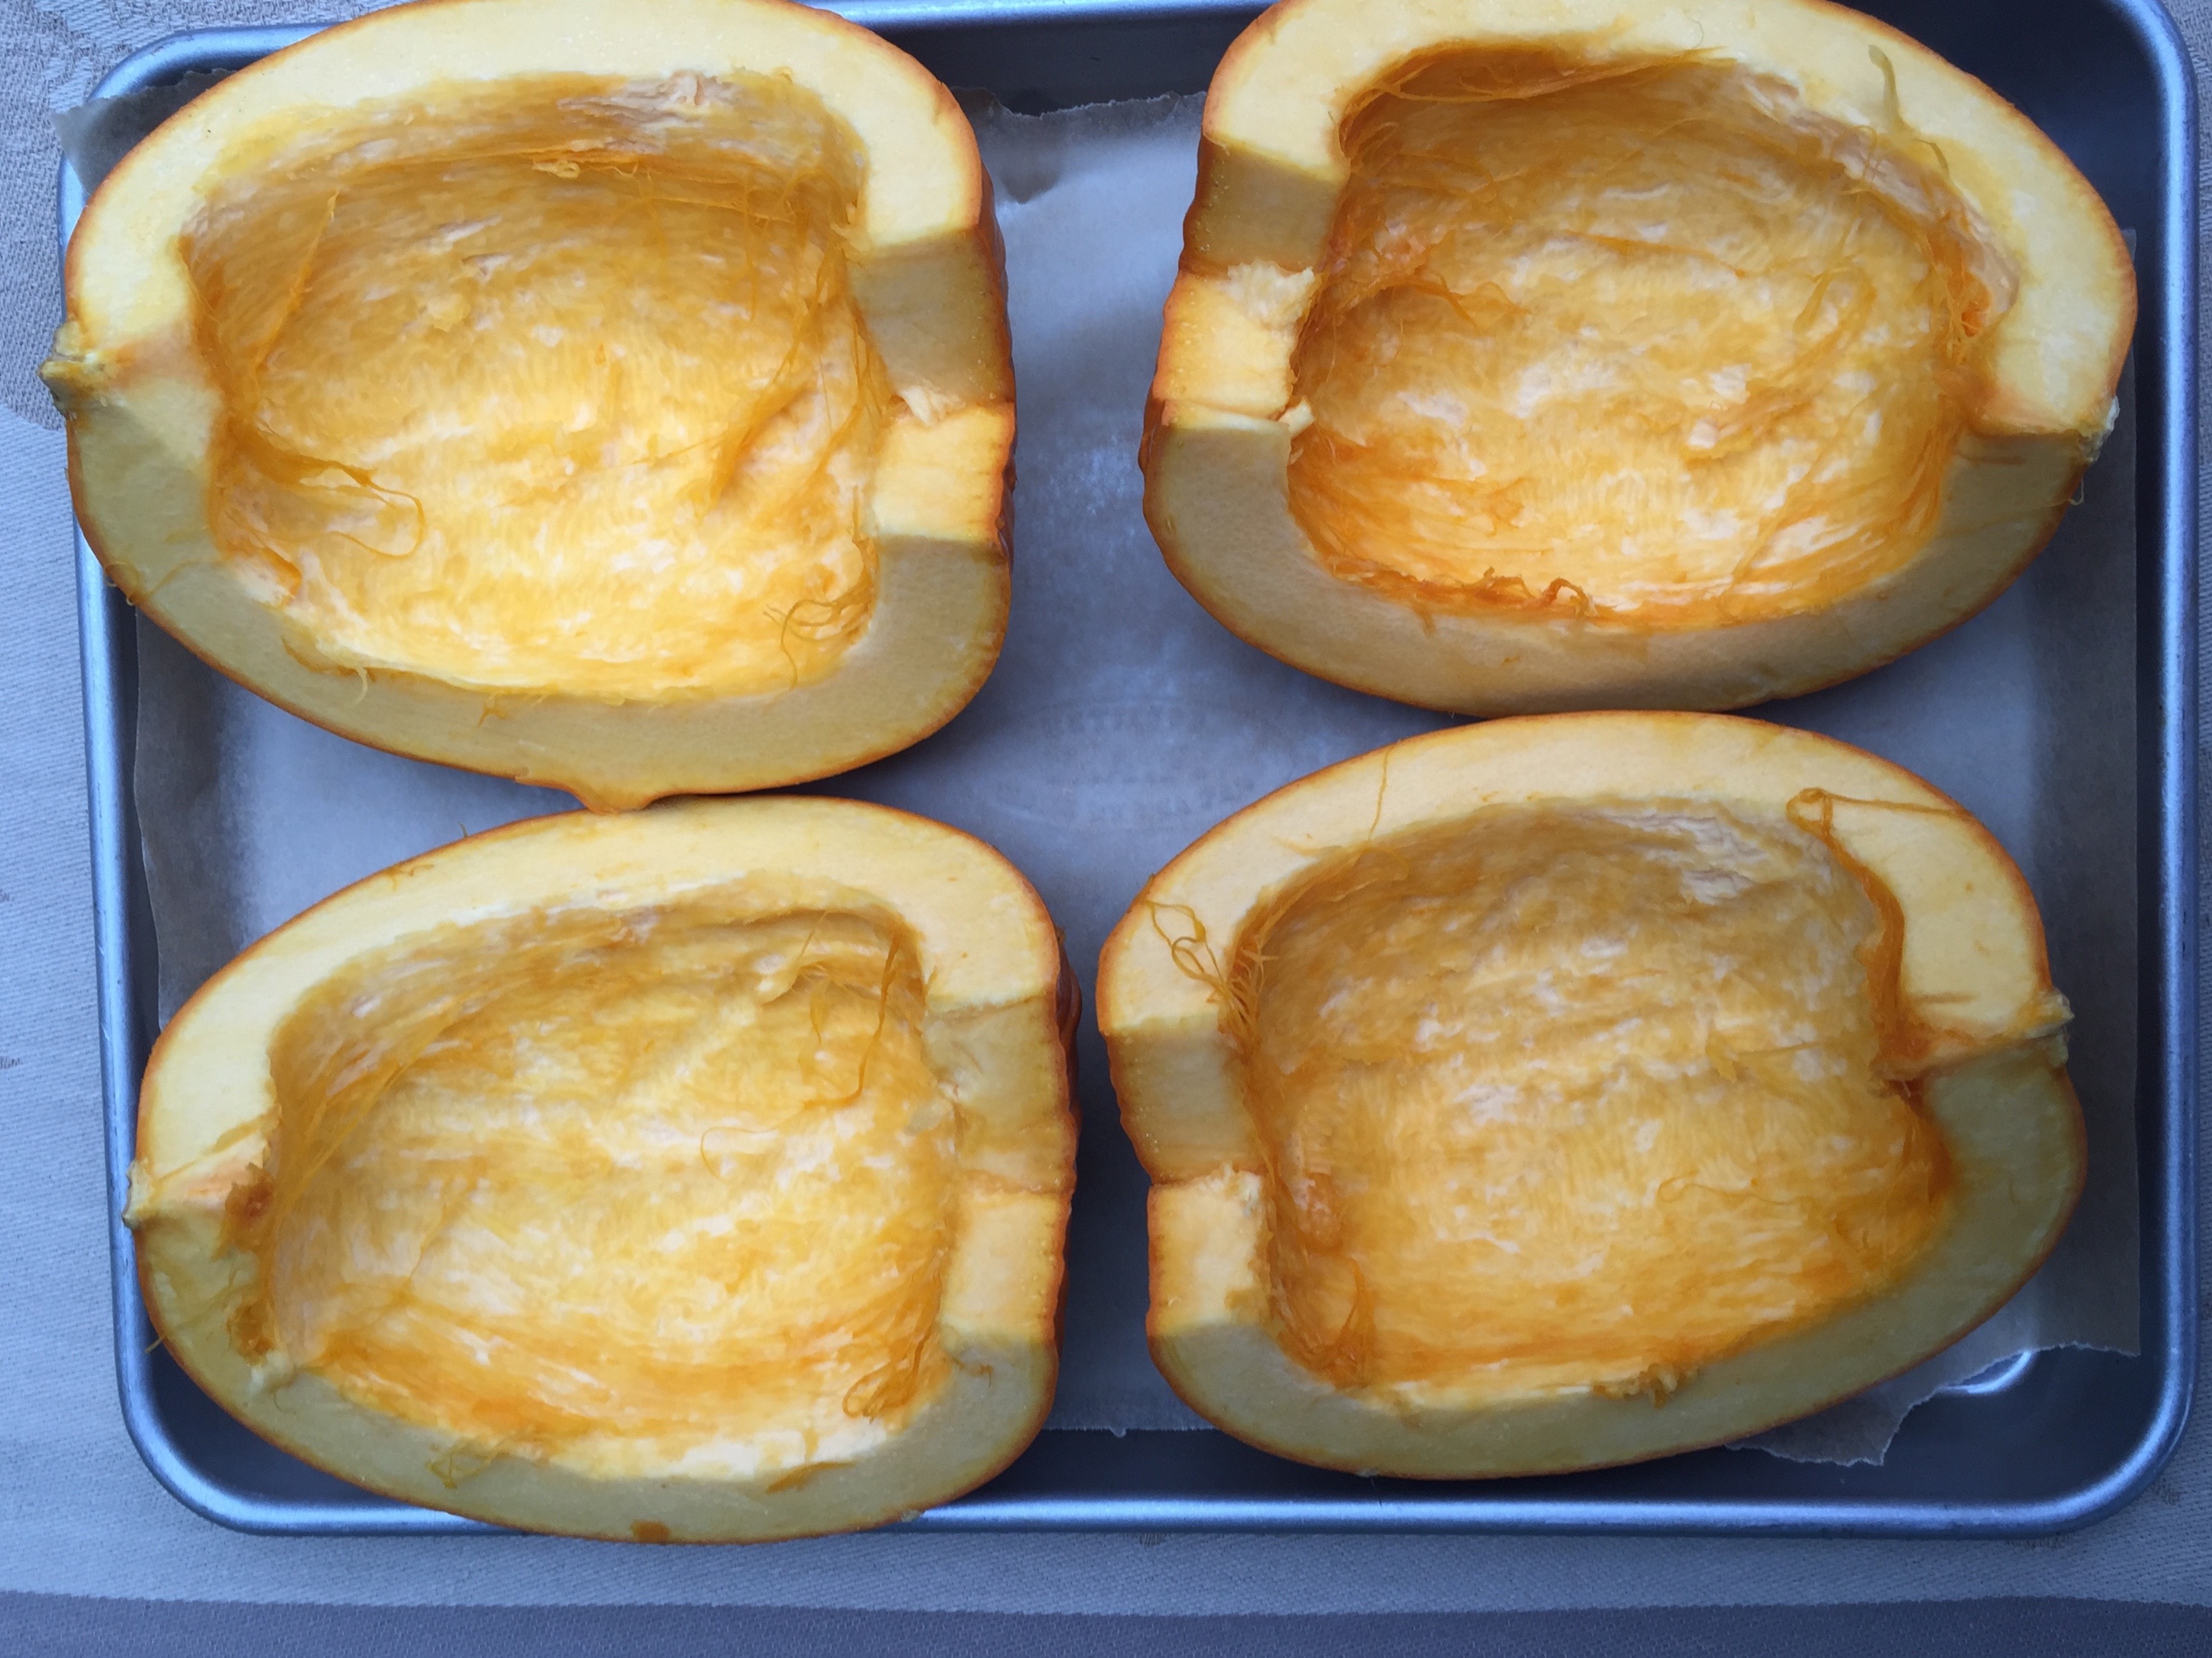
Remove stem and cut pumpkin in half. Scoop out seeds (save and roast later) and using a spoon, scrape out stringy pulp. Cut each half in half, so that you have 4 quarters.
Transfer pumpkin quarters to lined baking sheet. Roast until fork tender, about 45 minutes.
When cool enough to handle, use a spoon to scoop out the flesh and purée in a food processor or simply mash it.
Use in any recipe that calls for canned pumpkin or pumpkin purée. This purée also freezes well.
Using a large chef’s knife, cut the pumpkin in half and scoop out the seeds. Remember to save the seeds for roasting.Scrape away any stringy pulp and discard. Place the pumpkin pieces on a parchment lined sheet pan.Pumpkin is done when it is easily pierced with a fork.When cool enough to handle, scoop out the flesh.Either purée in a food processor or mash. Use as you would in any recipe calling for canned pumpkin or pumpkin purée.