My grandparents grew up in Ireland and for as long as I can remember my grandmother’s preferred chocolate was Cadbury’s. Among all the Cadbury choices, the Fruit and Nut bar was her favorite. However, it wasn’t always easy to get Cadbury chocolates in the US so she had to find an alternative to satisfy her sweet tooth. Success was achieved when Nanny discovered the Chunky Bar. Do you remember Chunky Bars? They were thick cubes of chocolate studded with nuts and raisins, all wrapped in silver foil.
I’m not sure which came first… did the Fruit and Nut Bar or Chunky Bar inspire this bark, or did the taste memories come flooding back after the first bite? In either case, this treat would definitely meet Nanny’s approval. It’s the perfect blend of a fruit and nut studded candy bar and chocolate bark. Like a candy bar, the sweetness of the dried fruit, partnered with the crunch of the nuts, encased in dark chocolate is such a fantastic combination. Spread thin and topped with more dried fruit and toasted nuts brings it closer to a bark. Sprinkled with sea salt pushes it over the top. Excellent with a glass of red wine after dinner or a quick pick me up mid-day; another option is to leave out a small platter of the bark so that every time you walk by you grab a nibble. Not that I’ve ever done that. No judging here.
Dark Chocolate Bark with Toasted Nuts, Dried Fruit, and Flaky Sea Salt
Ingredients:
12 ounces bittersweet chocolate, chopped (or one 11.5oz bag of bittersweet chocolate chips)
2/3 cup mixed toasted nuts, roughly chopped (such as walnuts, almonds, cashews)
2/3 cup mixed dried fruit (such as raisins, cherries, blueberries, cranberries)
sprinkling of flaked sea salt
Instructions:
Line small baking sheet with foil.
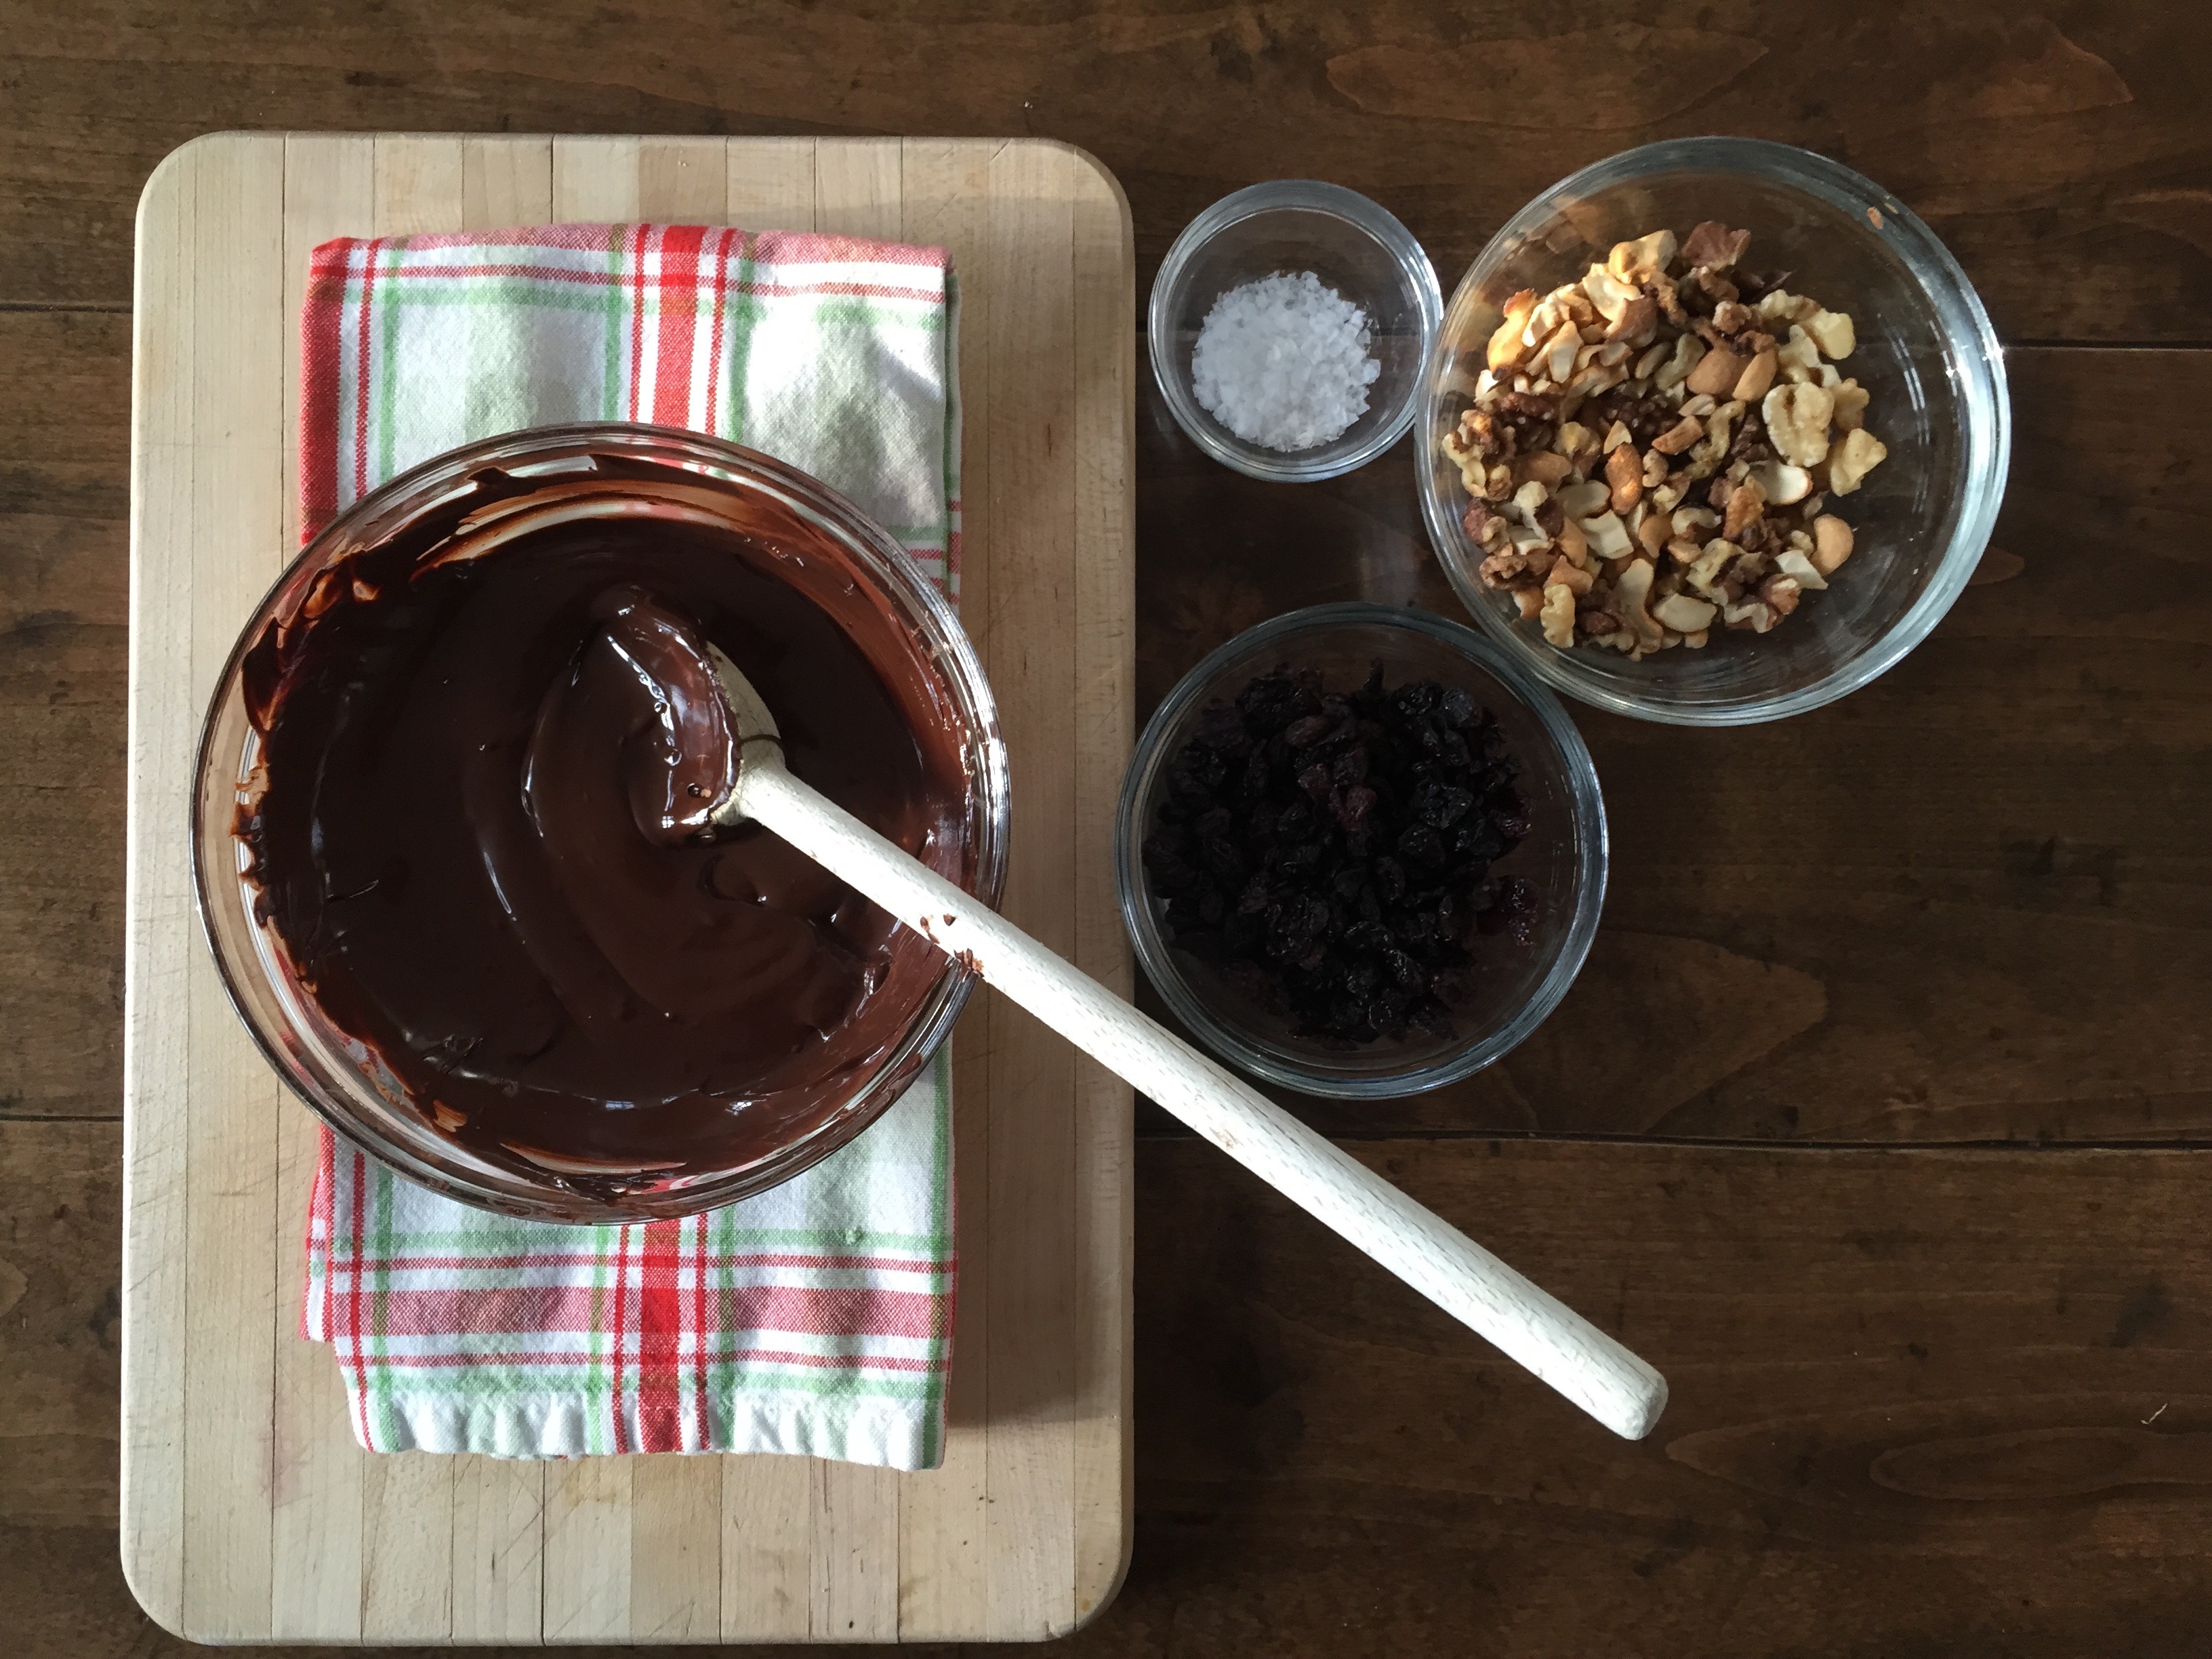
Melt chocolate in heatproof medium sized bowl set over saucepan of simmering water, stirring until melted and smooth.
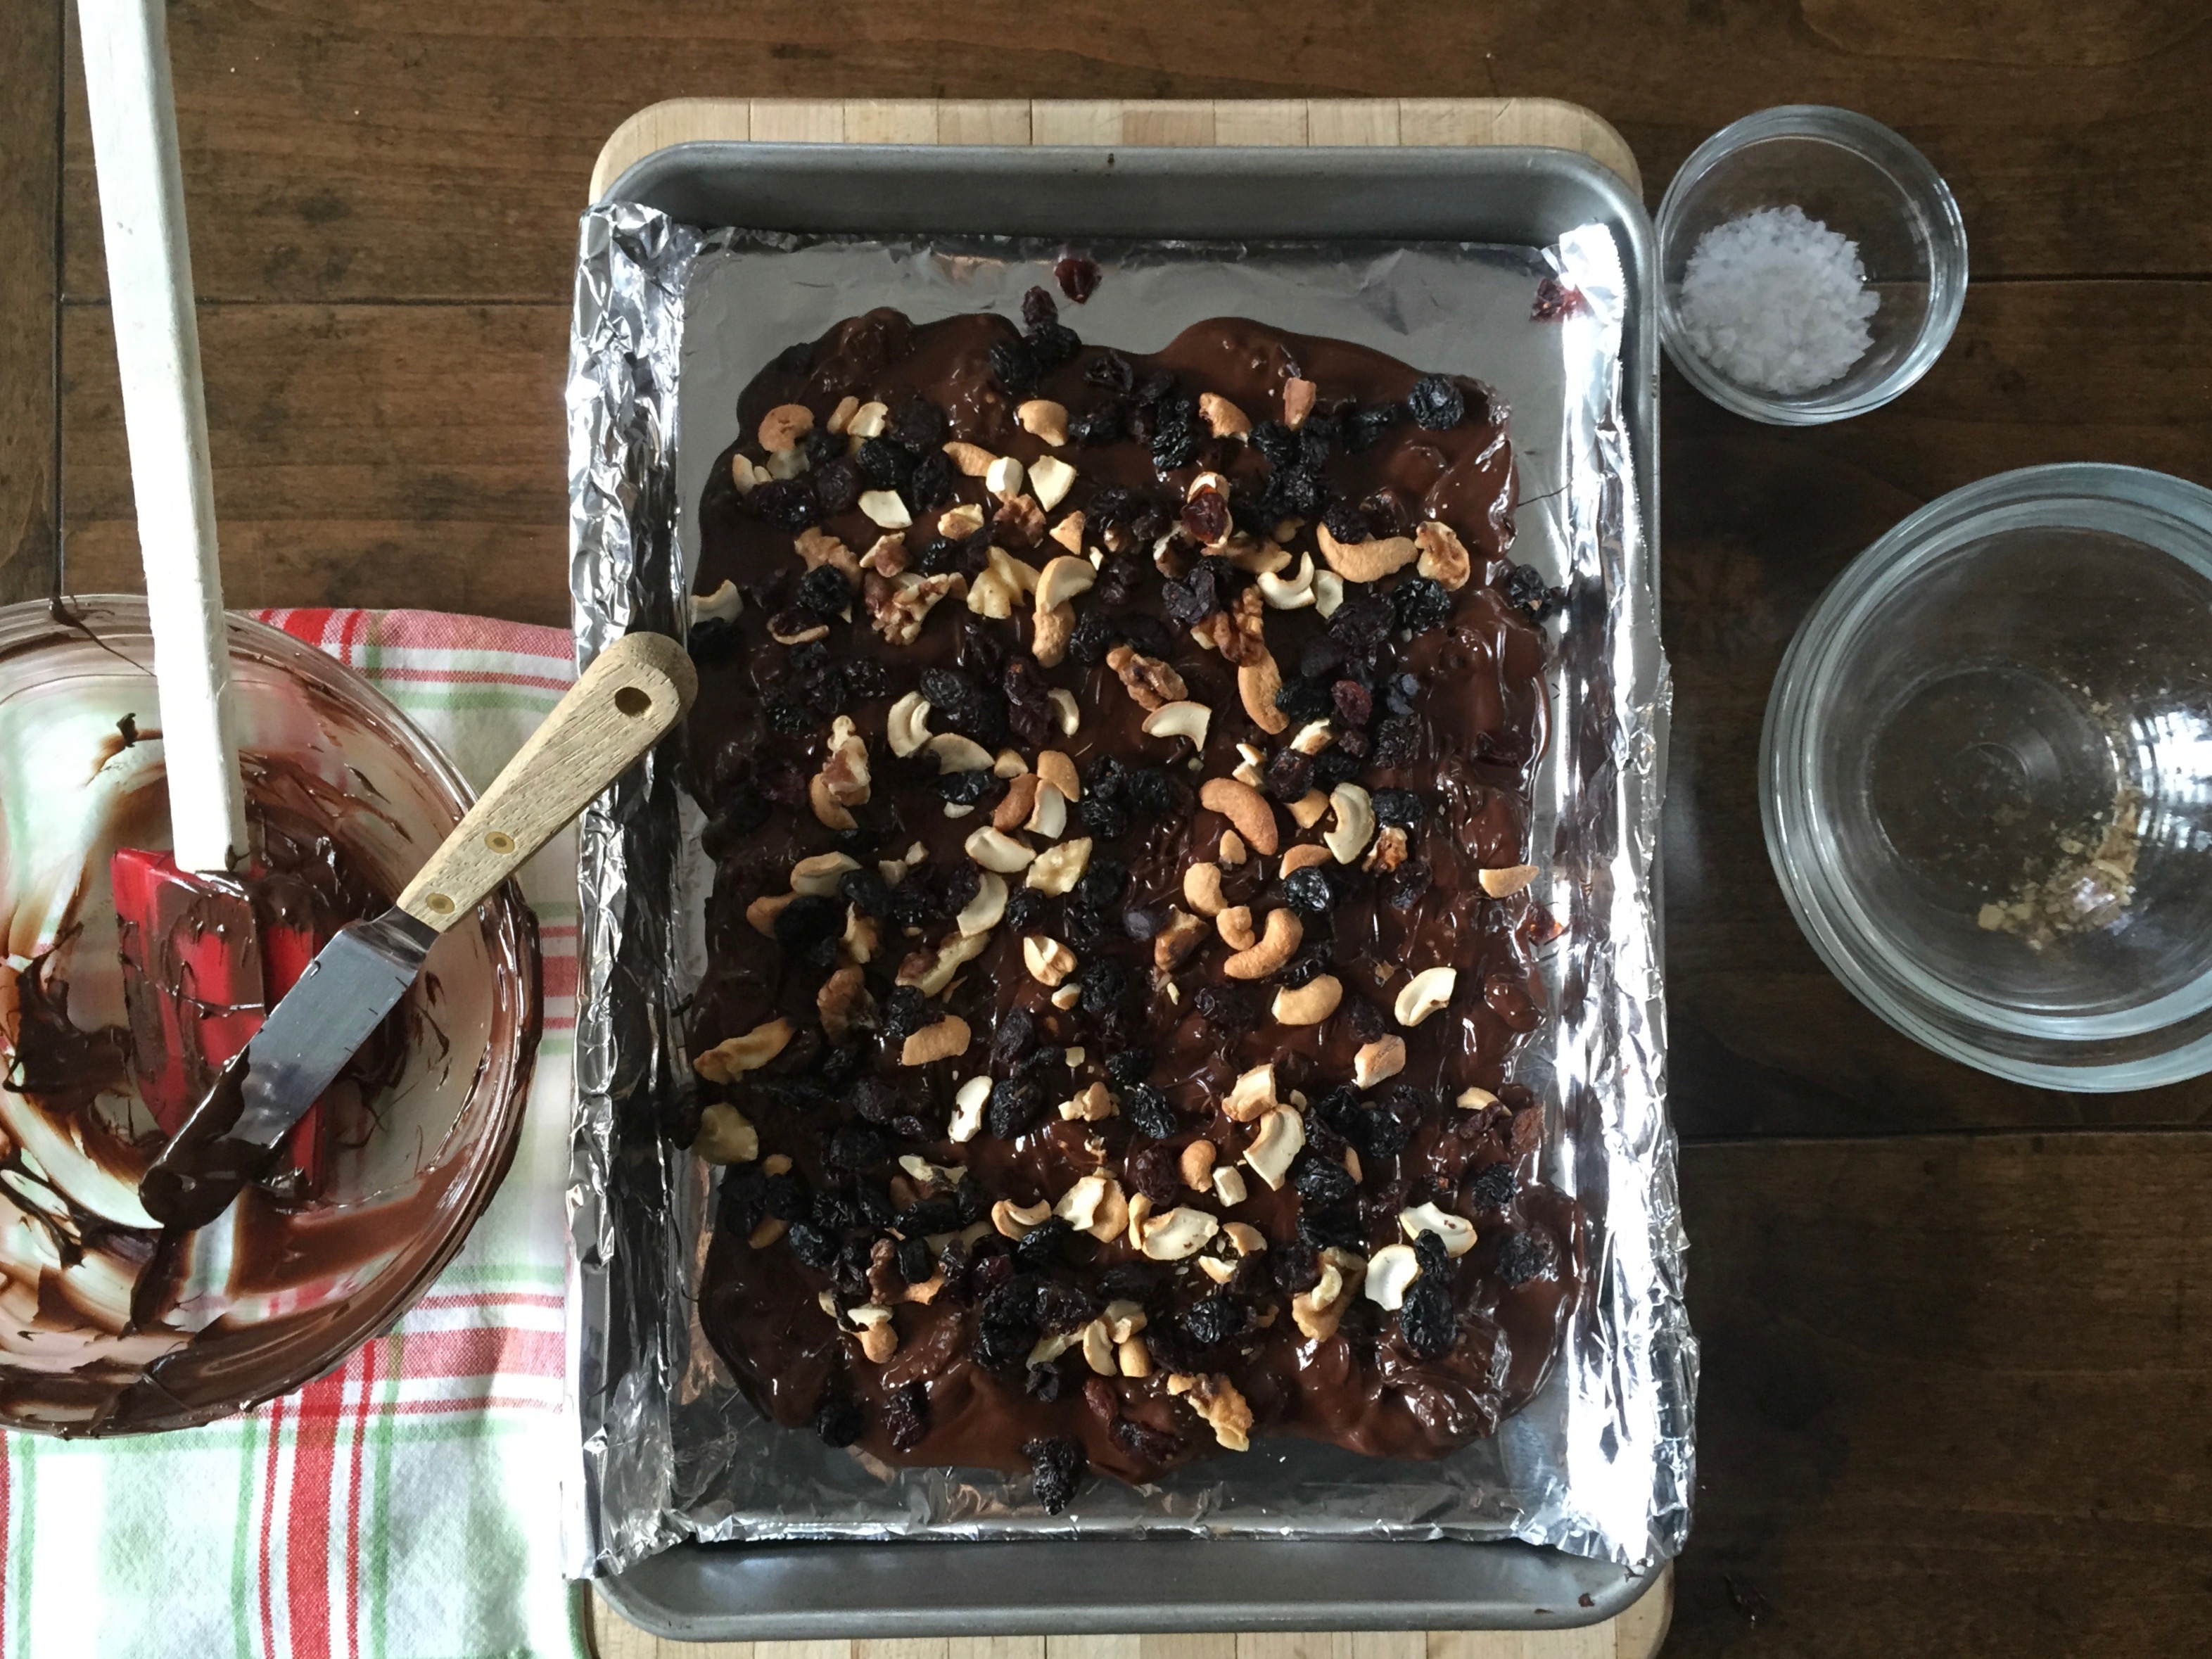
Stir in half of toasted nuts and half of mixed dried fruit. Pour melted chocolate mixture onto foil, spreading with offset spatula to thickness of scant 1/4 inch.
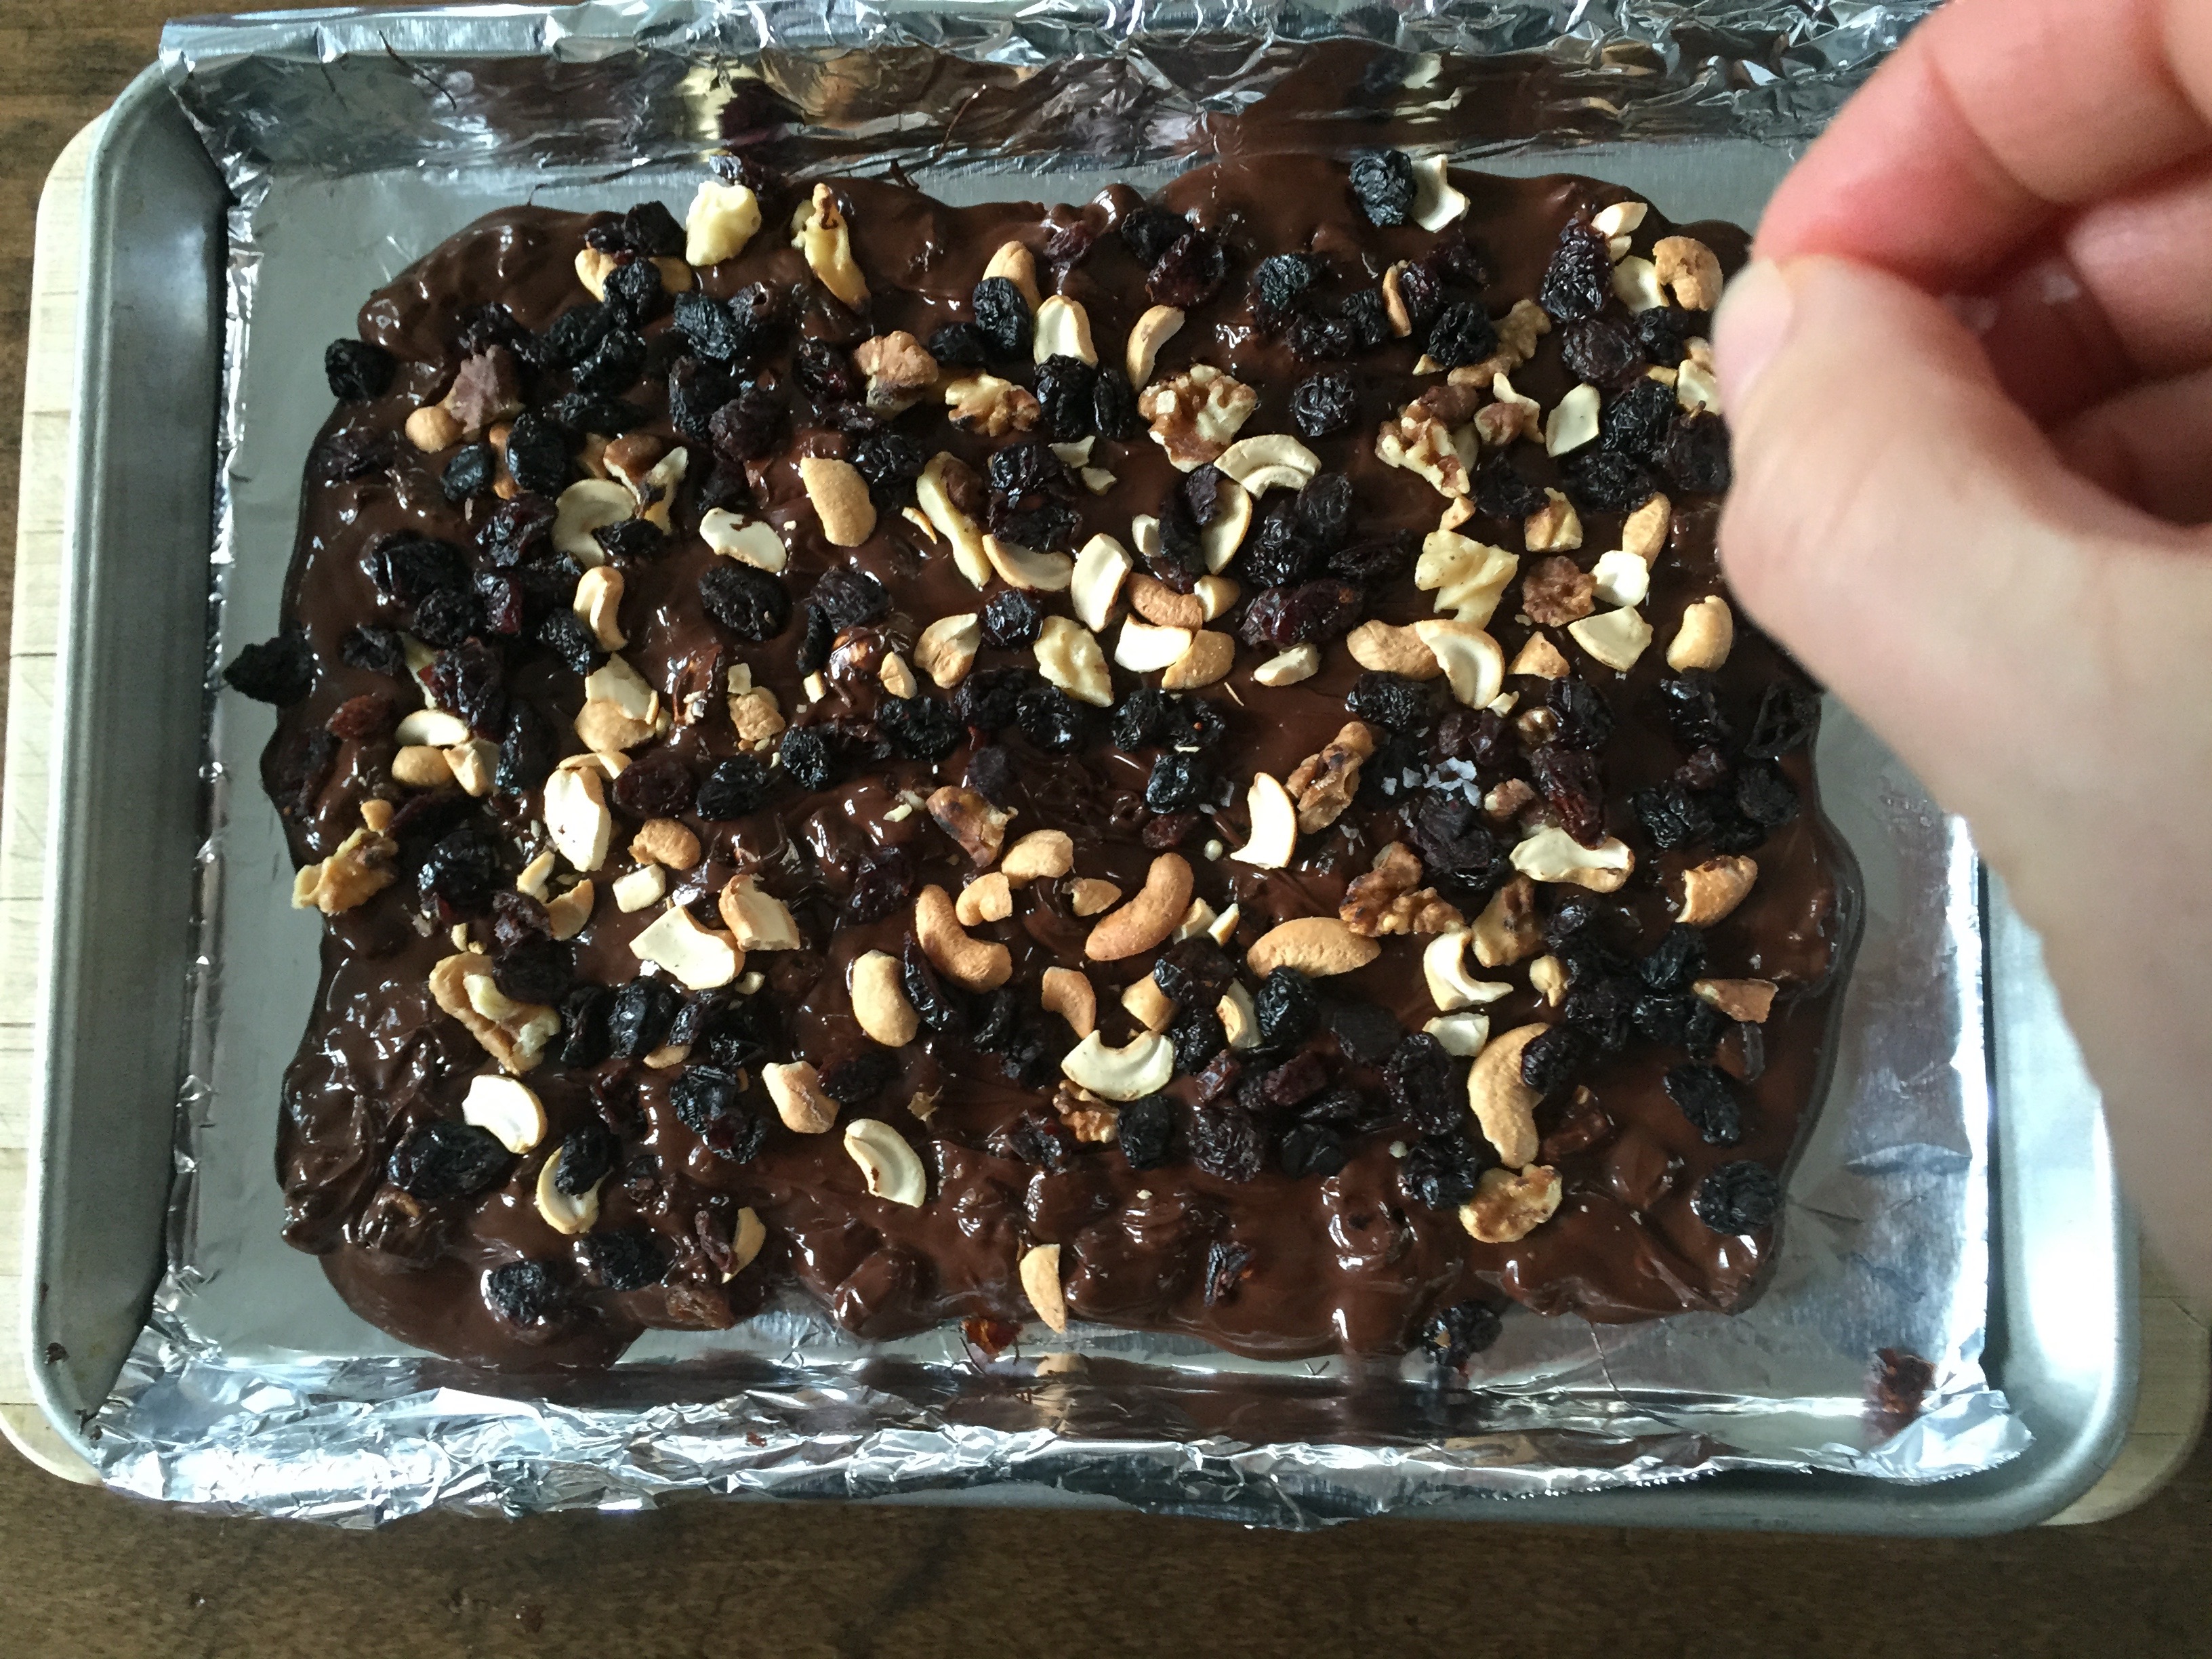
Scatter remaining nuts and dried fruit over chocolate. Cool slightly. Sprinkle with flaked sea salt.
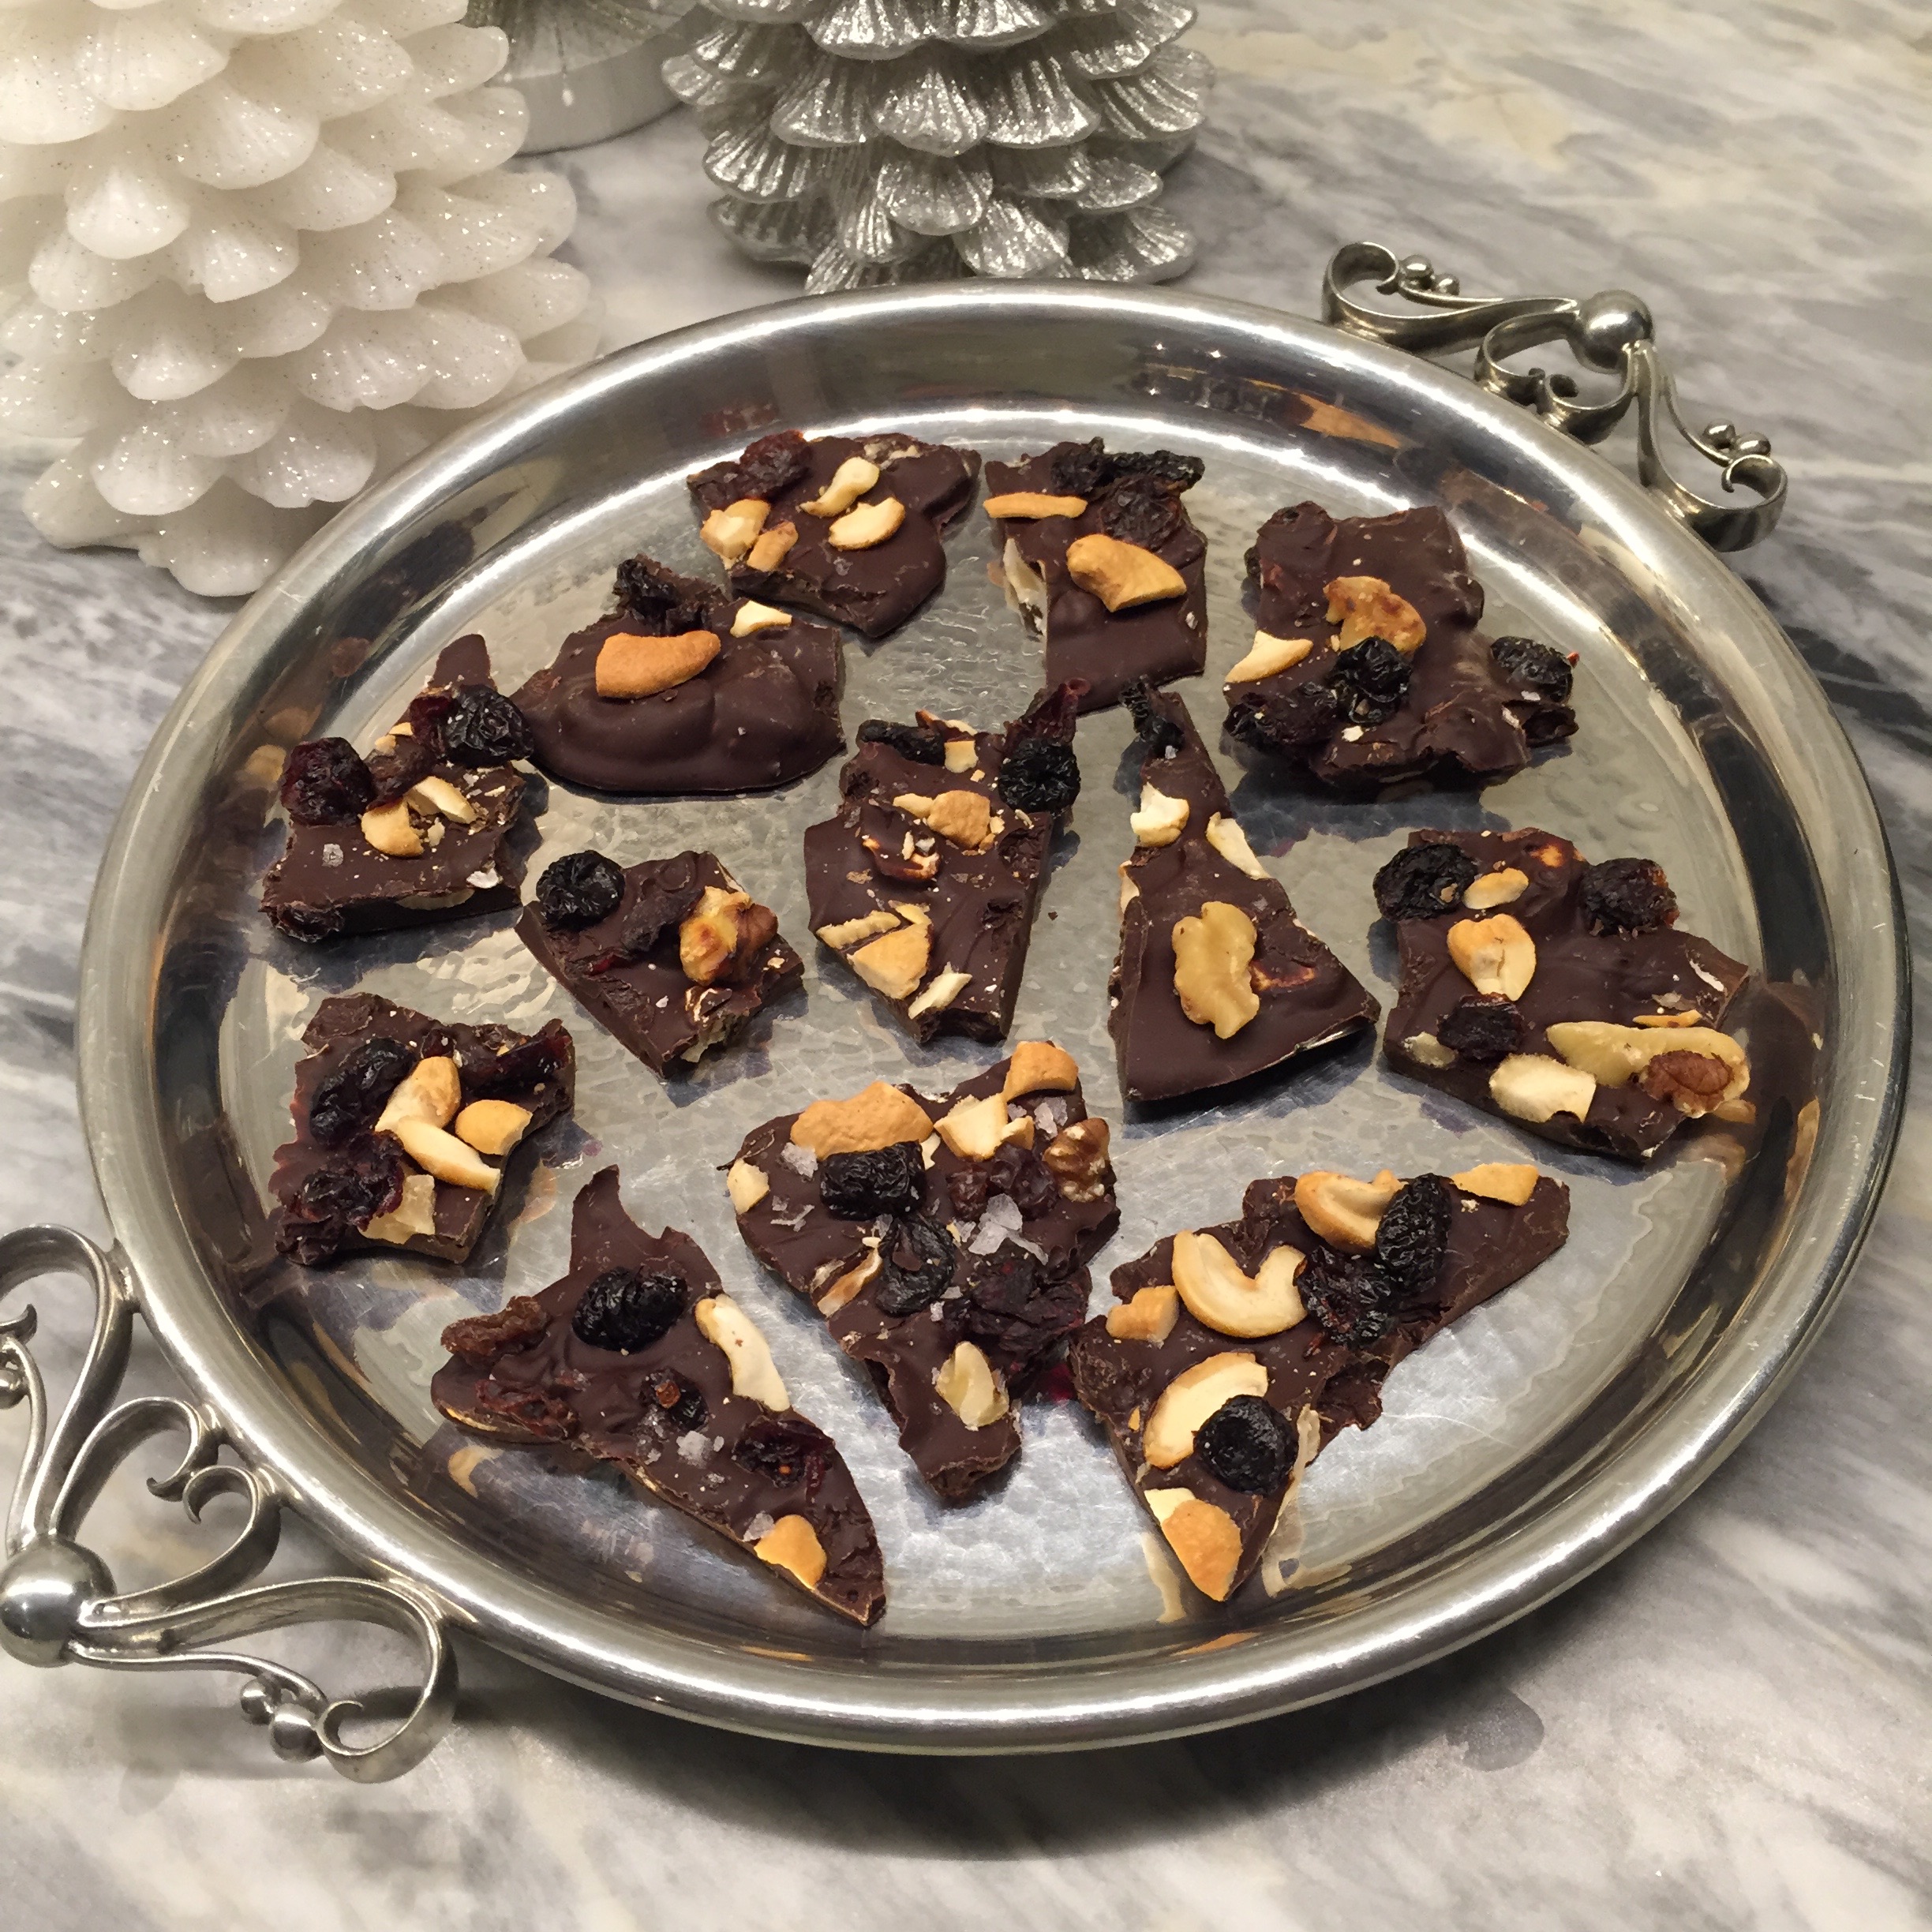
Chill until chocolate is firm, about 30 minutes. Peel off foil and cut bark into irregular pieces.
Four ingredients and 15 minutes is all it takes to make chocolate bark.Stirring occasionally, melt the chocolate in a heat proof bowl set over simmering water.The chocolate is melted and ready for the toasted nuts and dried fruit.Stir in half of the toasted nuts and dried fruit.Using an offset spatula, spread the melted chocolate mixture onto a foil line baking sheet. The chocolate should be about 1/4″ thick.While chocolate is still melted, top chocolate bark with remaining toasted nuts and dried fruit. Press lightly to be sure nuts and fruits adhere.Sprinkle pinch of flaky sea salt on top of the chocolate bark.Chill, allowing chocolate bark to completely cool and harden, about 30 minutes. Break into irregular pieces before serving.
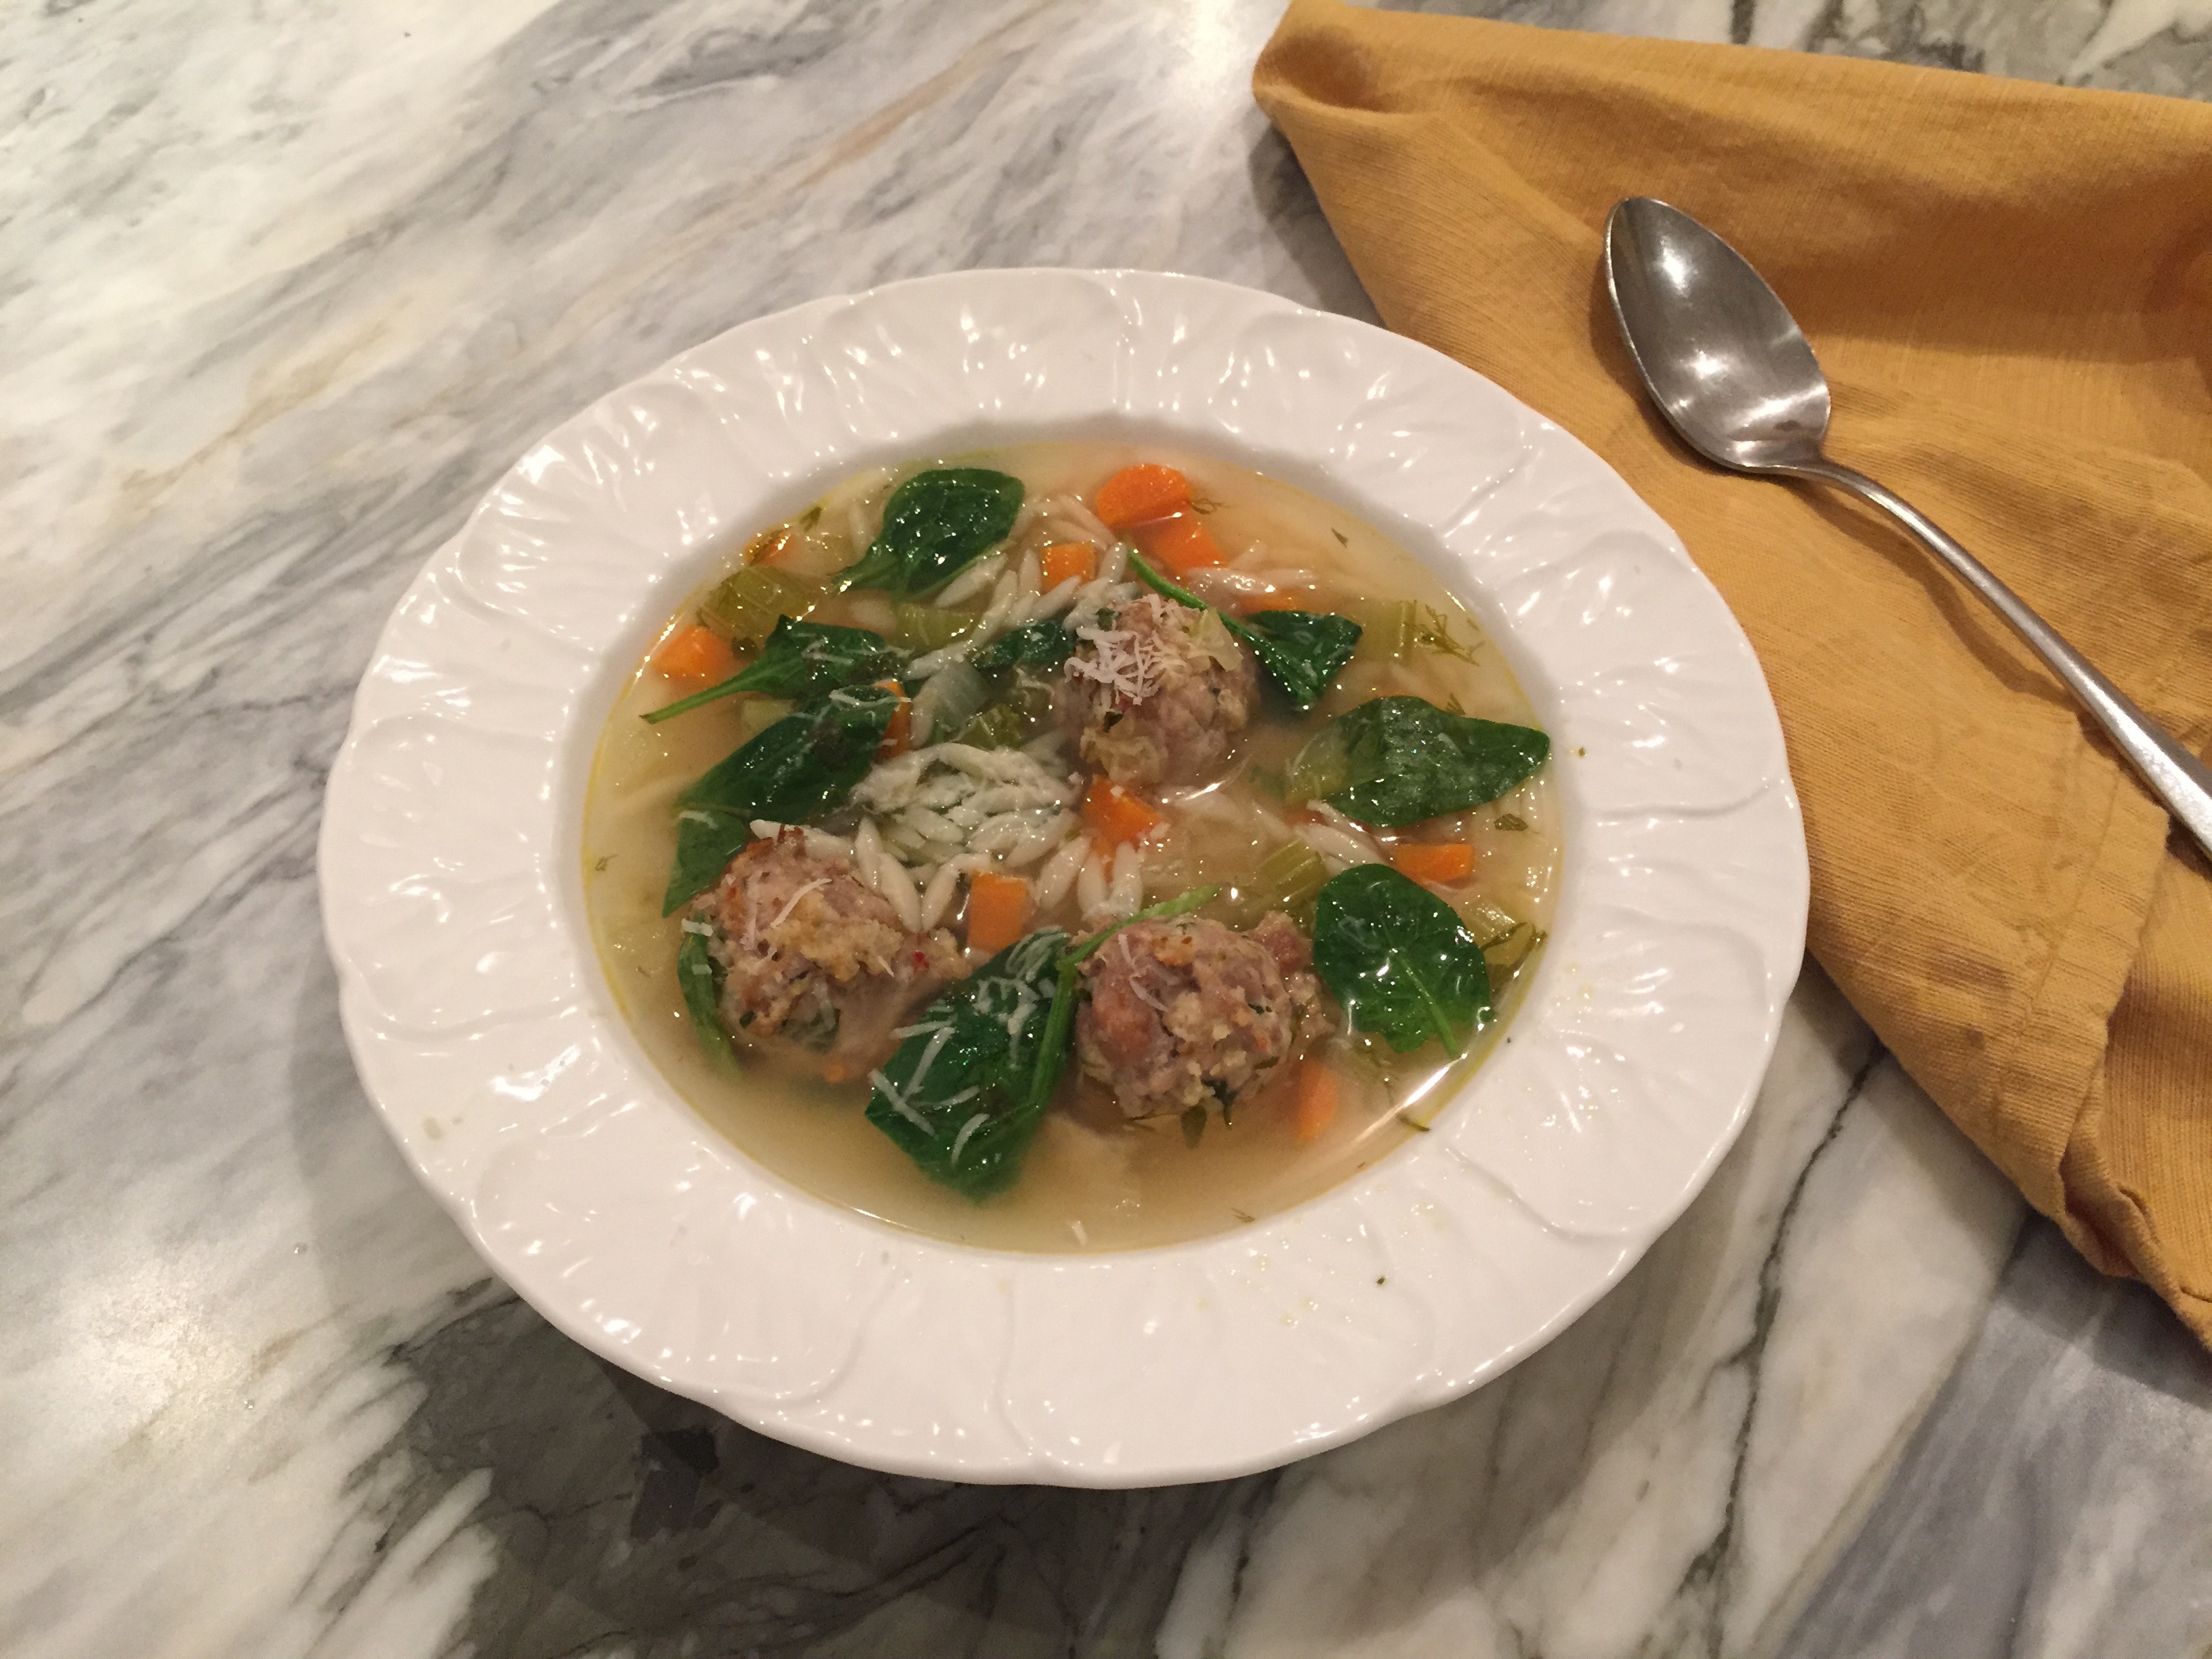
This fragrant and nourishing soup quickly comes together with ingredients you probably already have on hand. Besides the meat for the meatballs and dill for the soup, the other elements are pretty standard pantry and fridge items.
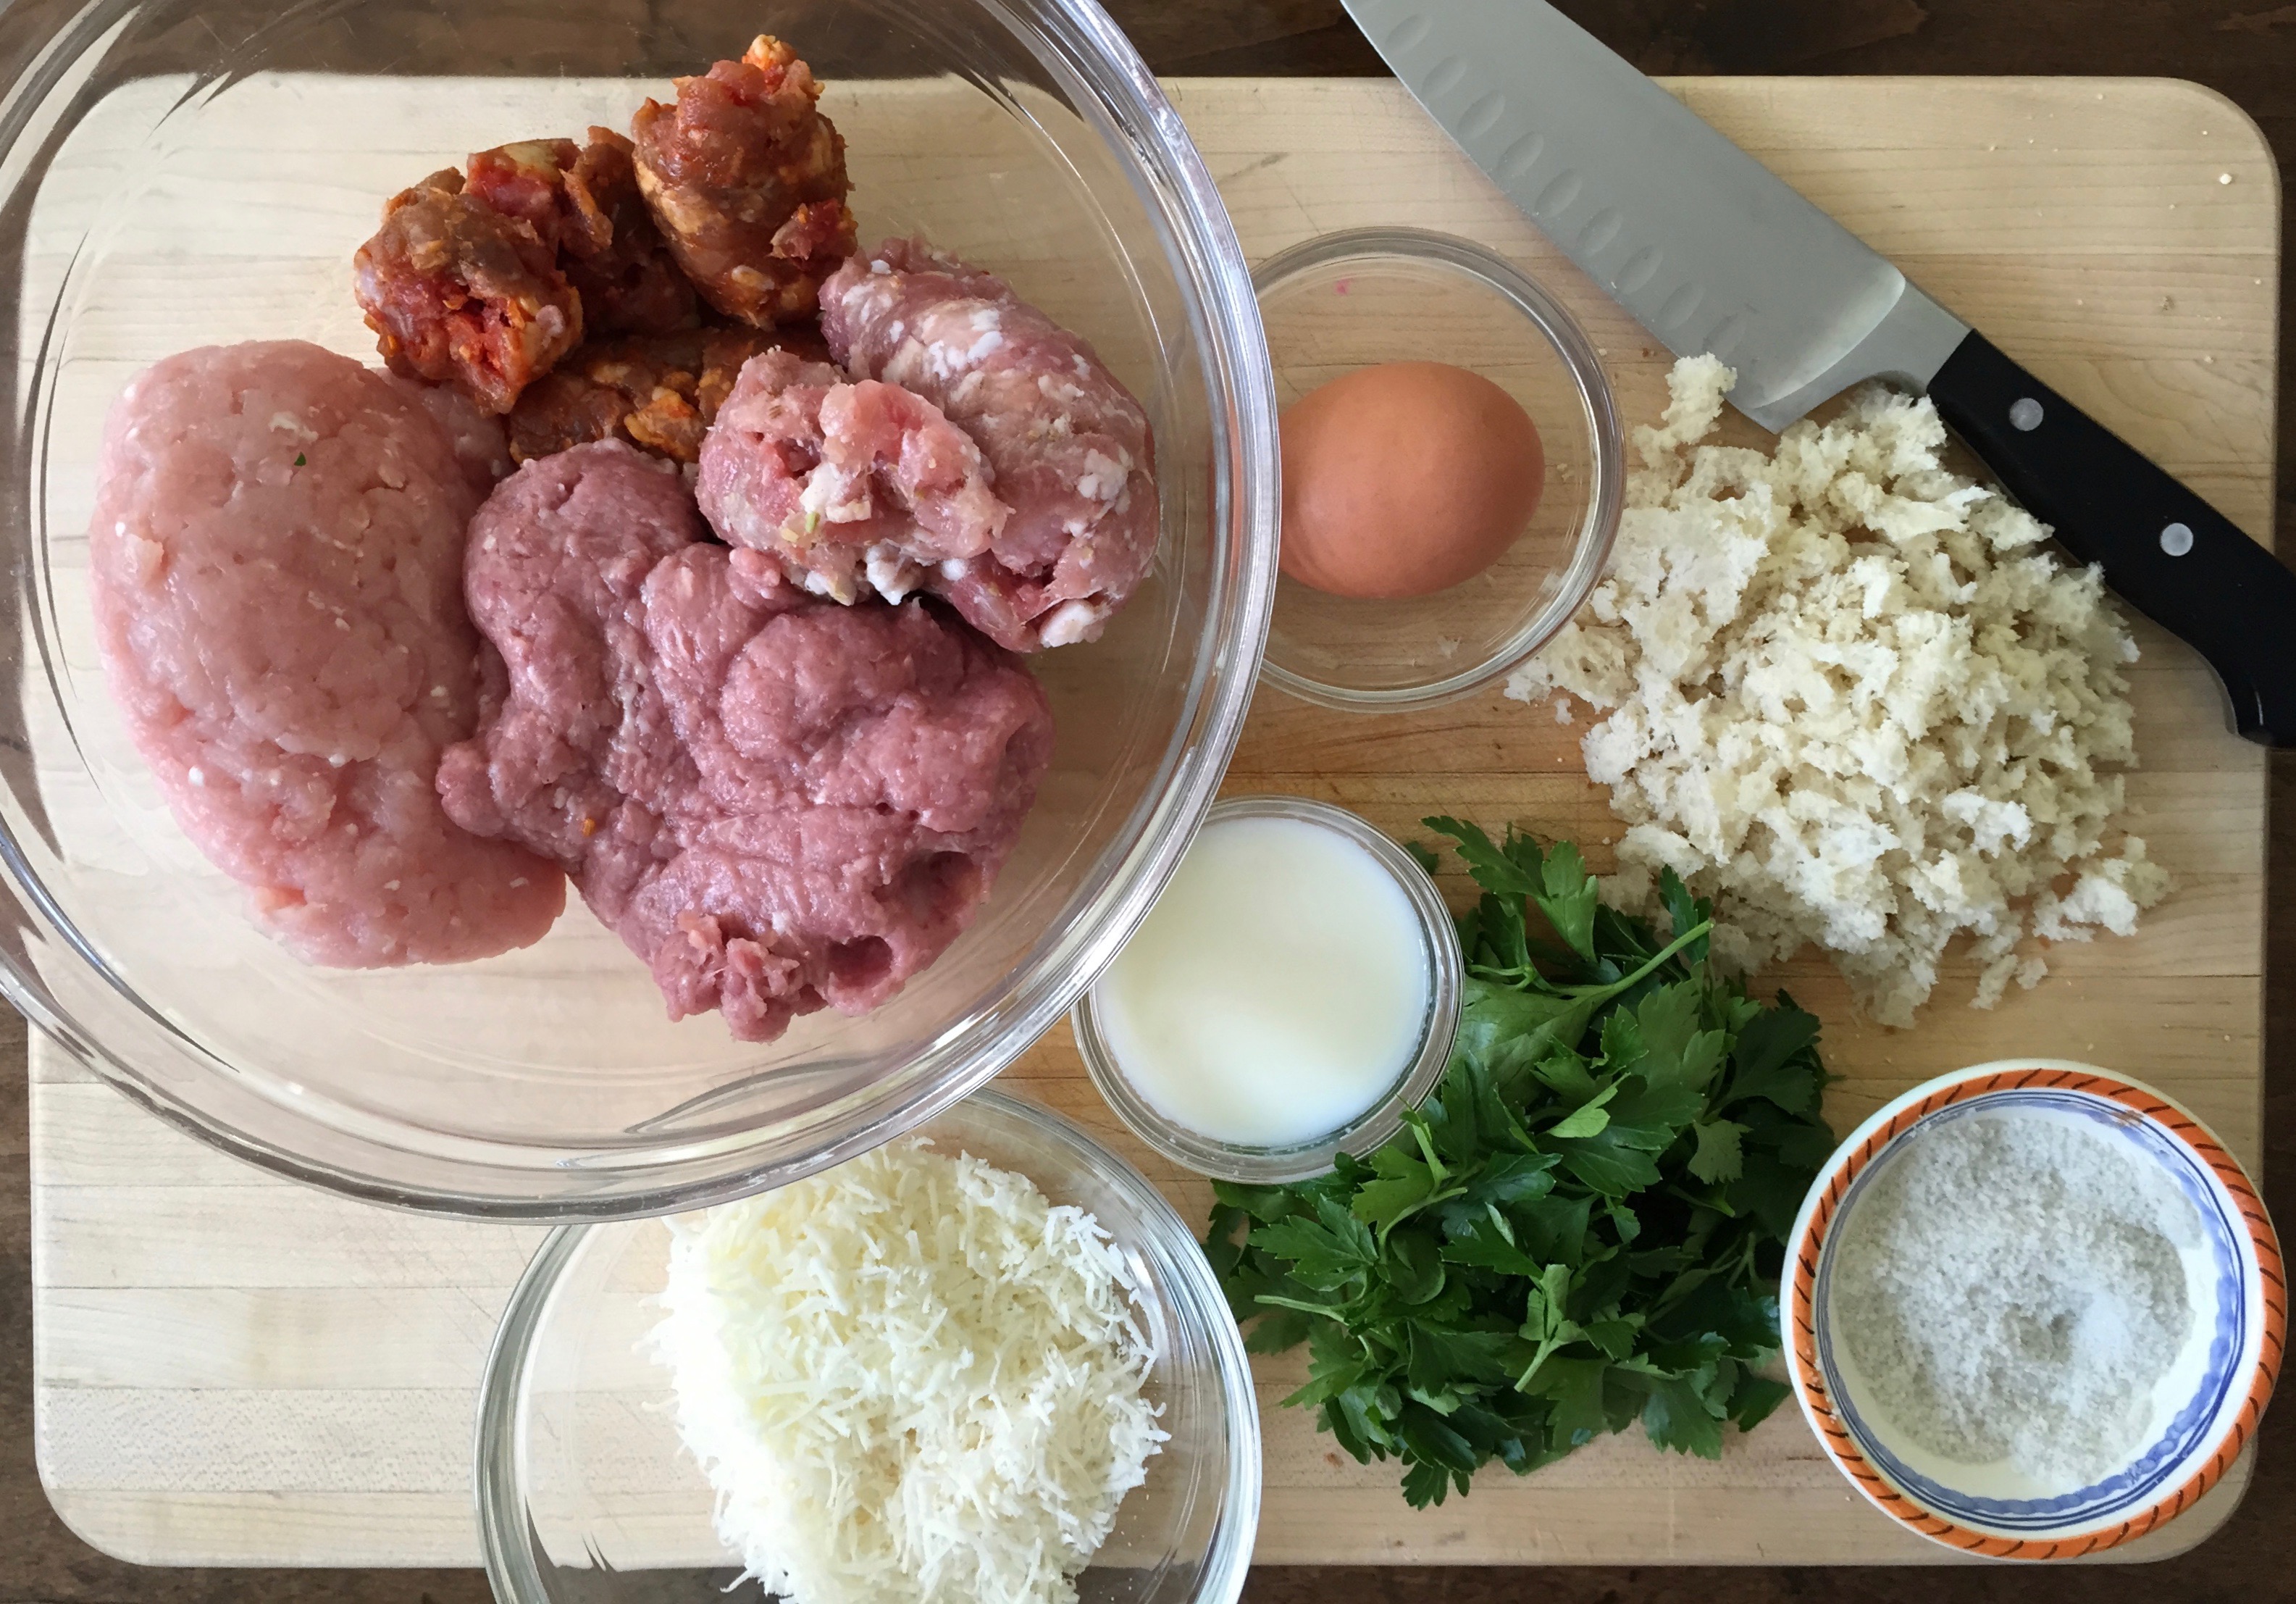
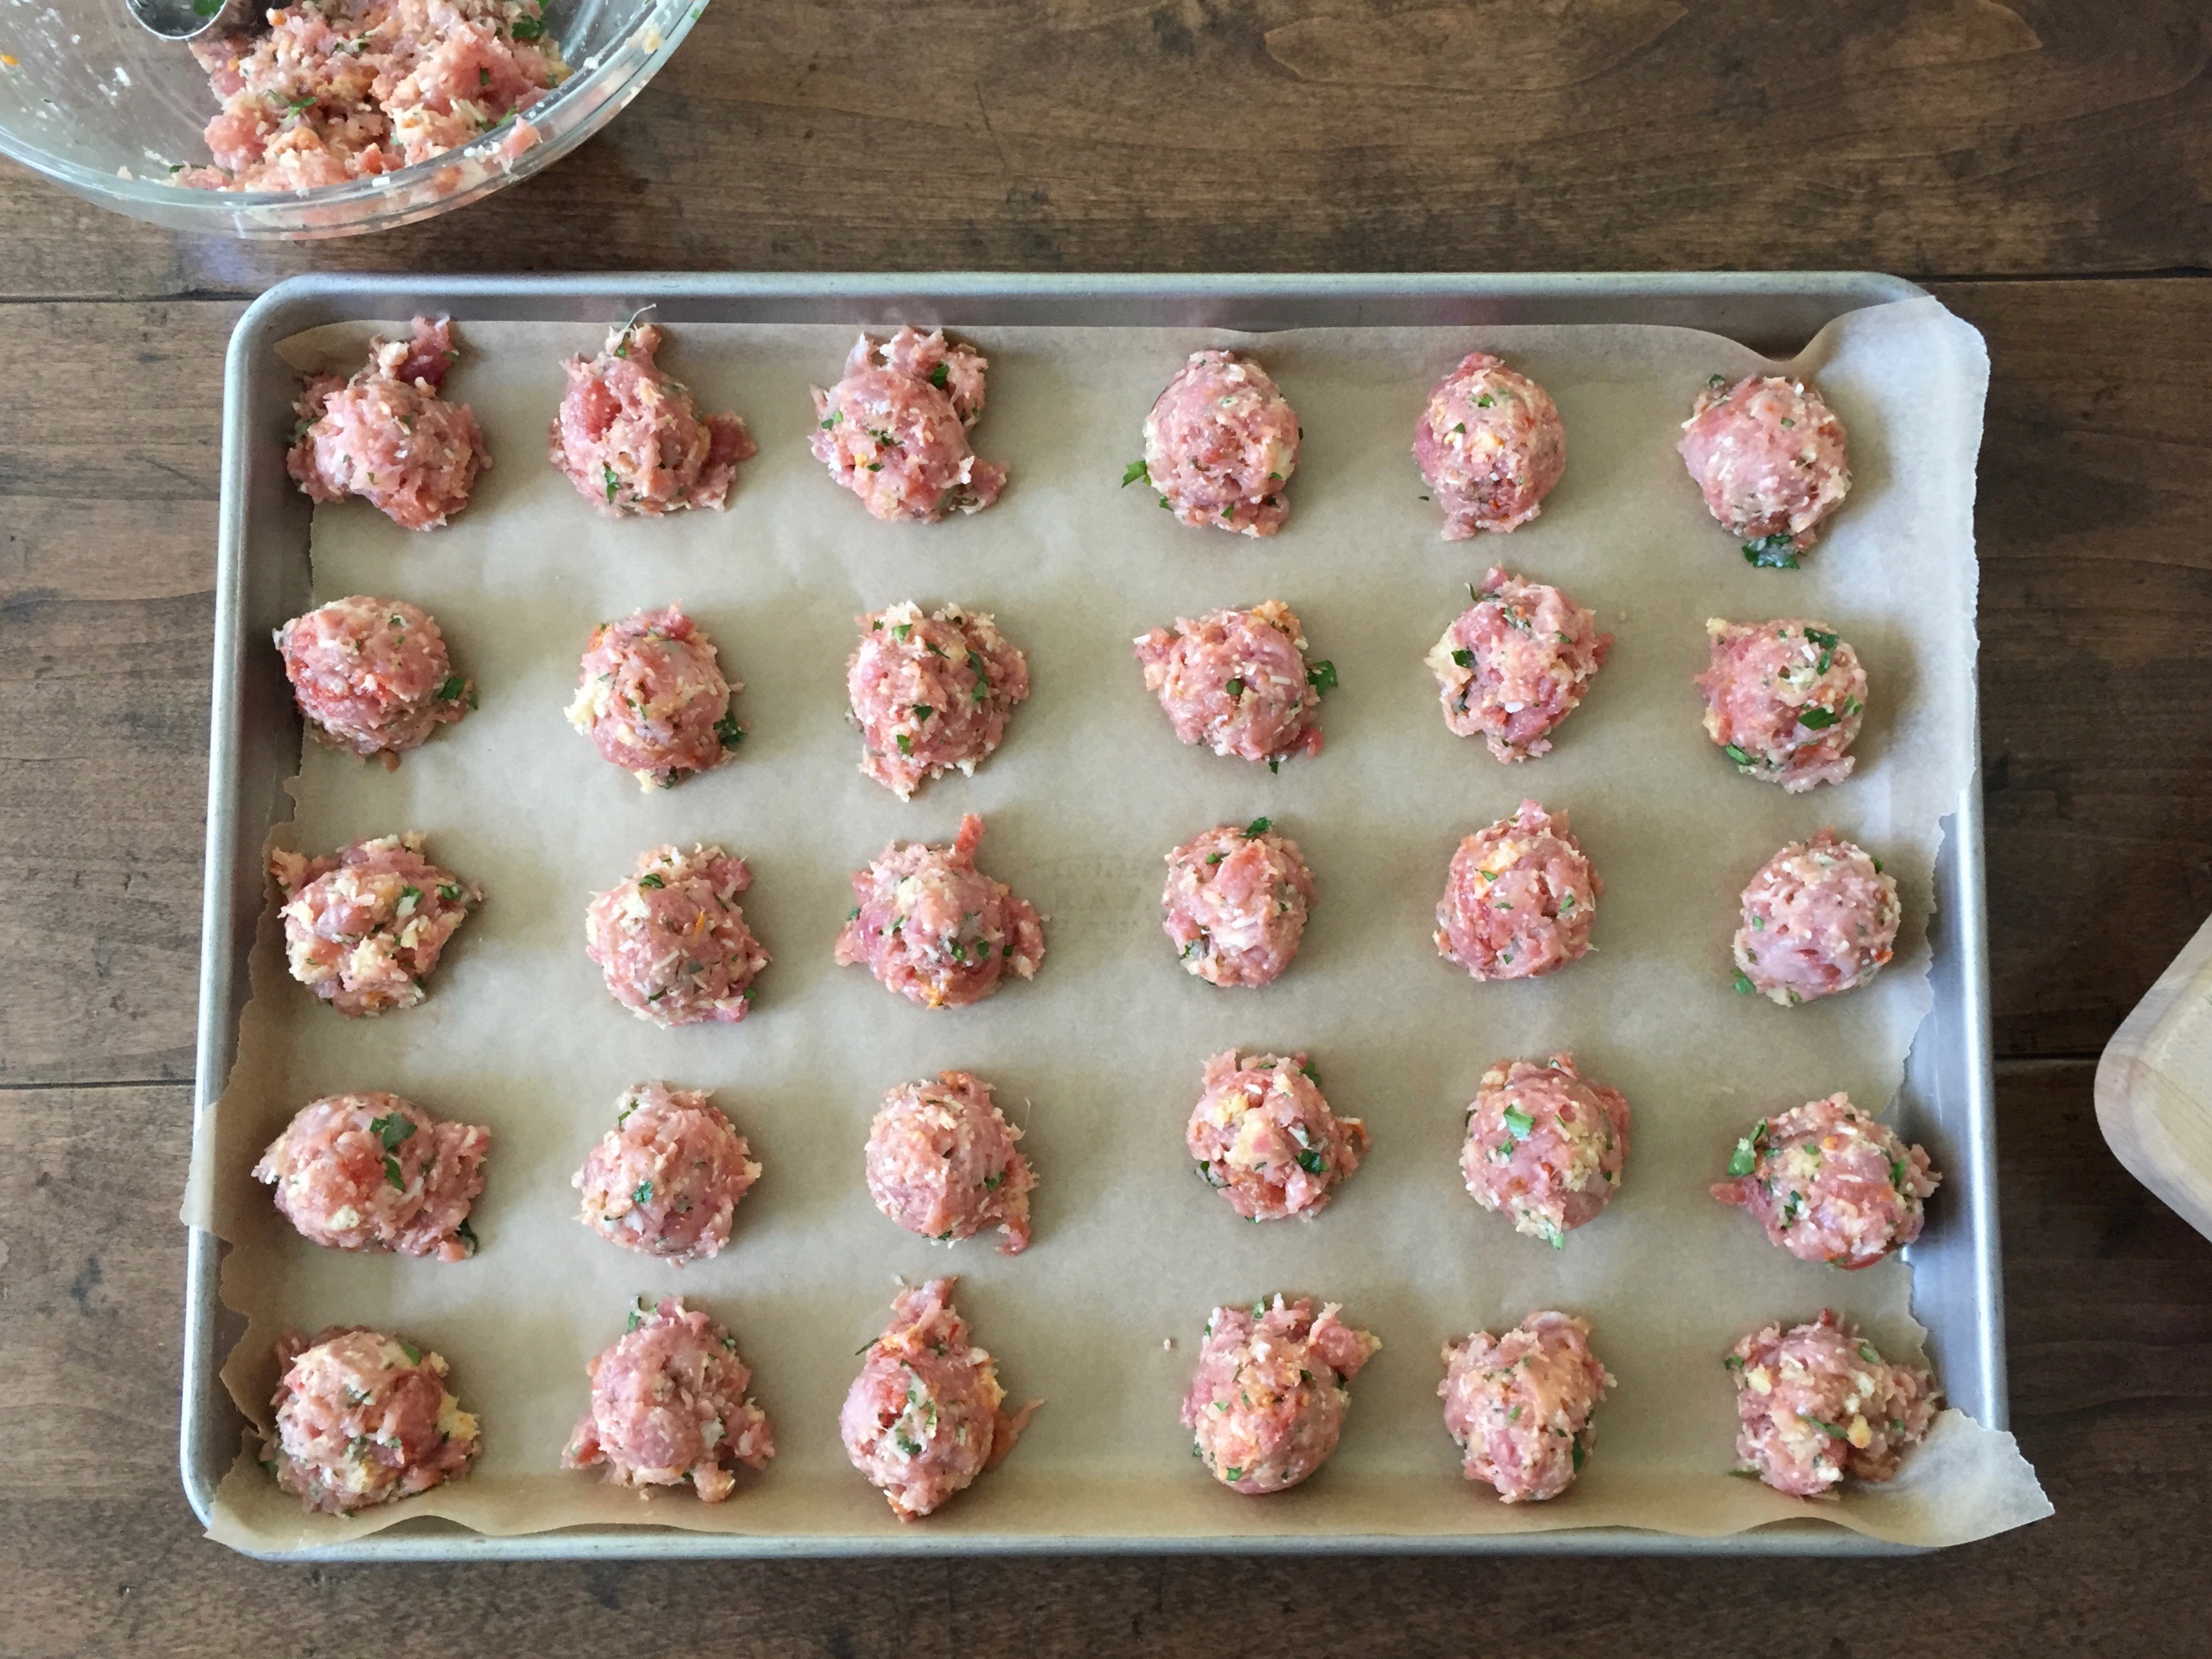
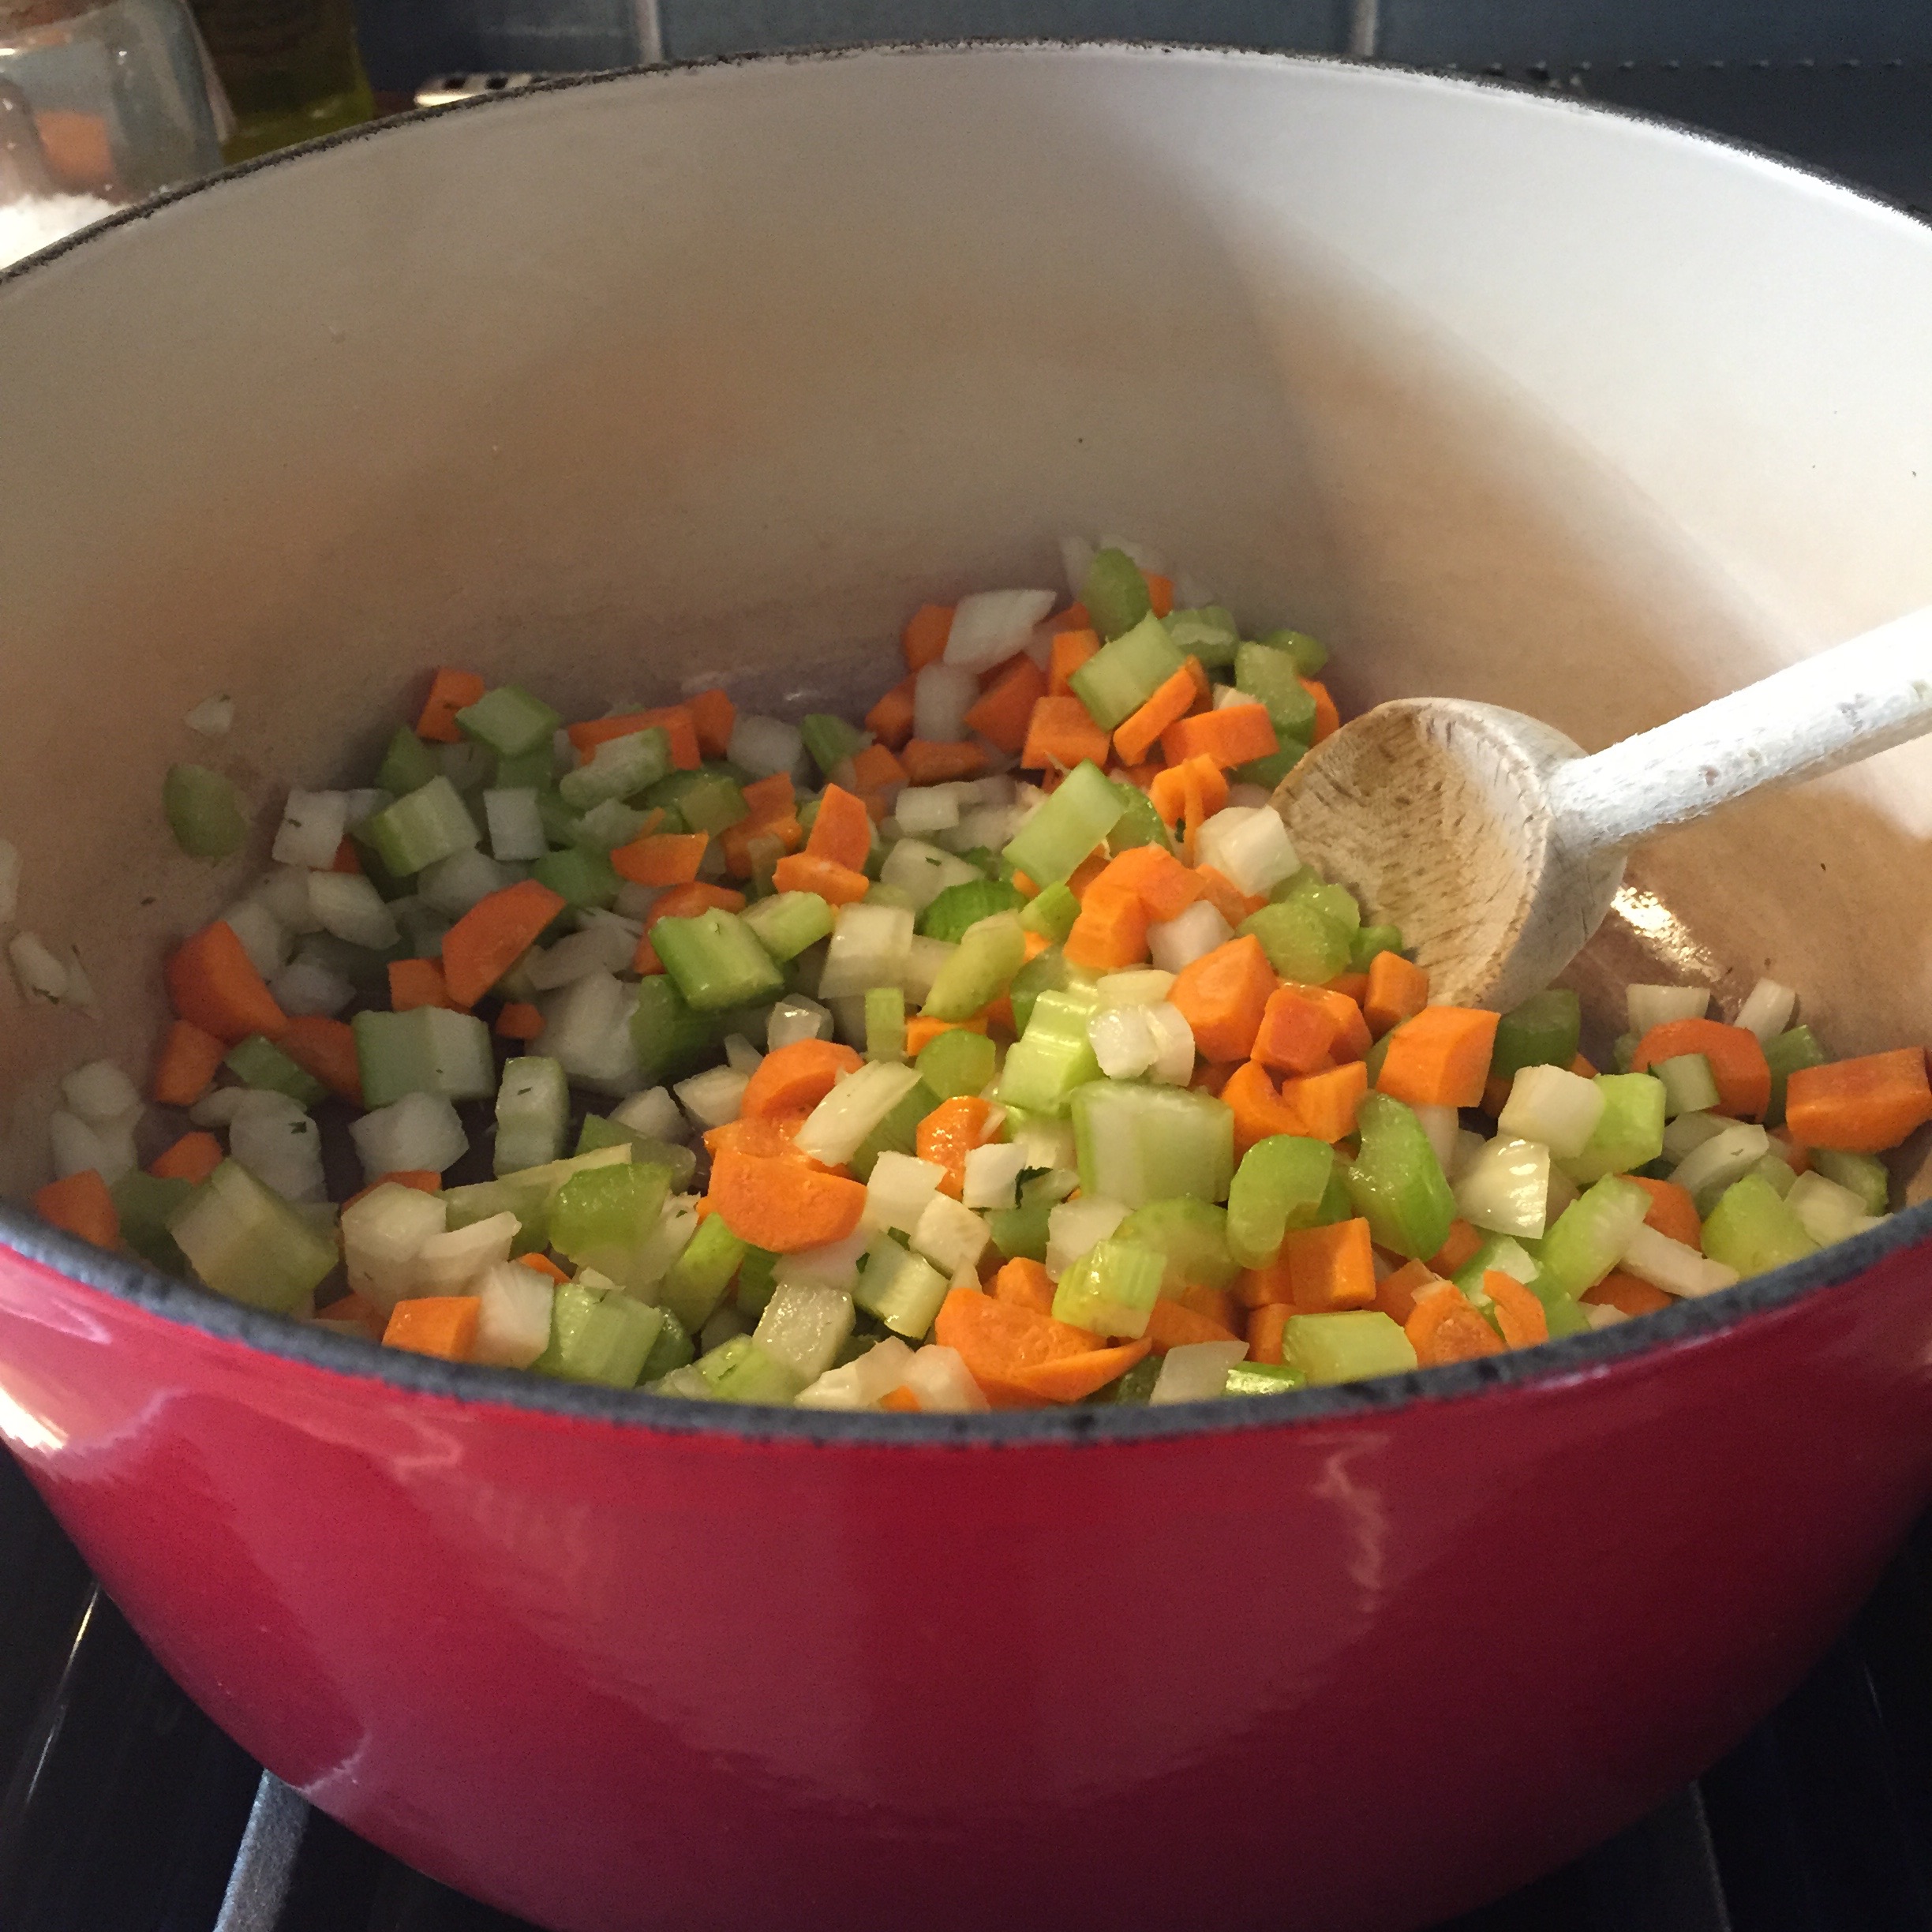
The humble, but delicious broth begins with a “holy trinity” of carrots, celery, and onions; the addition of white wine and dill brings about a brightness and freshness. I especially love the meatballs, “pre-seasoned” by using Italian sausage mixed with ground turkey. And, instead of standing over a stove cooking them in hot oil, inevitably developing tiny blisters over your hands and wrists from splattering grease (clearly, I am speaking from experience), the balls are measured with a small ice-cream scoop, laid in neat little rows, and baked in the oven. I often double the meatball recipe and freeze half for future soups, pasta nights, or meatball subs. These bite sized gems are incredibly handy to have tucked away in the freezer for last minute snacks, appetizers, or meals.
The original recipe appears in Ina Garten’s Back to Basics. I’ve tweaked it a bit for my tastes (and you can, too). For example, while the original calls for ground chicken and chicken sausage, I use ground turkey and regular Italian pork sausage, one sweet and one spicy. Ina uses a tiny pasta, such as tubetini or stars, which I can’t always find. Instead I use orzo, a staple in my pantry. I cook the orzo separately and add it to the broth right before serving, otherwise the pasta soaks up too much liquid. Not that that’s the end of the world; it will happen if you have leftovers. Simply thin the soup with a bit of water or stock. Speaking of stock, you will need 10 cups- homemade or store bought. Though I love homemade stock, I’ll be completely honest, I don’t always have some stashed in the freezer. Good quality store bought stock is smart to have on hand and I do, though I am very picky about the brand. I only use low sodium Swanson’s Organic Chicken Stock (Swanson’s did NOT pay me to write that!).
On another note, while no one in my family suffers from celiac disease, one of my best friends does. Whenever I can, I reach for a recipe that with just a little tinkering, can be one everyone at the table enjoys. This Italian Wedding Soup is one of those easily adjusted recipes. Simply use gluten free breadcrumbs, and a small gluten free pasta to replace the orzo, or if that isn’t available, rice would be a fine substitute.
As always, I encourage you to “play with your food!” If your CSA pick up included lots of kale, chard, or other greens use them instead of spinach. Do you love carrots? Add more. Are there other veggies lingering in your vegetable drawer… turnips, leeks, or even a handful of cherry or grape tomatoes would be savory additions to this lovely soup. Most importantly, have fun and enjoy gathering your friends and family around the table to share a meal.
Ingredients:
For the meatballs
½ lb ground turkey (white meat)
½ lb ground turkey (dark meat)
2 Italian sausages, casings removed
2/3 cup fresh breadcrumbs (gluten free, if needed)
2 teaspoons minced garlic (2 cloves)
3 Tablespoons chopped fresh parsley
¼ cup freshly grated Pecorino Romano cheese
¼ cup freshly grated Parmesan cheese, plus more for serving
3 Tablespoons milk
1 extra-large egg, slightly beaten
salt and fresh ground pepper
For the soup
2 Tablespoons good olive oil
1 cup minced yellow onion
1 cup diced carrots (3 carrots)
1 cup diced celery (3 stalks)
10 cups chicken stock
½ cup dry white wine
1 cup small pasta, such as orzo (gluten free, if needed or use rice)
¼ cup minced fresh dill
10 ounces baby spinach
Instructions:
Preheat the oven to 350°F.
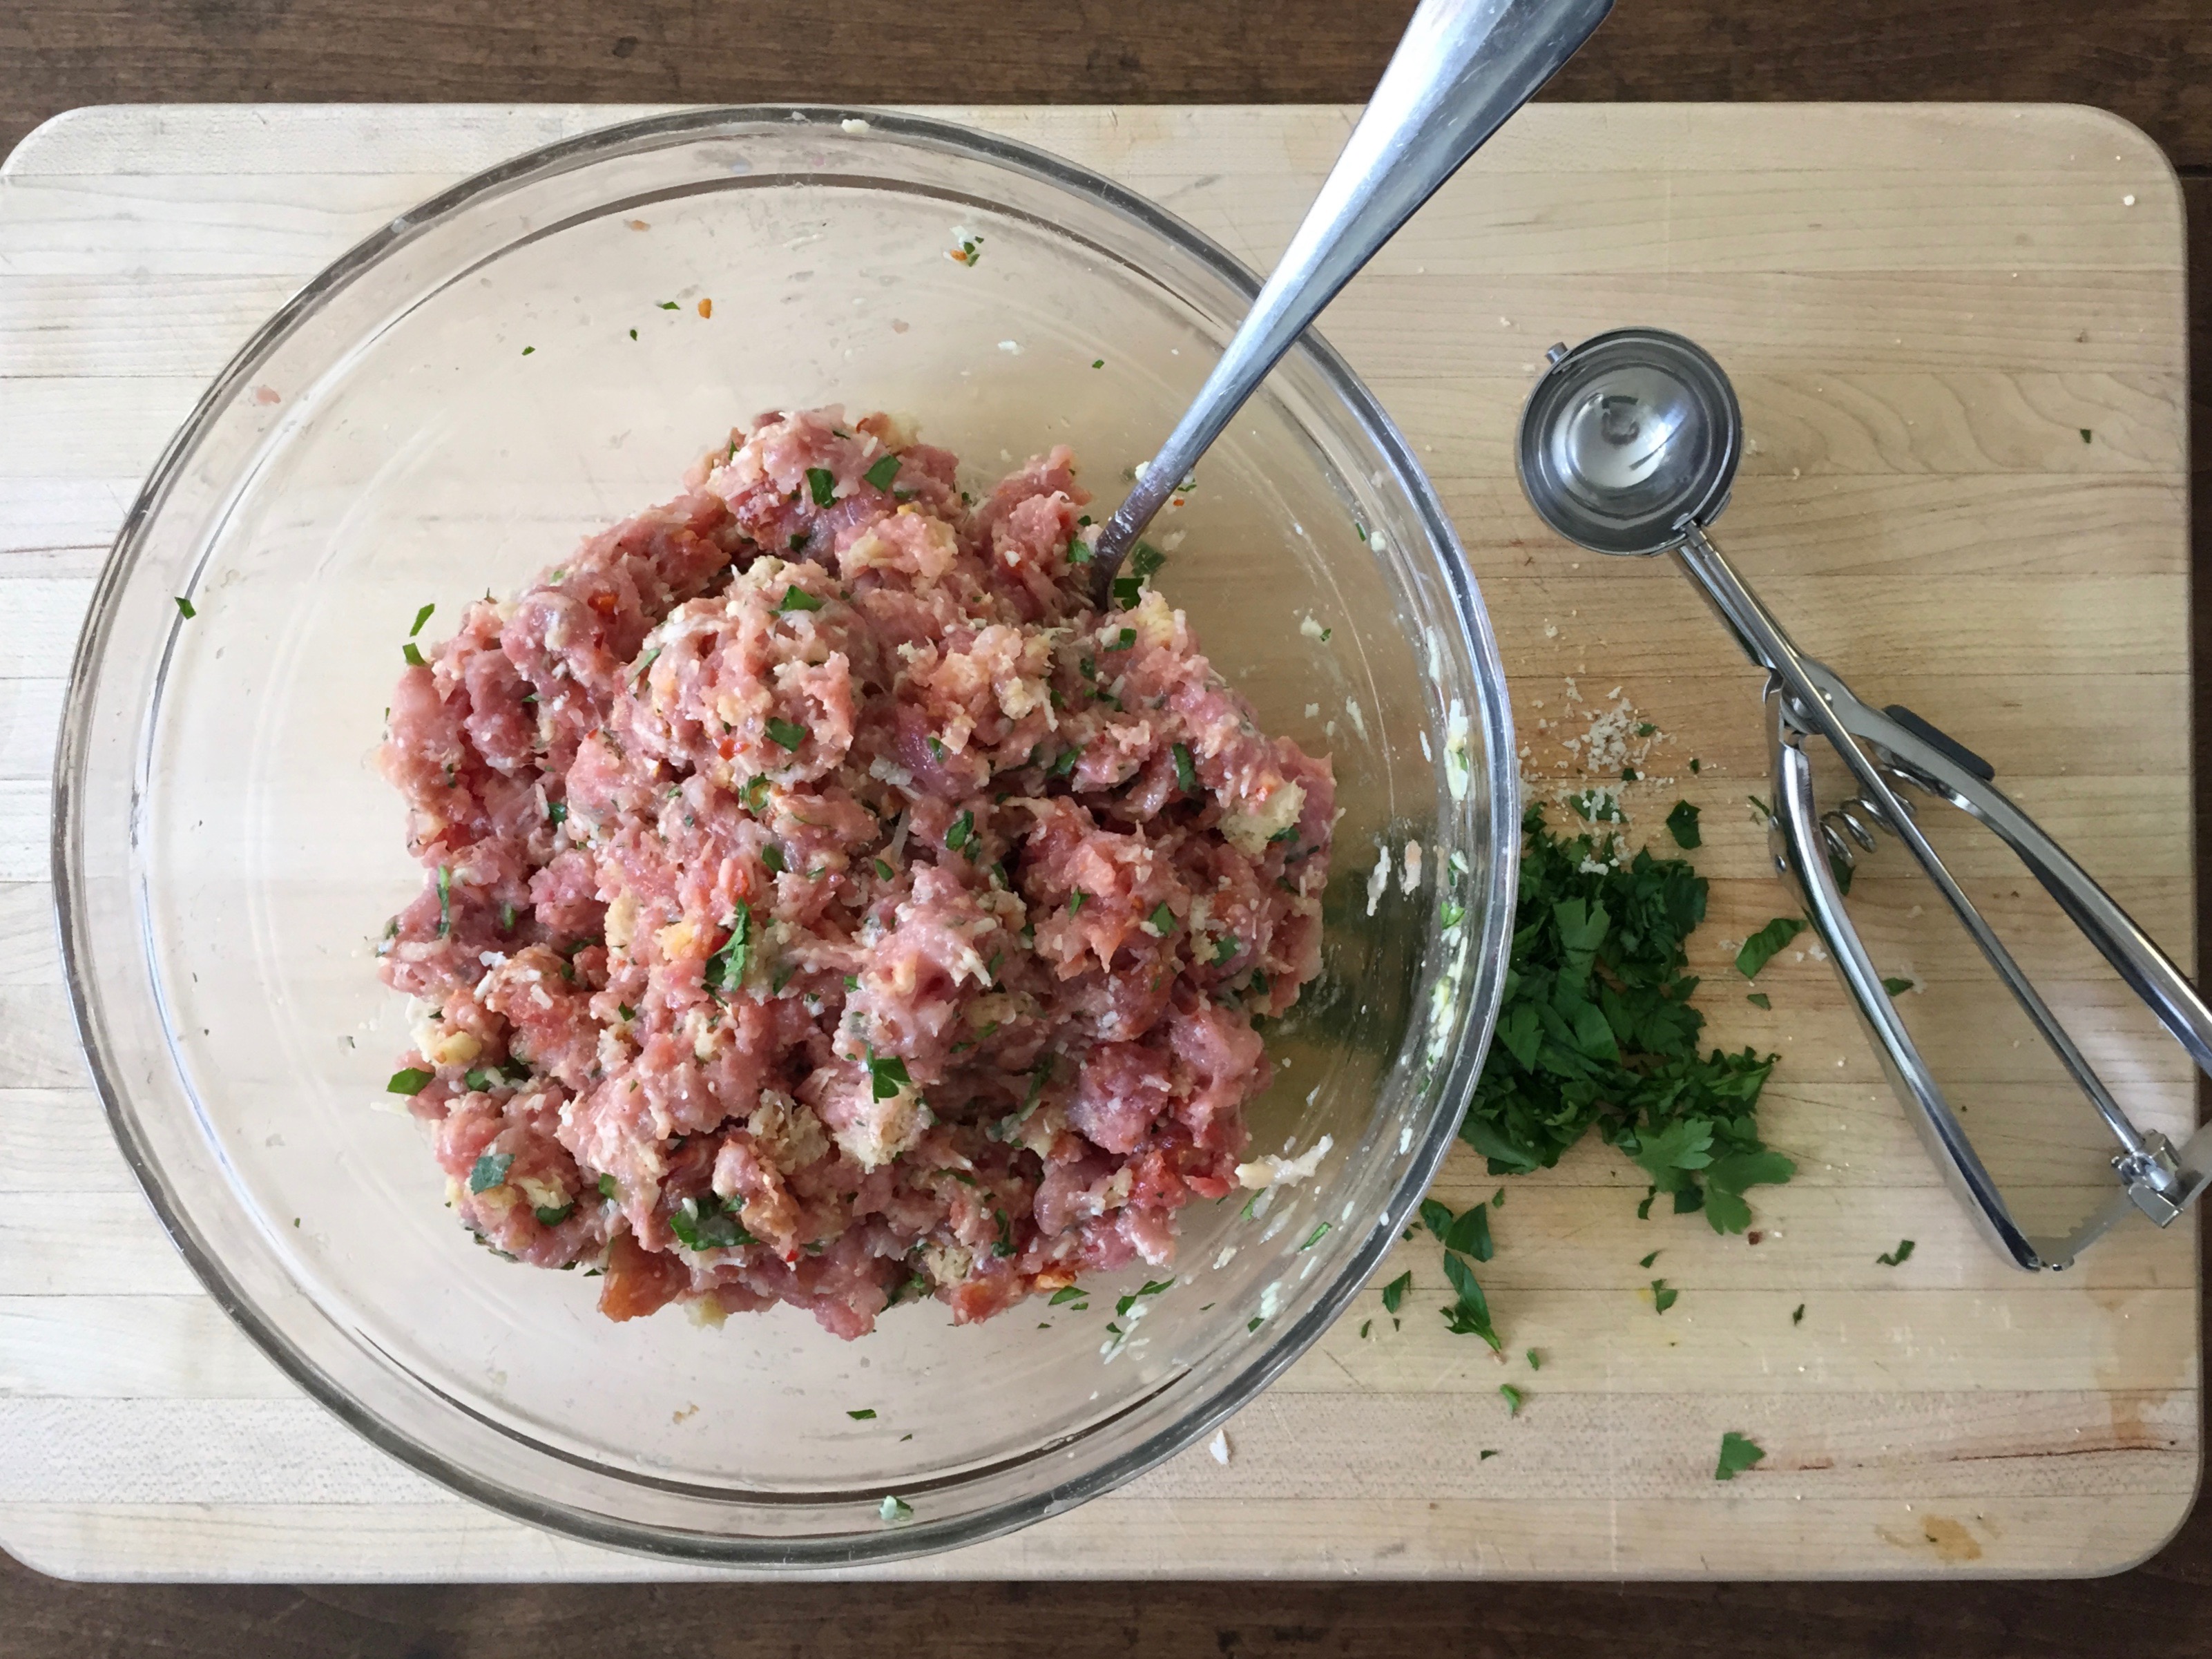
For the meatballs, place the ground turkey, sausage, bread crumbs, garlic, parsley, Pecorino, Parmesan, milk, egg, 1 teaspoon salt, and ½ teaspoon pepper in a bowl and combine gently with a fork. Using a tablespoon or small ice-cream scoop, drop 1 to 1 ¼-inch meatballs onto a parchment lined sheet pan. You will have about 40 meatballs. Bake for 30 minutes, until cooked through and lightly browned. Set aside.
In the meantime, for the soup, cook orzo (or rice) according to package directions, removing a minute or two before it’s done. Rinse and drain, toss with a little extra virgin olive oil to prevent sticking and set aside.
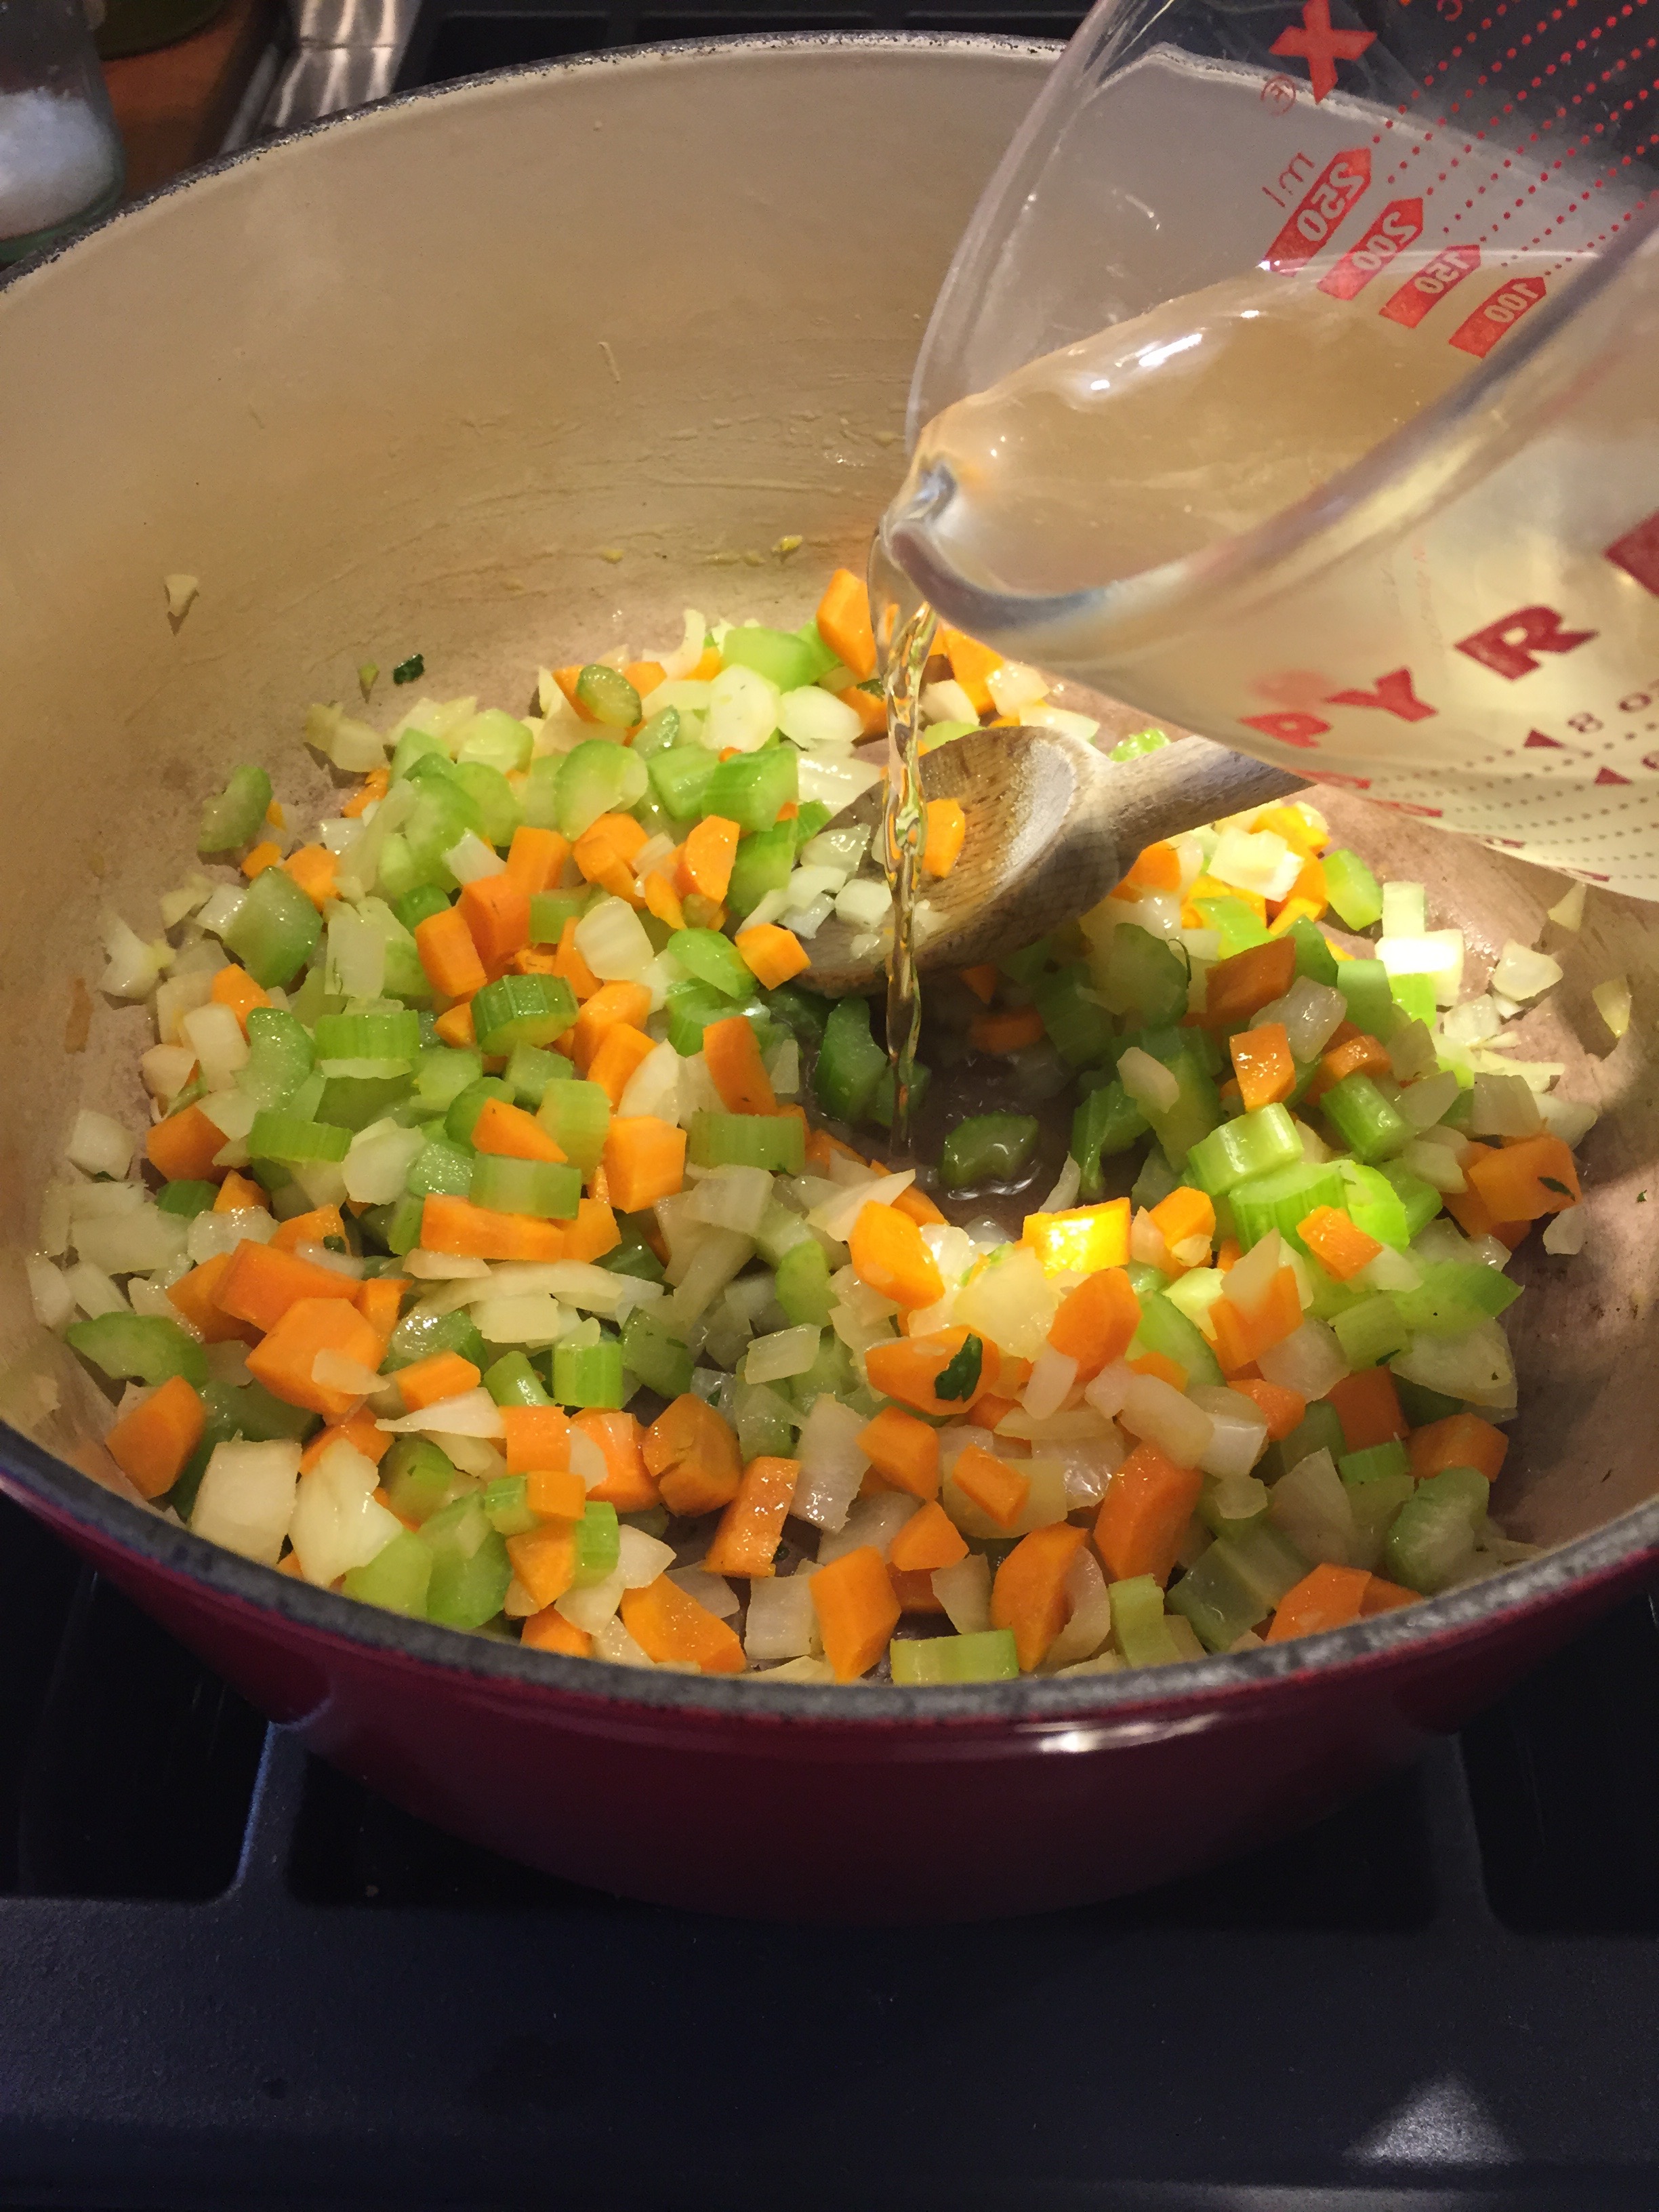
Heat the olive oil over medium low heat in a large, heavy bottomed soup pot. Add the onion, carrots, and celery and sauté until softened, 5-6 minutes, stirring occasionally. Add the chicken stock and wine and bring to a boil. Add the fresh dill and then the meatballs and cooked orzo to the soup and simmer for 1 minute. Taste for salt and pepper. Stir in the fresh spinach and cook for 1 minute, just until the spinach is wilted. Ladle into soup bowls and sprinkle each serving with extra grated Parmesan cheese.
Using a fork, gently combine all of the meatball ingredients.Using a tablespoon or small ice cream scoop, measure out the meatballs.Bake the meatballs in a 350°F oven for 30 minutes, or until lightly browned and cooked through.The meatballs are done and ready for the soup (or freezer).Carrots, celery, and onions are the base of the broth.Add wine and chicken stock.Meatballs, orzo, and dill are added.Spinach is the last ingredient to be added and only takes a minute to wilt.Soup is ready! Serve with a warm crusty loaf of bread and parmesan for passing at the table.
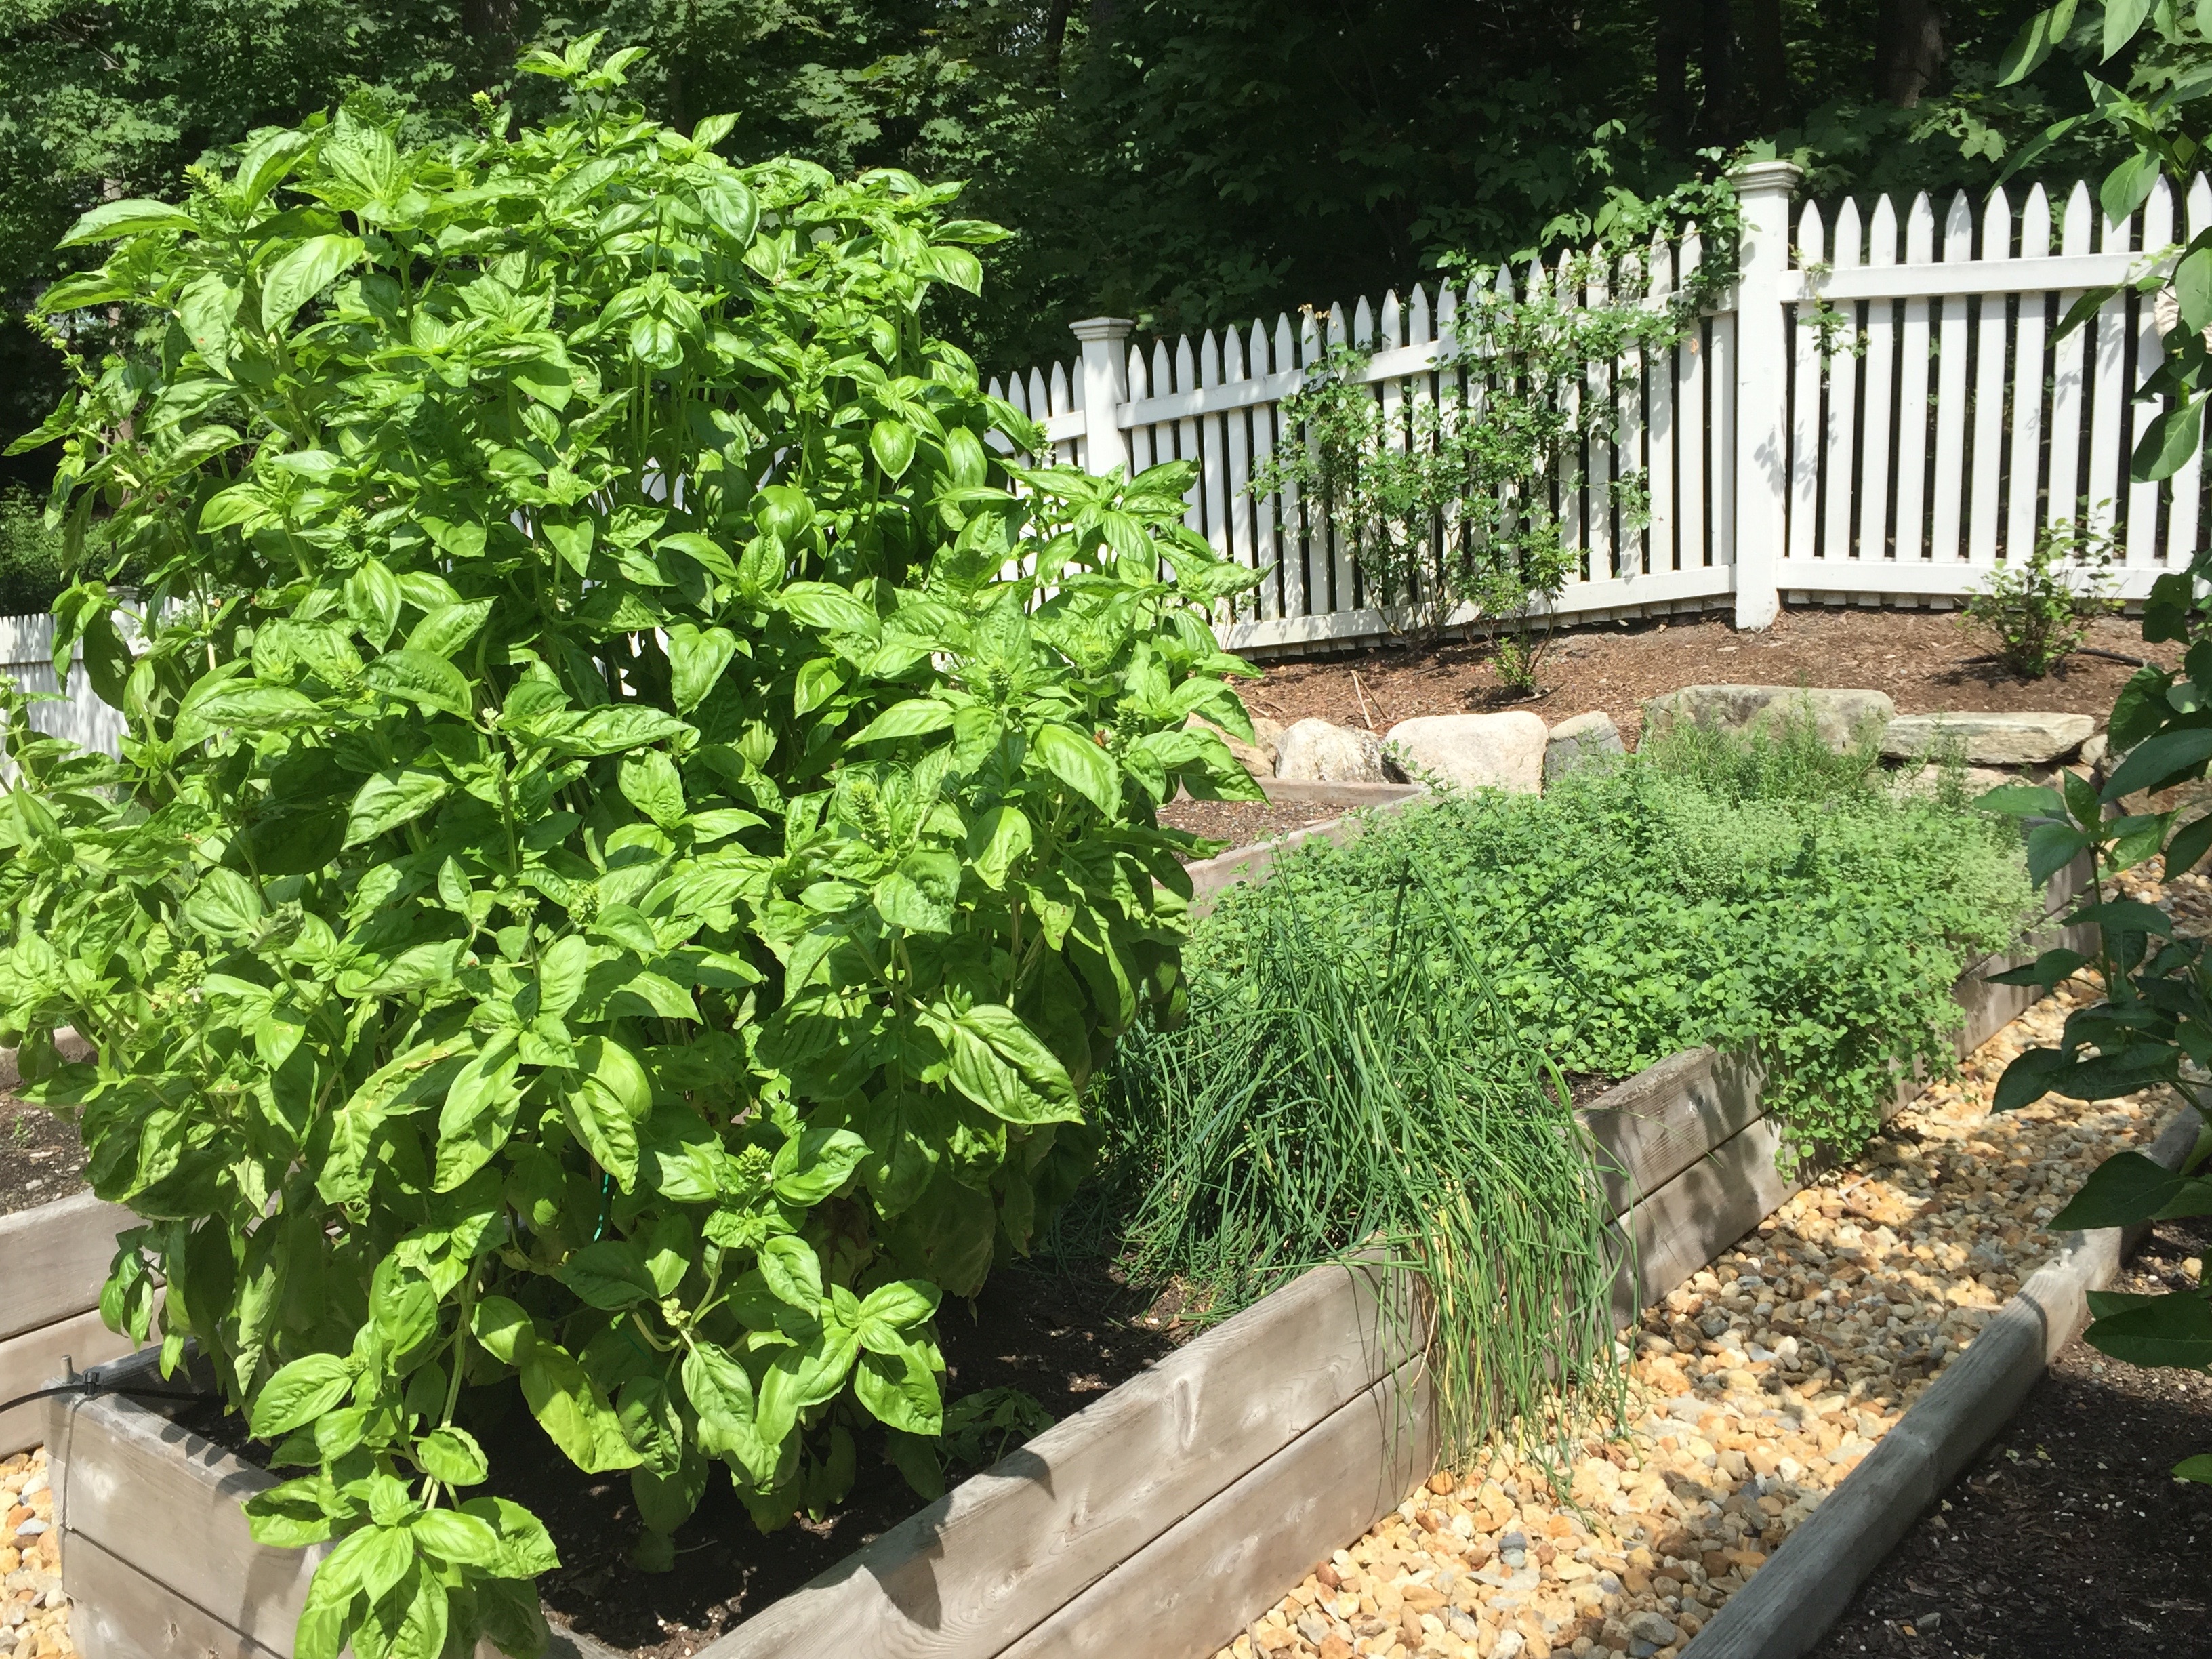
You know how each summer there is THE song of the summer, the one that puts smiles on faces, gets toes tapping, and windows rolled down while everyone sings along? Well, this summer I have THE herb of the summer growing in my garden… basil. The three or four small plants that went into the ground in late spring have grown into a mighty basil forest, extraordinarily tall and lush. We cannot keep up with it; despite our best efforts, that is an enormous amount of caprese salad to eat!
This basil is out of control.
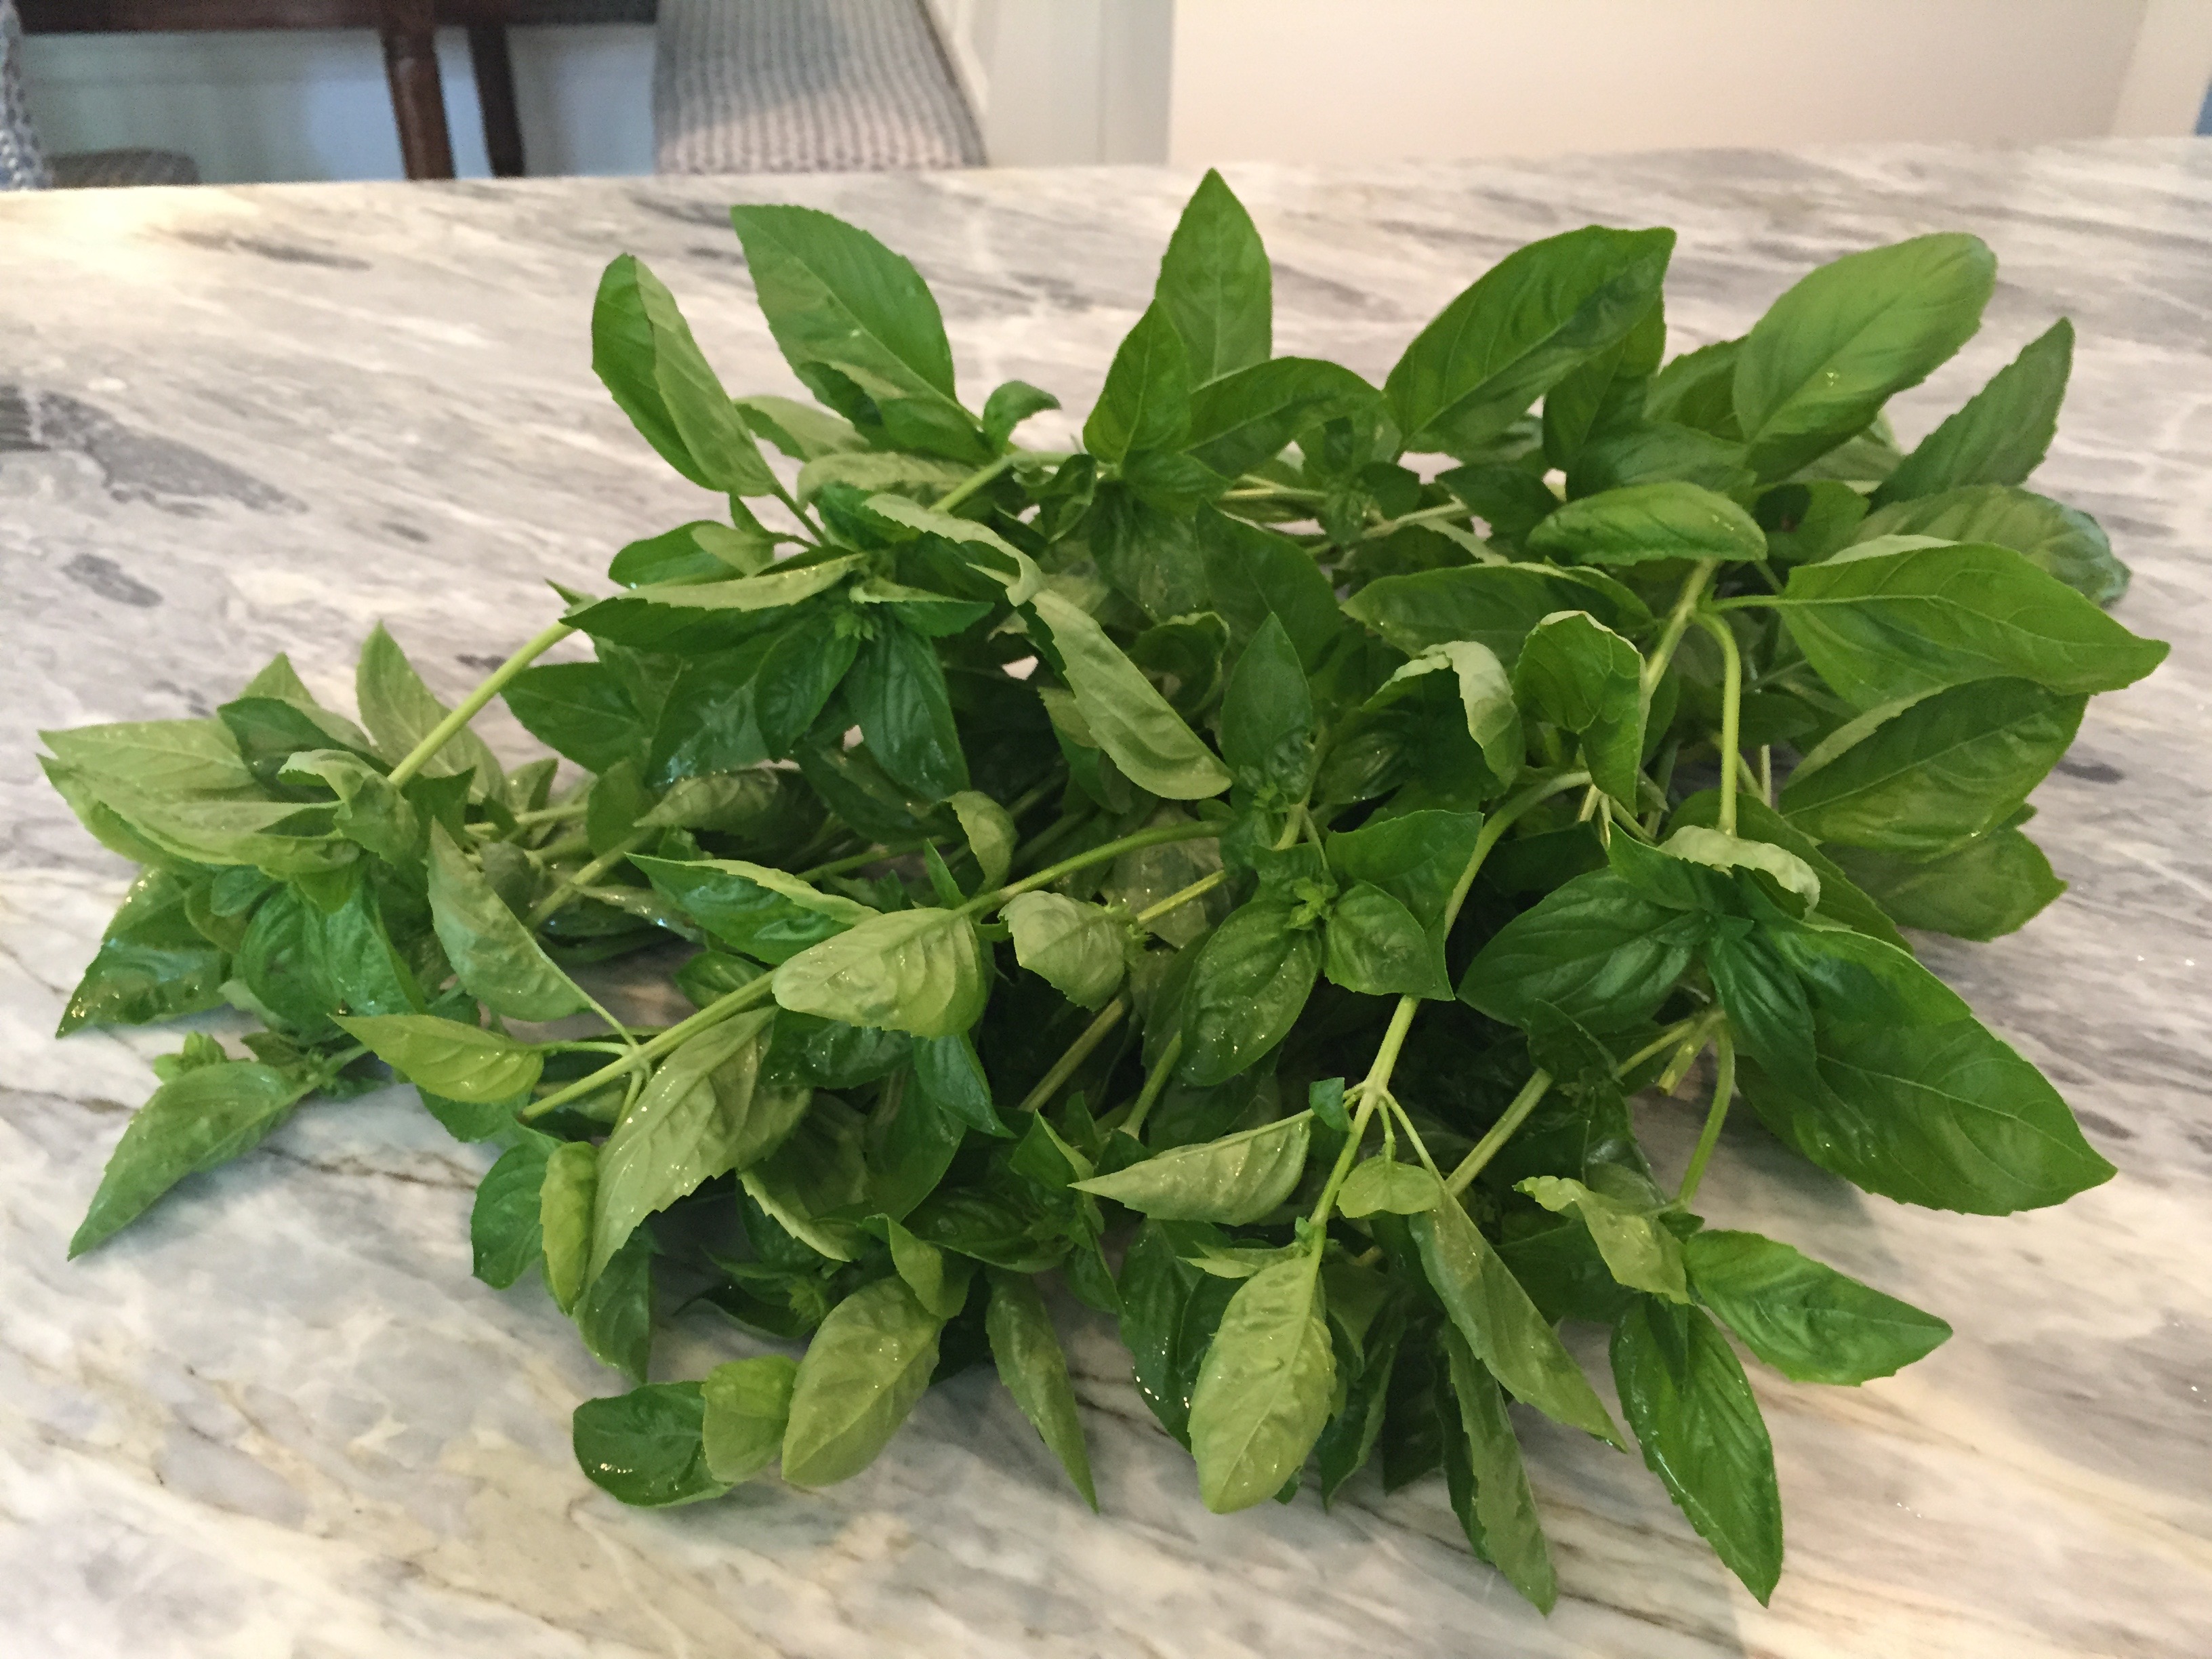
As the days grow shorter, I am only too aware of the cool weather that is sure to follow. Feeling a bit like the ant preparing for winter in Aesop’s The Grasshopper and the Ant, I’ve gone on a pesto making binge; not only preserving basil’s quintessential summer flavor at its best, but capturing a sunny moment in time. These green gems, pulled from the depths of the freezer, will bring warm memories to cold snowy nights sometime in the (not too distant) future.
Pesto is from the Italian word pestare which means to pound or crush. The English word for pestle shares the same Latin root. Traditionally, pesto is made by hand with a mortar and pestle, but in the quantities I’m dealing with the food processor is helping. No shame in that.
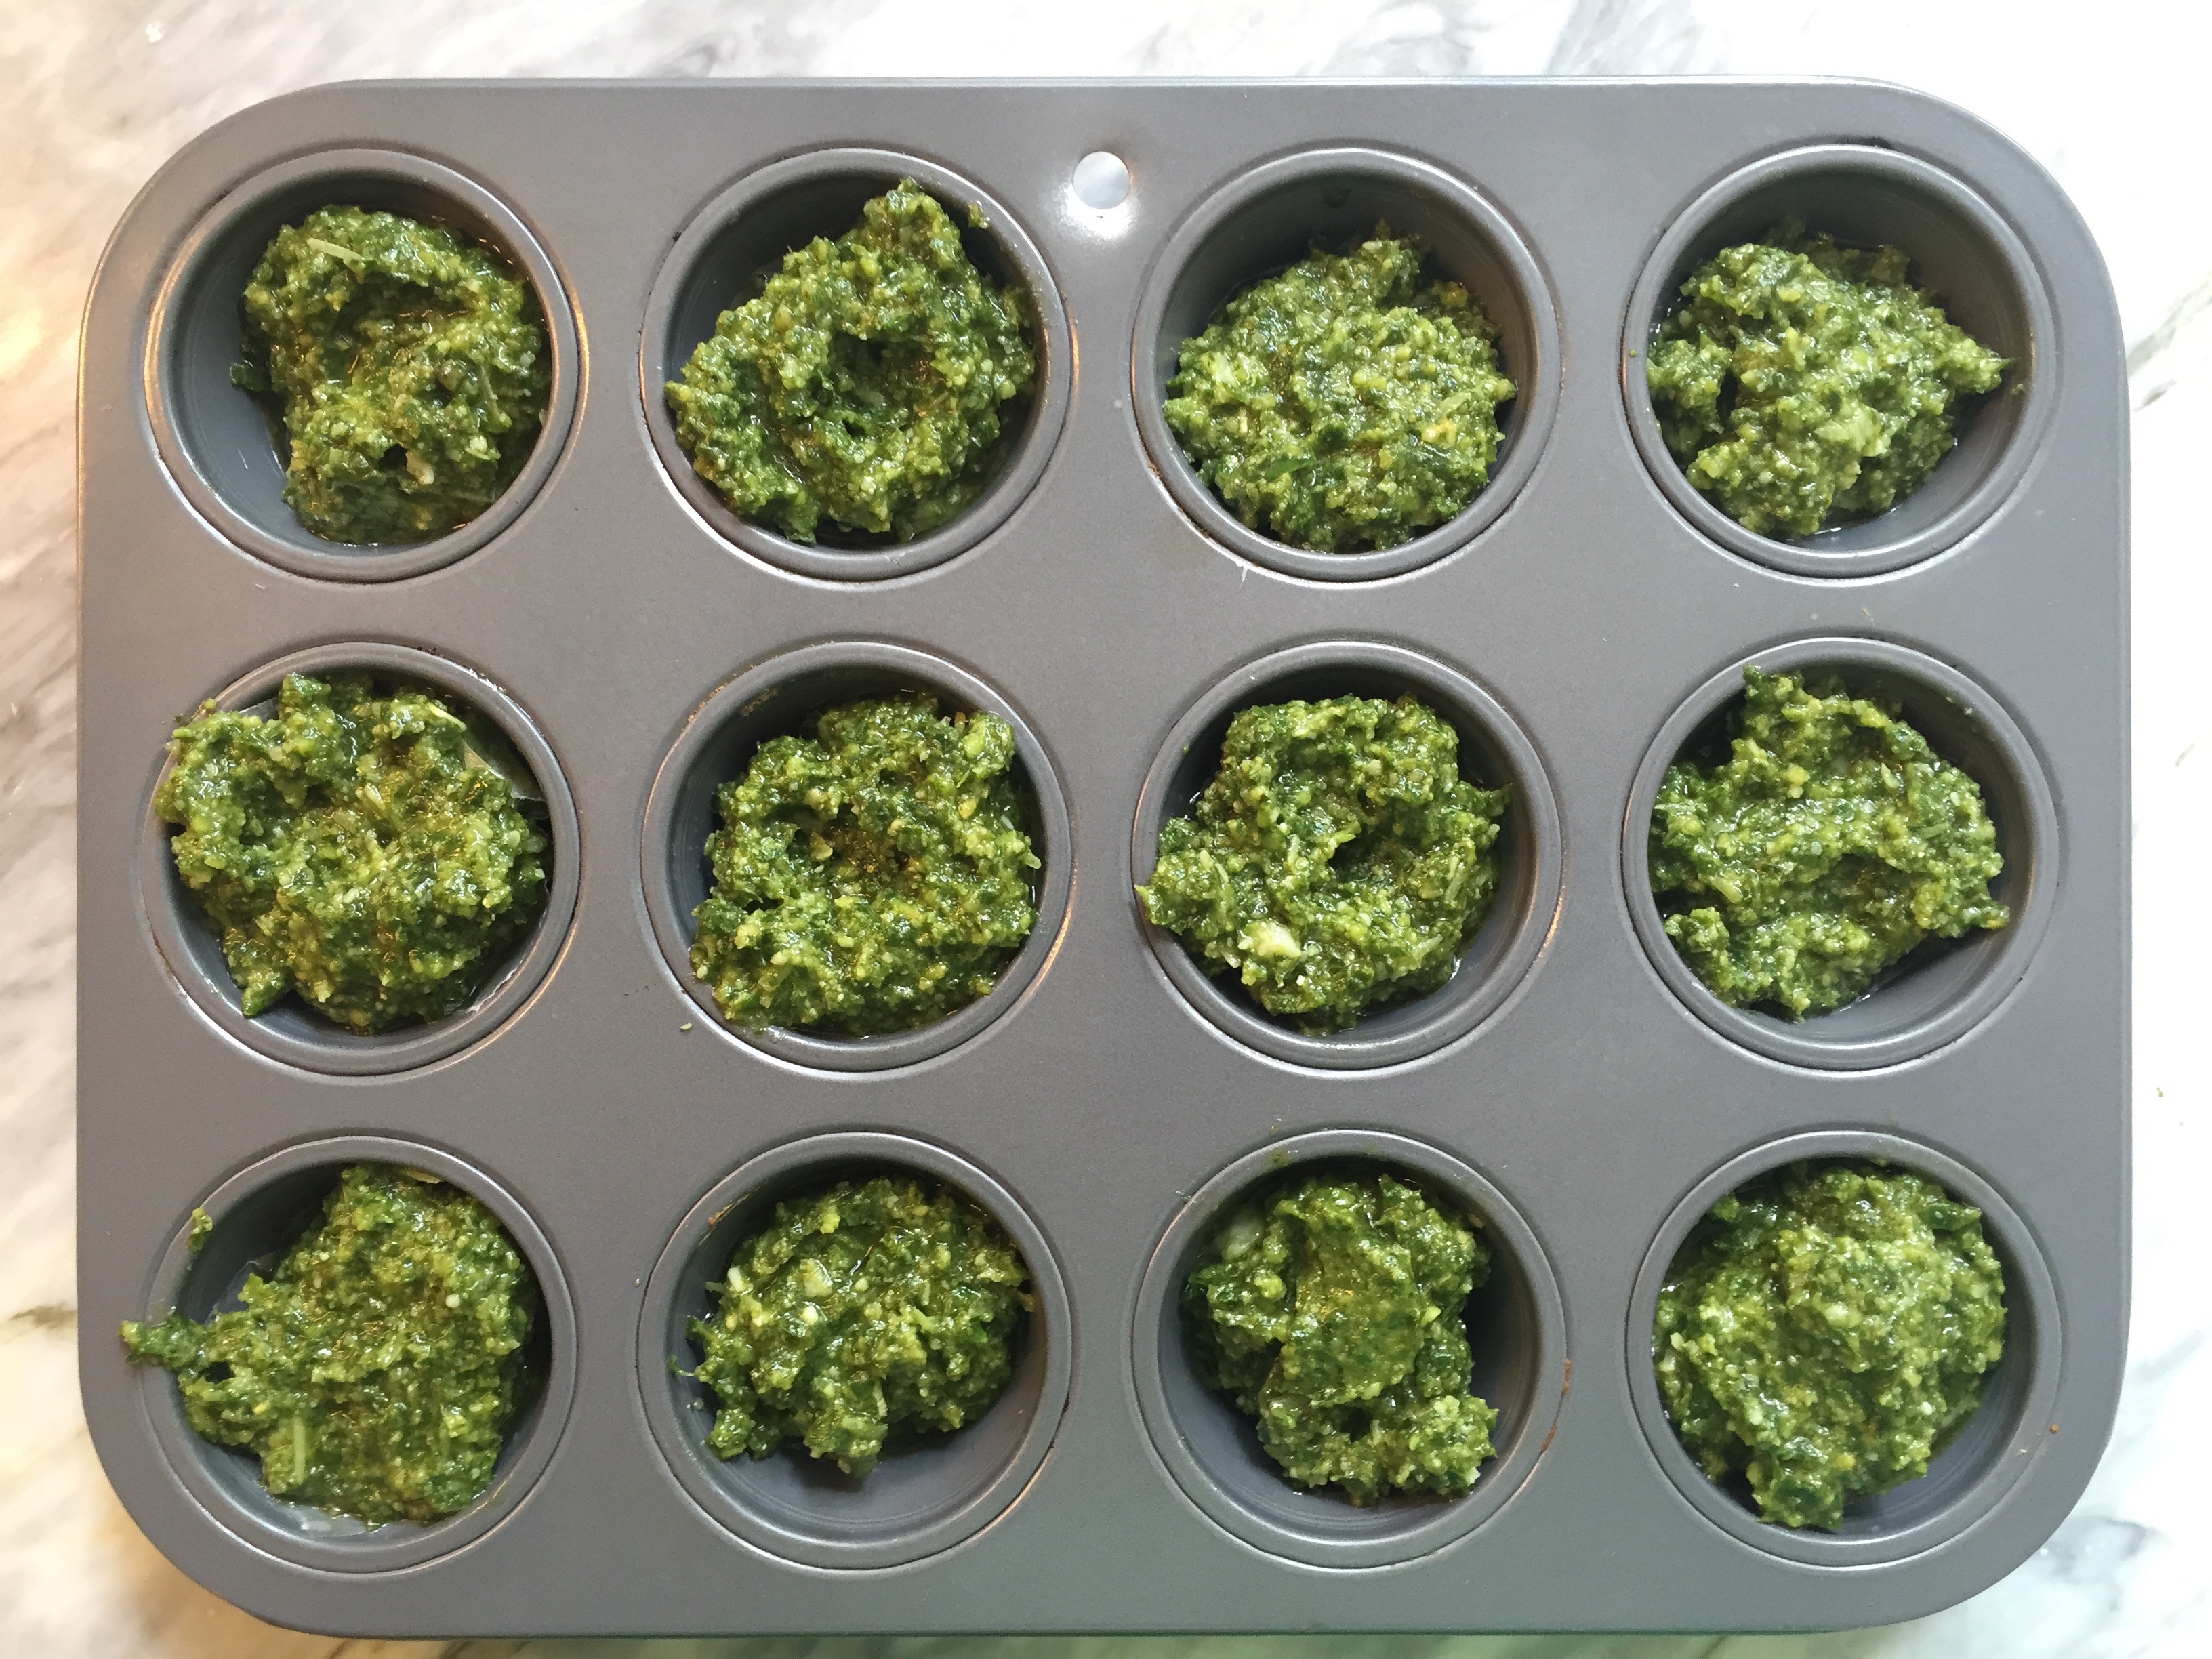
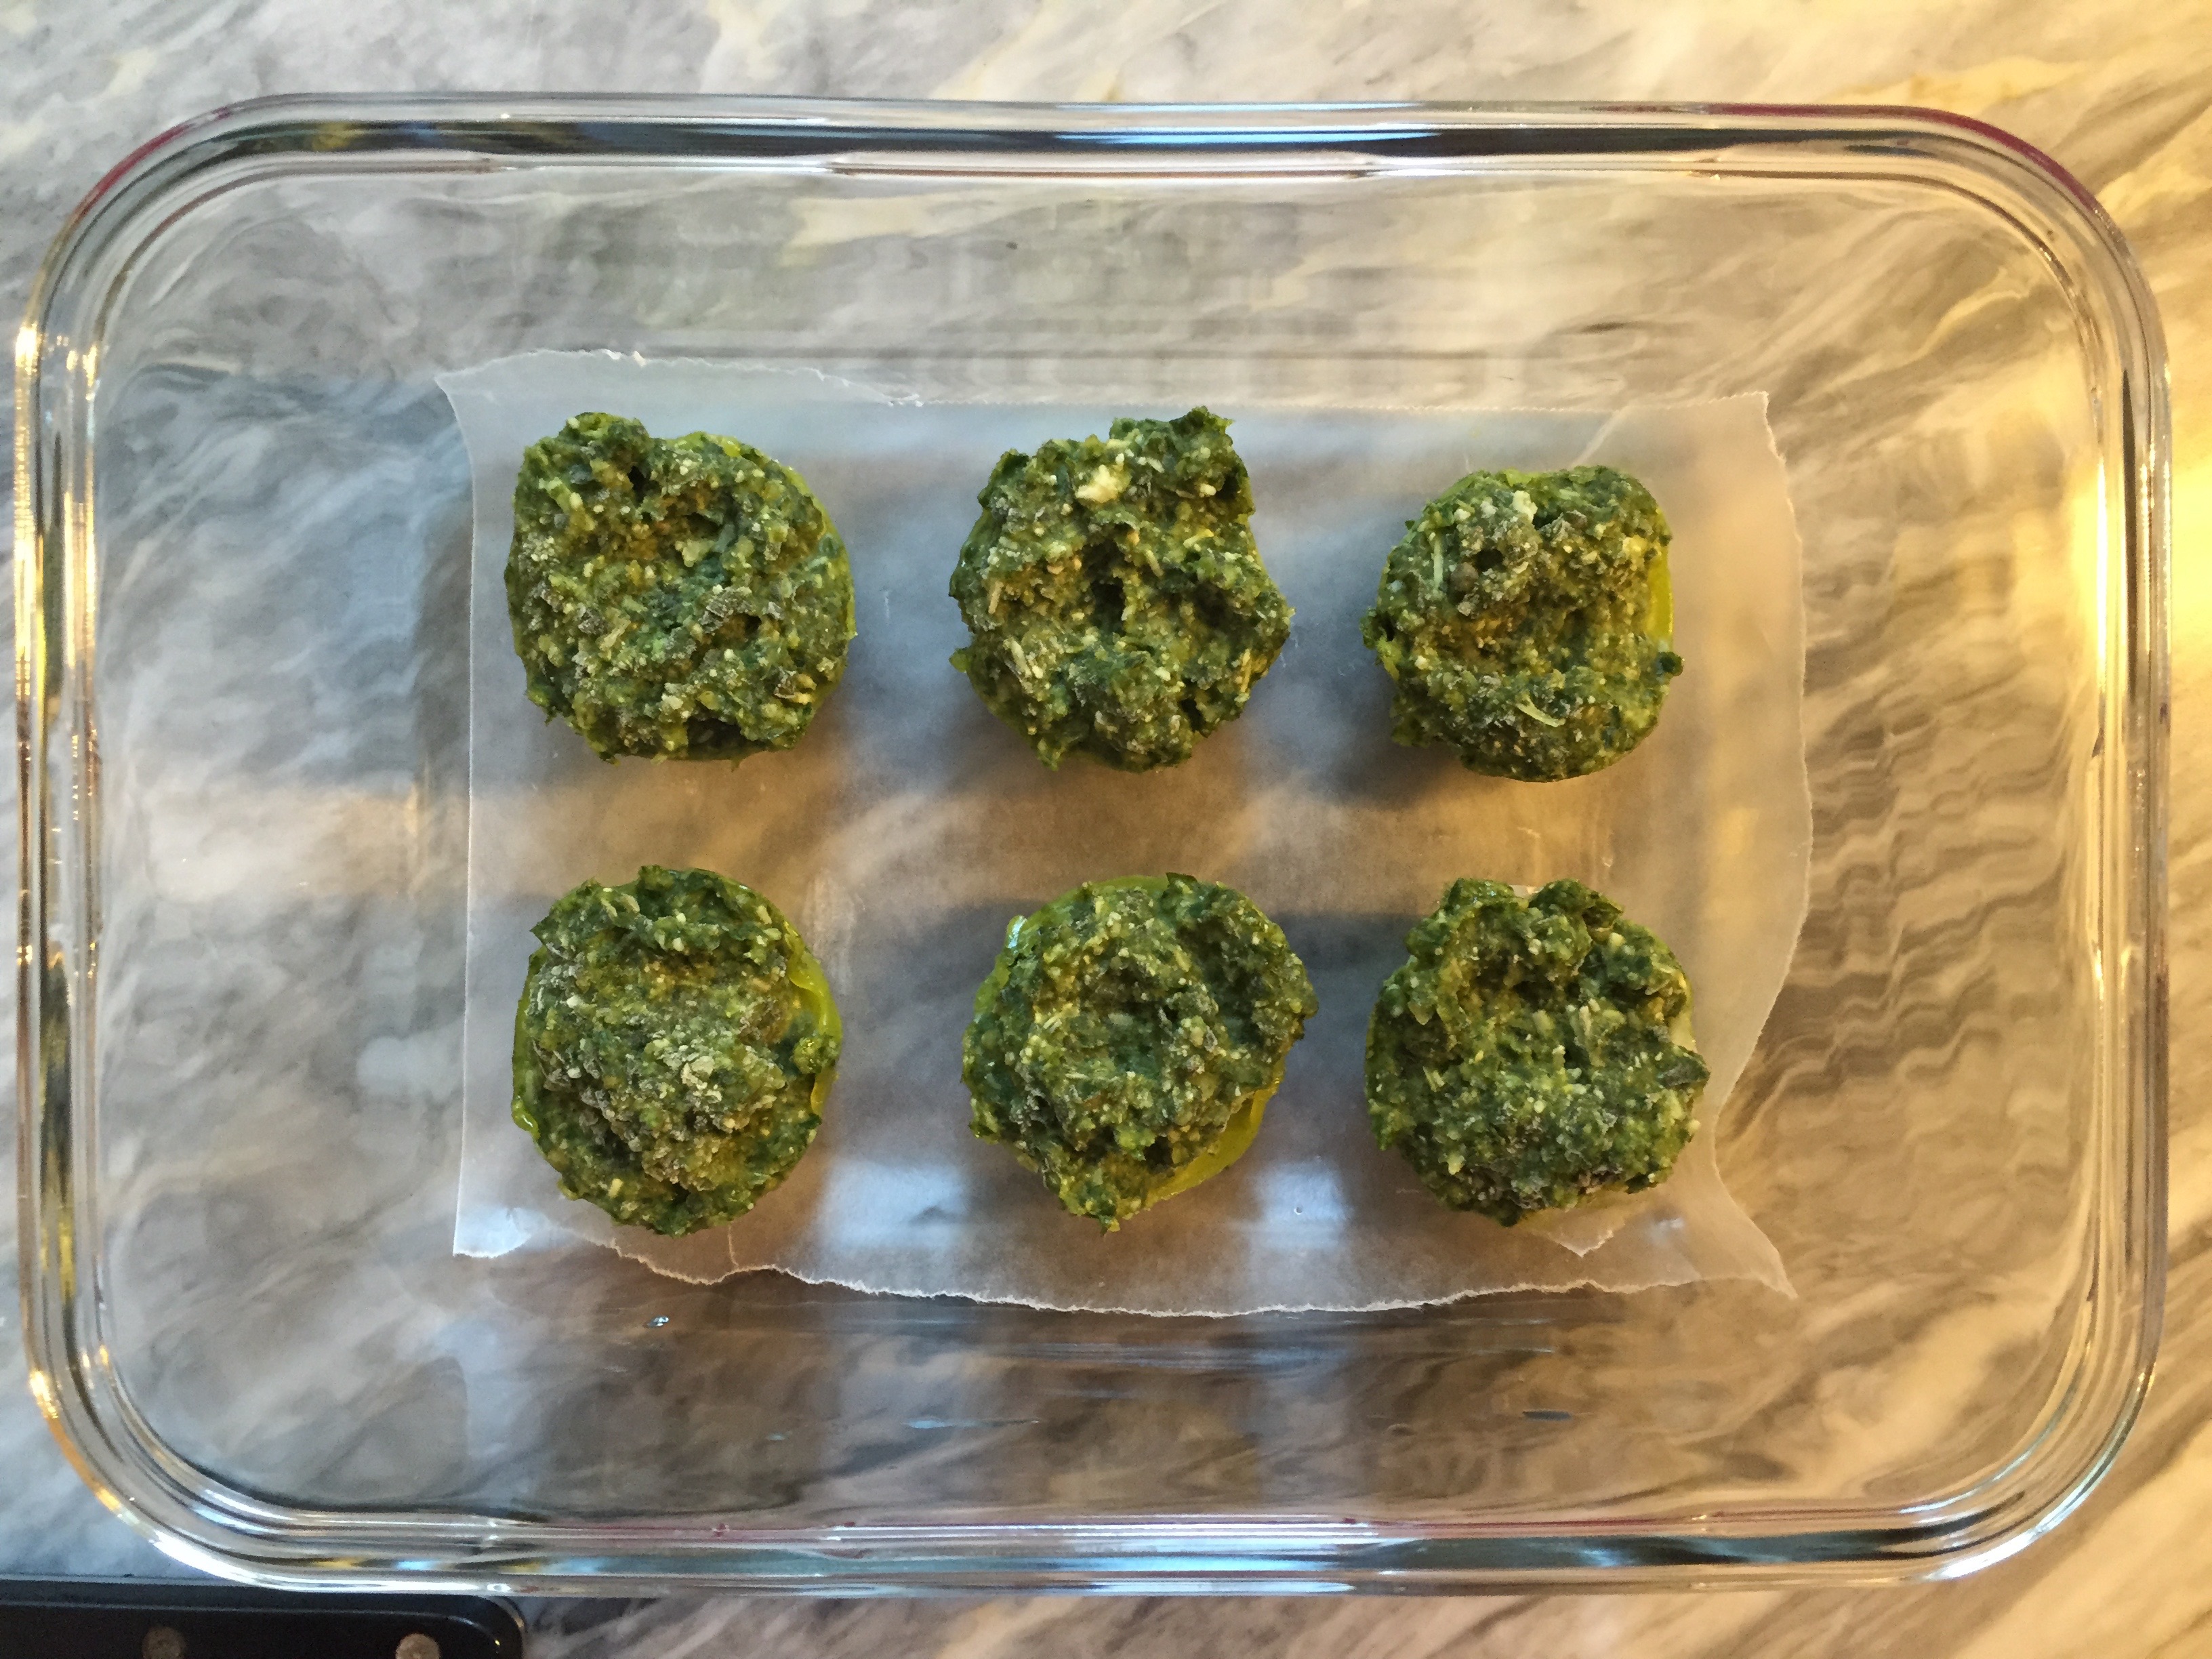
Some of the pesto is for enjoying now, but the majority is getting scooped into mini muffin tins, frozen, then transferred into storage containers for the freezer. The mini pesto “muffins” are just the right size to add to dishes all winter long.
And pesto isn’t just for pasta… here are some others ways to savor it.
• Potatoes- pesto and potatoes are a wonderful pair. Gently stir a spoonful of pesto into freshly boiled potatoes or mix a spoonful into mashed potatoes.
• Marinara Sauce- add pesto to your regular marinara sauce
• Dip- mix pesto into greek yogurt, crème fraiche, or sour cream for a dip
• Pizza- use pesto instead of pizza sauce on your next homemade pizza
• Sandwiches- spread pesto on your favorite crusty sandwich bread, top with sliced chicken and roasted red peppers
Those are just some of my suggestions. I’d love to hear from you… what are your favorite ways to use pesto?
Ingredients:
For the food processor-
2 cups tightly packed fresh basil leaves
1/3 cup extra virgin olive oil
3 Tablespoons lightly toasted pine nuts
2 garlic cloves, chopped fine
salt
For completion by hand-
½ cup freshly grated parmesan cheese
2 Tablespoons freshly grated romano cheese
Instructions:
Briefly rinse basil under cold water and pat dry.
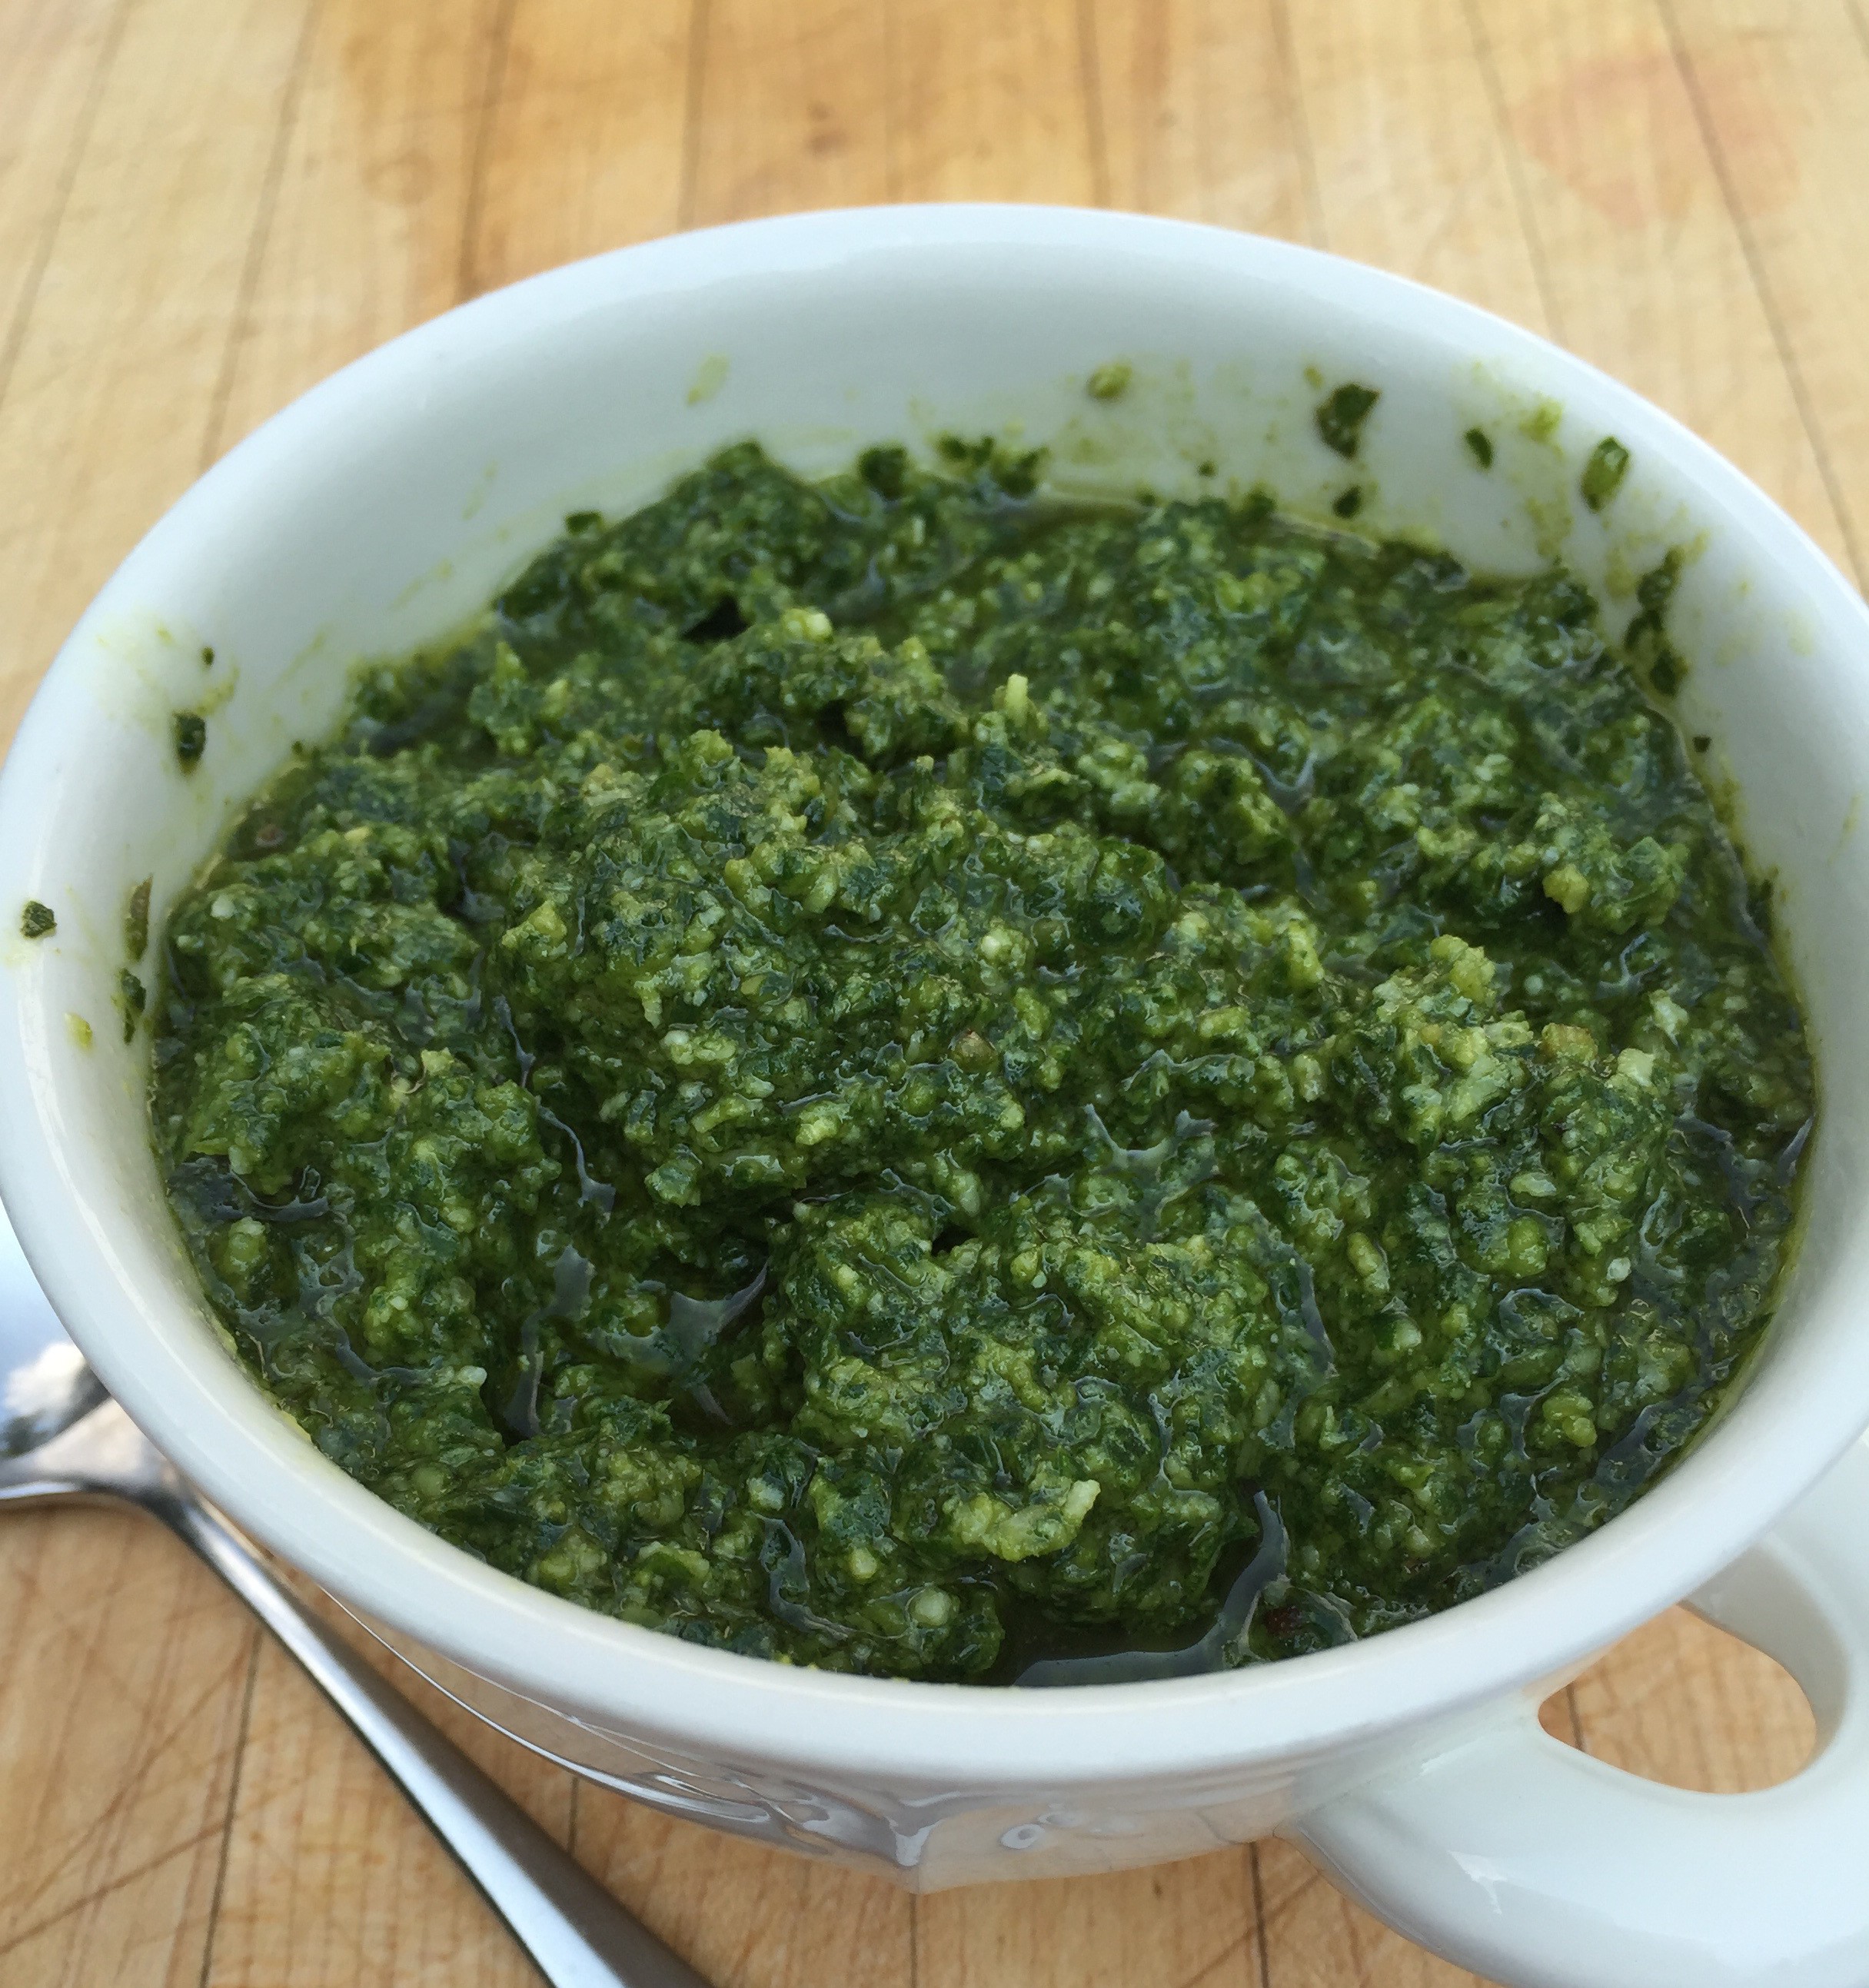
Place basil, olive oil, pine nuts, chopped garlic, and a pinch of salt into the bowl of a food processor. Process to a uniform creamy consistency.
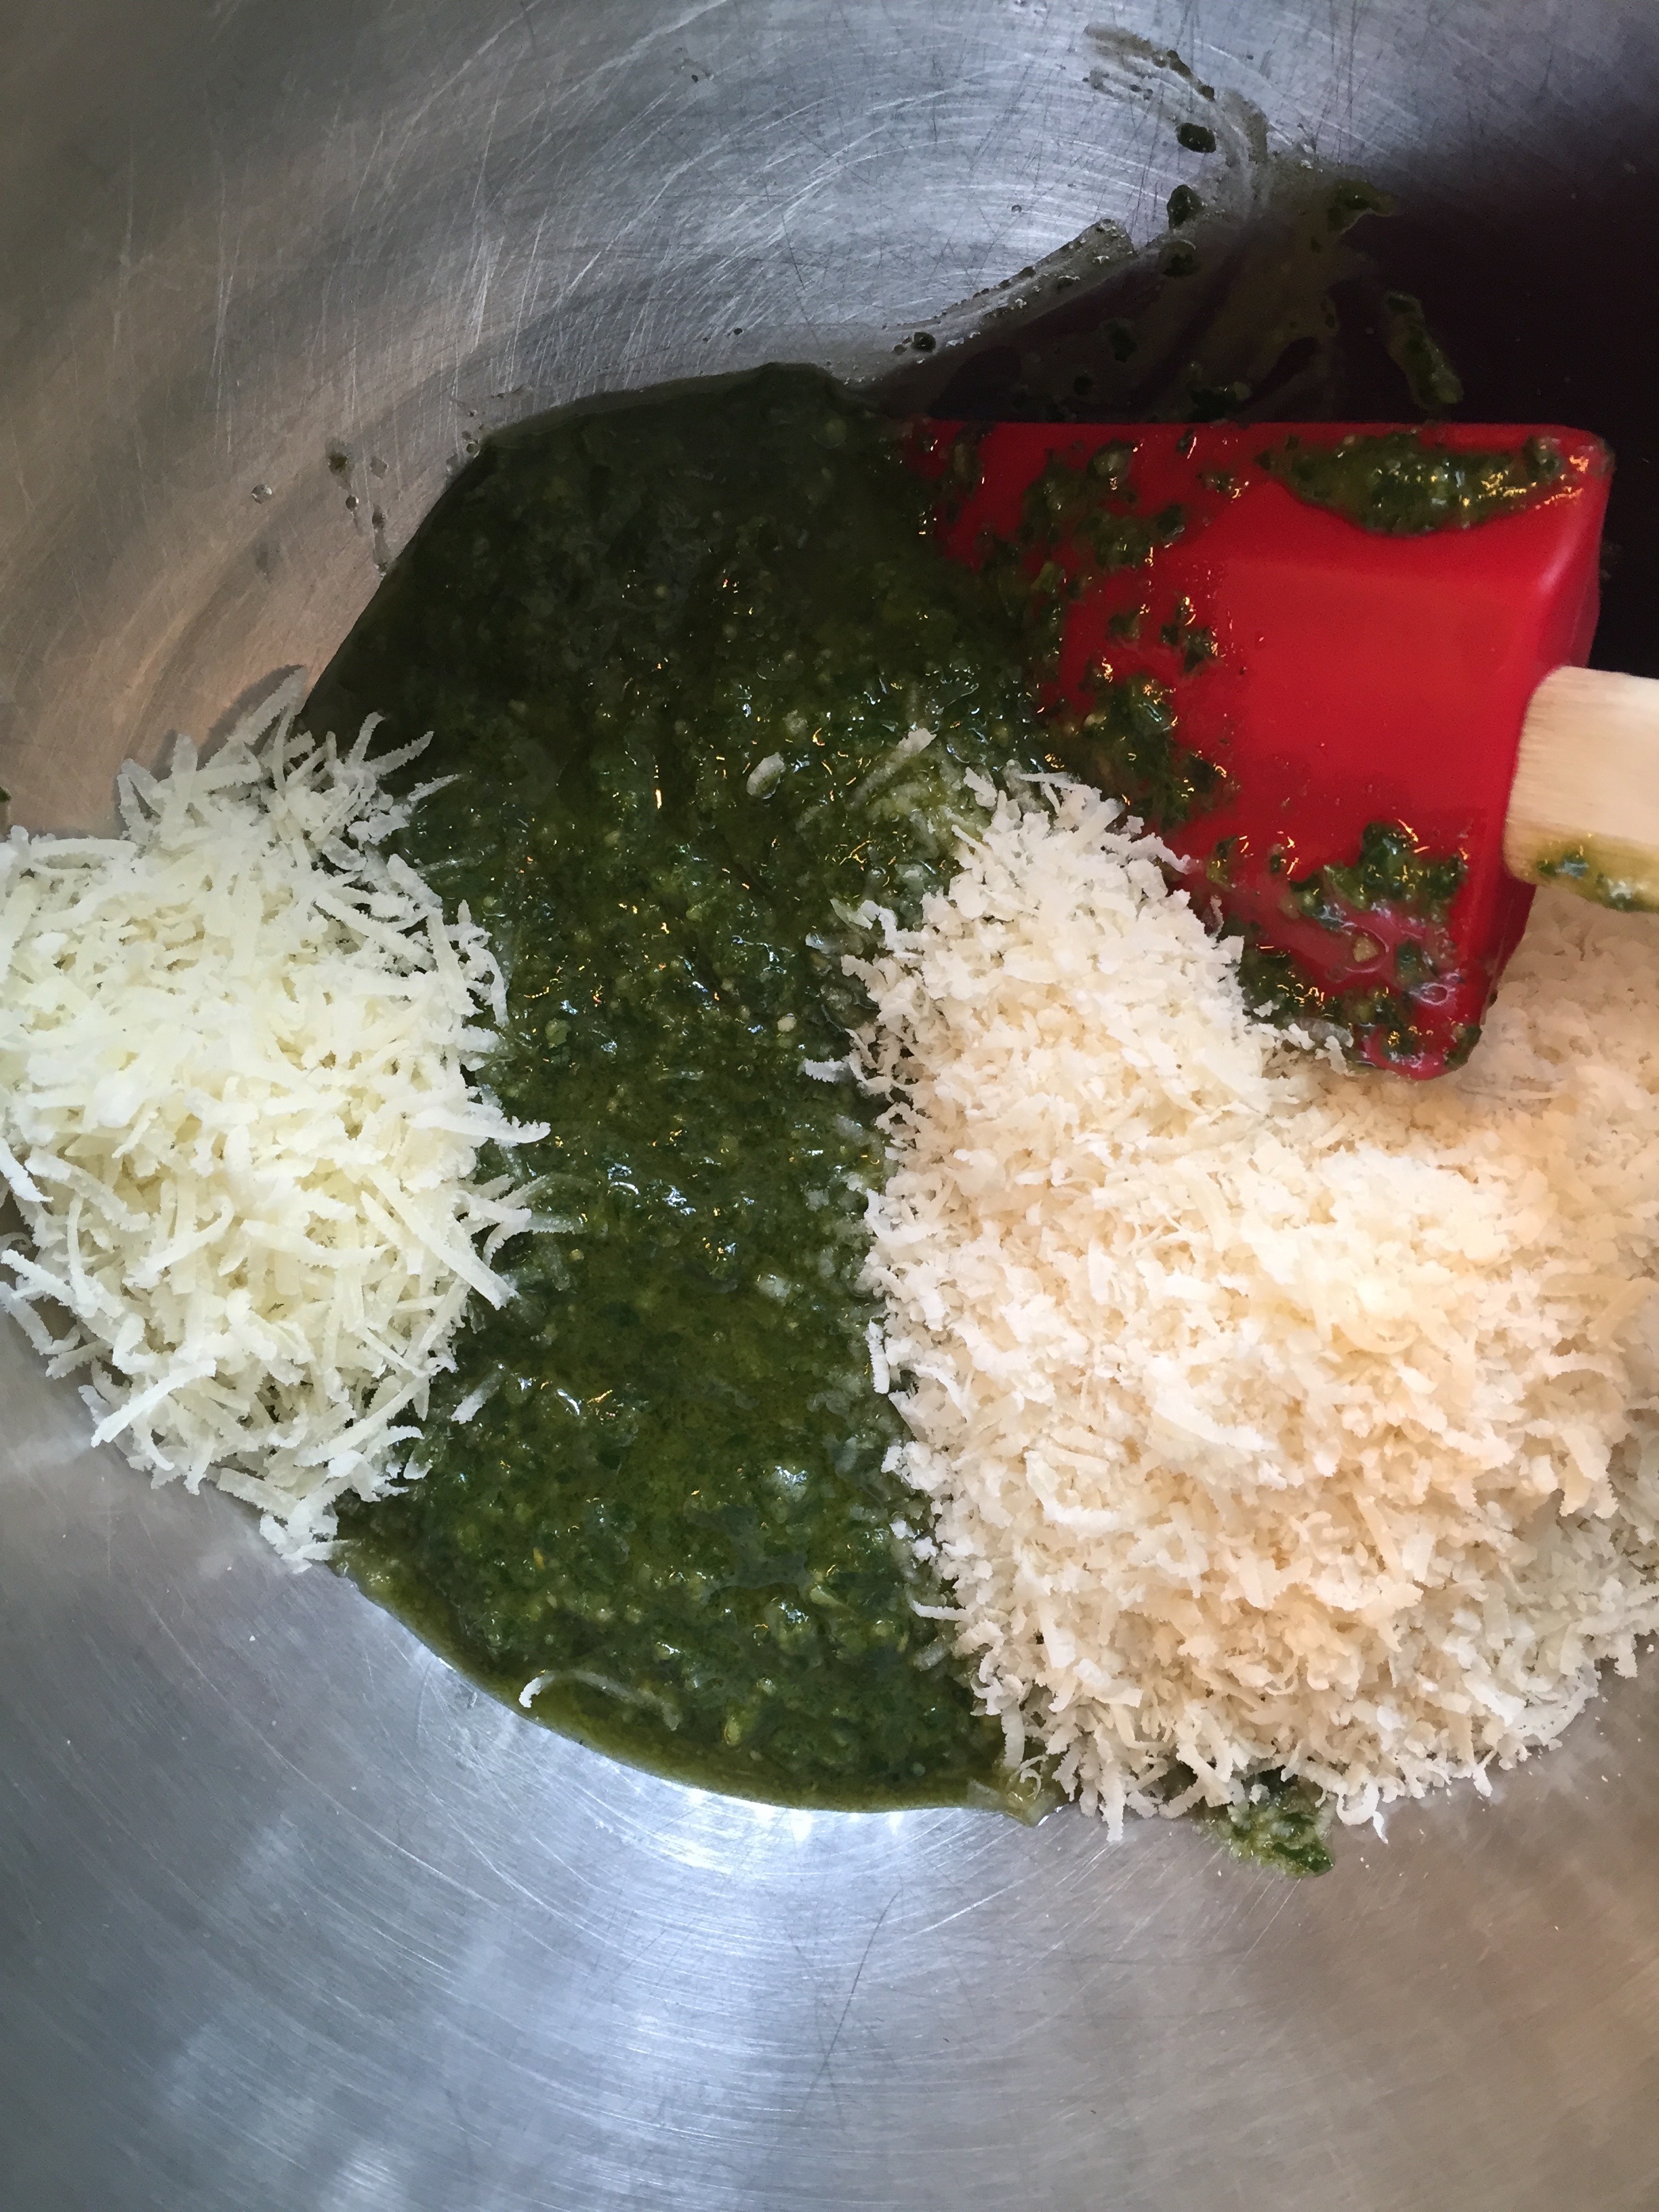
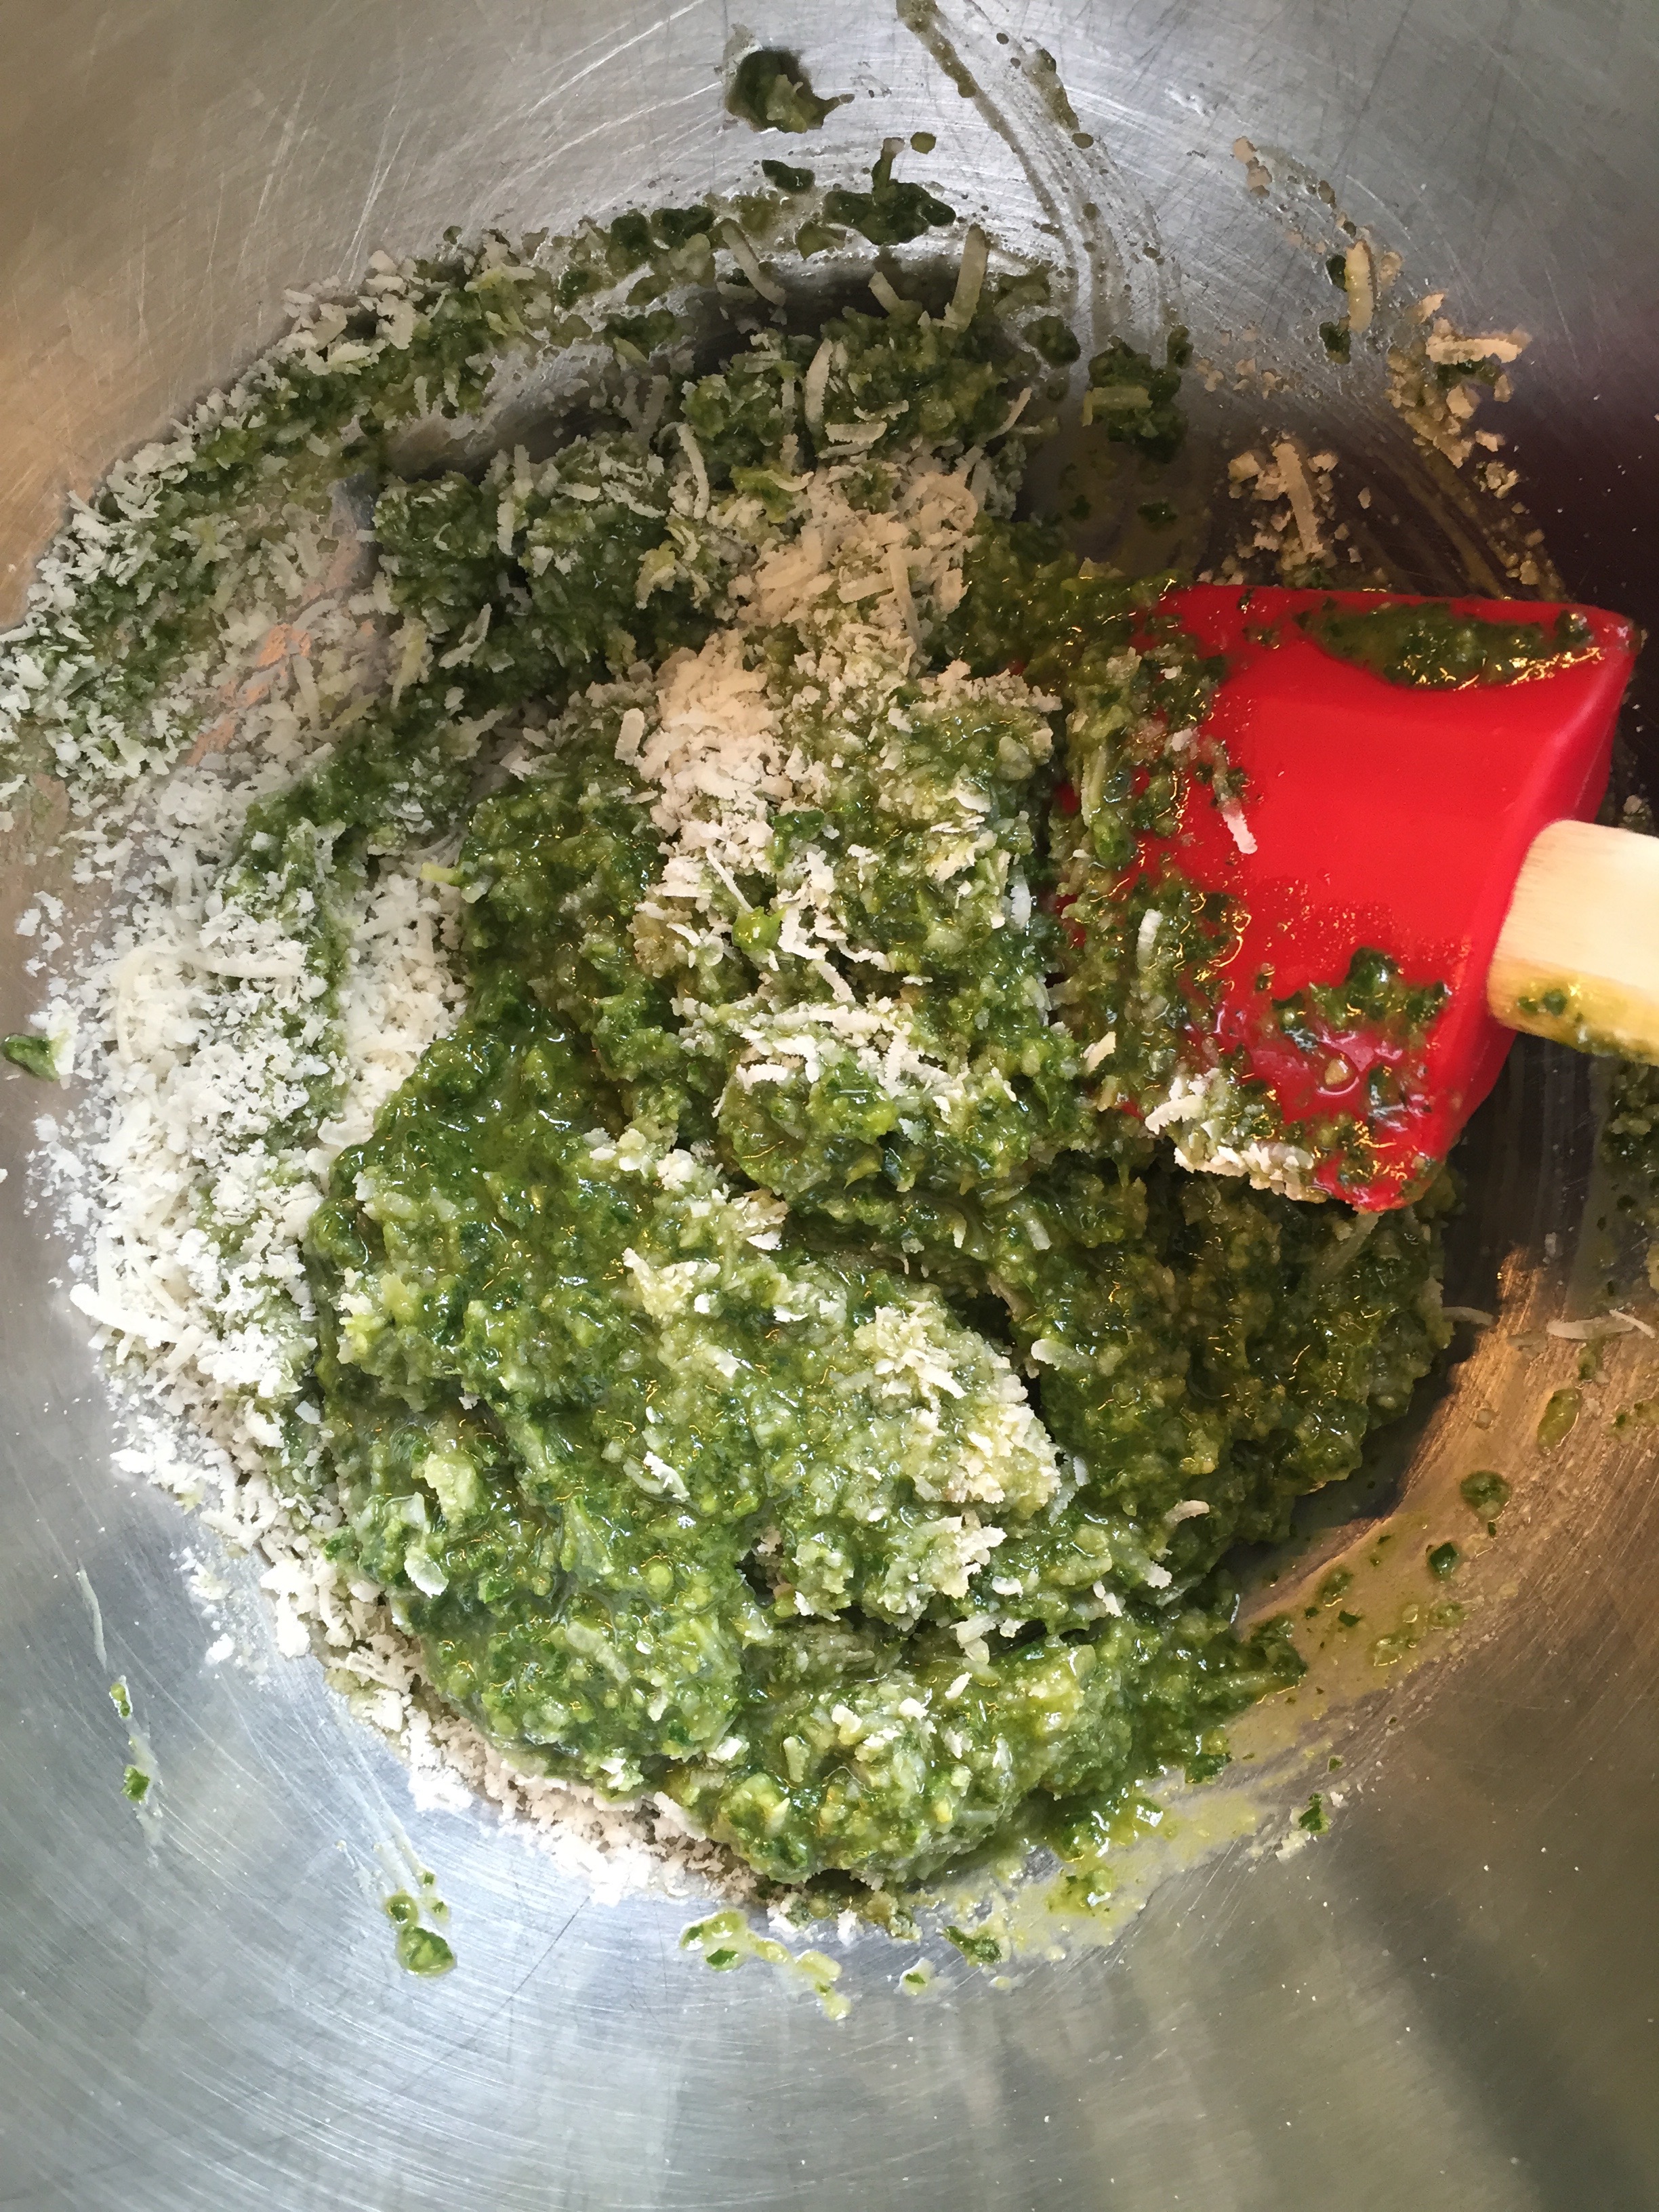
Transfer to a bowl, and mix in the two grated cheeses by hand.
The pesto can be frozen in pre-portioned amounts to be pulled from the freezer whenever you want a taste of summer.
Place the basil, extra virgin olive oil, pine nuts, garlic, and salt into a food processor and blend.Blend the basil, extra virgin olive oil, pine nuts, garlic, and salt to a creamy consistency.Transfer the basil mixture to a bowl. Add the parmesan and romano cheeses.Mix the parmesan and romano cheeses by hand.The parmesan and romano cheeses have been thoroughly incorporated.Using a mini muffin tin, small portions of pesto are ready for the freezer. After freezing, transfer them to a container for long term freezer storage.Wax paper separates layers of frozen pesto “muffins” for long term storage in the freezer.
The back to school catalogs began arriving in mid July and straight into the recycling bin they went. Now, more than a month later, I can no longer deny the fast approaching first day of school. The highlighted square on the calendar smugly reminding me that order will return in the form of routines, schedules, homework, and afterschool activities. Fuel is needed for us all, especially first thing in the morning. Enter granola.
Good granola is a tasty mix of humble ingredients barely touched with sweetness. Oats, nuts, seeds, dried fruits- all relatively inexpensive on their own, but for reasons I don’t understand, suddenly become a hot commodity when combined, packaged, and put on your local grocery store shelf. Make your own. You’ll save money, have control over the ingredients, and create something far better than anything you could get from a cardboard box.
This recipe makes a little more than 8 cups and keeps for several weeks in an airtight container. My granola goes into mason jars, but tupperware,and ziploc bags work too. I have it every morning with plain yogurt and whatever fruit is in season. My daughter‘s spin is little fancier; she likes to make yogurt parfaits- layering the granola with fruit and yogurt. Keep it simple and put the granola out in the morning as part of a breakfast bar. Each person can enjoy it the way they like best… with milk… with yogurt… with fruit… or even straight up by the handful as they race out the door to catch the school bus.
PS- A batch of homemade granola makes an excellent gift. Think teachers, new moms, care package for college kids…
Ingredients:
3 cups rolled old-fashioned oats
1 cup unsweetened shredded coconut
1 cup unsalted raw sunflower seeds
1 cup unsalted raw pumpkin seeds
1 cup unsalted nuts… almonds, walnuts- whatever you want
2 teaspoons ground cinnamon
1 teaspoon ground ginger
¾ cup maple syrup
⅓ cup coconut oil (comes in a jar- solid form)
1 teaspoon vanilla extract
pinch of salt
1 ½ cups total of your favorite dried fruits (raisins, cranberries, dried apricots, dried figs, dried apples, dried cherries)- either a combination of fruits or just one
Instructions:
Position a rack in the middle of the oven. Preheat the oven to 300°. Line a large cookie sheet with parchment paper or foil.
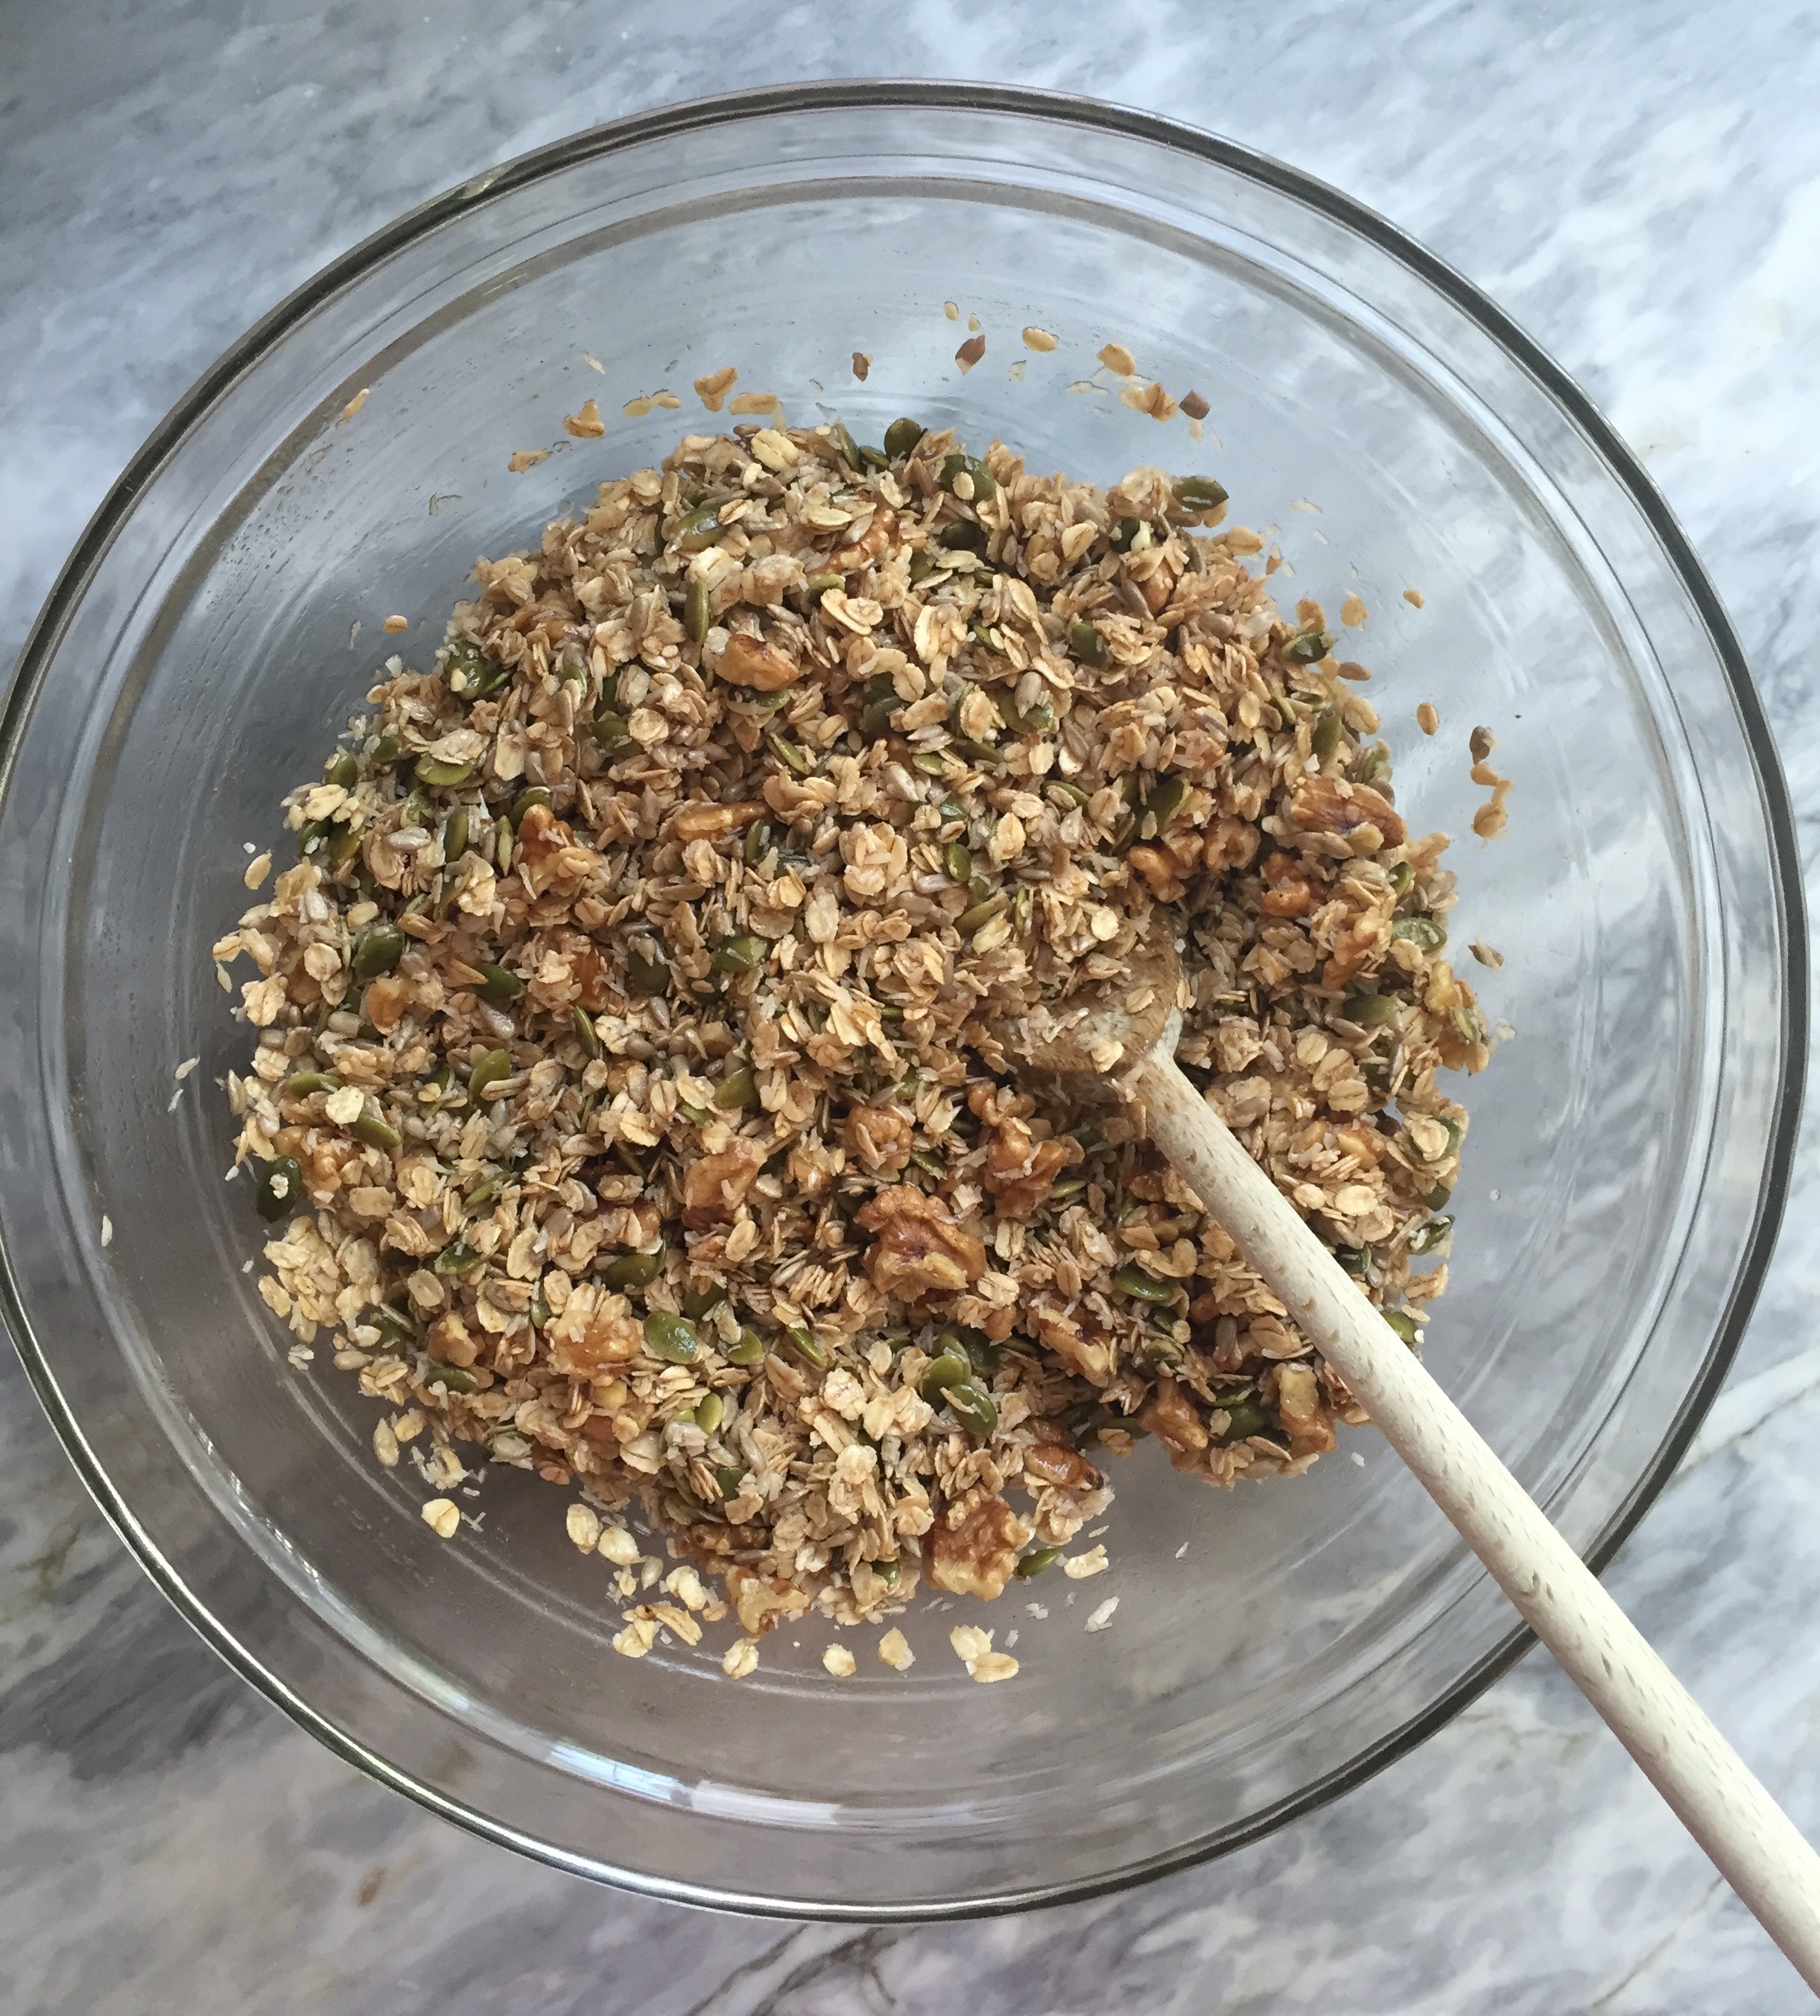
In a large bowl, combine the oats, coconut, sunflower seeds, pumpkin seeds and nuts. In a small saucepan melt coconut oil over low heat, add cinnamon, ginger and maple syrup- stirring to combine. Take off the heat and add vanilla and pinch of salt. Pour coconut oil/maple syrup mixture over oat mixture and combine- stirring to be sure everything is evenly coated. Spread onto cookie sheet.
Bake for 30 to 40 minutes, stirring the granola about every 10 minutes- rotating the cookie sheet once or twice so the granola bakes evenly. The granola is ready when it just begins to turn a light golden color.
Remove from the oven, add dried fruits and stir well. Let cool,
stirring once or twice to break up any clumps.
*This recipe is very easy to play around with. Consider adding different dried fruits, wheat germ, flax seeds, etc.
Measure the oats, unsweetened coconut, walnuts, pumpkin seeds and sunflower seeds into a bowl. Set aside.Melt the coconut oil over low heat, then add the maple syrup, cinnamon, ginger, vanilla and salt. Here I played around with the flavors and tossed in a cinnamon stick and cardamom pod for a brief dip. I was sure to remove both before combining the liquid and dry ingredients.Pour the coconut oil/maple syrup mixture over the dry ingredients.Stir ingredients thoroughly so that everything is evenly coated.The granola is ready to spend 30-40 minutes in a preheated 300° oven. Stir every 10 minutes or so. Bake until lightly golden.After the granola comes out of the oven add your favorite dried fruits. This batch has dried cherries, raisins, and chopped dried figs.Heading to the pantry (and future breakfasts, lunches, yogurts, late night snacks…)


 I’m not sure which came first… did the Fruit and Nut Bar or Chunky Bar inspire this bark, or did the taste memories come flooding back after the first bite? In either case, this treat would definitely meet Nanny’s approval. It’s the perfect blend of a fruit and nut studded candy bar and chocolate bark. Like a candy bar, the sweetness of the dried fruit, partnered with the crunch of the nuts, encased in dark chocolate is such a fantastic combination. Spread thin and topped with more dried fruit and toasted nuts brings it closer to a bark. Sprinkled with sea salt pushes it over the top. Excellent with a glass of red wine after dinner or a quick pick me up mid-day; another option is to leave out a small platter of the bark so that every time you walk by you grab a nibble. Not that I’ve ever done that. No judging here.