Irish Stew

Irish Stew with Irish Soda Bread
Kilmainham Gaol, Dublin

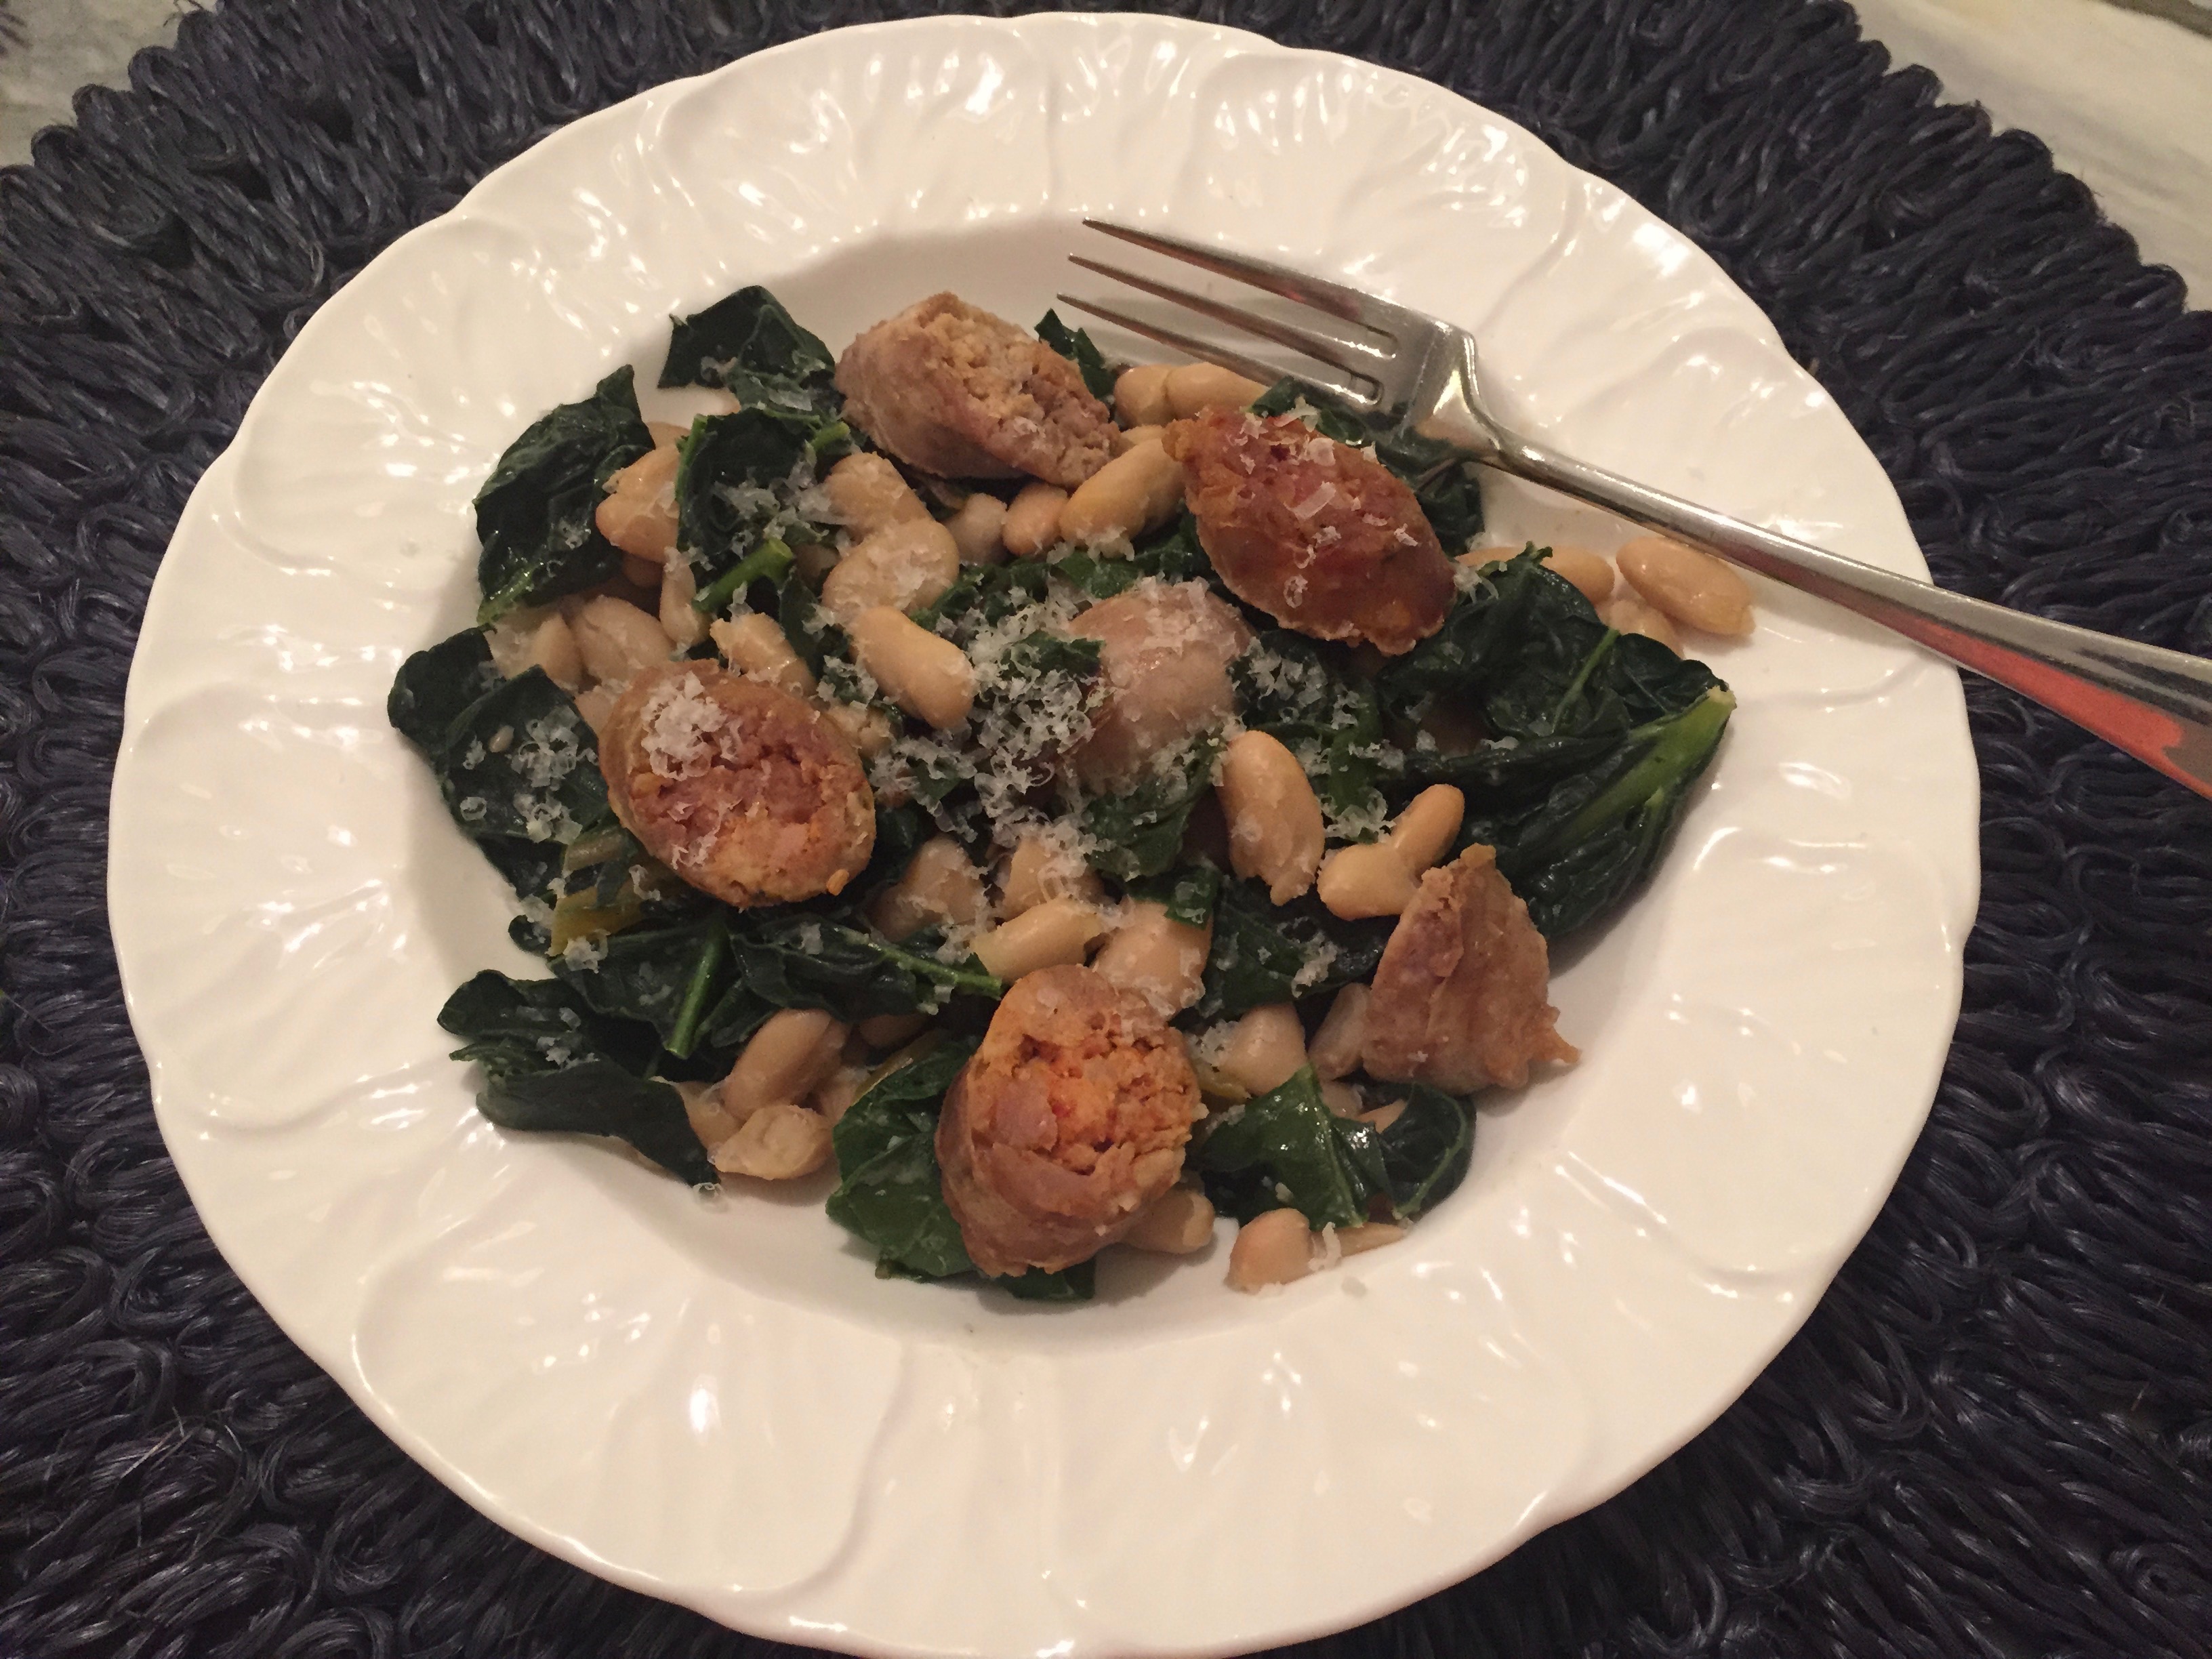
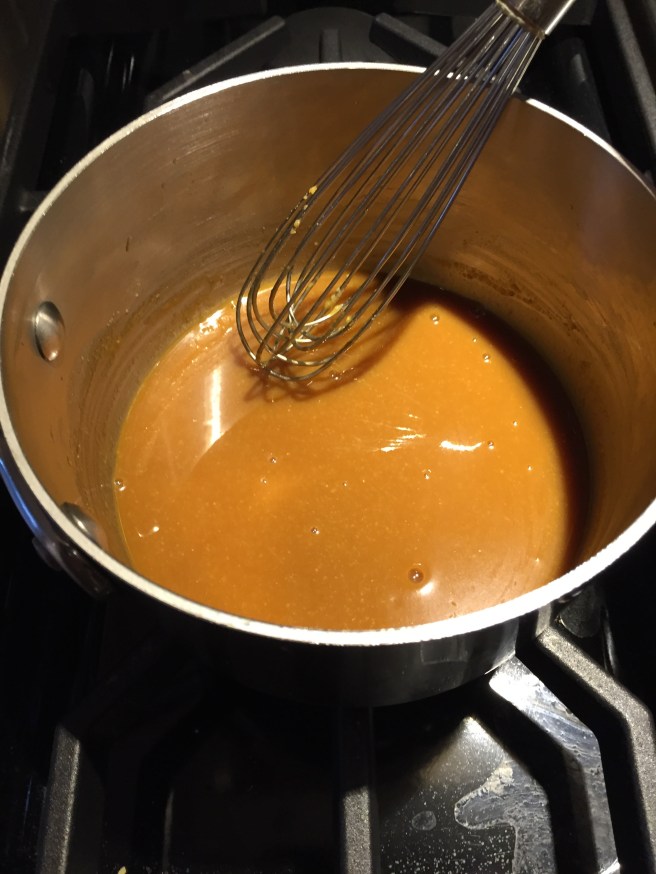
Happy St. Patrick’s Day! Tonight we’re celebrating not with corned beef and cabbage, but Irish Stew. Now don’t get me wrong, I love corned beef and cabbage, but to be honest, I prefer Irish stew for sentimental reasons. My grandparents, who were from Belfast, never had corned beef and cabbage growing up. It wasn’t until they came to America that they had corned beef and cabbage. According to this New York Times article, corned beef and cabbage is definitely more of an American tradition than Irish.

Knowth, Brú na Bóinne

In any event, here is my version of Irish Stew. It was inspired by Nanny’s, with a little help from Darina Allen in terms of quantities. This dish can be served on any cold night; there is no need to wait for St. Patrick’s Day!

Rainbow in Donegal
Donegal

“May you be poor in misfortune,
Rich in blessings,
Slow to make enemies,
Quick to make friends.
But rich or poor, quick or slow,
May you know nothing
But happiness
From this day forward.”
Sláinte

Irish Stew with fresh herbs in dutch oven

Irish Stew

  • Servings: 4-6
  • Print

Ingredients:
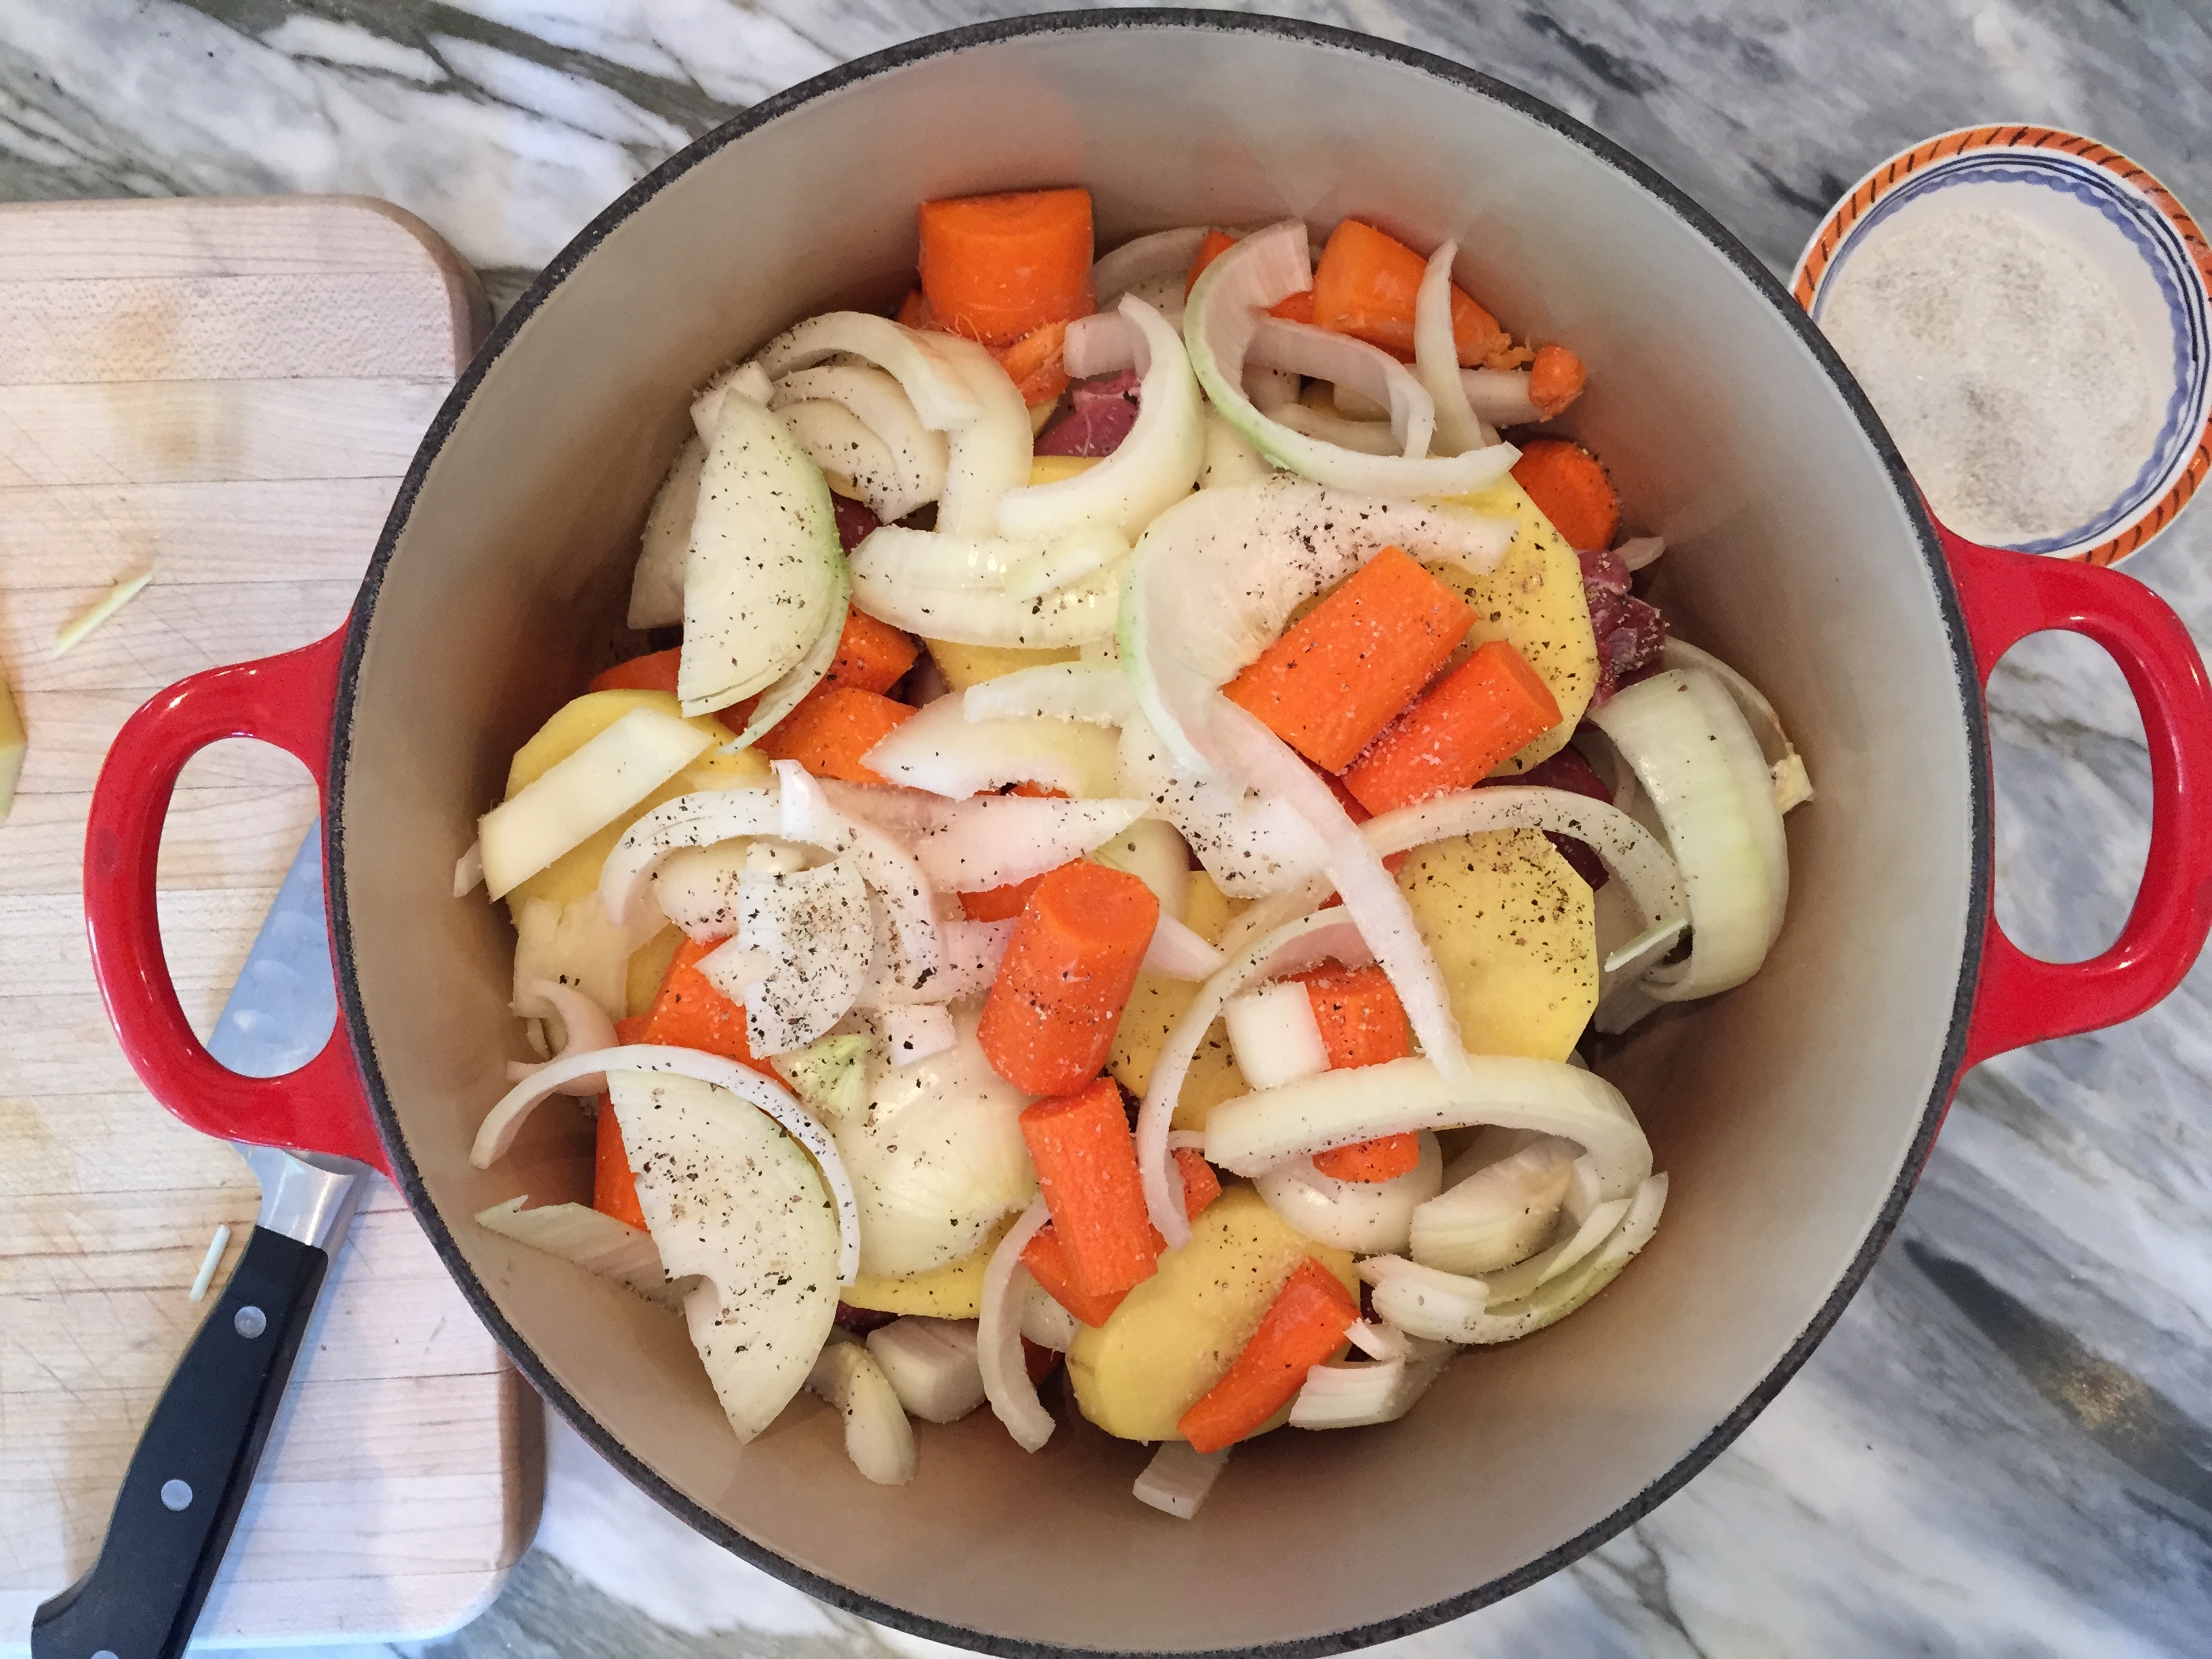
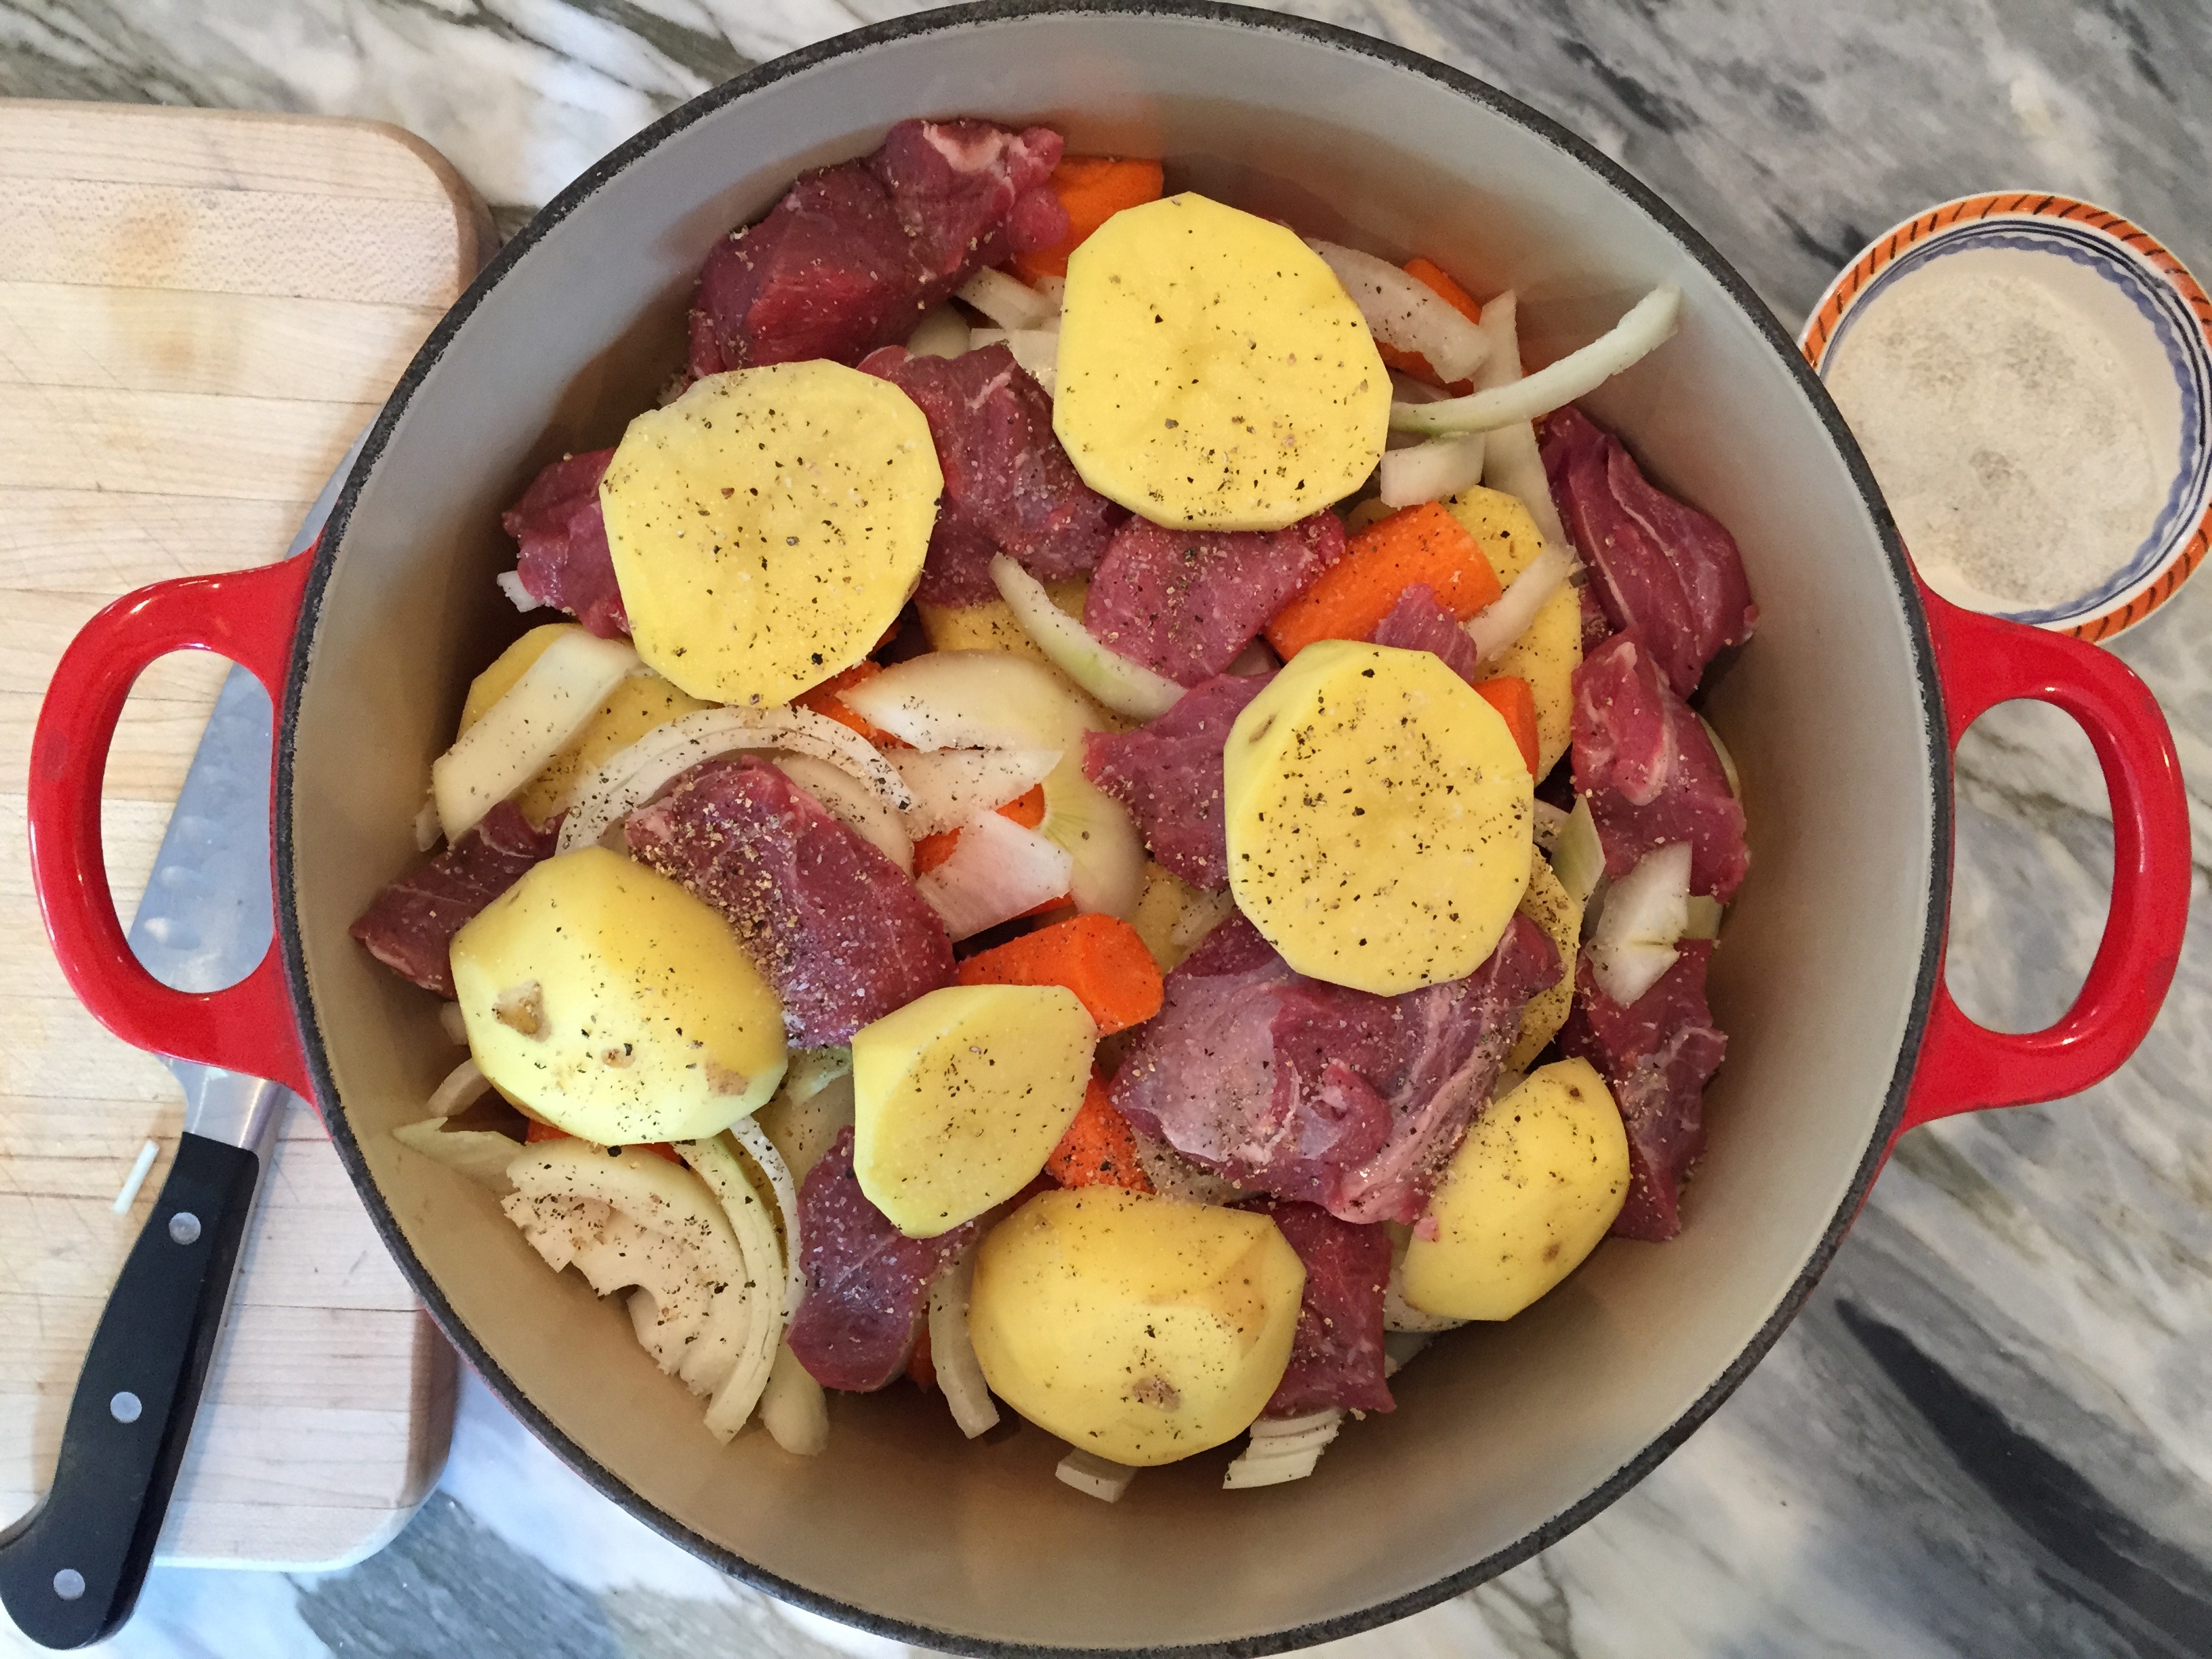
2 pounds lamb stew meat
2 pounds potatoes, peeled and sliced 1/3” thick
1 pound onion, peeled and sliced ½” thick
4-5 large carrots, peeled and sliced into 1” chunks
salt and freshly ground pepper
water
½ teaspoon dried thyme or 1 sprig fresh thyme
3-4 Tablespoons chopped fresh parsley
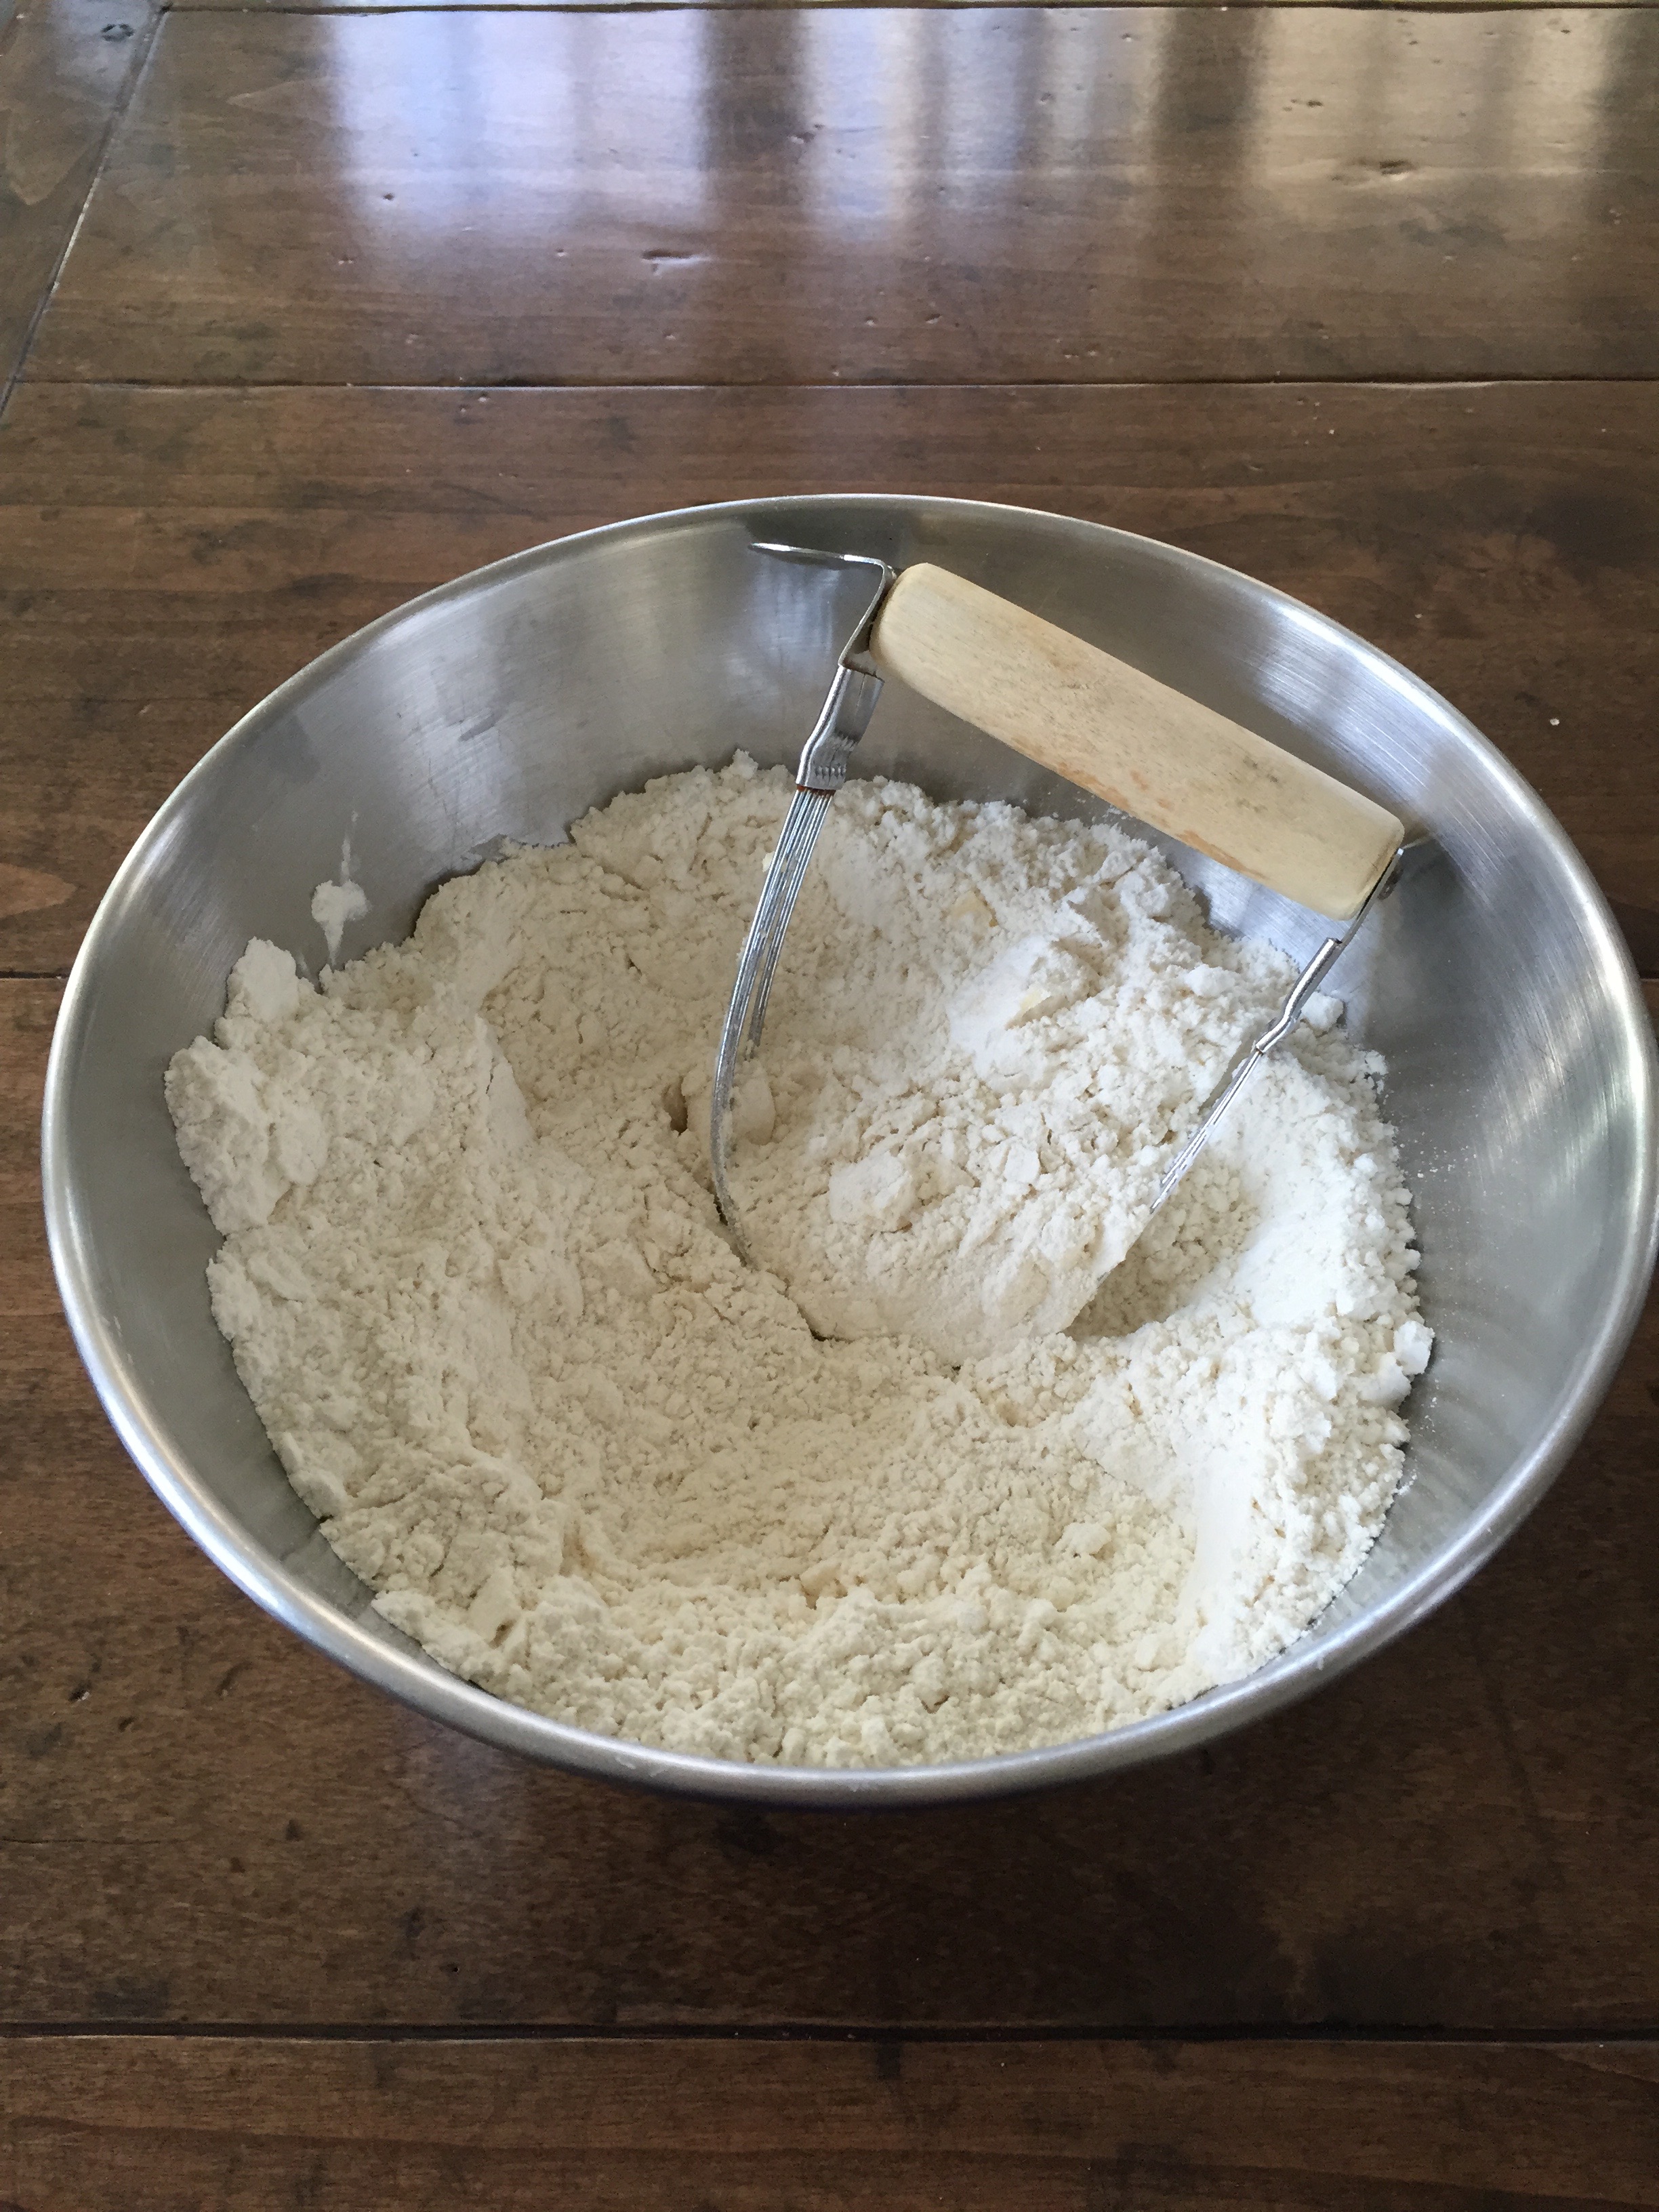
Instructions:
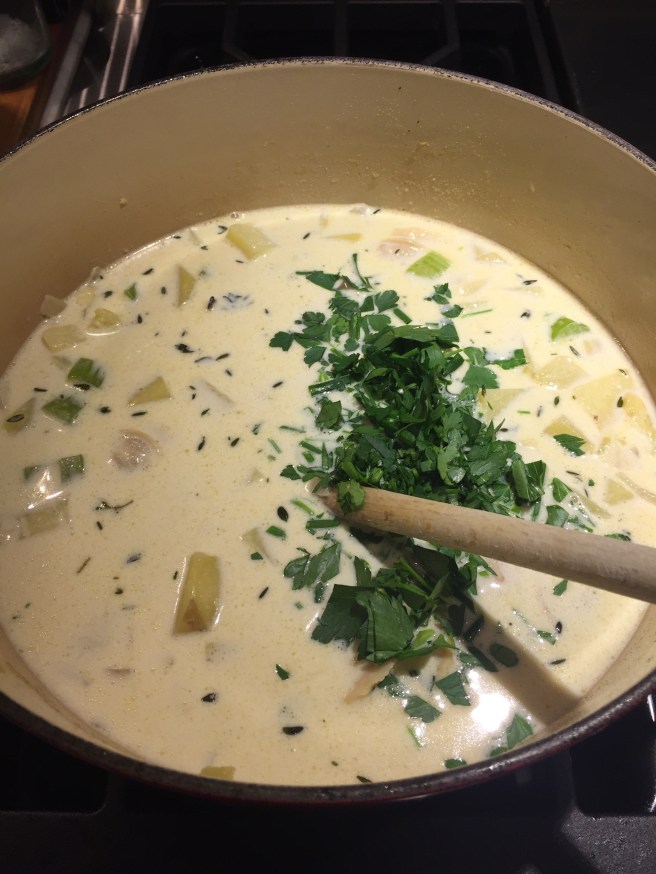
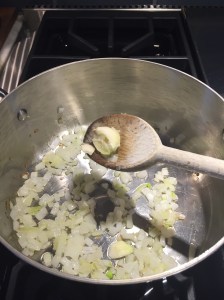
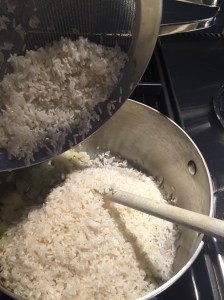
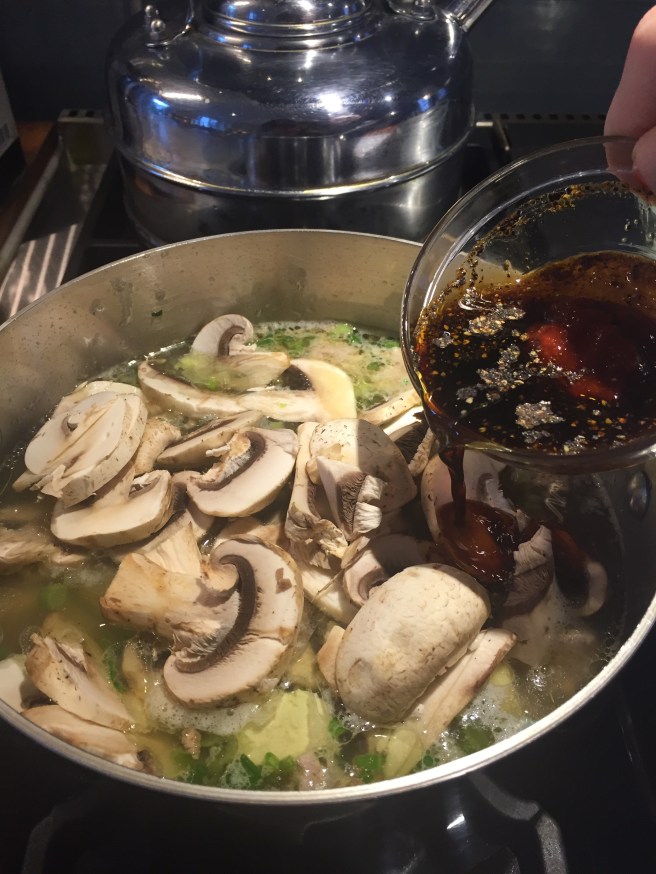
In a large dutch oven, layer the meat and vegetables beginning with the lamb, followed by the potatoes, carrots, and onions. Season with salt and freshly ground pepper. Follow with another layer of meat, potatoes, carrots and onions, seasoning with salt and pepper. Add any remaining meat, carrots and onions and finish with a layer of potatoes. Season with salt and pepper.

Fill dutch oven 2/3 of the way full with water. Add thyme and cover. Bring to a boil over medium high heat and reduce to a simmer. Keep covered and simmer for 1-2 hours or until meat is tender.

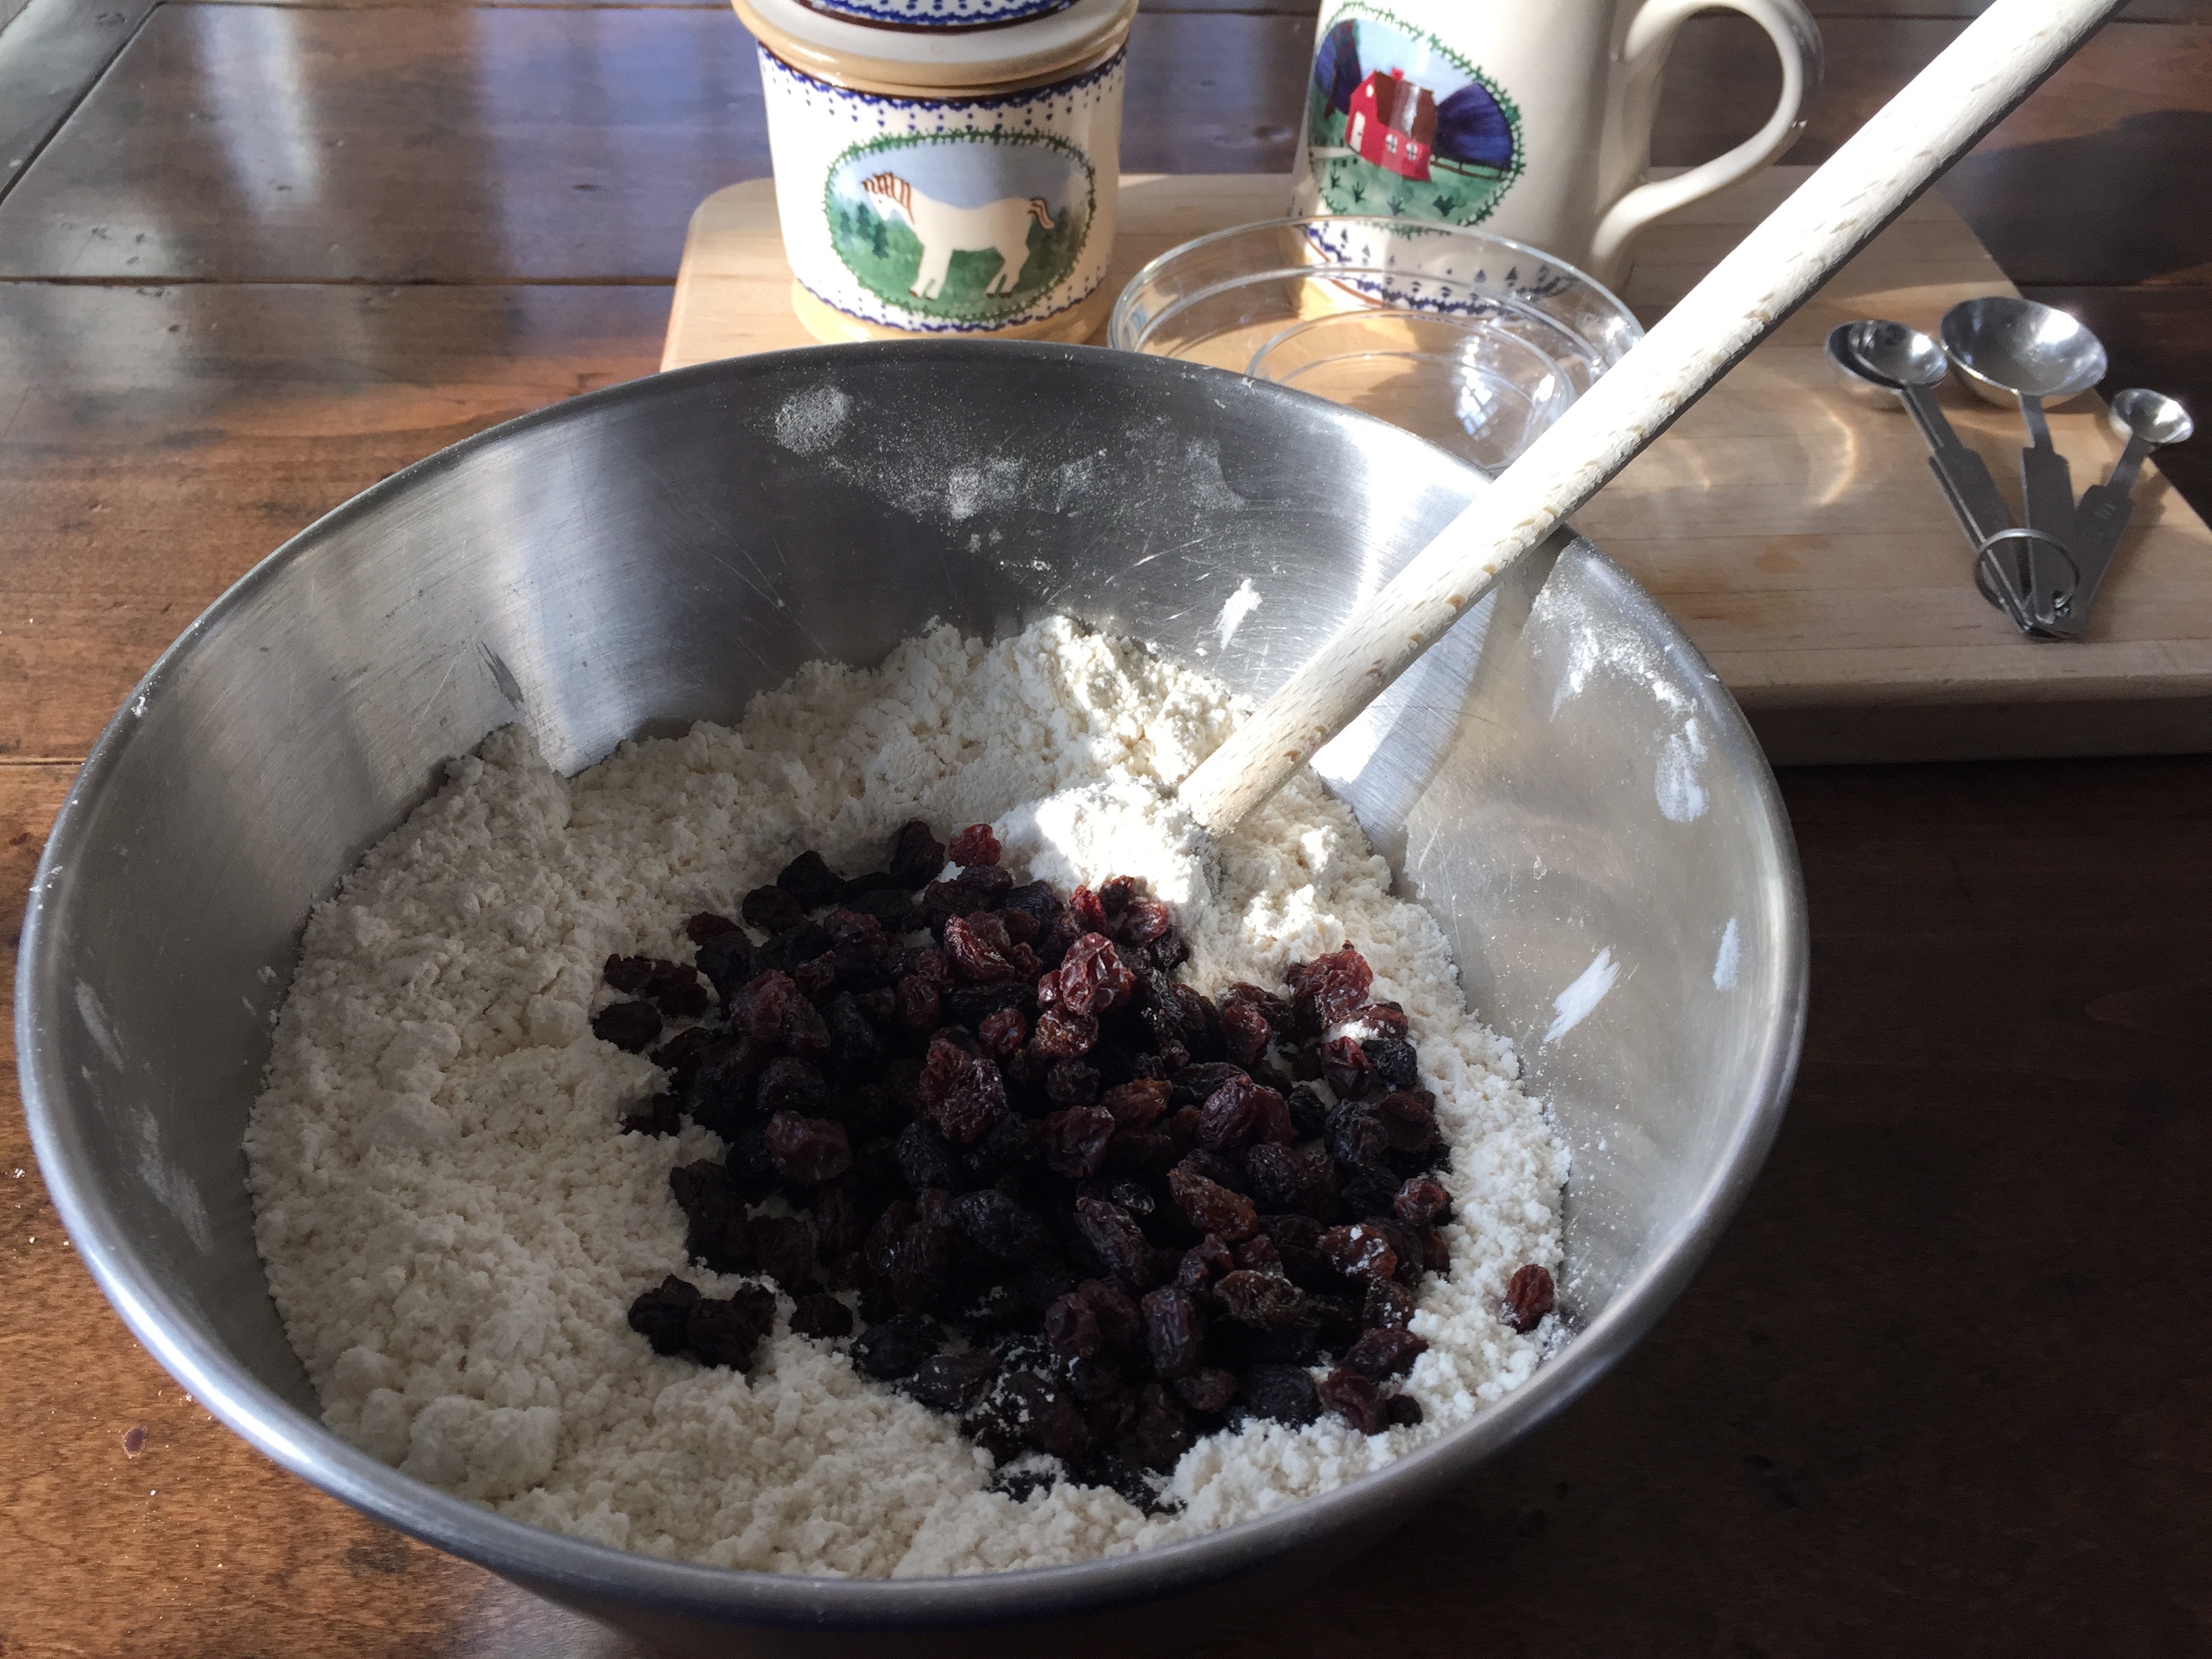
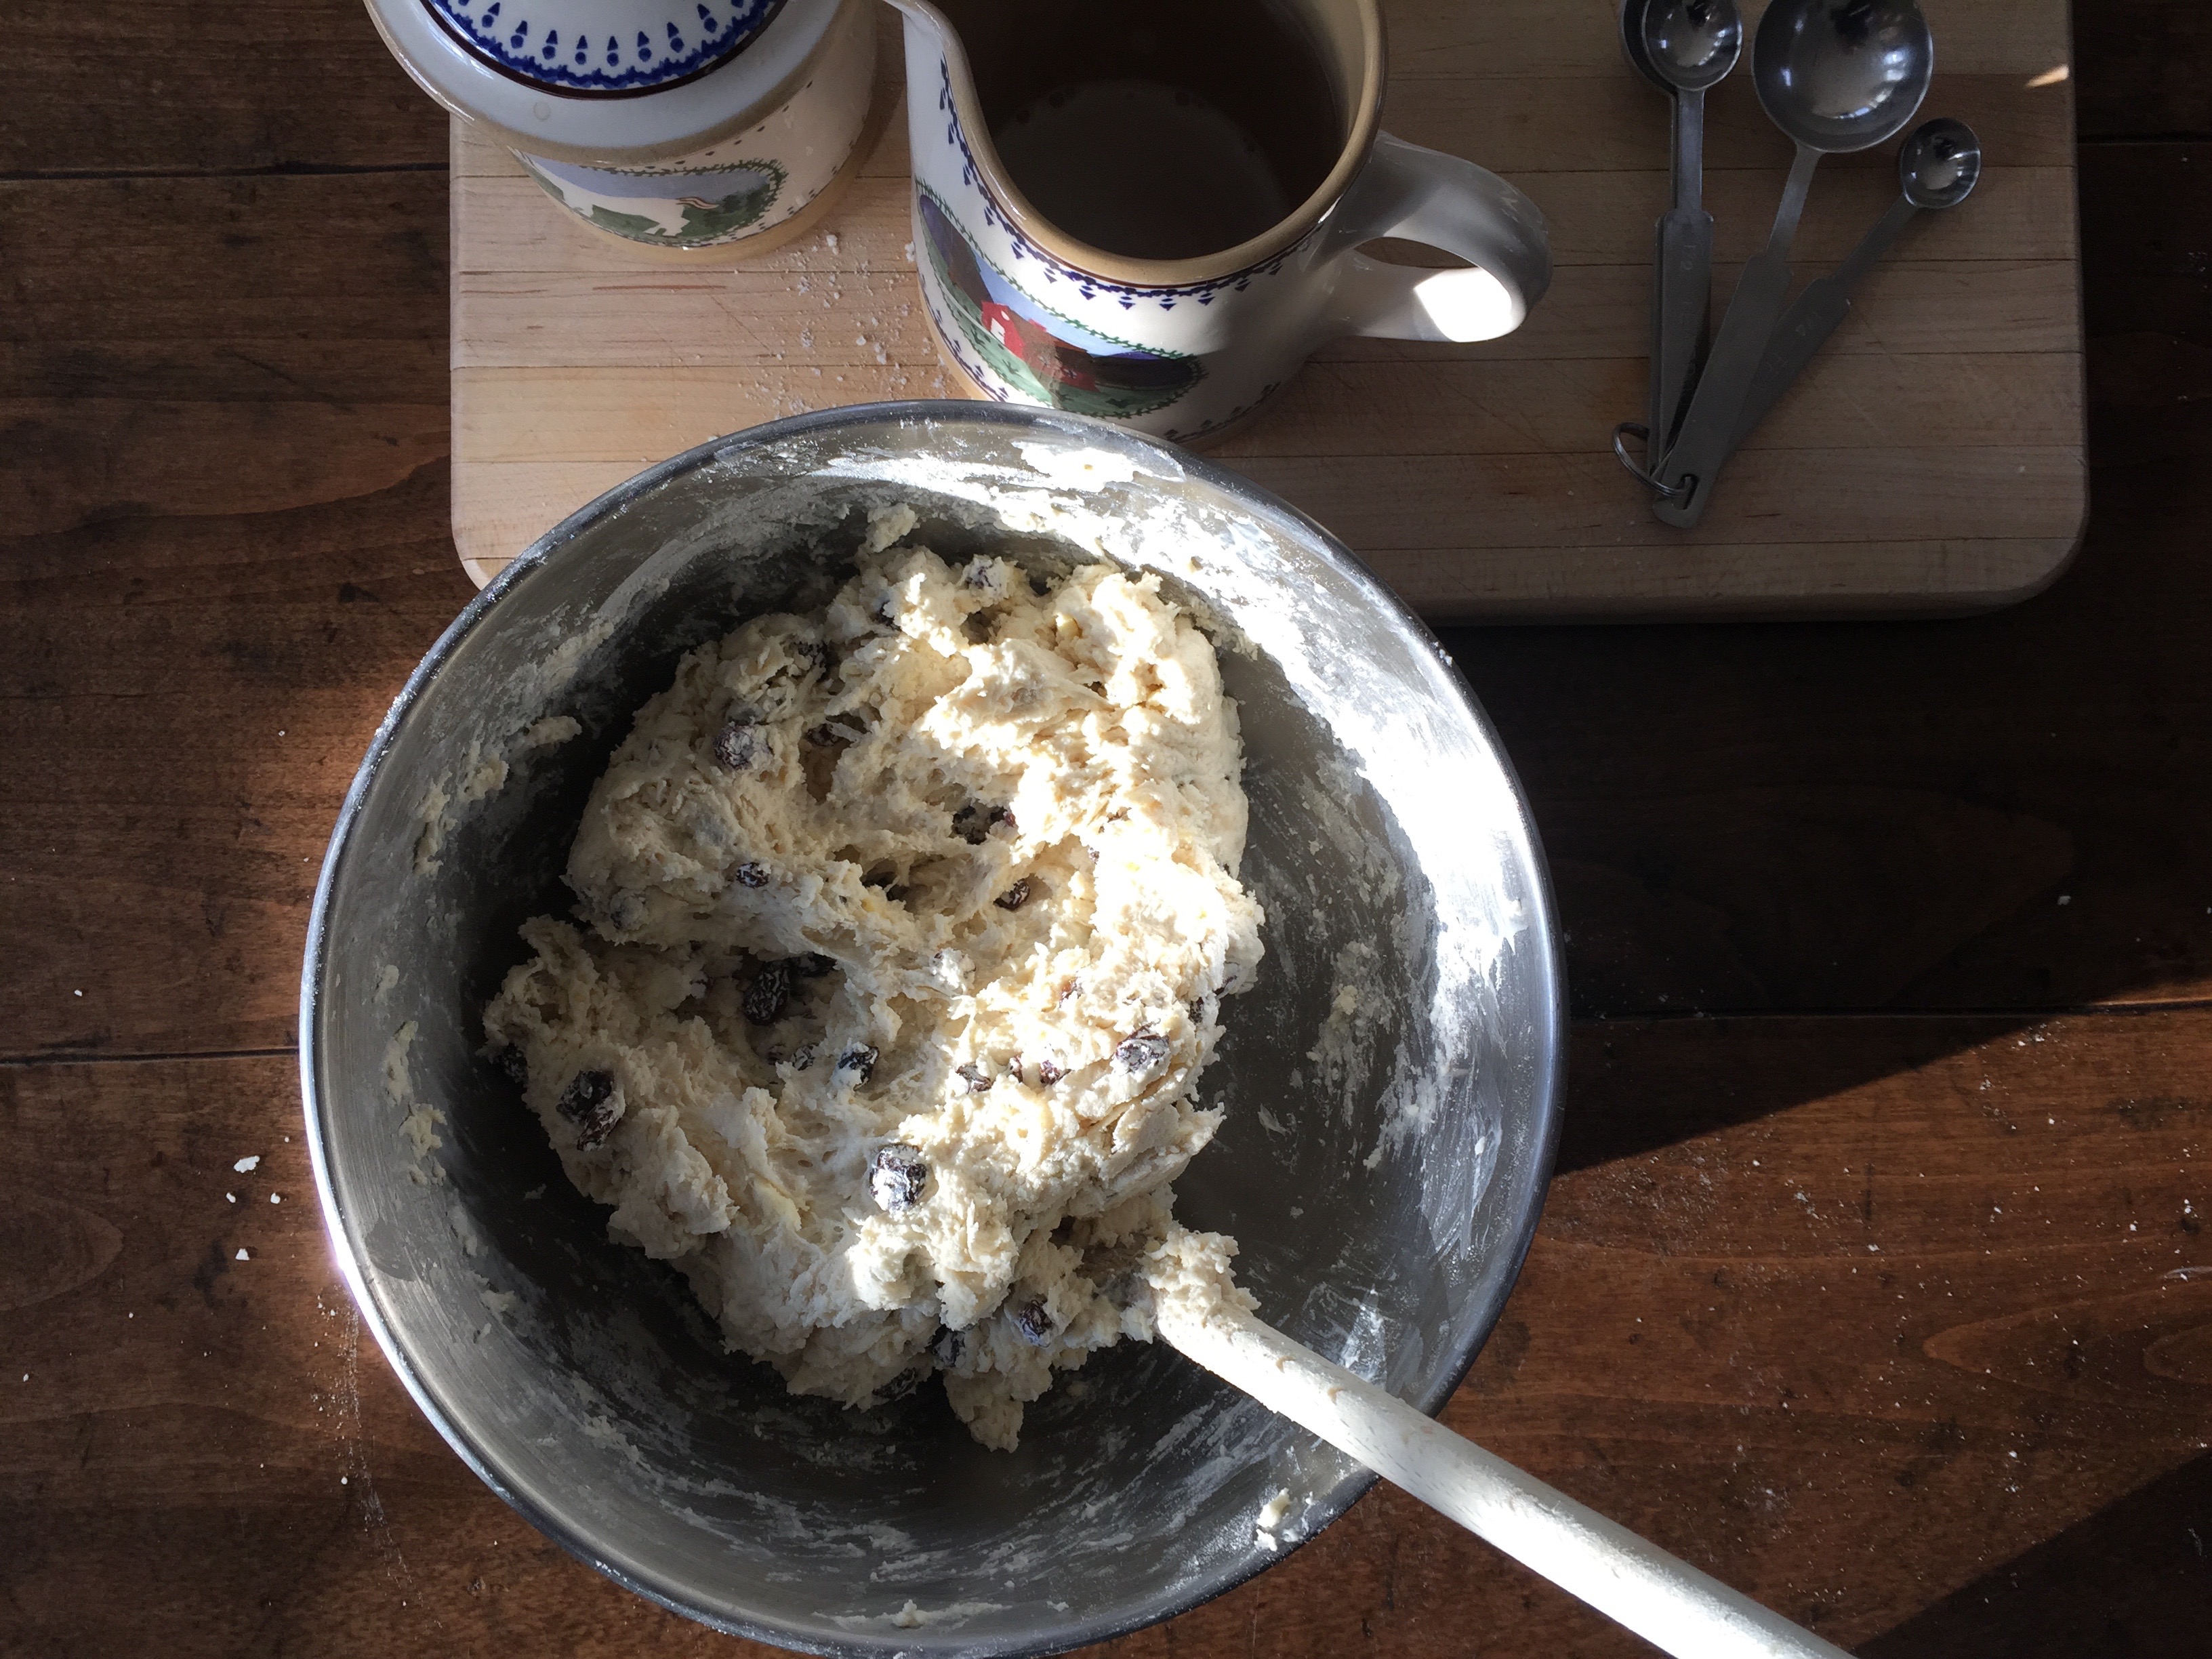
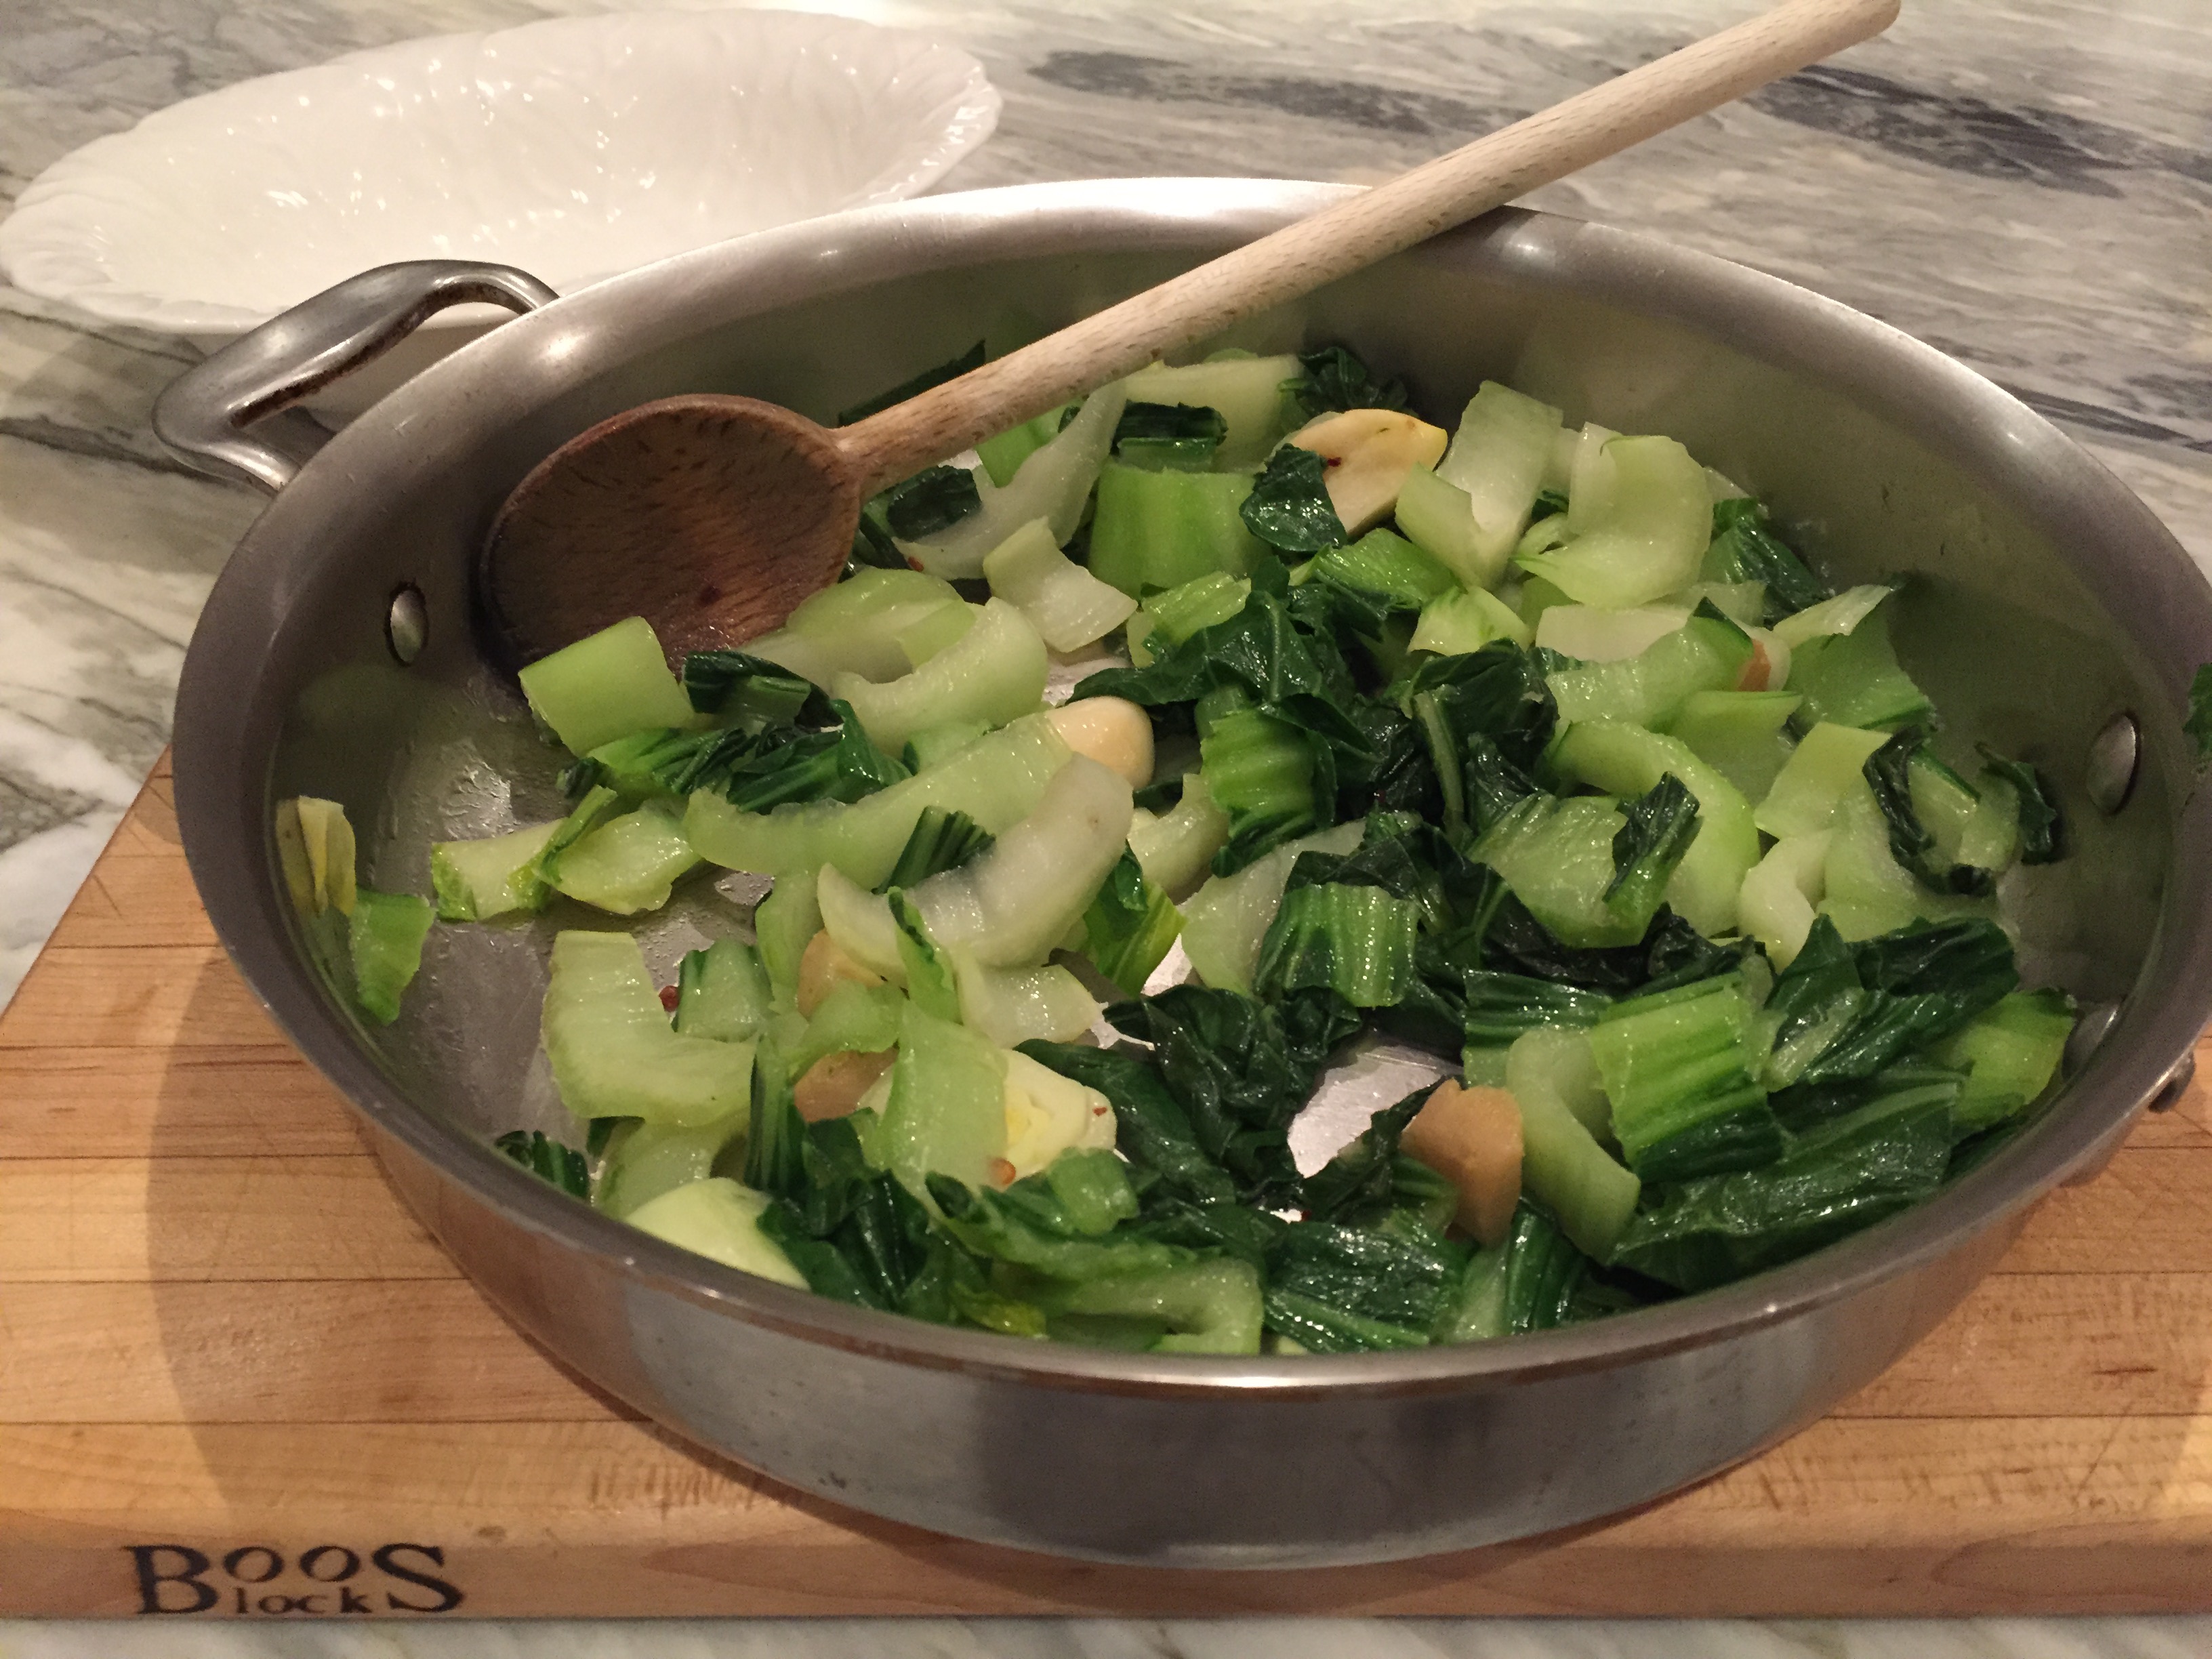
Just before serving, stir in fresh parsley. Serve hot with freshly baked soda bread.

Lamb, potatoes, carrots, and onions for Irish Stew
Gather your ingredients… lamb, potatoes, carrots, and onions.
Onions, carrots, and potatoes peeled and sliced on cutting board
Prep your ingredients… peel and slice onions, carrots, and potatoes.
Layers of lamb, potatoes, carrots, and onions seasoned with salt and pepper in dutch oven.
Start layering your ingredients in a dutch oven… layer of lamb, followed by layers of potatoes, carrots, and onions. Season with salt and pepper.
another layer of lamb, followed by potatoes, carrots, and onions seasoned with salt and pepper.
Add another layer of lamb, followed by potatoes, carrots, and onions. Season with salt and pepper.
Final layer of Irish Stew ingredients in dutch oven
Add final layer of lamb, and any remaining onions or carrots. Top with potato slices. Season with salt and pepper.
Adding water to Irish stew ingredients
Add enough water to fill 2/3 up the side of the pot.
Irish stew ingredients in dutch oven
Sprinkle with dried thyme or add sprig of fresh thyme. Cover pot and bring to boil over medium high heat. Reduce to a simmer and cook 1-2 hours or until meat is tender.
After 1-2 hours, when the meat is tender, add chopped parsley.
Start checking meat after 1 hour. When the meat is tender, remove from heat and add chopped parsley. (Total cooking time will be between 1-2 hours.)
Irish Stew with Irish Soda Bread
A wonderful dinner any night… serve stew with thick slices of Irish soda bread.

Brown Soda Bread

Brown Soda Bread

Slieve League, County Donegal
The smell of freshly baked bread, still warm, cooling on in the kitchen should be bottled and sold. Nothing is more comforting and evocative of nostalgia. This bread is no exception. There are many variations of Irish Soda Bread– some with raisins, seeds, or both; some have butter, sugar, or even an egg to make them a little richer; some with white flour, or some with whole wheat. They all share some sort of flour, salt, baking soda, and buttermilk. This brown soda bread, made with whole-wheat flour, is the most basic version.
Brú na Bóinne
Throughout Ireland, brown soda bread is offered with meals- and it is incredible! I make it here at home, and though delicious, nothing compares to the bread I’ve had in Ireland. It must be the flour- the brown soda bread in Ireland is coarser and nuttier than what I’ve been able to make in my own kitchen. I am seriously considering importing a bag of whole wheat flour, just so I can experiment!
Lough Eske, Donegal
Though not an exact replica (how could it be?), this dense, chewy and hearty bread comes together quickly and is well worth making. In less than an hour, you will be enjoying a warm slice of bread, slathered in butter, with a touch of jam. It is ideal for serving alongside your favorite soup or getting you through the late afternoon slump with a cup of tea. Add it to your cheese board with cheddar and apples. It is also delicious with smoked salmon.
Brown Soda Bread on cutting board

Brown Soda Bread

  • Servings: 2 loaves
  • Print

*recipe adapted from Irish Traditional Cooking by Darina Allen

Ingredients:
4 cups whole wheat flour
4 cups all-purpose flour
3 rounded teaspoons of salt
2 rounded teaspoons of baking soda
3½-3¾ cups of buttermilk

Instructions:
Preheat the oven to 450°F.

Mix the dry ingredients together. Make a well in the center and add most of the buttermilk all in one go. Working from the center, mix with a wooden spoon and add more buttermilk if necessary. The dough should be soft, but not sticky. Turn out onto a floured surface and divide dough in half. Knead each half lightly, just enough to shape it into a round loaf. Flatten each loaf to about 2 inches deep. Put into a cast iron skillet or lined baking sheet. Mark with a deep cross and bake in the hot oven for 15 minutes, then reduce the heat to 400°F for about 20-25 minutes more, or until bottom of the bread sounds hollow when tapped.

Remove from cast iron skillet or baking sheet and let cool on a wire rack.

Whole-wheat flour, all purpose flour, salt, baking soda, and buttermilk
Ingredients for Brown Soda Bread- whole wheat flour, all-purpose flour, salt, baking soda, and buttermilk
Mixing dry ingredients with wooden spoon
Mix the dry ingredients together.
Well in the center of dry ingredients
Make a well in the center of your dry ingredients.
Pour buttermilk in center of well
Carefully pour almost the entire amount of buttermilk into the well.
Mixing brown soda bread dough with a wooden spoon
Use a wooden spoon to combine the buttermilk and dry ingredients.
Brown Soda Bread dough on lightly floured surface
When dough is soft, but not sticky, turn it out onto a lightly floured surface. Cut the dough in half.
Two loaves of brown soda bread dough
Knead dough just enough to form 2 round loaves about 2 inches deep.
Brown Soda Bread Loaves cooling on wire rack
Transfer loaves to wire rack and let cool.

Brown Soda Bread, cheese, and apples

New England Clam Chowder

New England Clam Chowder

Joseph Lincoln, author and native of Cape Cod wrote, “A New England clam chowder, made as it should be, is a dish to preach about, to chant praises and sing hymns and burn incense before. To fight for. The Battle of Bunker Hill was fought for — or on — clam chowder; part of it at least, I am sure it was. It is as American as the Stars and Stripes, as patriotic as the national Anthem. It is ‘Yankee Doodle in a kettle.’”

New England Clam Chowder

In his epic novel, Moby Dick, Herman Melville wrote, “However, a warm savory steam from the kitchen served to belie the apparently cheerless prospect before us. But when that smoking chowder came in, the mystery was delightfully explained. Oh, sweet friends! hearken to me. It was made of small juicy clams, scarcely bigger than hazel nuts, mixed with pounded ship biscuit, and salted pork cut up into little flakes; the whole enriched with butter, and plentifully seasoned with pepper and salt.”

New England Clam Chowder

There is nothing more satisfying on a cold wet night than a steaming bowl of clam chowder, specifically New England Clam Chowder (not the tomato based Manhattan Clam Chowder!). We had just such night last week and this is exactly what I made…

Cook’s Notes:
*The starch released from the potatoes naturally thickens this clam chowder. Some recipes call for a flour and butter roux to thicken the soup, but I find the resulting chowder far too thick and pasty.

*Buy the smallest clams you can find, as they are the sweetest. Traditionally, quahog or large chowder clams are used, but littlenecks are more tender and sweet. Because of their small size, I like to leave the clams whole, but if you end up with larger clams, by all means chop them up.

*Soak those clams in water before steaming! There is nothing worse than biting into a clam and getting a mouthful of grit. Pick over the clams; throwing away any with broken shells or that aren’t tightly shut. Place them in a bowl of cold water and let them soak for 15-30 minutes (prep the veggies while your waiting), changing the water every so often. When the water stays clean, scrub and rinse one more time for good measure and you’re ready to go.

New England Clam Chowder

New England Clam Chowder

  • Servings: 8
  • Print

*adapted from Jasper White, chef and owner of the Summer Shack

Ingredients:
4 oz salt pork, rind removed and cut into 1/3-inch pieces
2 Tablespoons unsalted butter
2 medium onions, cut into ½-inch pieces
2 cloves garlic, finely chopped
2 stalks celery, cut into 1/3-inch pieces
5-6 sprigs fresh thyme, leaves removed
2 dried bay leaves
2 pounds Yukon gold potatoes, peeled and cut into ½- inch dice
3 cups reserved clam broth (from steaming clams)
8 pounds live clams (about 5-6 dozen littlenecks)
1 ½ cups heavy cream
2 Tablespoons chopped fresh flat-leaf parsley
2 Tablespoons minced fresh chives
salt and pepper to taste

Instructions:
Prepare clams:
Place clams (in their shells) in a large bowl filled with cold water. Allow to sit for 15-30 minutes, changing the water every so often. This will help release any grit. Give clams a final scrub and rinse to remove any remaining grit.

In a large stock pot or dutch oven, bring 2 cups of water to a boil. Gently place clams in boiling water, distributing evenly. Cover and simmer for 5 minutes.

Carefully remove lid and check on the clams. The clams are done when they have opened. Using tongs, remove any opened clams. Replace lid and continue to steam any clams that are still closed. After 3 minutes or so, carefully remove lid again… remove any clams that have opened and discard those that are still closed.

Pour clam broth into a large measuring cup, if you see any grit, pour it through a fine mesh sieve. You should have about 3 cups.

Remove clams from the shells and set aside. If you used large clams, roughly chop them. If they are small, you may leave them whole.

Prepare chowder:
Heat a large dutch oven over low heat, and add salt pork. Once it has rendered a few tablespoons of fat, increase heat to medium and cook until salt pork is a crisp golden brown. Remove the salt pork and set aside for another use.

Increase the heat to medium high and add butter, onions, garlic, celery, thyme, and bay leaves to the pot. Sauté, stirring occasionally, until onions are softened and turning golden, about 5-10 minutes.

Add potatoes and reserved clam broth. The broth should barely cover the potatoes; if it doesn’t, add enough water to just cover them. Increase heat and bring to a boil. Cover, and cook potatoes vigorously until they are soft on the outside but still firm in the center, about 10 minutes. If the broth hasn’t thickened lightly, smash a few potatoes against the side of the pot, and cook 1-2 minutes more to release the starch.

Remove pot from the heat, and stir in clams and cream. Add parsley and chives. Season to taste.

Serve with Tabasco, or your favorite hot sauce.

Steamed ClamsOnion, garlic, celery, salt pork, yellow potatoes, thyme, parsley, and chives

Sautéing onion, celery, garlic, and herbs in dutch oven
Add celery, onions, garlic, and herbs to dutch oven. Sauté over medium heat until onion softens, about 5 minutes.

IMG_0094

Adding cubed potatoes to onion, celery, garlic and herbs
When onions are just turning golden, add cubed potatoes.
Adding clam stock to barely cover potatoes
Add enough clam stock to barely cover potatoes. If you don’t have enough clam stock, add water as needed.
Boiling potatoes in dutch oven
Over medium high heat, bring vegetables to a boil. Cover and simmer for 10 minutes or until potatoes are tender on the outside, but are still firm inside.
Pressing potatoes against side of dutch oven to release starch
Carefully remove the lid and check the soup. It should have thickened slightly. If not, take a few potatoes and press them against the side of the pot to release their starch. Recover and simmer for a few more minutes.
Adding clams and any juices that accumulated to dutch oven
Add reserved clams and any juices that accumulated.
Adding cream to soup
Add cream…
Stirring in parsley and chives
Add chopped parsley and chives. Check for seasonings… because of the natural saltiness of the clams and their broth, you probably won’t need any additional salt, but I love adding lots of freshly ground black pepper.
Ladle full of New England Clam Chowder
Be sure each serving gets a good amount of clams, celery, and potato!

New England Clam Chowder


Jamaican Rice and Peas

Jamaican Rice and Peas in bowl

We just got back from a wonderful trip to Jamaica. This is our third visit, and it’s always such a welcome treat to dip our toes in the sand, feel the warm tropical breezes, hear birds chirping, and see every shade of blue imaginable all in the middle of winter!

IMG_9693

And the food! Amazing locally grown coffee from the Blue Mountains; fresh caught conch straight from the sea, tropical fruits dazzle with a rainbow of color, coconuts plucked right from the tree, notched open, and a straw stuck in. Sidenote… I didn’t know until our first visit that not all coconuts are brown and “hairy.” By the time a coconut has reached that point, it is already dried up inside, leaving only the meat. The green coconuts, still hanging on the tree, are full of sweet coconut water, ready for drinking. After you finish drinking the water, the coconut can be completely split open allowing you to scoop the soft flesh enjoying it like custard. My daughter loves it sprinkled with sugar before she digs in!

IMG_9668

We ate well everyday… oxtail, curry goat, fish, coconut shrimp, and of course, jerk chicken and pork. Almost every dinner included a side of rice and peas, not green peas, but beans. The rice and peas are steamed in sweet coconut milk with onions, garlic, and thyme; they are perfect to eat on their own or served as a side dish.

Scotchie's

I’ve already made Jamaican Rice and Peas since we’ve been home, and it’s definitely going into the rotation. I served it alongside pork tenderloin that had been marinated in a wet rub of jerk seasoning. But again, this dish works with a wide variety of meats and fish, or stands alone with a simple green salad as a complete meal.

Cook’s notes:  Check for salt as you go along… the coconut milk is naturally sweet, and combined with the low sodium broth, you may find it necessary to add more salt to suit your taste. The hot pepper isn’t required, but it does add the most lovely hint of fruity heat because it’s kept whole. Allspice is a very traditional component of jerk seasoning and I like bringing that flavor into the dish. This recipe uses canned kidney beans as a matter of convenience; feel free to use dried beans that you soak and cook yourself. If you go that route, be sure to save some of the cooking liquid to use for cooking the rice- just swap out an equal amount of chicken broth. Finally, the cooking method, baking the rice in the oven, is from the New York Time’s Cookbook,  “The Perfect Batch of Rice”. It’s hands down my favorite no-fail method of cooking rice.

Jamaican Rice and Peas in bowl

Jamaican Rice and Peas

  • Servings: 8-10 as a side dish
  • Print

Ingredients:
2 Tablespoons coconut oil, butter, or extra virgin olive oil
½ cup finely chopped onion
1 clove garlic, smashed
2 cups long grain white rice, rinsed and drained
salt to taste
3 cups liquid (1 13.5oz can coconut milk + enough chicken broth to total 3 cups combined)
4 sprigs thyme
¼ tsp allspice or 3 allspice berries
1 scotch bonnet or habanero pepper, left whole
1 15oz can kidney beans, rinsed and drained

Instructions:
Preheat oven to 400°F.

Heat oil or butter bottom in bottom of ovenproof saucepan. Add the finely chopped onion. Stir and cook until onion wilts. Add the smashed garlic and sauté for 30 seconds or until fragrant. Add the rice and stir until the grains are coated. Add salt to taste.

Add the coconut milk and chicken broth. Add hot pepper, thyme, and allspice to the rice and let broth come to a boil.

Stir in kidney beans. Cover pan and place in the oven. Set timer for 17 minutes.

Remove pan from the oven. Let stand 5 minutes, then uncover. Remove thyme, scotch bonnet, garlic clove, and allspice berries if using. Gently fluff rice with fork. Check for seasonings, adding salt and pepper to taste. Serve immediately.

Ingredients for Jamaican Rices and Peas: rice, beans, coconut milk, chicken broth, onion, thyme, allspice and pepper

Rinsing and draining rice in mesh strainer
Rinse and drain the rice as part of your prep.
Wilting finely chopped onion in saucepan.
Melt butter or coconut oil in ovenproof saucepan. Add finely chopped onion and sauté until wilted.
Adding coconut milk/chicken broth mixture to rice
Add coconut milk/chicken broth mixture to rice.
Timer set for 17 minutes
Set timer for 17 minutes.
Jamaican Rice and Peas
After 17 minutes, remove pan from oven. Let stand for 5 minutes before removing lid.
Fluffing rice with fork
Use a fork to gently fluff rice. Carefully remove pepper, thyme sprigs, garlic clove, and allspice berries (if using). Check seasonings, adding salt and pepper to taste.
Jamaican Rice and Peas in bowl
Serve immediately and enjoy!

Hot and Sour Soup

Hot and Sour Soup in serving bowl

Happy Chinese New Year! Monday, February 8th marks the Chinese New Year, the Year of the Monkey. Billions, that’s right, billions(!) of people are expected to travel within China over the next couple of weeks. It really is a mass migration as people go home to celebrate this holiday with their families. And when families get together over holidays, there is sure to be delicious food.

Bowl of Clementines

The foods associated with Chinese New Year are very symbolic and are meant to bring good fortune, longevity, and happiness. Oranges and tangerines are often displayed and eating them is said to bring prosperity and luck. The Chinese words for gold and orange sound alike, and the word for tangerine is similar to the word for luck.

Red Snapper

Another play on words is associated with fish. The Chinese word for fish sounds like the word for abundance. Fish is often on the menu for the Chinese New Year, and is served whole signifying a good beginning and ending to the New Year. To serve two fish is even better, one on New Year’s Eve and the other offered on New Year’s Day, guaranteeing good fortune year after year.

Red Snapper

One of my favorite Chinese dishes (New Year’s or not) is Hot and Sour Soup. Unfortunately, so many restaurant versions are too thick and viscous, almost coming off as slimy, victims of cornstarch added by a heavy hand. This homemade version is infinitely tastier. Instead of cornstarch to thicken the soup, eggs are whisked in to add body without muddling the bright tangy flavor of the vinegar or heat of the pepper. Ground pork is not traditional, but is faster than roasted pork. The original recipe comes from Joanne Chang of Flour Bakery and Myers and Chang restaurant in Boston. I’ve cut the ground pork in half, and doubled the amount mushrooms. You can easily make this completely vegetarian by eliminating the pork all together and using a vegetable broth instead of chicken stock. You’re in complete control of the tanginess and the heat, both quickly adjusted to your taste by ramping up or toning down the rice vinegar and Sriracha sauce.

Now, I’m off to make Longevity Noodles. The key is not to cut the noodles… the longer the noodle, the longer your life. Will post Friday!

Hot and Sour Soup in serving bowl

Hot and Sour Soup

  • Servings: 4
  • Print

adapted from Flour, Too by Joanne Chang

Ingredients:
2 Tablespoons vegetable oil
1 clove garlic, smashed and minced
1 Tablespoon peeled and grated fresh ginger (about 1 ½ inch piece of ginger)
4 scallions, white and green parts, minced, set aside 2 Tablespoons sliced for garnish
4 oz ground pork
4 cups low sodium chicken broth
1 lb block firm tofu, (not silken or extra firm) cut into ½ inch cubes
8-10 medium button mushrooms, wiped clean and thinly sliced
1 teaspoon granulated sugar
2/3 cup rice vinegar
3 Tablespoons soy sauce
1 teaspoon freshly ground black pepper
1 Tablespoon sesame oil
1 Tablespoon Sriracha sauce
2 large eggs

Instructions:
In a large saucepan, heat the oil over medium high heat. Add the garlic, ginger, scallions, and ground pork and cook, stirring occasionally, for about 1 minute. Break the pork into smaller pieces, but don’t worry about breaking it down completely. Add the stock and bring to a simmer.

Add the tofu, mushrooms, sugar, vinegar, soy sauce, black pepper, sesame oil, and Sriracha sauce and bring the soup back to a simmer over medium high heat. (Taste the soup. If you want it hotter, add more Sriracha; if you want it more sour, add more vinegar.)

In a small bowl, whisk the eggs until blended. With the soup at a steady simmer, slowly whisk in the eggs so they form strands. Bring the soup back to a simmer. Divide the soup among four bowls and garnish each with a sprinkling of scallions. Serve immediately. The soup can be stored in an airtight container in the fridge for up to 3 days.

Hot and Sour Soup ingredients on cutting board
Prep your Hot and Sour Soup ingredients: garlic, ginger, scallions, ground pork, chicken stock, tofu, mushrooms, sugar, rice vinegar, soy sauce, sesame oil, Sriracha, and eggs.
Ground pork, garlic, ginger, and scallions in a saucepan
In large saucepan heat oil over medium high heat. Add garlic, ginger, scallions, and ground pork. Cook for 1 minute, breaking up pork, but not completely breaking it down. You want some chunks.
Adding chicken stock to ground pork, garlic, ginger, and scallions
Add the chicken stock and bring to a simmer.
Adding tofu to soup
Add the tofu…
Add mushrooms to soup
Add the mushrooms…
Adding sugar, vinegar, soy sauce, black pepper, sesame oil, and Sriracha to soup
Add sugar, soy sauce, black pepper, sesame oil, and Sriracha (I had all these ingredients in one bowl, as I knew they would be going in all at once).
Adding rice vinegar to soup
Add the rice vinegar and bring the soup back to a simmer over medium high heat.
hot and sour soup in saucepan
Bring soup back to a simmer.
Hot and Sour Soup garnished with scallions in serving bowl
Garnish with scallions and serve immediately.

Shish Taouk- A Rare Recipe Challenge

Platter of shish taouk with grilled peppers, onions, and tomatoes

Well, I’ve done something new, actually a few new things. Lina over at Lin’s Recipes created a food challenge for the month of January, a “Rare Recipe Challenge.” Lina did her Rare Recipe Challenge Pic
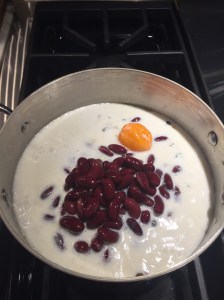
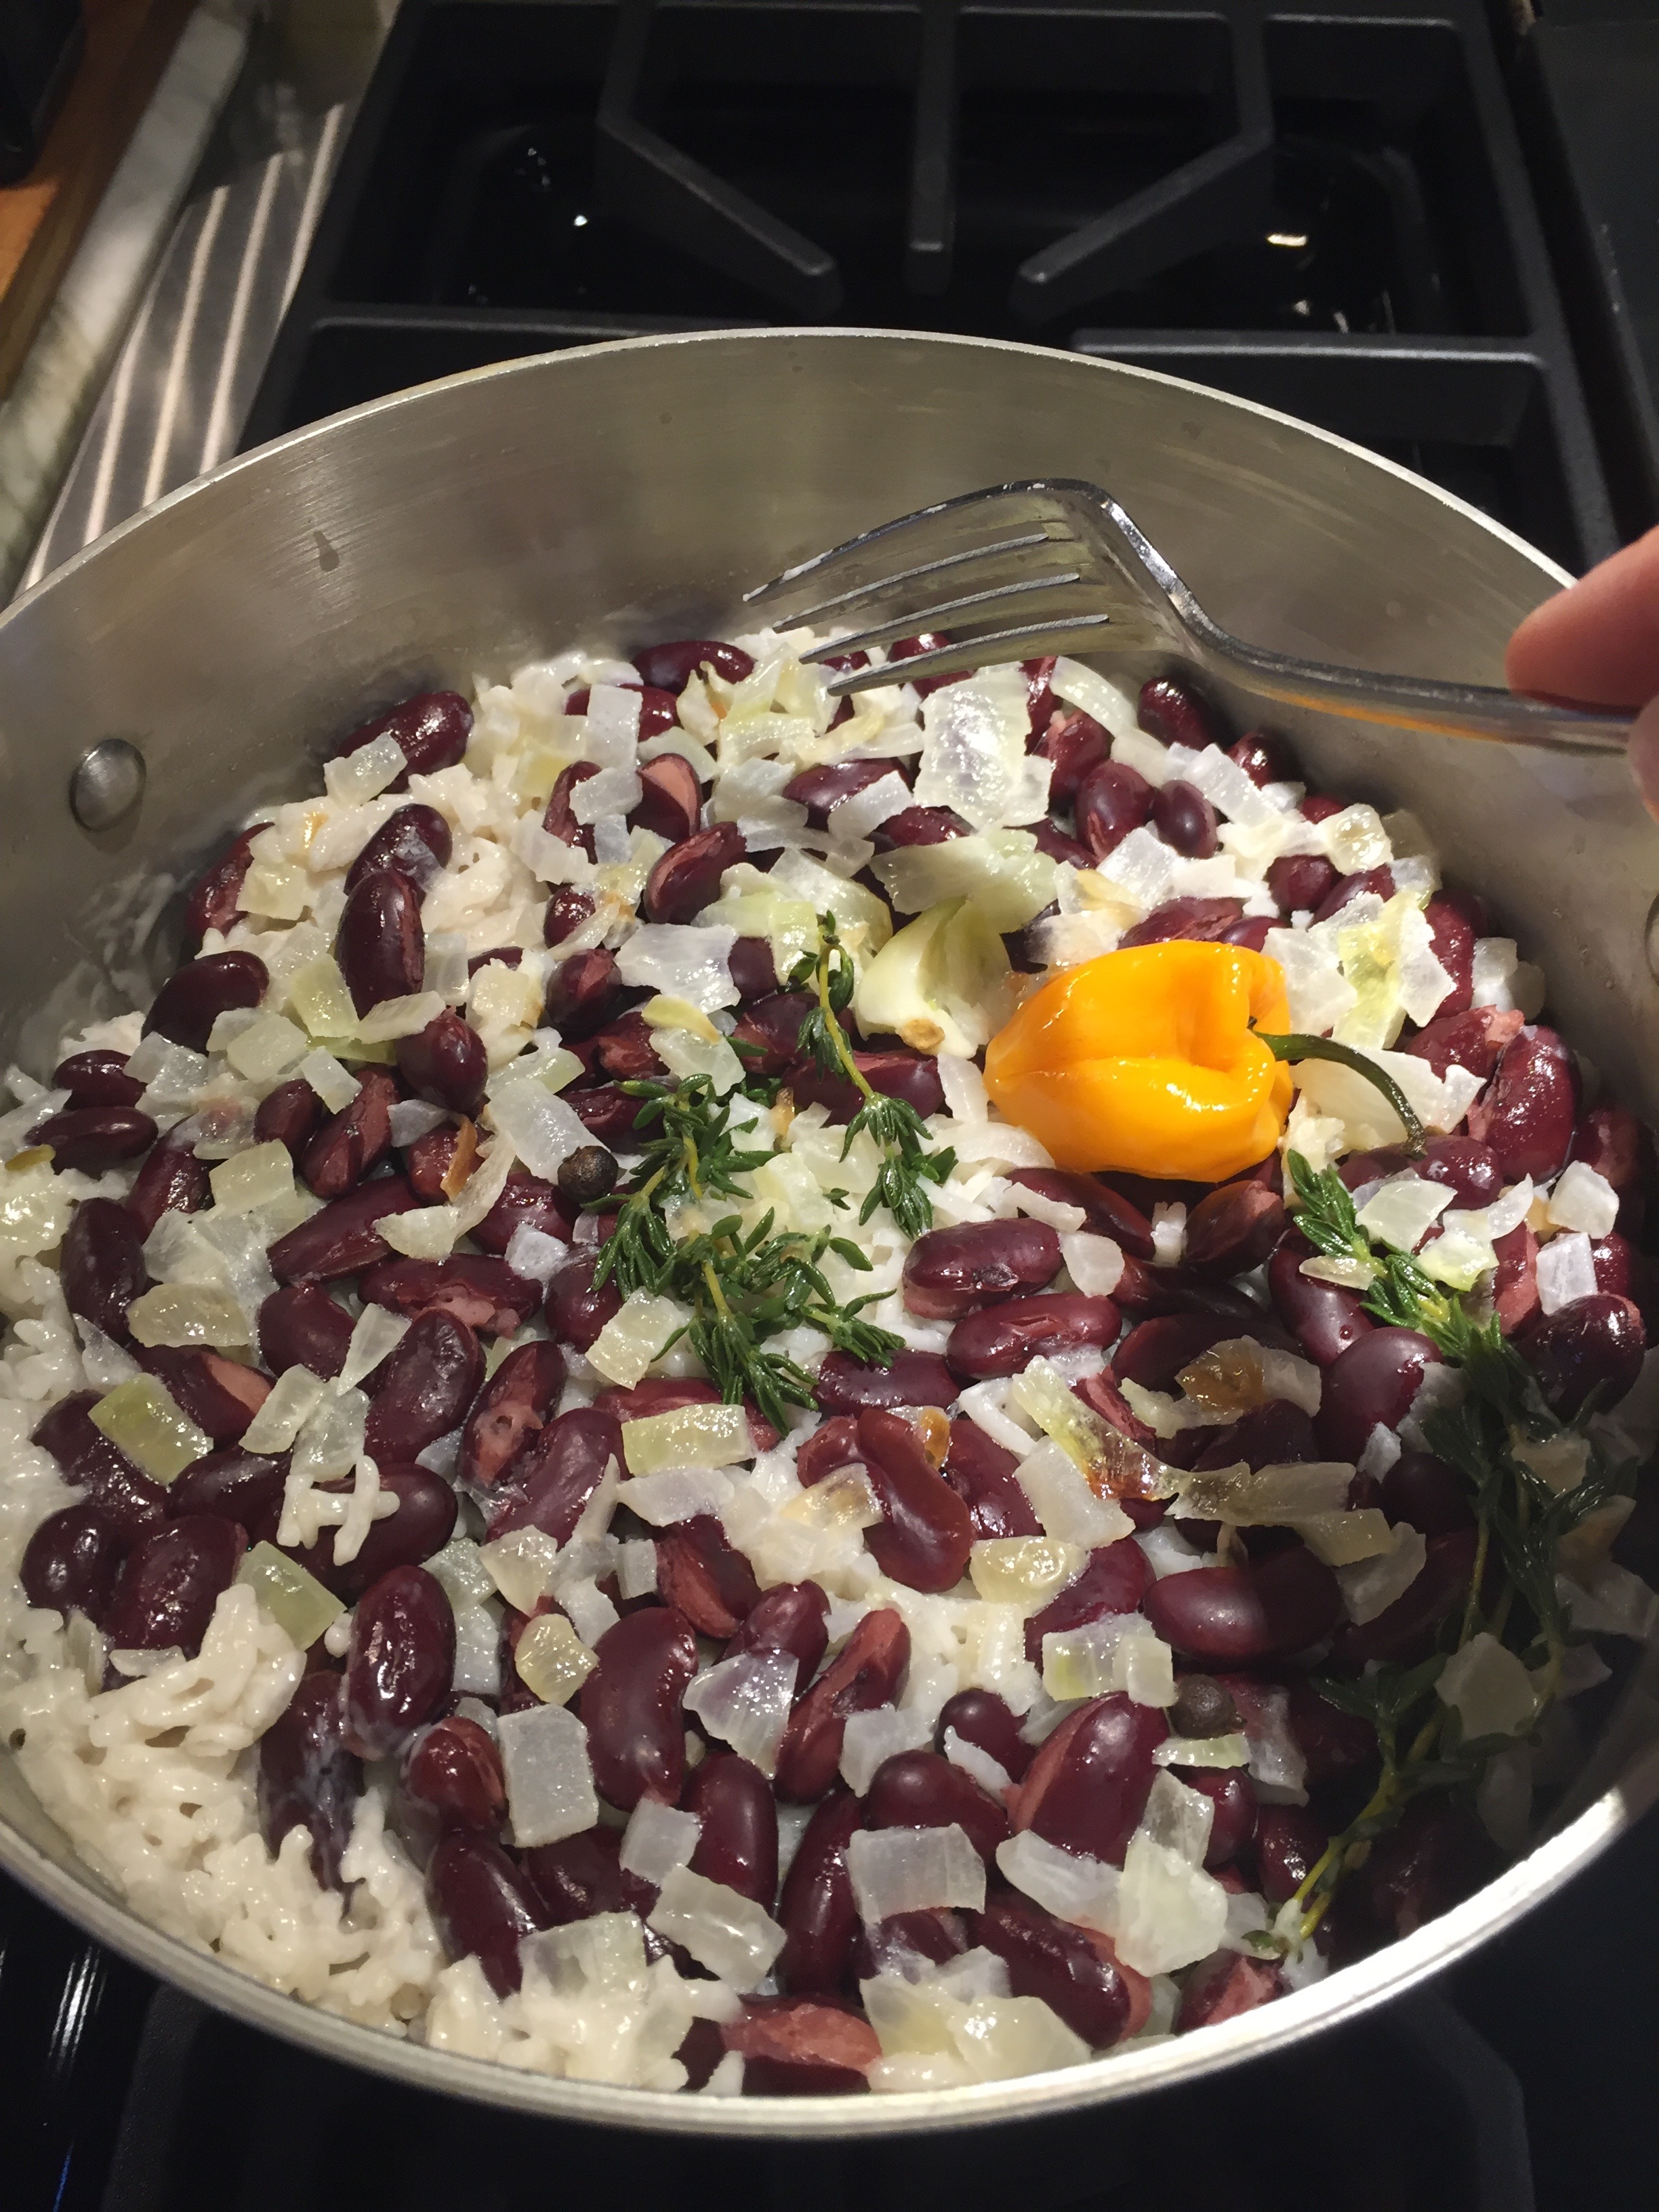
homework and found dishes from around the world that may be new to you and me. People were invited to pick one of the dishes to research, find recipes for, and create. The hook- you had to choose something you had never eaten or made before. Clearly, I was still riding the sugar and cocktail fueled high of the holidays because I quickly agreed to not only my first “challenge,” but also to making something I had never eaten, heard of, or had a recipe for. Oh and let’s not forget, by participating I agreed to post all about it! Yikes!!!

I chose to make Shish Taouk (pronounced “shish tawook”), a Middle Eastern type of fast food. Here’s a bit of trivia: did you know that ‘shish’ means skewer and ‘taouk’ means chicken in Turkish? These marinated chicken kebabs are found throughout Middle East; though each country has its own twist on the marinade. And that is the biggest challenge… not only does each country have its own version, but each cook within each country has their own Shish Taouk ingredients on cutting board: ingredients: cubed chicken breast, plain yogurt, lemon juice, olive oil, garlic, smoked paprika, cumin, tomato paste, salt and pepper.version. It would be like doing a Google search among Italian grandmothers, with the inquiry “meatball recipe.” The number of results would equal the number of grandmothers, and each recipe would be slightly different. There would be no ONE meatball recipe. Well, it’s the same with Shish Taouk. There are thousands of recipes out there, and I read a lot of them. Some use yogurt, some don’t; some use tomato paste, some ketchup, and I found a few that use both; the spices were all over place- mint, thyme, cumin, paprika, oregano, cayenne. Lemon juice and bunches of garlic were a constant, though even there the amounts varied. For example, one recipe called for 1 cup of lemon juice, while another (using the same amount of chicken) used only ¼ cup. Cooking methods ran the gamut from grilled on a barbeque to pan fried to broiled. I would have preferred to grill, but because of weather, I broiled my chicken kebabs and the veggie kebabs I made to serve alongside the meat.

After loads of research I came up with my recipe for Shish Taouk; full disclosure here, since I’ve never tasted an authentic Shish Taouk I have no Shish Taouk on pita with grilled veggies and toumidea if my method is a proper interpretation or not. That said, the night I was making this for dinner my oldest walked into the house after basketball practice and announced, “It smells good in here, like a Middle Eastern restaurant!” Ahhh, the sweet smell of success (or shish taouk!). The yogurt tenderized the chicken; the lemon juice added just enough tang to balance out the pungency of the garlic. The spices I chose worked well- cumin brought just the right amount of heat and the smoked paprika added a lovely smokiness that was especially welcome since the kebabs were cooked under a broiler, not grilled outside over a fire. The tomato paste and smoked paprika turned the entire mixture an orange-pink which provided a beautiful color to the finished dish.

The entire family loved it and I’ll definitely be making it again. I served the chicken with broiled skewers of bell peppers, red onions, grape tomatoes and warm pita bread. In Lebanon they traditionally serve Shish Taouk with toum, a garlicky lemony mayonnaise. Oh my, it is good and will be used in my house for more than just these kebabs. Tzatziki would also be delicious- not traditional, but it seems everyone has their own version of this dish, so why not?

Well, I’m off to the Rare Recipe Challenge and bringing my Shish Taouk. Thank you to Lina for creating this fun challenge, and thank you to Jhuls from thenotsocreativecook.wordpress.com for judging the entries. I loved getting outside my culinary comfort zone, researching this delicious dish, and devouring the results. New year, new foods, new challenges!

Platter of shish taouk with grilled peppers, onions, and tomatoes

Shish Taouk

  • Servings: 4-6
  • Print

Ingredients:
For marinade-
2 cups plain yogurt
2 lemons, juiced
4 Tablespoons extra virgin olive oil
3 cloves garlic, minced
2 Tablespoons tomato paste
1 teaspoon cumin
1 teaspoon smoked paprika
salt and pepper, to taste

2 pounds boneless skinless chicken breast, cut into kebab sized pieces

For Toum-
2 cloves garlic
1 egg white
juice of ½ lemon
generous pinch of kosher salt
½ cup of canola oil
1-2 Tablespoons ice water

Instructions:
Combine yogurt, juice of 2 lemons, extra virgin olive oil, garlic, tomato paste, cumin, smoked paprika, and salt and pepper in a large bowl. Mix well. Add chicken pieces to yogurt marinade and stir. Be sure that all the chicken pieces are coated in the yogurt mixture. Cover and refrigerate for at least 2 hours and up to 8 hours.

While chicken is marinating make the toum (garlic mayonnaise). In a food processor place garlic, lemon juice and generous pinch of salt. Process to chop up garlic. You will have to stop and scrape sides of processor several times while chopping the garlic. With processor running, slowly drizzle in the egg white. As the processor continues to run, slowly add the canola oil in a steady stream. You should have a mayonnaise at this point. Thin out slightly by adding 1-2 Tablespoons of ice water while the machine is running. Transfer mayo to airtight container and refrigerate.

When you are ready to make the kebabs, preheat your broiler or grill. Thread 5-6 pieces of chicken on each skewer (It will be gloopy, but don’t worry. There is no need to scrape yogurt mixture off the chicken pieces).

Broil or grill chicken until done, about 15 minutes, turning over once at the halfway mark. Serve immediately with pita, toum, and grilled veggies.

Shish Taouk ingredients on cutting board: ingredients: cubed chicken breast, plain yogurt, lemon juice, olive oil, garlic, smoked paprika, cumin, tomato paste, salt and pepper.
Gather your ingredients: cubed chicken breast, plain yogurt, lemon juice, olive oil, garlic, smoked paprika, cumin, tomato paste, salt and pepper.
Combine ingredients to make yogurt marinade.
Combine all the ingredients, except the chicken, to create the marinade.


Make the toum while the chicken is marinating…

Raw Shish Taouk skewers on broiler pan.
After marinating, preheat grill or broiler. Thread chicken on skewers. (Tip- if using bamboo skewers, give them a soak in water so they don’t burn on the grill or under the broiler.)
Grill or broil the kebabs- depending on your grill or oven, approximately 7 minutes per side. My broiler pan was set about 6 inches under the heating element; my kebabs took about 7 minutes per side.
Platter of shish taouk and grilled veggies.
Serve with grilled veggies, toum, and pita bread.
Shish Taouk on pita with grilled veggies and toum
Shish Taouk with grilled veggies and toum on pita bread.

Italian Sausage, Beans, and Greens

Italian Sausage, Beans, and Greens

A friend and I were recently chatting, and the conversation turned to food. Is it me, or do all conversations inevitably lead to food? It may just be me, but it’s one of my favorite topics, and eating is something we all have in common. Anyway, she was looking for some new dinner ideas… but there were parameters- suggestions had to be kid friendly, accommodate allergies, and be on the table quickly. Immediately, one of my favorite go to meals came to mind, Italian Sausage, Beans, and Greens.

There are several reasons why this dish ticks so many boxes in the “pro” Raw sausage, bunch of kale, bunch of chard, cannellini beanscolumn. It’s delicious, done in 30 minutes, needs only a few basic ingredients, and is so flexible in terms of those ingredients. The basics include Italian sausage, cannellini beans, and greens. I make this with Italian pork sausage, but feel free to use chicken sausage or turkey sausage. The beauty of using Italian style sausage is that it has all the seasoning you’ll need- other than any salt and pepper added to taste at the end. Cannellini beans are easy to have on hand, I usually have a few cans in the pantry. The greens I use depend on what’s available; kale, chard, spinach, arugula, rapini, mustard greens, and dandelion greens all work really well. Stick with one type or combine your favorites. Even the measurements are just guidelines.  Add more or less of the sausage, beans, or greens.  There is plenty of room to play in order to suit your tastes.  It’s all good!

My friend declared this a hit in her home, and has made it multiple times since. Now she’s looking for more new ideas… 🙂

Do you have favorite recipes that immediately jump to mind when someone asks, “What are you making for dinner?” What makes a dish one of your “go to” meals?

Italian sausage, beans, and greens in a bowl

Italian Sausage, Beans, and Greens

  • Servings: 4-6
  • Print

Ingredients:
4 Italian sausage, about 1lb total (I used 2 sweet and 2 spicy)
2 Tablespoons olive oil
2 cans cannellini beans, rinsed and drained
1 bunch kale, rinsed, stems removed and leaves chopped
1 bunch swiss chard, rinsed, stems removed and leaves chopped
salt and pepper to taste
parmesan for passing

loaf of crusty bread (optional)

Instructions:
In a large saucepan, parboil the sausage links, about 5 minutes. While the links are parboiling, I carefully prick them to release the liquified fat that has accumulated under the casings. Remove from the water, cool slightly and slice crosswise into ½-inch pieces.

Heat olive oil in large sauté pan over medium heat. When oil is shimmery, add sliced sausage. Be careful! There will be some splattering. Sauté sausage on both sides until brown, approximately 5 minutes. Remove sausage and set aside.

Return sauté pan to burner, lower heat to medium low and add greens. Stir to coat in any oil or sausage bits remaining in pan. Cover and cook until wilted, 2 minutes.

Add cannellini beans to wilted greens and stir to combine. Add sausage back to pan and heat everything through. Season to taste with salt and pepper.

Serve immediately with crusty bread, passing parmesan for grating.

Parboiling the sausage in a saucepan.
Parboil the sausage. Carefully prick them with a fork to release liquified fat under the casings.
Heating olive oil in large sauté pan
In large sauté pan, heat olive oil over medium heat.
Adding sliced sausage to sauté pan.
Add sliced sausages to sauté pan. Be careful, they will splatter!
Sautéing sausage on cooktop
Continue to sauté sausage until brown on both sides, 5 minutes or so. When brown, remove sausage and set aside.
 Adding greens to sauté pan
Add greens to sauté pan, stirring to coat with any oil or sausage bits left in pan. Reduce heat to medium low, cover, and cook for approximately two minutes, or until greens are wilted.
Adding cannelloni beans to wilted green
Add cannellini beans to the wilted greens and mix well.
Adding sliced sausage to wilted greens and beans.
Add reserved sausage and heat everything through. Salt and pepper to taste. Serve immediately with crusty bread and parmesan for passing.

Irish Soda Bread

Irish Soda Bread in cast iron skillet

As some of you may know, my mom’s parents were from Ireland. Nanny was a wonderful home cook, bringing her Irish food traditions from Belfast to Brooklyn where her Italian, German, and Jewish neighbors influenced her cooking in America.

Irish Soda Bread sliced on cutting boardBut Nanny wasn’t the only one to bring Irish food traditions, my grandfather ruled the kitchen on weekend mornings. According to my mom, Saturday mornings would be met with plenty of hot tea, eggs, bacon (or ham or sausages), potato farls, and soda bread. My grandfather would fry bacon, set it aside, then in the same pan, immediately fry the eggs in the bacon fat.  From there, in went slices of plain soda bread, fried quickly on both sides until lightly brown.  Can you imagine?  Heaven!!!  Unfortunately, my grandfather died before I was born, but I still grew up enjoying his Irish Soda Bread, first made by my mother, and now my dad.

My father has tweaked the recipe over the years, as I’m sure my grandfather had tweaked his own recipe. My Irish Soda Bread in cast iron skilletguess is that if you ask 10 different people how they make Irish soda bread you will get 10 different recipes. What is generally accepted throughout is a combination of flour, salt, baking soda, and buttermilk.  The baking soda and buttermilk give this quick bread its rise. Another common practice is cutting a cross deep on top. Tradition states that the cross is to let the devil out and ward off evil. Practically speaking, it also helps the heat penetrate the center of the loaf as well as providing the guidelines to break the bread up beautifully when served. My mom recalls my grandfather usually making plain soda bread, and only occasionally making a sweeter version with raisins. This makes sense as years ago the addition of sugar, dried fruits, or eggs would have been a treat and only done on special occasions.

Irish Soda Bread with a cup of tea.The recipe below is my version of my dad’s recipe, slightly sweet and full of raisins. This loaf is perfect for breakfast, snacking, in lunch boxes, and definitely with a cup of tea or two. I do make other soda breads, a hearty Brown Soda Bread (made with whole wheat flour) and plain White Soda Bread that is unsweetened and wonderful with soups and stews- or fried eggs and bacon. Those recipes will show up here, but first I’d like to introduce this lovely raisin studded Irish Soda Bread.

Irish Soda Bread in cast iron skillet

Irish Soda Bread

  • Servings: 1 large loaf
  • Print

Ingredients:
4 cups all-purpose flour
2 Tablespoons unsalted butter
2 Tablespoons sugar
1 teaspoon salt
1 teaspoon baking soda
1 cup raisins or currants (my dad loads his with raisins and uses up to 2 cups)
1¼ -1¾ cups buttermilk

Instructions:
Preheat oven to 450°F.

In a large bowl use a pastry blender to cut butter into flour.

Using a wooden spoon, stir in sugar, salt, and baking soda. Add the raisins or currants and mix well.

Pour in 1¼ cups buttermilk and mix, adding more milk if necessary. The dough should be soft, slightly sticky, but not too wet. Turn dough out onto a floured surface and knead it just enough to completely bring it together. Shape into a round about 1½ -inches deep. Transfer to cast iron skillet or lined baking sheet. Using a sharp knife or bench scraper cut a cross on it, deep- but not completely through.

Bake for 15 minutes, then turn the oven down to 400°F and continue baking for an additional 30 minutes. The bread is done when it is golden brown and sounds hollow when tapped on the bottom.

Allow to cool slightly before enjoying!

Irish Soda Bread Ingredients: flour, unsalted butter, sugar, salt, baking soda, raisins, and buttermilk.
This is all you need for Irish Soda Bread: flour, unsalted butter, sugar, salt, baking soda, raisins, and buttermilk.
Using a pastry blender to cut butter into flour.
Using a pastry blender, cut butter into flour.
Adding sugar, salt, and baking powder to flour/butter mixture
Add sugar, salt, and baking soda to flour/butter mixture. Still well to combine.
Adding raisins to dry ingredients in bowl.
Add raisins to dry ingredients.
Pouring buttermilk into bowl of dry ingredients.
Pour buttermilk into dry ingredients and mix well.
Irish soda bread dough forming in bowl.
The flour mixture is coming together to form a soft, but not too sticky dough.
Irish soda bread dough in bowl
The dough is soft, not too sticky or wet.
Irish soda bread dough with cross cut into it in cast iron skillet.
Transfer dough to a cast iron skillet or sheet pan. Using a sharp knife or bench scraper, cut a deep cross into the dough- almost completely through, but not all the way. Bake in a 450°F oven for 15 minutes, then lower temperature to 400°F and bake for another 30 minutes.
Irish Soda Bread in cast iron skillet
Out of the oven! The bread is done when golden brown and the bottom sounds hollow when rapped with your knuckles.


Butternut Squash Soup with Cider Cream

Butternut Squash Soup with Cider Cream

Butternut SquashButternut squash has a long shelf life- which works well for me when I receive large quantities of it as part of my CSA! As you can imagine the growing season in New England is short, though our local farm does an amazing job of squeezing every last bit of sunshine and warmth out of earth and sky to make the harvest last as long as possible. In fact, they do such a good job, that the farm offers an “Extended Harvest” share, with pick ups well into November.

Each week from June through November I am the happy recipient of culinary treasures… fruits and veggies of all sorts. The spring and summer pick ups Cabbagesgenerally contain perishable produce that has to be dealt with immediately… eaten, frozen, or canned for future meals. The November shares are far more forgiving in terms of shelf life; onions, garlic, potatoes, and winter squash can live on my kitchen counter or in a cool spot in the basement for a long while before I turn my attention to them. Cabbages, radishes, and carrots will survive almost the entire winter in the produce drawers of my fridge.

Butternut squash is one of my favorite winter veggies and incredibly versatile. It can be baked, roasted, or turned into soup, pairing well with many different types of flavors. According to The Flavor Bible, the wide range of combinations include (but is definitely not limited to):
Butternut squash + bacon + maple syrup + sage
Butternut squash + cilantro + coconut + ginger
Butternut squash + ricotta cheese + sage

Below is my take on Butternut Squash Soup with Cider Cream. The tart apples are beautiful with the rich nutty squash, while the cider’s sweetness rounds everything out. I usually use chicken stock, but vegetable stock will work equally well if you’d like to keep this strictly vegetarian.

Do you have a favorite winter vegetable that you like to use? What do you with it?

Butternut Squash Soup with Cider Cream

Butternut Squash Soup with Cider Cream

  • Servings: 10
  • Print

*adapted from Bon Appetit

Ingredients:
5 Tablespoons unsalted butter
2 ½ lbs butternut squash, peeled, seeded, cut into ½-inch pieces (about 6 cups)
2 cups chopped leeks (white and pale green parts only)
½ cup chopped peeled carrot
½ cup chopped celery
2 small granny smith apples, peeled, cored, chopped
1 ½ teaspoons dried thyme
½ teaspoon crumbled dried sage leaves
5 cups chicken or vegetable stock
1 ½ cups apple cider, divided
2/3 cup plain greek yogurt or crème fraiche

Instructions:
Melt butter in a heavy large saucepan over medium high heat. Add squash, leeks, carrots, and celery; sauté until slightly softened, about 15 minutes. Mix in apples, thyme, and sage. Add stock and 1 cup cider. Bring to a boil; reduce heat to medium low. Cover and simmer until apples are tender, stirring occasionally, about 30 minutes. Cool slightly.

Using an immersion blender, puree soup. Alternatively, soup can be pureed, in batches, in a blender.

Make cider cream. Boil remaining ½ cup cider in heavy small saucepan until reduced to ¼ cup, about 5 minutes. Cool. Place yogurt or crème fraiche in small bowl. Whisk in reduced cider. (Soup and cider cream can be made 1 day ahead. Cover separately and refrigerate.)

Bring soup to simmer. Ladle soup into bowls. Dollop with cider cream and serve.

Squash, leeks, carrot, and celery in dutch oven.
Melt butter in heavy large saucepan. Add squash, leeks, carrot, and celery.
Adding apples and herbs to sautéed vegetables in dutch oven.
Sauté until veggies are softened, 15 minutes or so, then add apples, thyme, and sage.
Adding stock and cider to sautéed veggies and apples.
Add stock and 1 cup of cider. Bring to a boil.
Simmering veggies, apples, and herbs in stock and cider.
Reduce heat to medium-low, cover and simmer for 30 minutes or until apples are tender.
Pureed Butternut Squash Soup
Through the magic of the blogosphere, the soup has been pureed. Actually, I used an immersion blender, but couldn’t get an action pick- not enough hands! If you don’t have an immersion blender, puree the soup in batches in a regular blender.
Cider syrup, plain yogurt, and whisk
Boil remaining 1/2 cup cider until reduced to 1/4 cup, about 5 minutes.

Cider Cream

Butternut Squash Soup with Cider Cream
Bring soup to a simmer, laden into bowls and dollop with cider cream.


Miso Glazed Fish and Bok Choy

Miso Glazed Halibut

A preschool teacher once declared about my now 15yr old son, “you better have a plan, because if you don’t, he does!” The same sentiment holds true for my January calendarentire household. With two active teenage boys, and one “sign me up for everything” tween, things can quickly get derailed. In my attempts to contain the chaos as much possible, I have a general plan or template for dinners each week. This is so helpful when grocery shopping; daily trips to the store are only occasional, and money is saved because I’m shopping more efficiently with menus in mind. I’ve learned the hard way, that if I don’t have a solid dinner plan in place by the time the kids get home from school, we’re probably doing take out!

That said, things do come up and this is a very flexible “schedule.” Nothing is set in stone. It really just serves as a general guideline and helps me organize my shopping (and mind) for the week. Here’s a look at my weekly template for dinners:
Meatless Monday– Fish
Taco Tuesday– Build your own tacos, fajitas, burritos, etc. I usually set out a protein, with loads of grilled/sautéed veggies, rice, beans, tortillas, cheese, guacamole, and salsa.
Wednesday– Pasta
Thursday– Soup or stew (especially in fall/winter)
Friday– Take-out, and by the end of the week I’m ready for it.
Saturday– My husband usually grills (even in the snow!)
SundayHomemade Pizza

Meatless Monday usually means fish, like Fast and Crunchy Baked Cod or fillets simply seasoned with salt and pepper and briefly roasted in the oven.Ingredients for miso glazed fish: white miso, rice vinegar, vermouth, sugar, black vinegar Recently, Miso Glazed Fish has made several successful appearances. The glaze is slightly sweet/salty and perfect for firm fish like swordfish, halibut, and salmon. Sea bass and sable (black cod) would be wonderful as well, but they are expensive compared to the others. The dish is quick and easy. Popped into the oven, it is done in no time. Serve with rice and something green. We love it with bok choy sautéed with ginger, garlic, and a pinch of red pepper flakes (recipe follows miso glazed fish).

Note about the photos- You’ll see that there is no beautifully plated finished product. This is the result of the aforementioned active teens and tween. As soon as the fish came out of the oven, I was able to quickly snap a few pics before it was gobbled up. Then it was off to drop one son at basketball, pick the other up from his basketball practice, and get my daughter to ballet. In my ideal world, the final shot would have been a gorgeous piece of fish, lightly sprinkled with sliced green onions, presented on a bed of rice, with bright green bok choy on the side. Use your imagination!  You can see it, right?

Bok Choy
On the bright side, the bok choy did make it into a serving bowl!


How about you? Do you have a general idea of what your dinners will look like throughout the week? Or, do you decide day by day?

Miso Glazed Halibut

Miso Glazed Fish

Ingredients:
2 Tablespoons vermouth*
2 Tablespoons rice vinegar
3 Tablespoons white miso
1 Tablespoon sugar
1 teaspoon black vinegar
24oz firm fleshed fish (swordfish, halibut, sea bass, sable (black cod) salmon)

Instructions:
Preheat oven to 375°F. In a small saucepan over medium heat, place vermouth, rice vinegar, white miso, sugar, and black vinegar. As the glaze warms, stir to dissolve sugar. Remove from heat and let cool.

In a parchment lined casserole or sheet pan place fish or fish fillets. With a pastry brush, off-set spatula, or spoon, glaze top and sides of fish. I always have glaze left over, so don’t feel the need to use it all.

Place fish in oven. Cook times will vary depending on thickness of the fish. I usually start checking at the 15 minute mark. The fish is done when it is opaque in the center and easily flakes with a fork. Alternatively, you can place the fish under the broiler for approximately 6 minutes… but keep an eye on it, it can quickly burn.

*If you have sake, please feel free to use in place of vermouth.  But we don’t have sake, and I probably won’t buy an entire bottle just to have on hand for this dish.  Vermouth works well, as would dry sherry.

Vermouth, rice vinegar, white miso, sugar, and black vinegar in a small saucepan.
Put vermouth, rice vinegar, white miso, sugar, and black vinegar in a small saucepan.
Ingredients for miso glaze in a small saucepan over medium heat.
Place the saucepan over medium heat, and whisk the ingredients together until sugar dissolves.
Miso glaze in a saucepan
Miso glaze is done. Remove from heat and allow to cool briefly.
Halibut fillets in parchment lined casserole with miso glaze in the background.
The fillets are ready for the miso glaze.
A pastry brush glazes the top and sides of fish fillet.
Using a pastry brush, off-set spatula, or spoon, glaze the top and sides of the fish.
Raw miso glazed fish ready to go into the oven.
Place miso glazed fish into a 375°F oven. Bake for approximately 15-20 minutes, or until fish is opaque inside and can be easily flaked. Alternatively, place under a broiler for about 6 minutes, but remember to keep an eye on it! The glaze and fish can quickly burn.
Miso Glazed Halibut
Out of the oven… the fish looks done, but need to be sure.
Checking fish for doneness, opaque and easily flakes with a fork.
Checking for doneness… the fish is opaque and easily flakes with a fork.
IMG_8964
Quickly served and then off to basketball and ballet! No time for a beautifully styled shot…


Bok Choy

Sautéed Bok Choy with Ginger, Garlic, and Red Pepper Flakes

  • Servings: 4-6
  • Print

Ingredients:
2 heads of bok choy, rinsed and chopped
2 Tablespoons vegetable oil (I used grapeseed)
1-inch piece of ginger, peeled and cut in half
1 clove of garlic, peeled and smashed with the flat side of a knife
pinch of red pepper flakes
salt and pepper to taste

Instructions:
In a large skillet, heat vegetable oil over medium high heat. Add ginger, garlic, and red pepper flakes, stirring frequently for approximately 1 minute. The ginger, garlic, and red pepper flakes are there to flavor the oil.

Add chopped bok choy to skillet, stirring so that it mingles with the oil. Reduce heat to medium low and cover. The water from rinsing the bok choy will help steam it. Cook for 3-5 minutes, checking and stirring occasionally.

Season to taste with salt and pepper. Serve immediately.

The bok choy will reduce down by quite a bit. The leaves will wilt and stems will be tender but retain some crunch. We happen to like the contrast of textures, but if you’d prefer more uniformity, give the stems a head start by adding them to the skillet first. A minute or so later, add the leafy part of the bok choy.

Chopped bok choy on cutting board with garlic clove, ginger, and red pepper flakes.
Rinse and chop the bok choy. Peel and cut a 1-inch piece of ginger in half. Peel a garlic clove and smash with the flat side of a knife. If you want a little bit of spice, you’ll also need a pinch of red pepper flakes.
Garlic, ginger, and red pepper flakes warming in a skillet.
In a large skillet over medium high heat, warm a tablespoon of vegetable oil with ginger, garlic, and red pepper flakes for a minute or so. Watch carefully, so the garlic doesn’t burn.
Stir the bok choy, giving it a light coat of the flavored oil.
Stir in the bok choy so that all the pieces have had a chance to meet the garlic, ginger, and red pepper flakes. Reduce heat to medium low and cover.
Cooked bok choy in skillet
Cook for 3-5 minutes until leaves have wilted and stems are slightly tender, but retain a bit of crunch.

Bok Choy