During the weeklong Patricia Wells’ cooking class, my tasks ran the gamut from braising asparagus, creating compound butters, deep frying onion rings, setting lemon panna cotta, to making an amazing Bittersweet Chocolate and Honey Sorbet, which won “Best Taste of the Week.”

This sorbet is deep, rich, and incredibly satisfying. With help from my 10yr old, it was the first recipe I recreated when I arrived home and a huge hit with my family. So easy to make, the sorbet will be a standard freezer item all summer long. Enjoy!

Bittersweet Chocolate and Honey Sorbet
*recipe adapted from Patricia Wells
Ingredients:
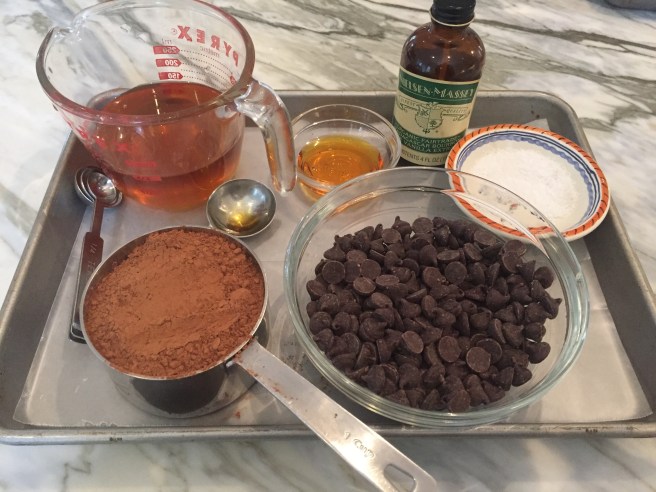
2 cups water
2/3 cup mild honey
½ teaspoon fine sea salt
1 cup unsweetened cocoa powder
7 ounces bittersweet chocolate, broken into pieces
1 teaspoon pure vanilla extract
2 Tablespoons Lyle’s Golden Syrup (or light corn syrup)
cocoa nibs for sprinkling (optional)
chopped nuts for sprinkling (optional)
Instructions:
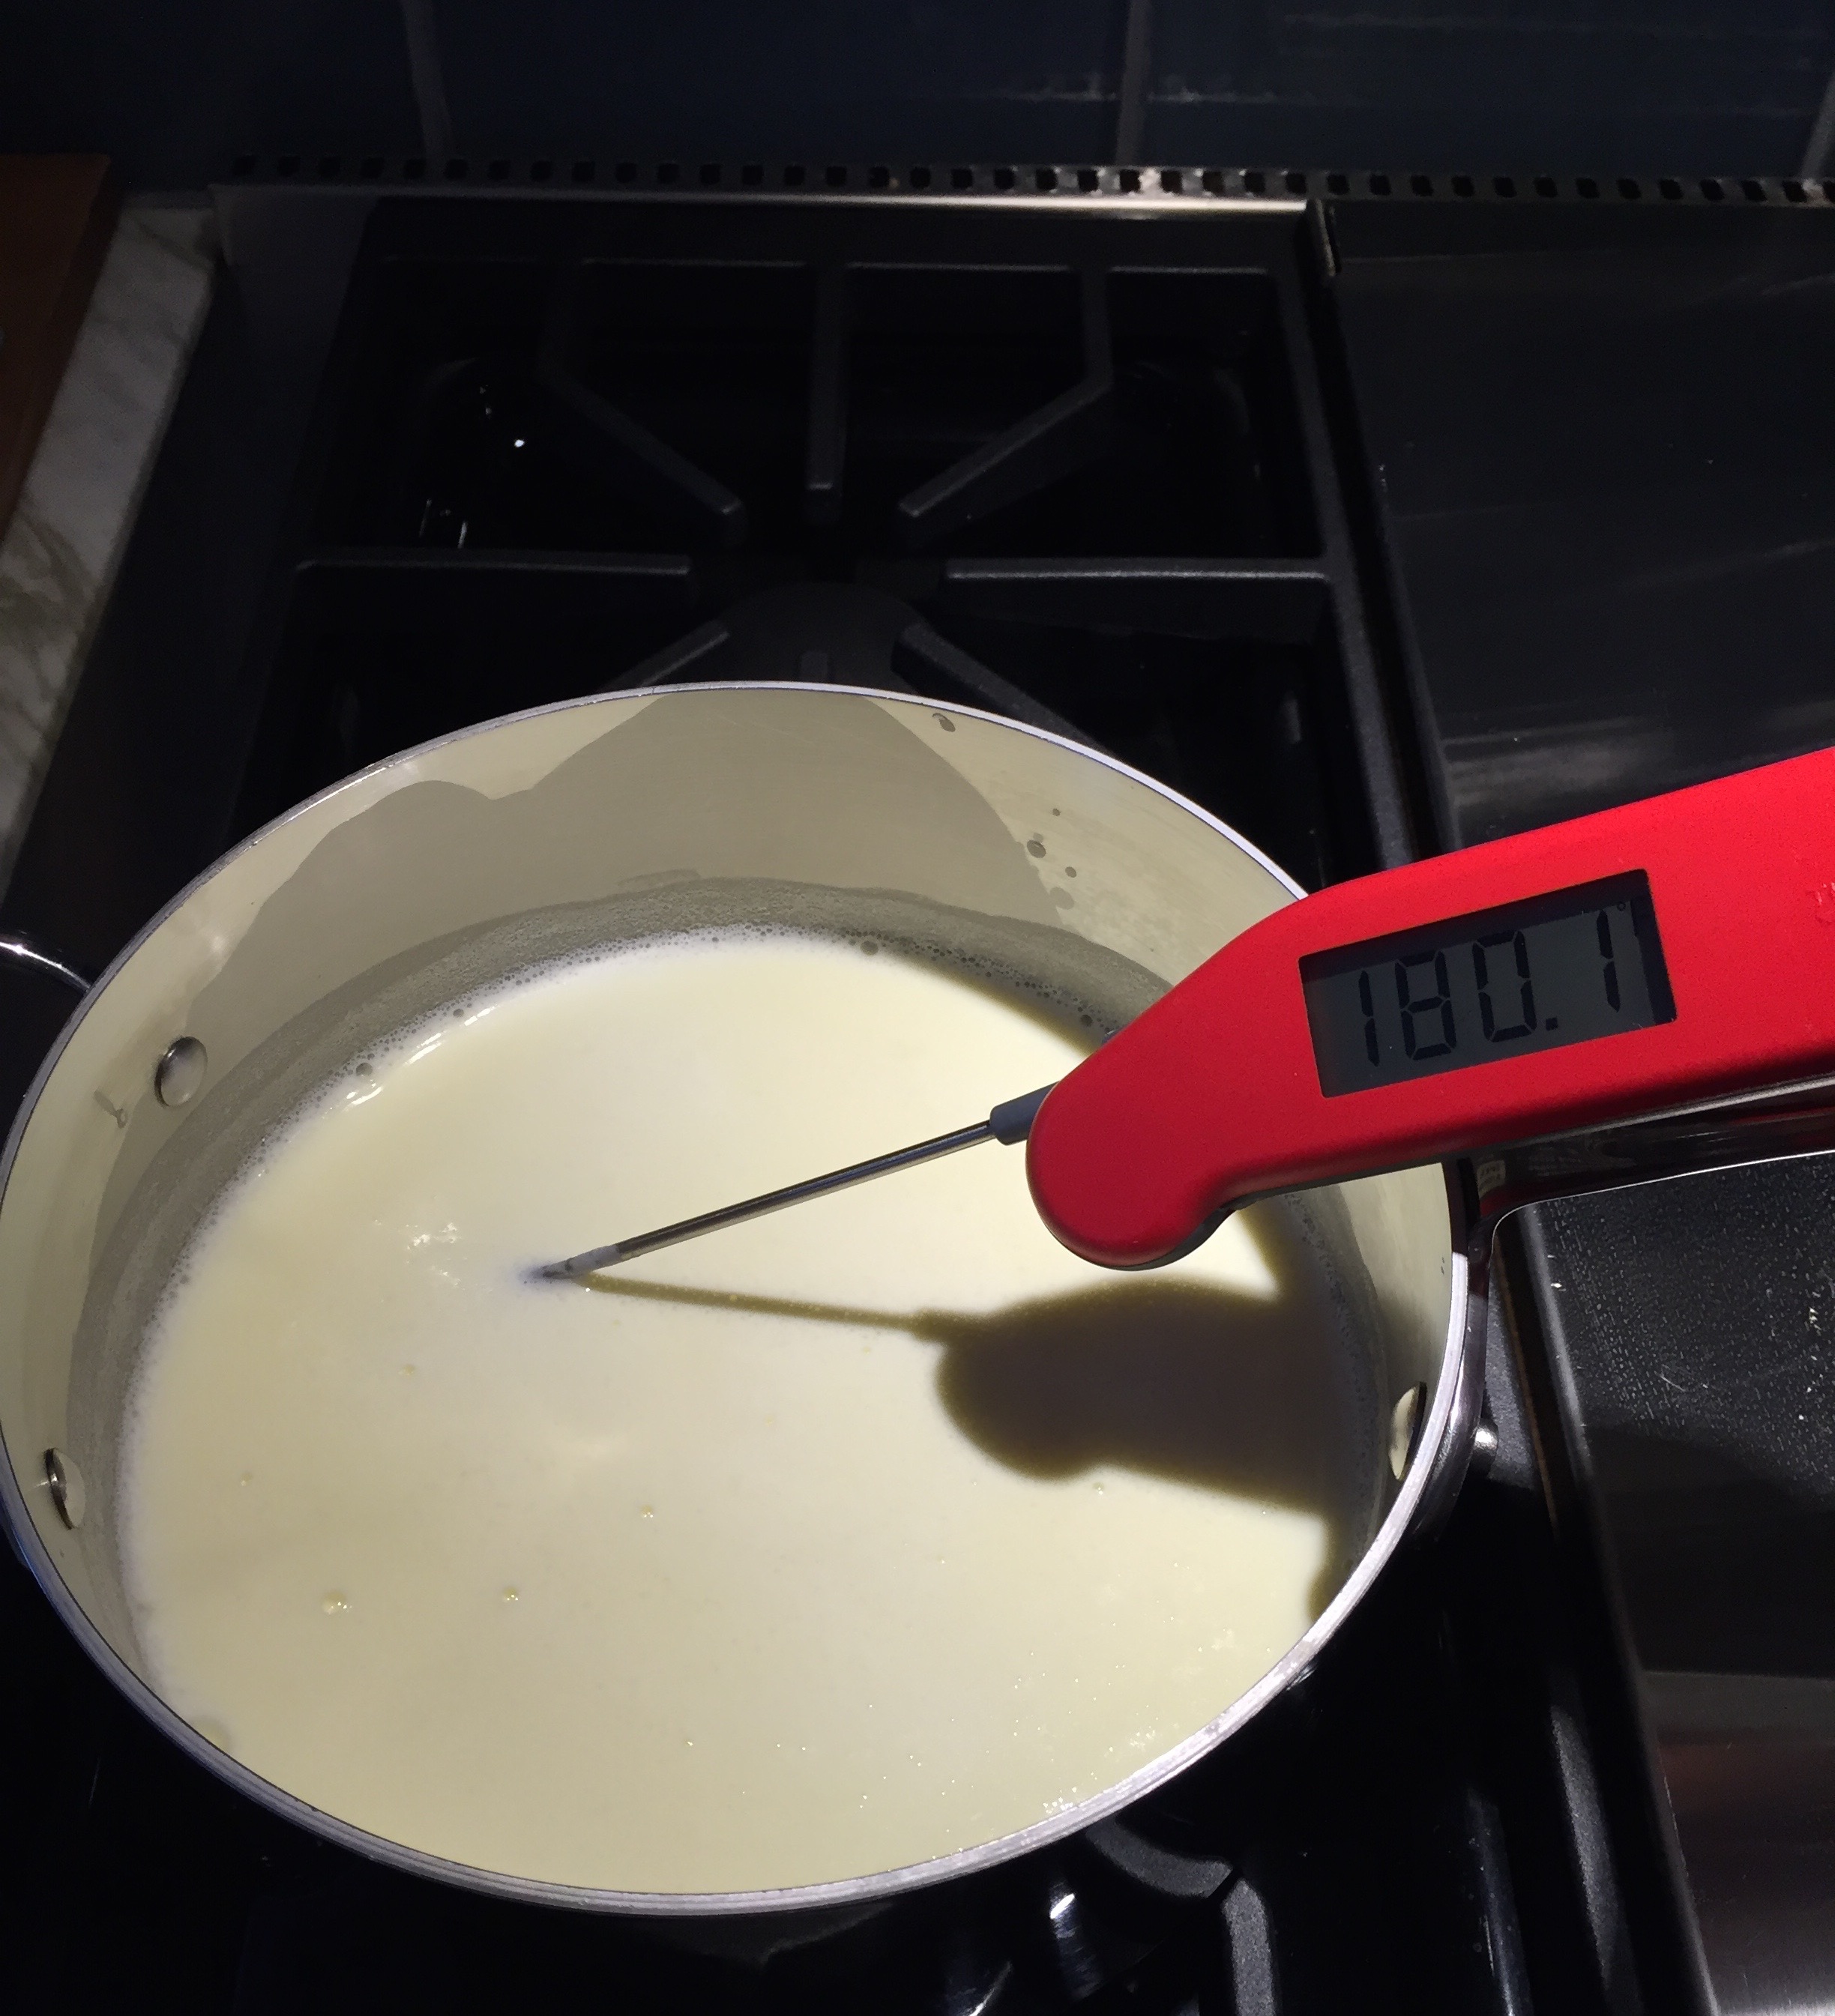
In a large saucepan combine water with honey, salt, and cocoa powder. Bring to a boil over high heat, then reduce heat to medium and simmer for 1 minute, whisking constantly. The mixture should turn a shiny, deep brown.
Remove from heat and add chocolate pieces, vanilla extract, and syrup. Stir until chocolate is fully melted. Transfer mixture to bowl and place in freezer to chill thoroughly, about an hour.
Transfer the mixture to an ice-cream maker and freeze according to the manufacturer’s instructions. *See note below.
Serve in chilled bowls with a garnish of cocoa nibs, nuts, or your favorite topping.
*I used my Kitchen Aid mixer’s “ice-cream maker” attachment to make the sorbet. Kitchen Aid recommends 20 minutes of processing to transform the liquid mixture to sorbet. Unfortunately, after 20+ minutes of mixing, my sorbet was still soupy. Not one to give up, I just transferred the mixture to a glass storage container and placed it in my freezer. A few hours later the mixture was frozen and we had sorbet!
In Patricia’s kitchen, I used a traditional ice-cream maker. The sorbet processed while we ate lunch and was ready to serve for dessert. Please follow your manufacturer’s instructions for specific processing times.