
 This summer, we had a phenomenal family trip to London and Ireland.
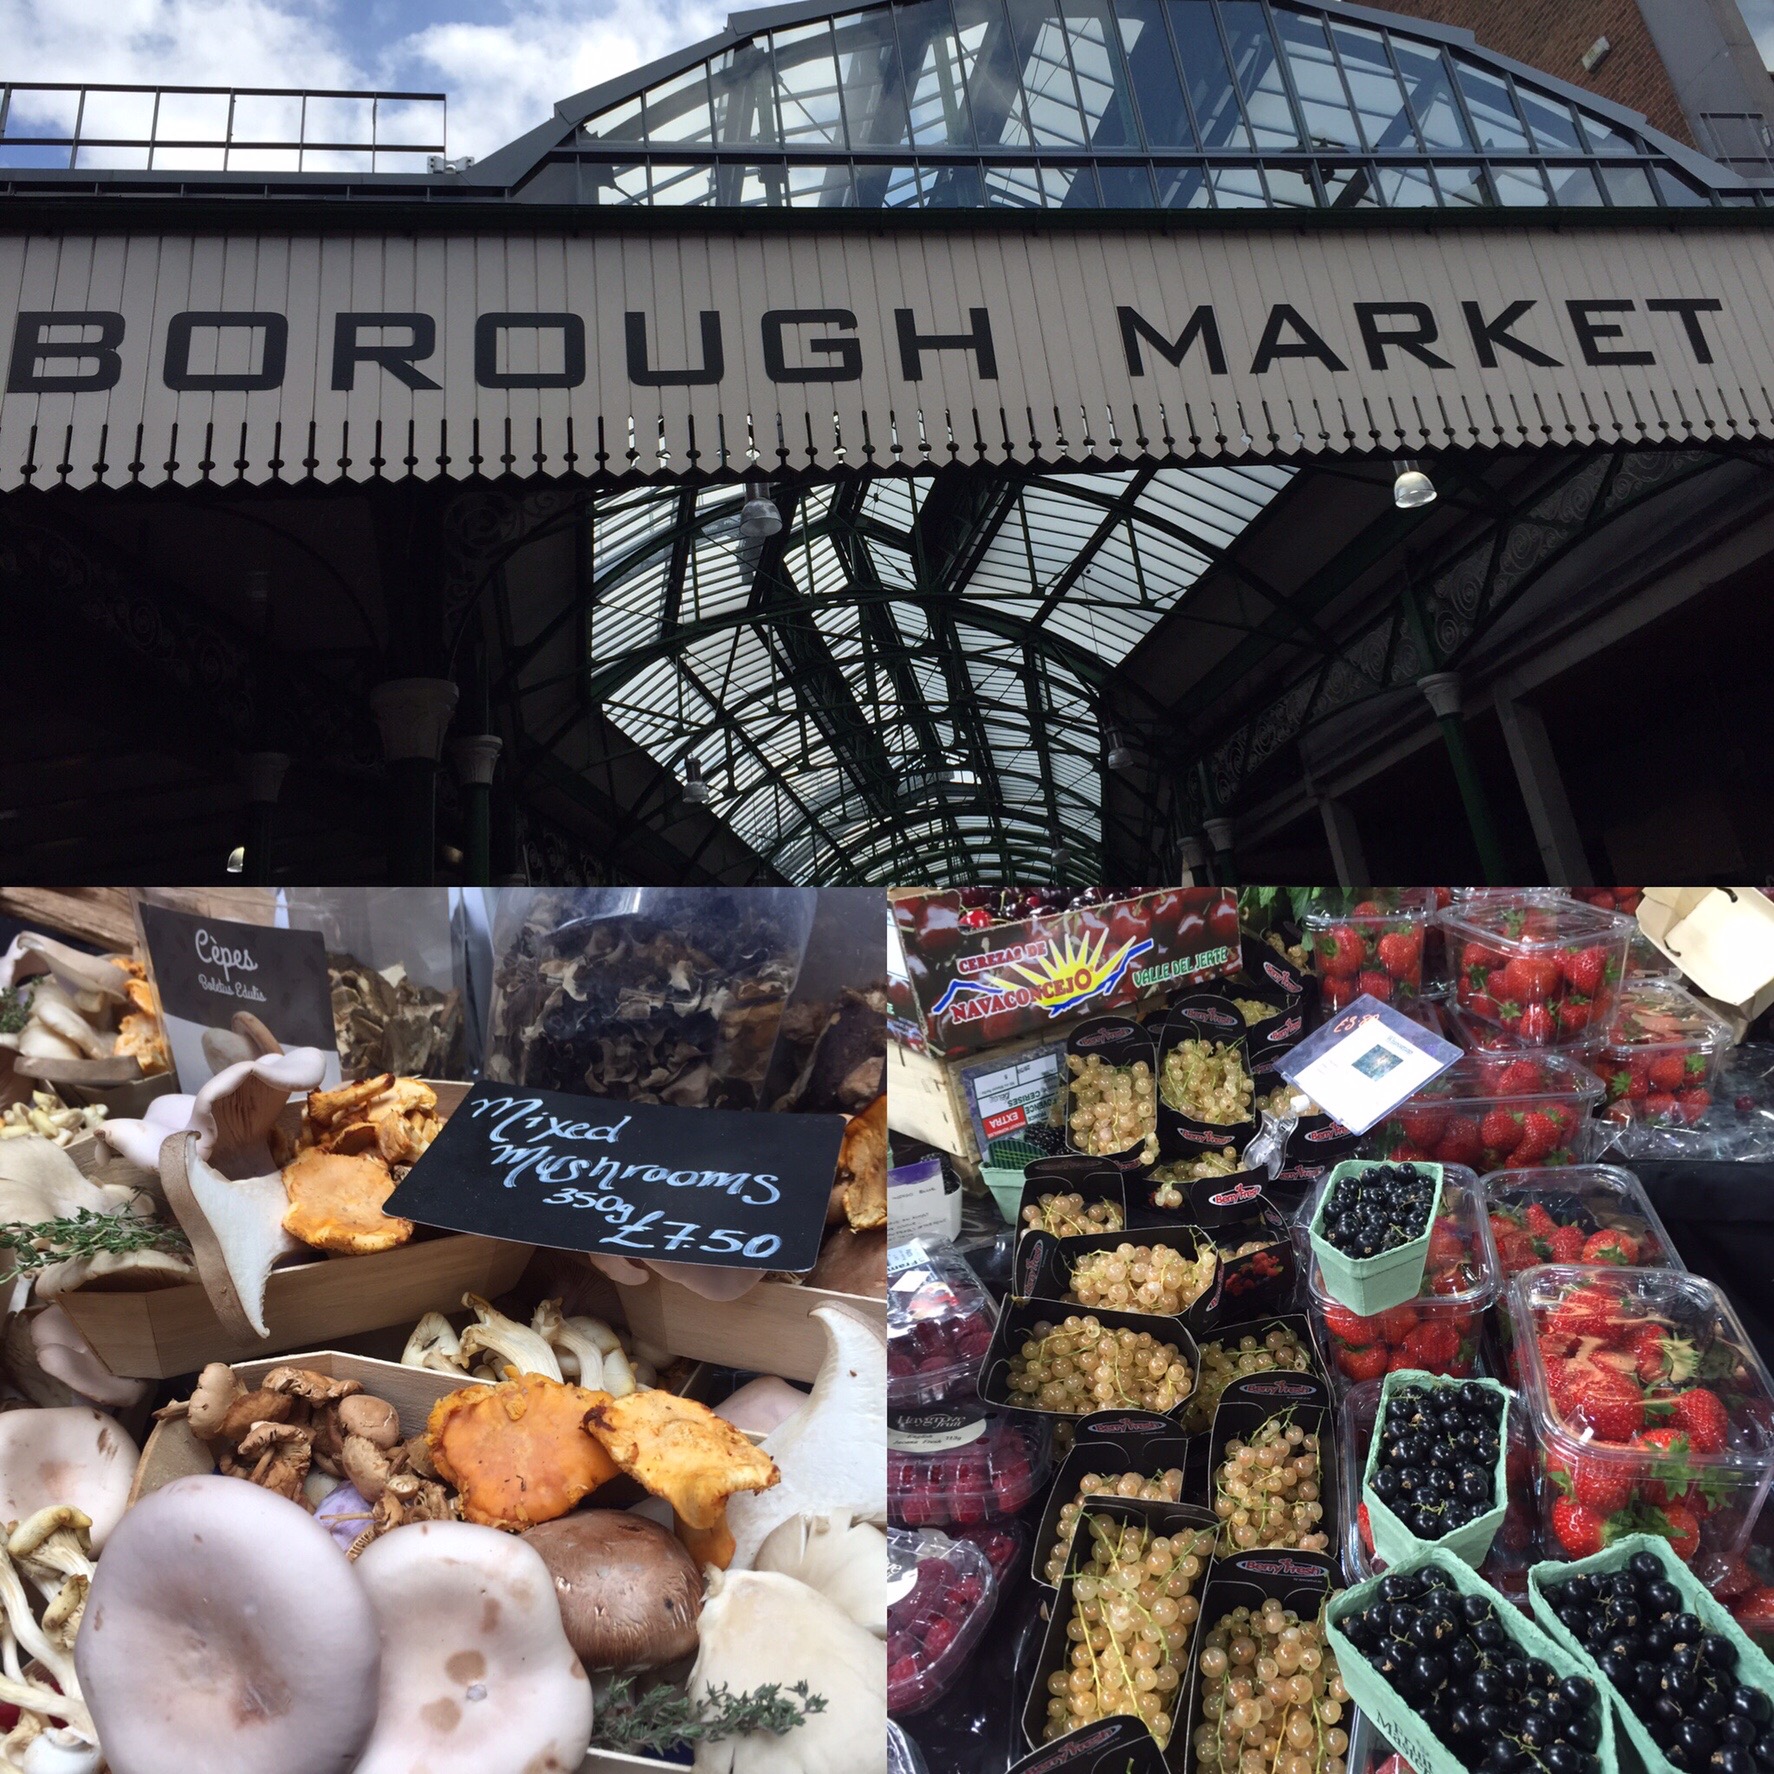
While we explored the British Museum, Hyde Park, the Churchill War Rooms and the Tower of London, observed the Changing of the Horse Guard and took a spin on the London Eye, my thoughts were never too far from food. In fact, we kicked our trip off with a tour of Borough Market (I highly recommend Context Travel).
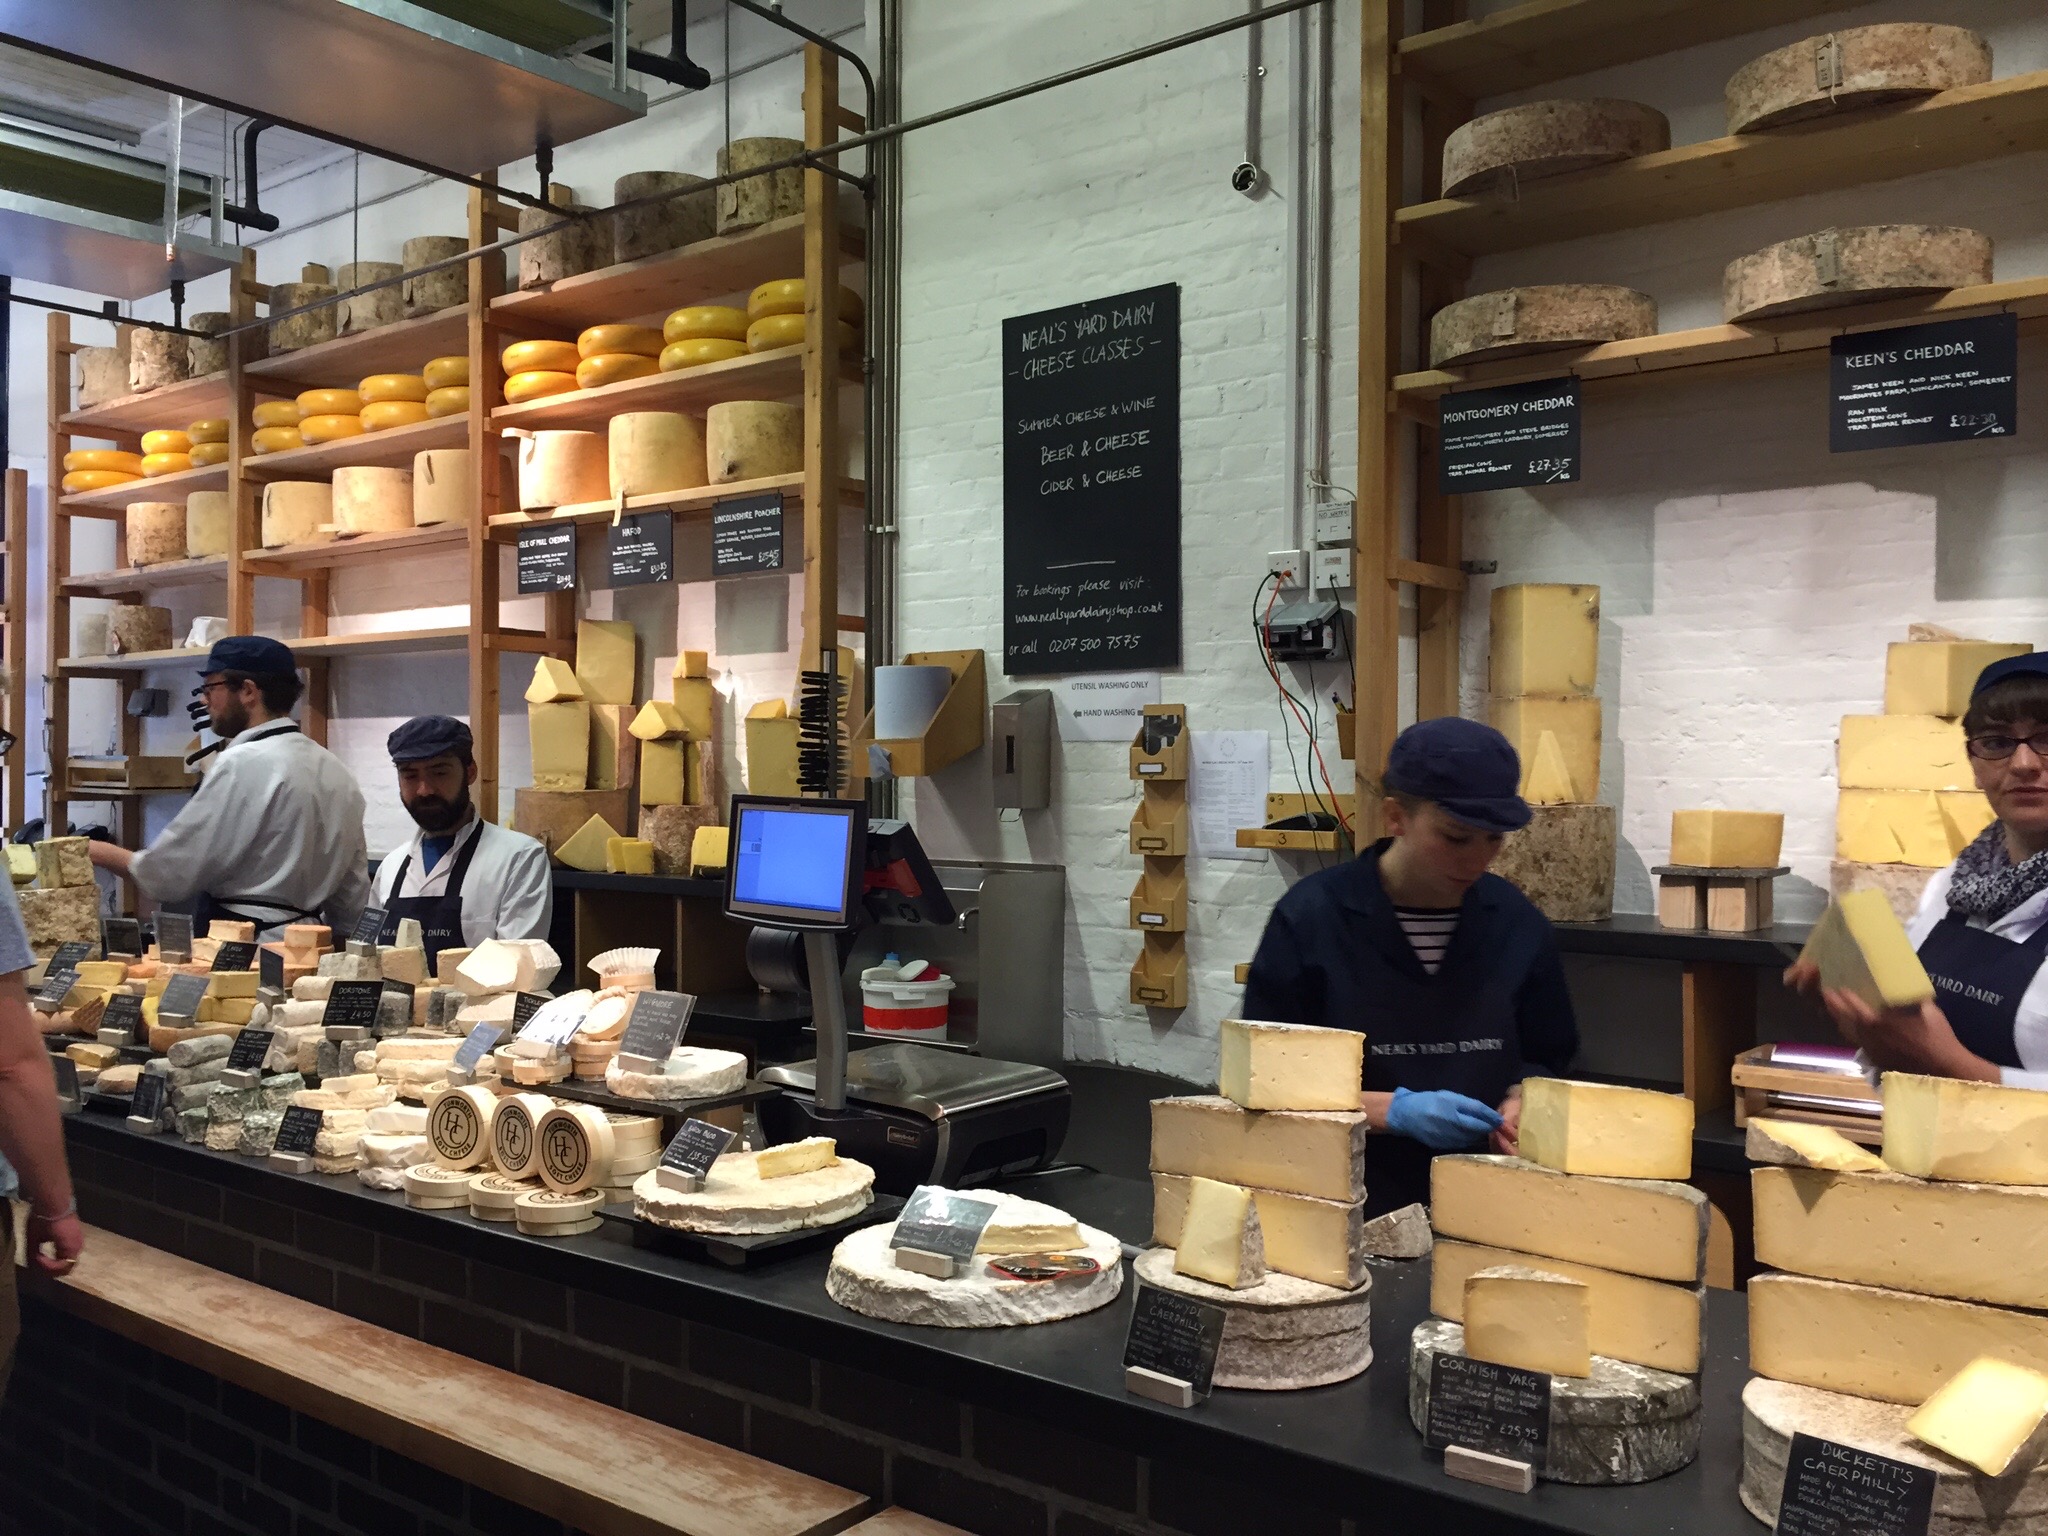
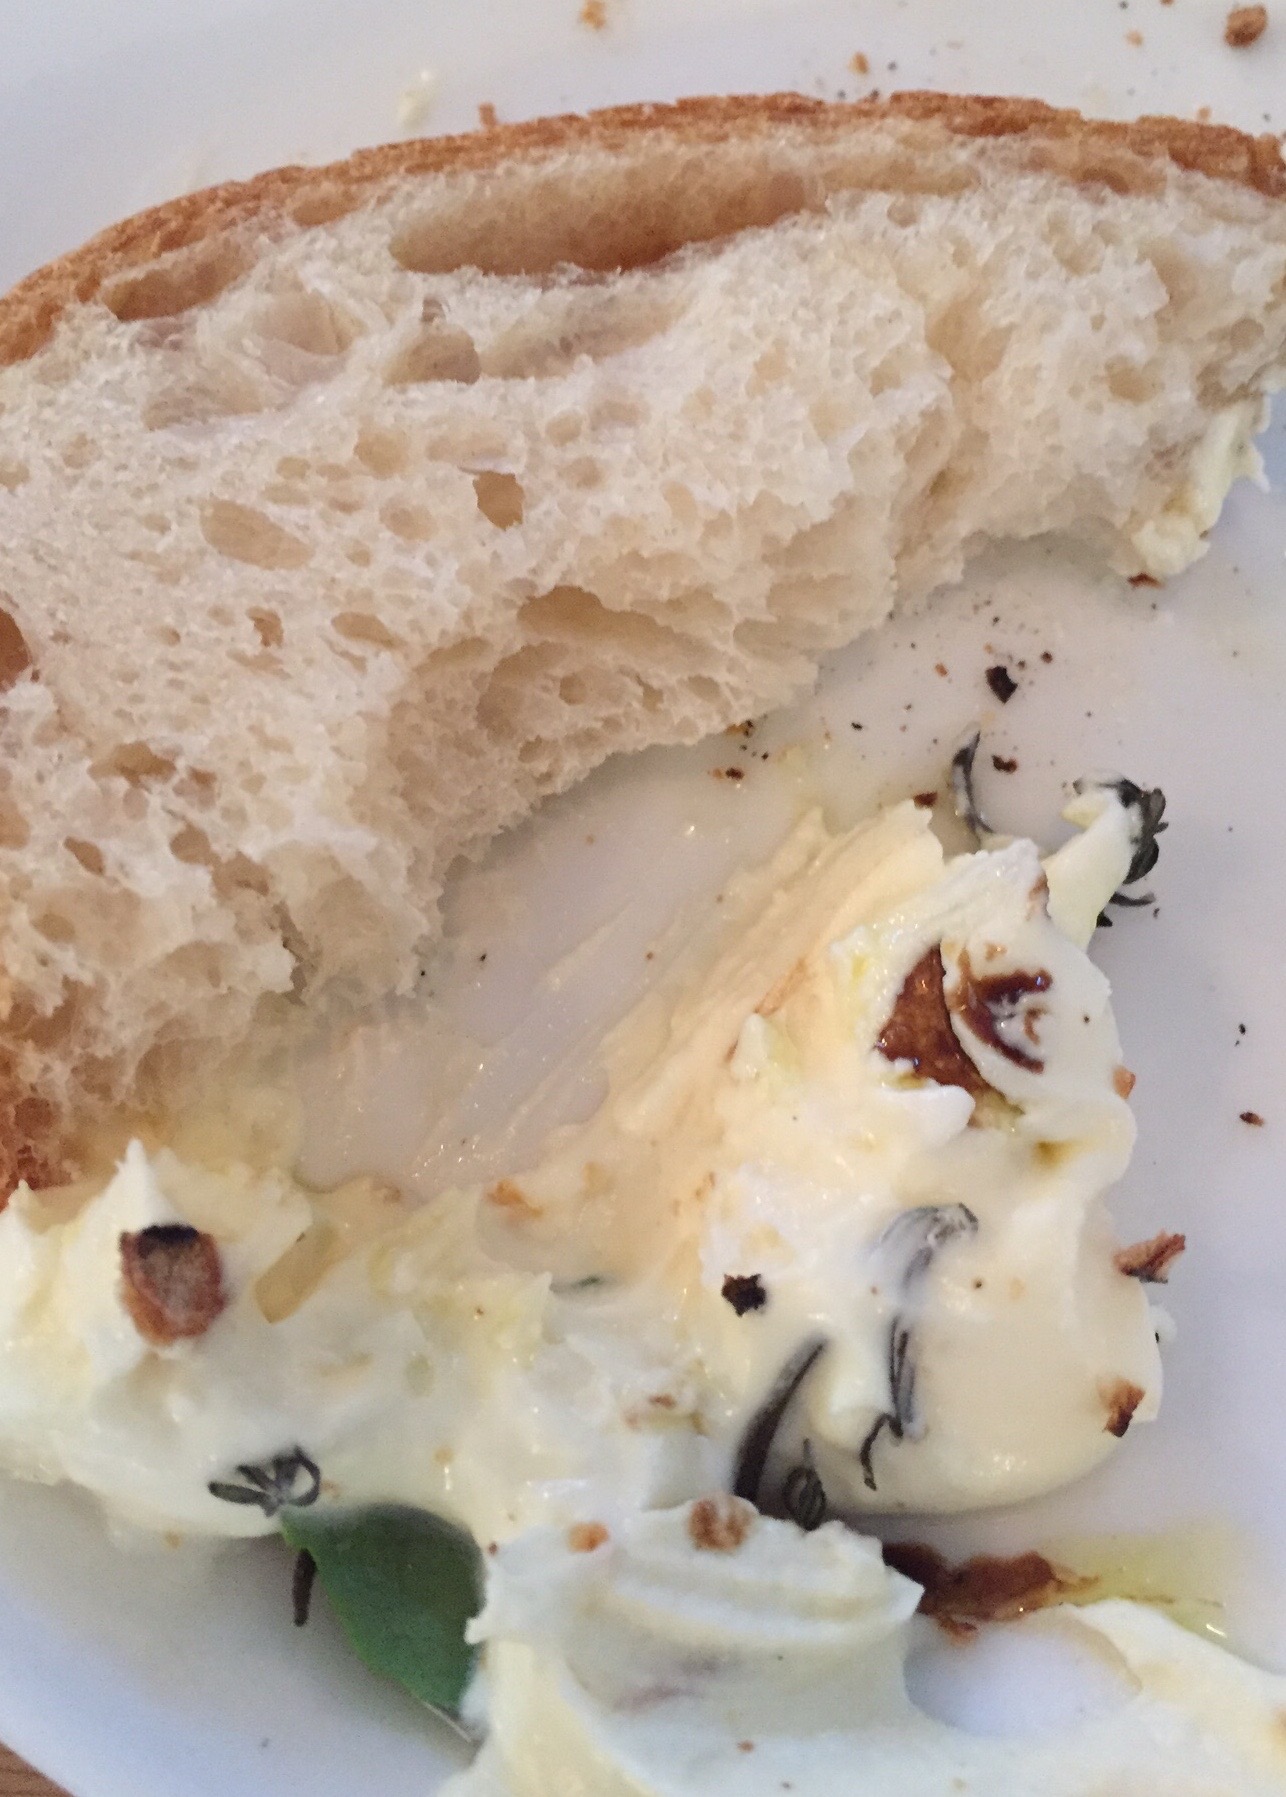
Celebrating and tasting your way through artisanal British and Irish cheeses at Neal’s Yard Dairy is a wonderful beginning to any day. Meeting and sharing ideas with farmers, spice vendors, and even a tea importer helped us connect to London in a very real way. Continuing the unofficial theme of local foods, we planned our dinners at restaurants that embrace a farm to table philosophy, locally sourcing their products based on seasonal availability. We enjoyed delicious meals at St. John, The Harwood Arms, and Tom’s Kitchen. An absolute standout at Tom’s Kitchen was the “Homemade Ricotta [with] balsamic glaze, dried herbs, grilled sourdough.” Oh. My. Goodness. This ricotta was so incredibly luscious, smooth, and creamy- yet light and airy, that only the fear of public humiliation kept me from stealing the entire dish, huddling in a remote corner, and licking the bowl clean.
Since our return home, that ricotta has been on my mind. We have a fairly wide selection of ricotta cheese at the grocery store, but it seems unfair to compare them to what I had in London. Even the best that I can get here is good, but not Tom’s Kitchen Homemade Ricotta good. What to do? The kitchen gods spoke. Challenged accepted. I learned to make my own.
It turns out, homemade ricotta is not hard to make. In 30 minutes you can be sitting down with your own bowl of lusciousness, ready to devour, spoon in hand. Even better, you control the ingredients. No fillers, thickeners, or stabilizers needed, just four simple ingredients- milk, cream, white vinegar and salt. It’s a bit like a science experiment, so if you have kids they are going to love this. But please don’t let “science experiment” intimidate you. My nine year old is now making the ricotta on a weekly basis.
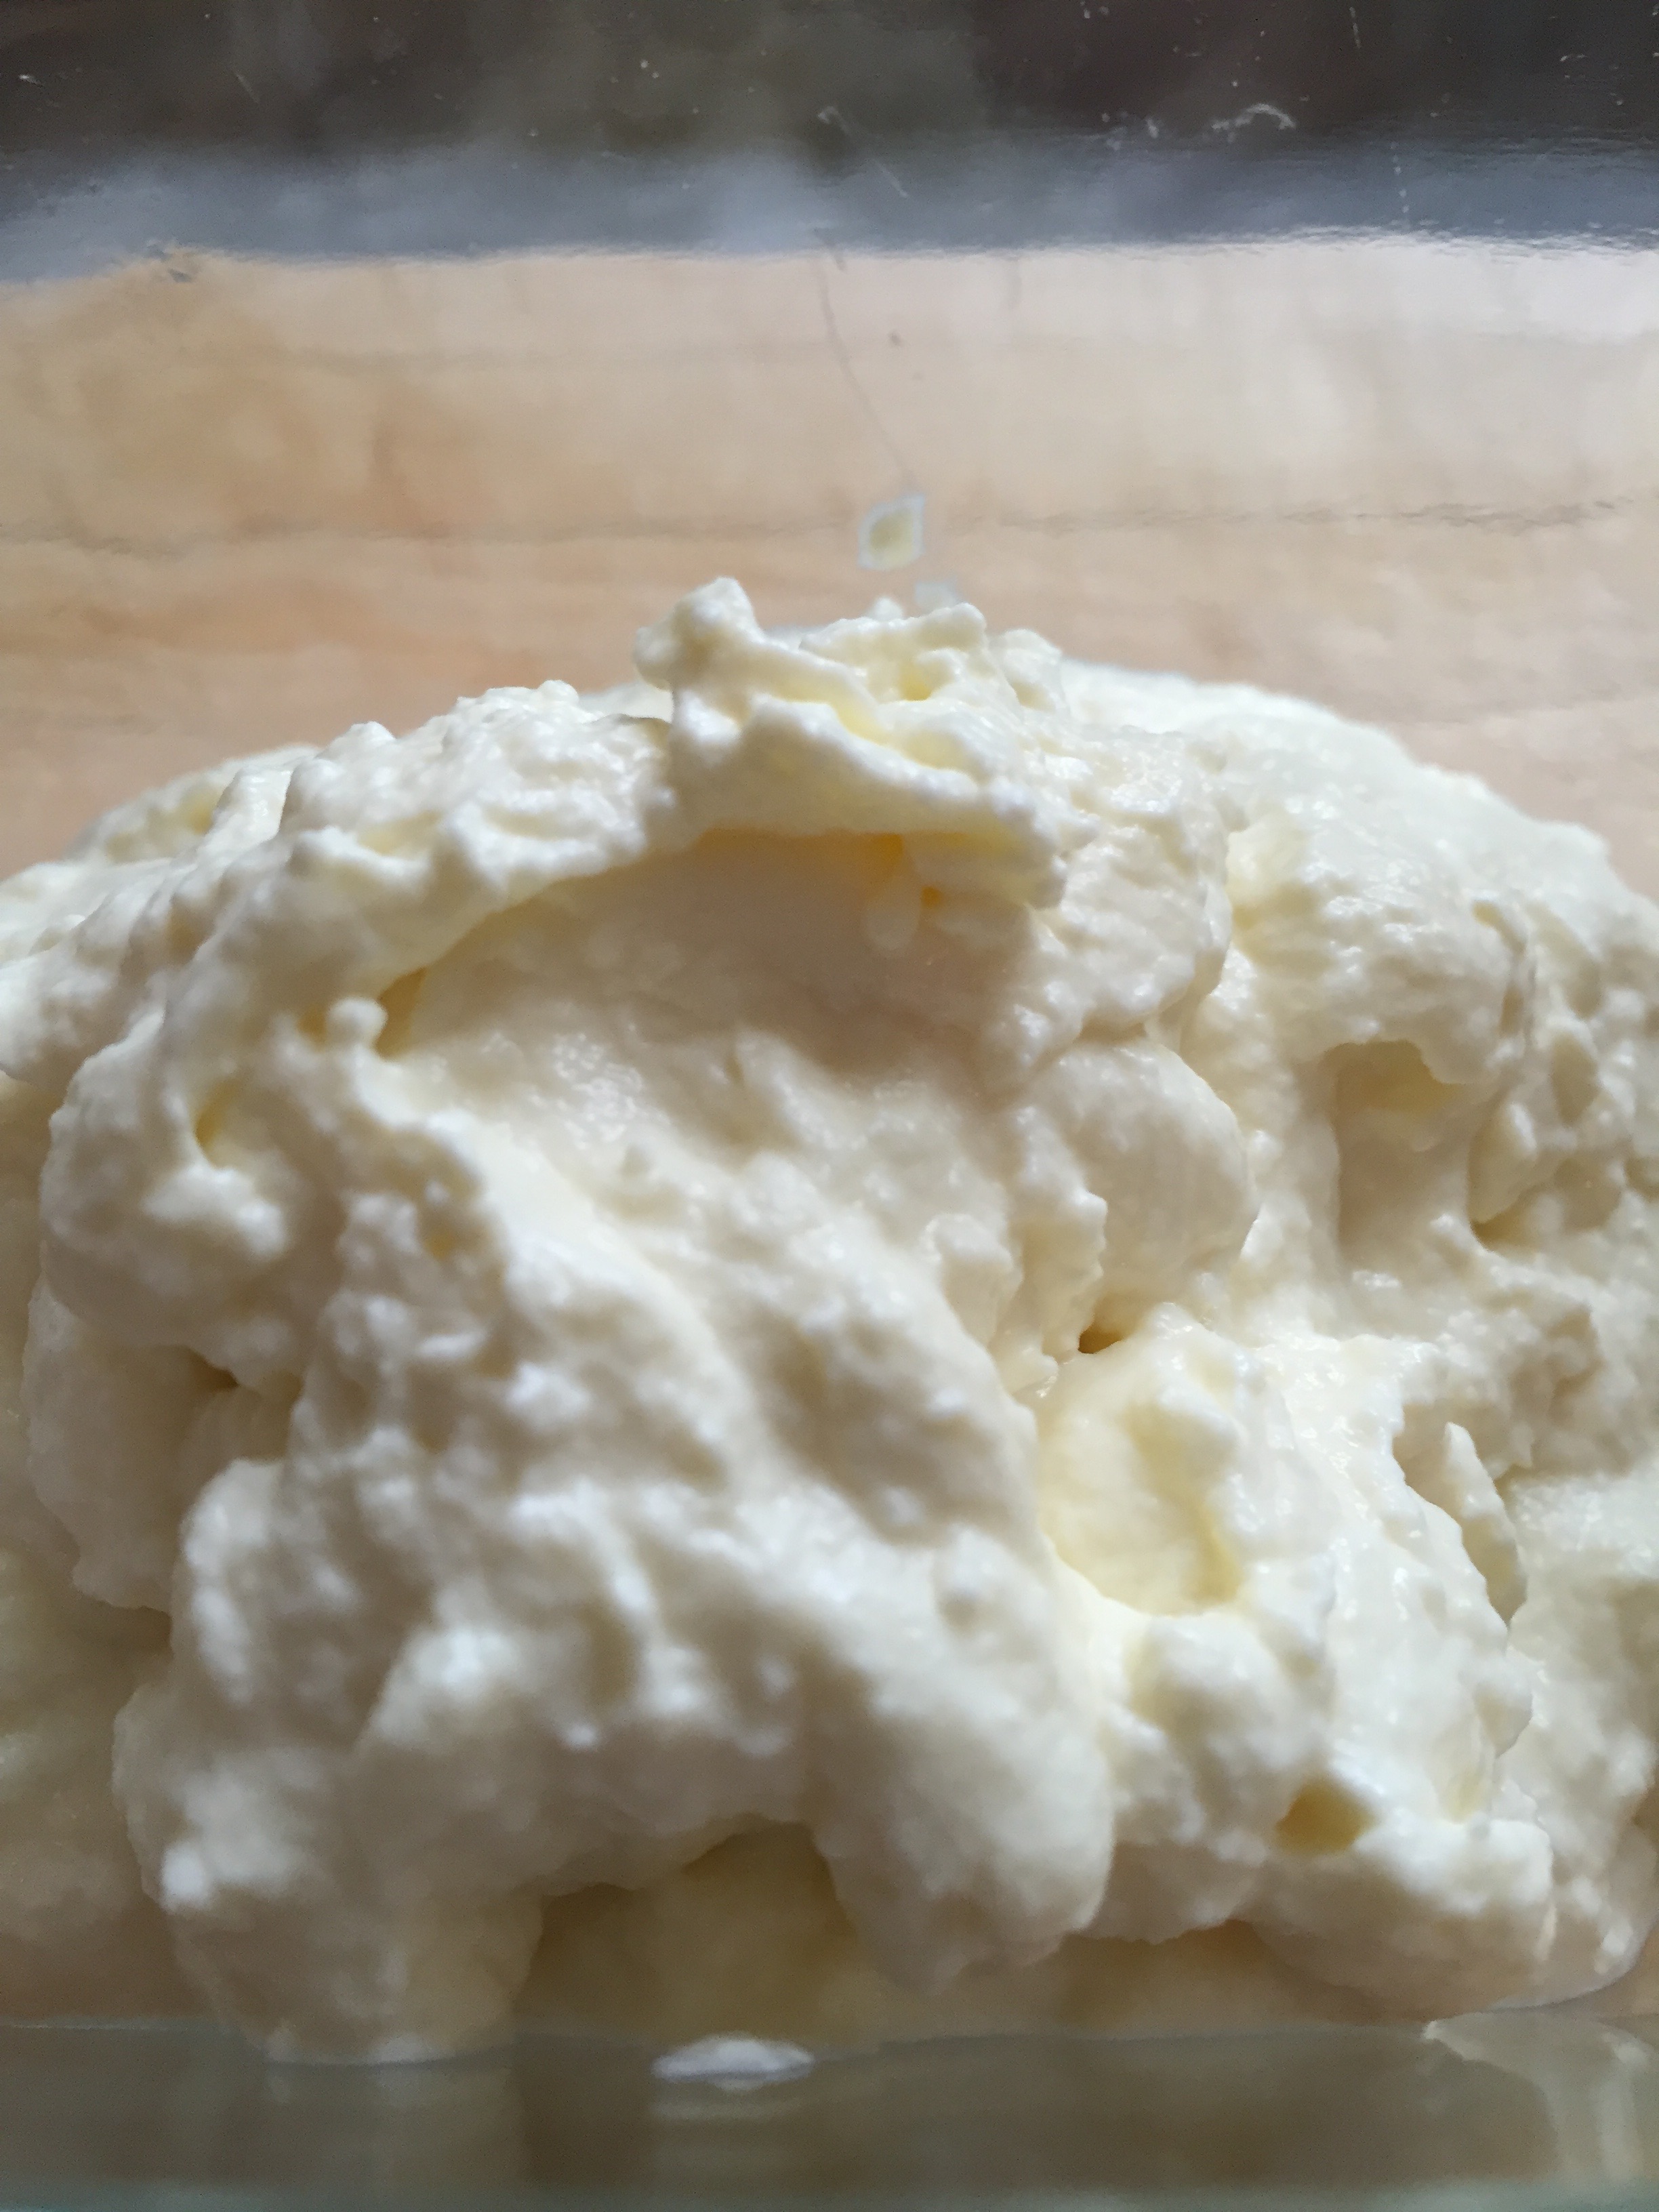
The final texture depends on how long you leave the ricotta to drain. Ten minutes yields warm, soft curds perfect for enjoying by the spoonful; twenty minutes yields still soft but slightly more spreadable ricotta, while thirty minutes or more will leave you with a firmer, drier, ricotta that holds it shape. Between 10-20 minutes of draining is my favorite for spreading on grilled bread- savory with a drizzle of extra virgin olive oil, sprinkle of fresh herbs and a pinch of salt, or sweet with a drizzle of honey and topping of sliced berries. The ricotta that sits longer is perfect to dollop on warm pasta or pizza, either before or after it comes out of the oven.
PS- What about the whey? From 4 cups of milk/cream you will have about 1 cup of ricotta and 3 cups of whey. That is a lot of whey. Before you toss it down the drain you could…
• Replace the water with whey in pizza or bread dough recipes
• Add the whey to soups and stews
• Feed it to your chickens, pigs, etc.

Homemade Ricotta
*recipe inspired by several sources including Serious Eats, The Kitchn and Smitten Kitchen
Ingredients:
3 ½ cups whole milk (NOT Ultra High–Temperature (UHT) pasteurized)
½ cup heavy cream
¼ cup white vinegar
½ teaspoon salt
Instructions:
Line a sieve with cheesecloth and place in a bowl. Set aside.
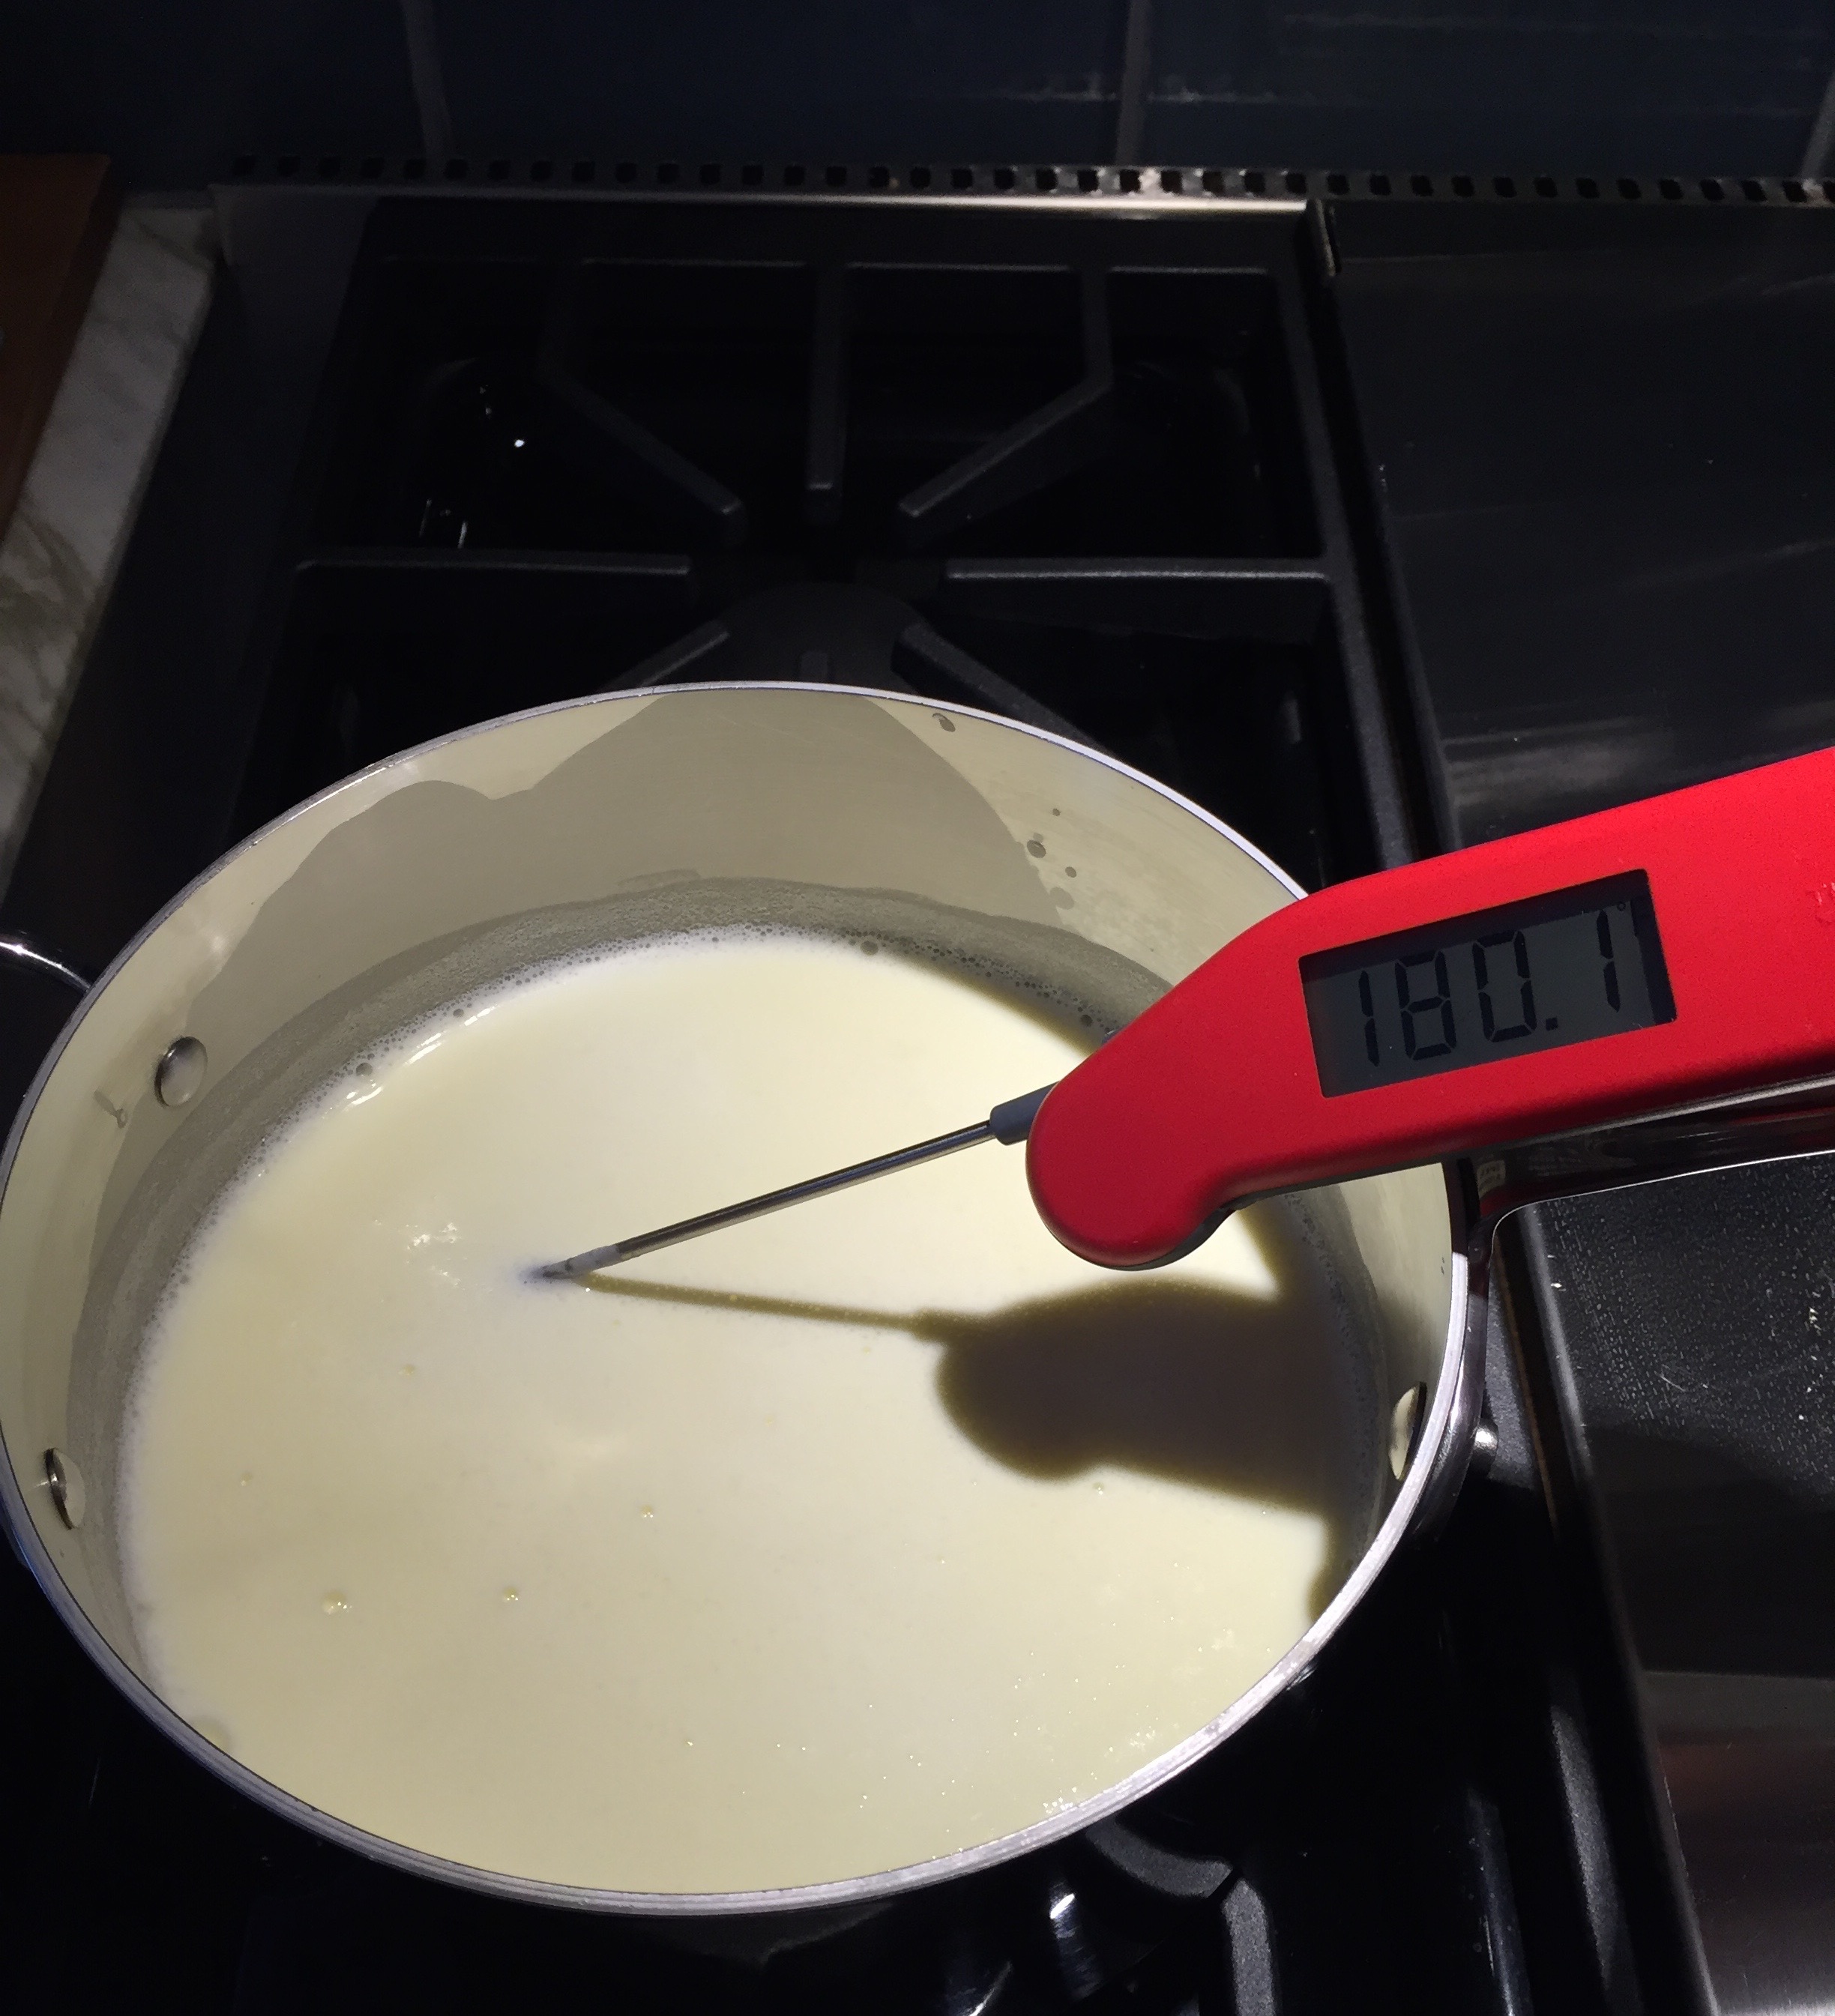
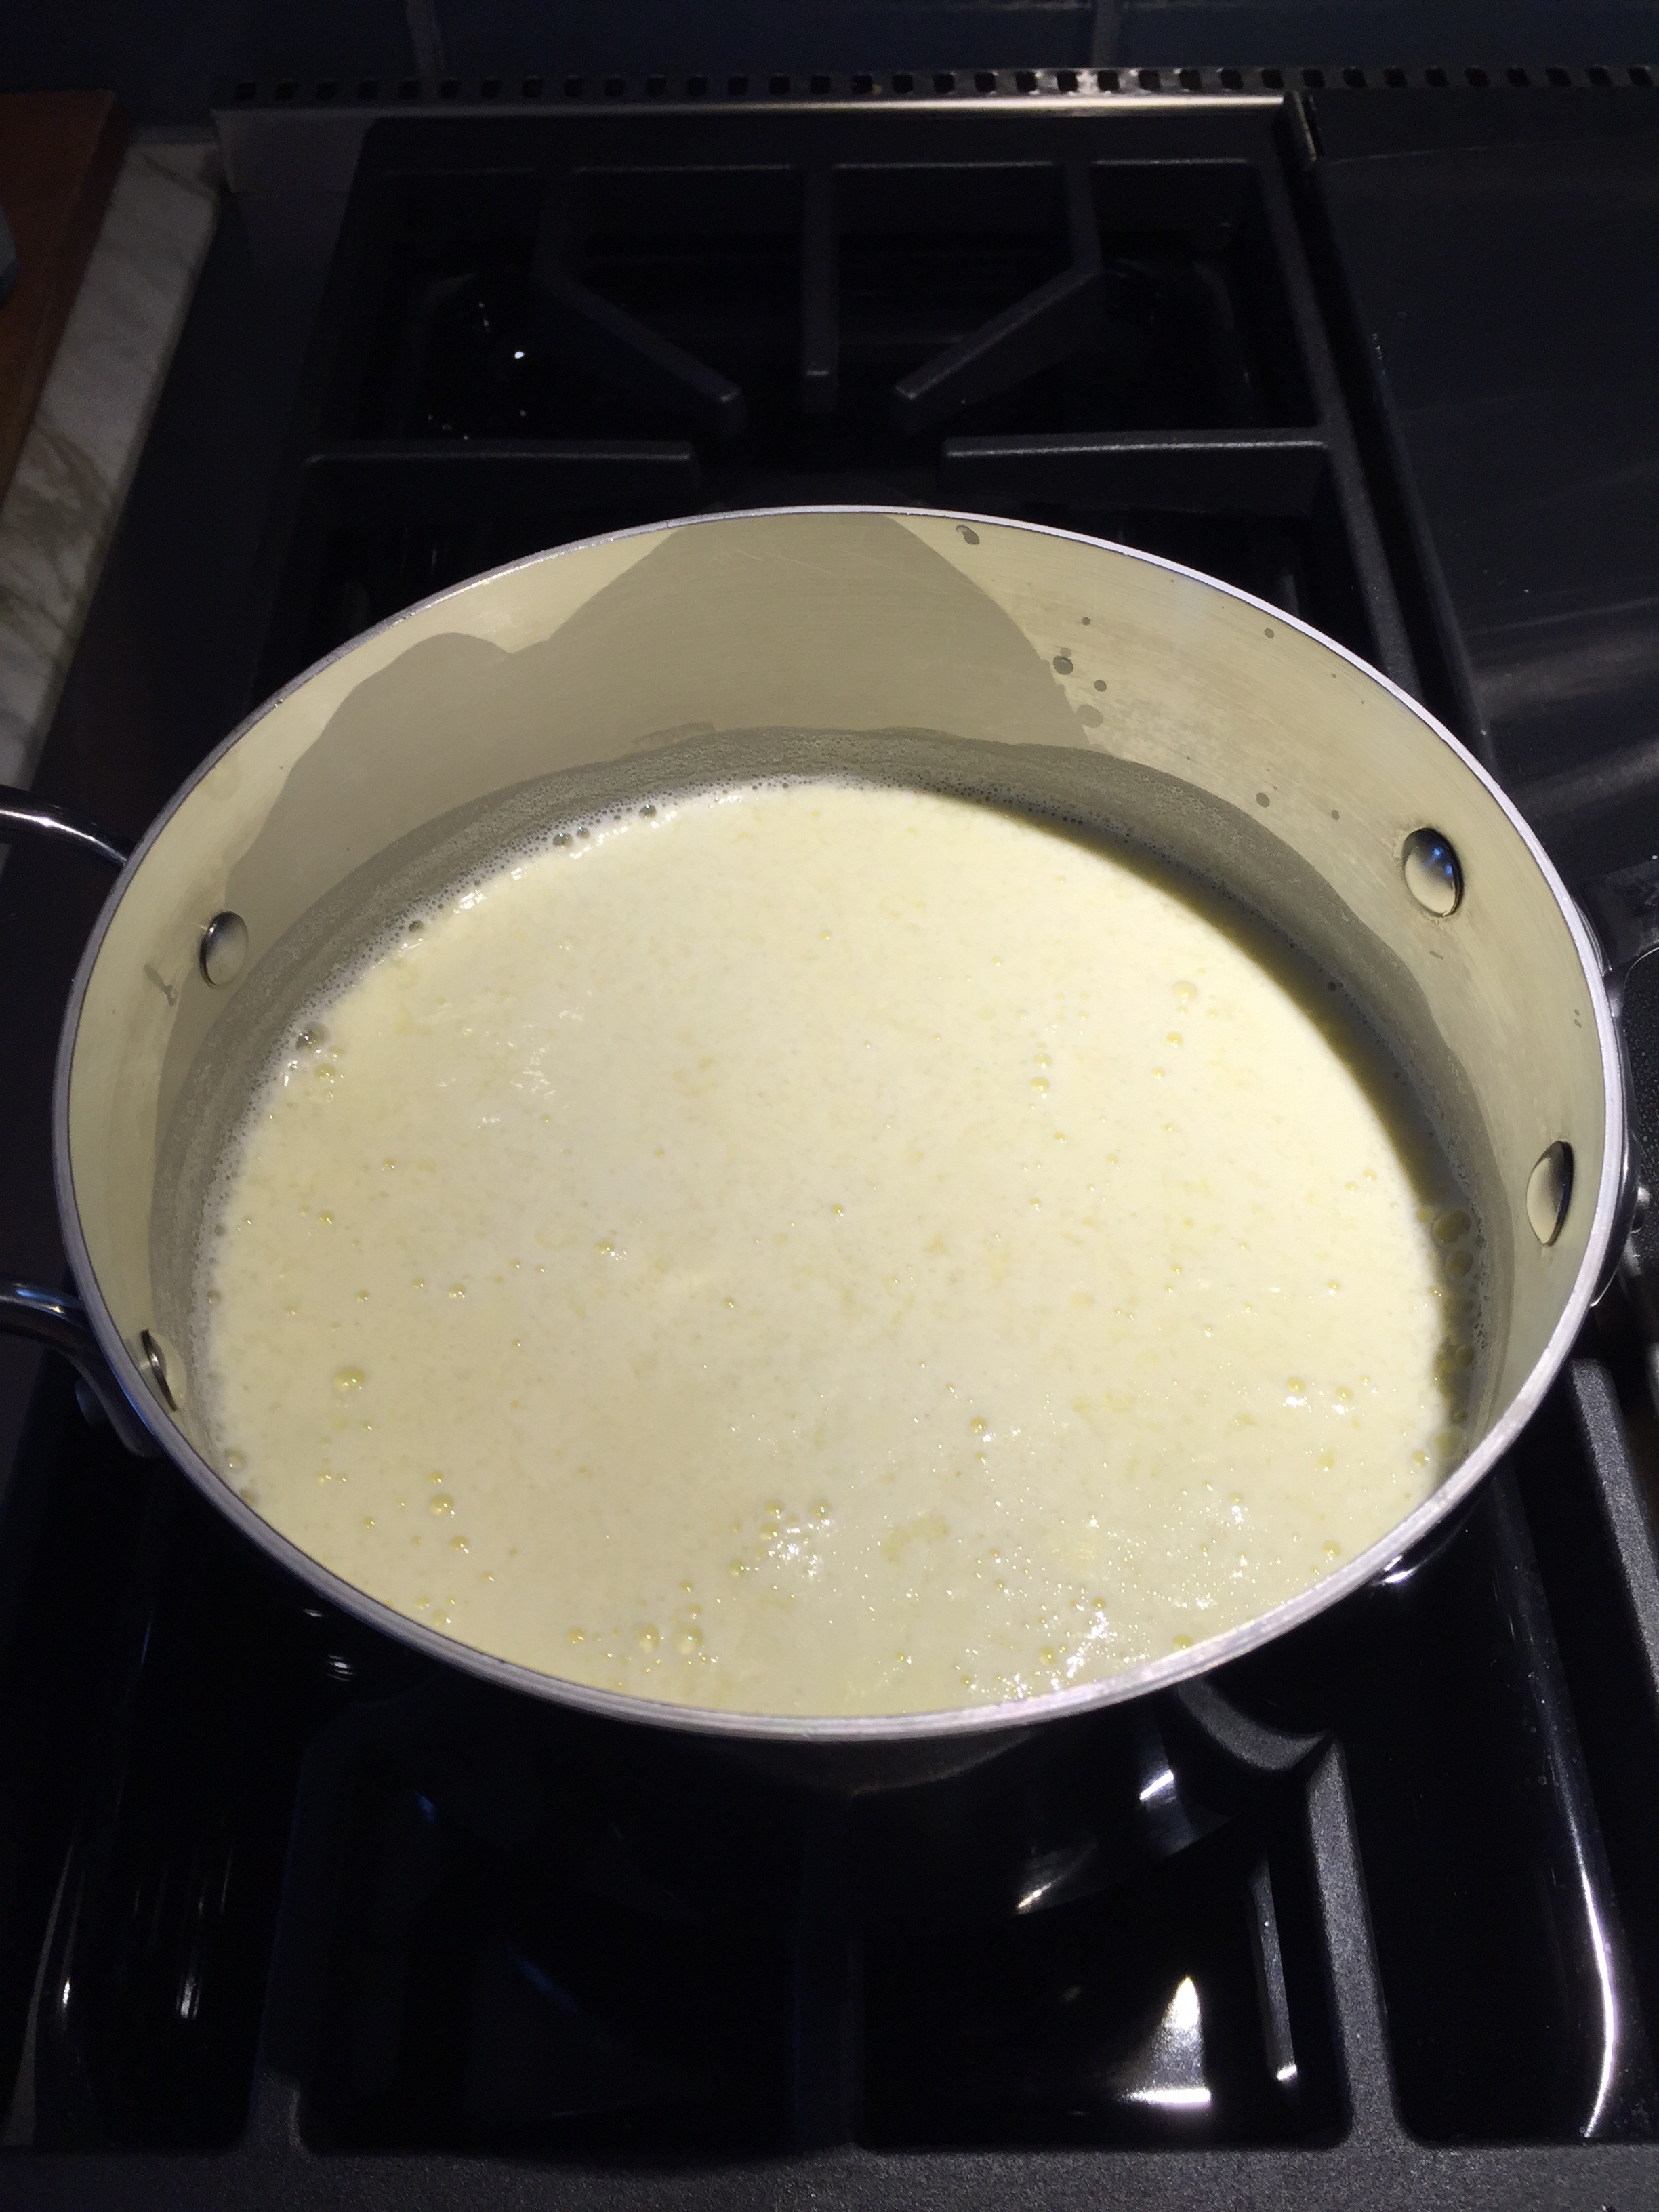
Combine milk and heavy cream in a saucepan. Gently warm the milk mixture over medium heat until it reaches 180°. Remove from heat.
Add the white vinegar and salt, stirring gently once or twice to distribute evenly. Leave the milk mixture undisturbed for 10 minutes while the curds and whey form.
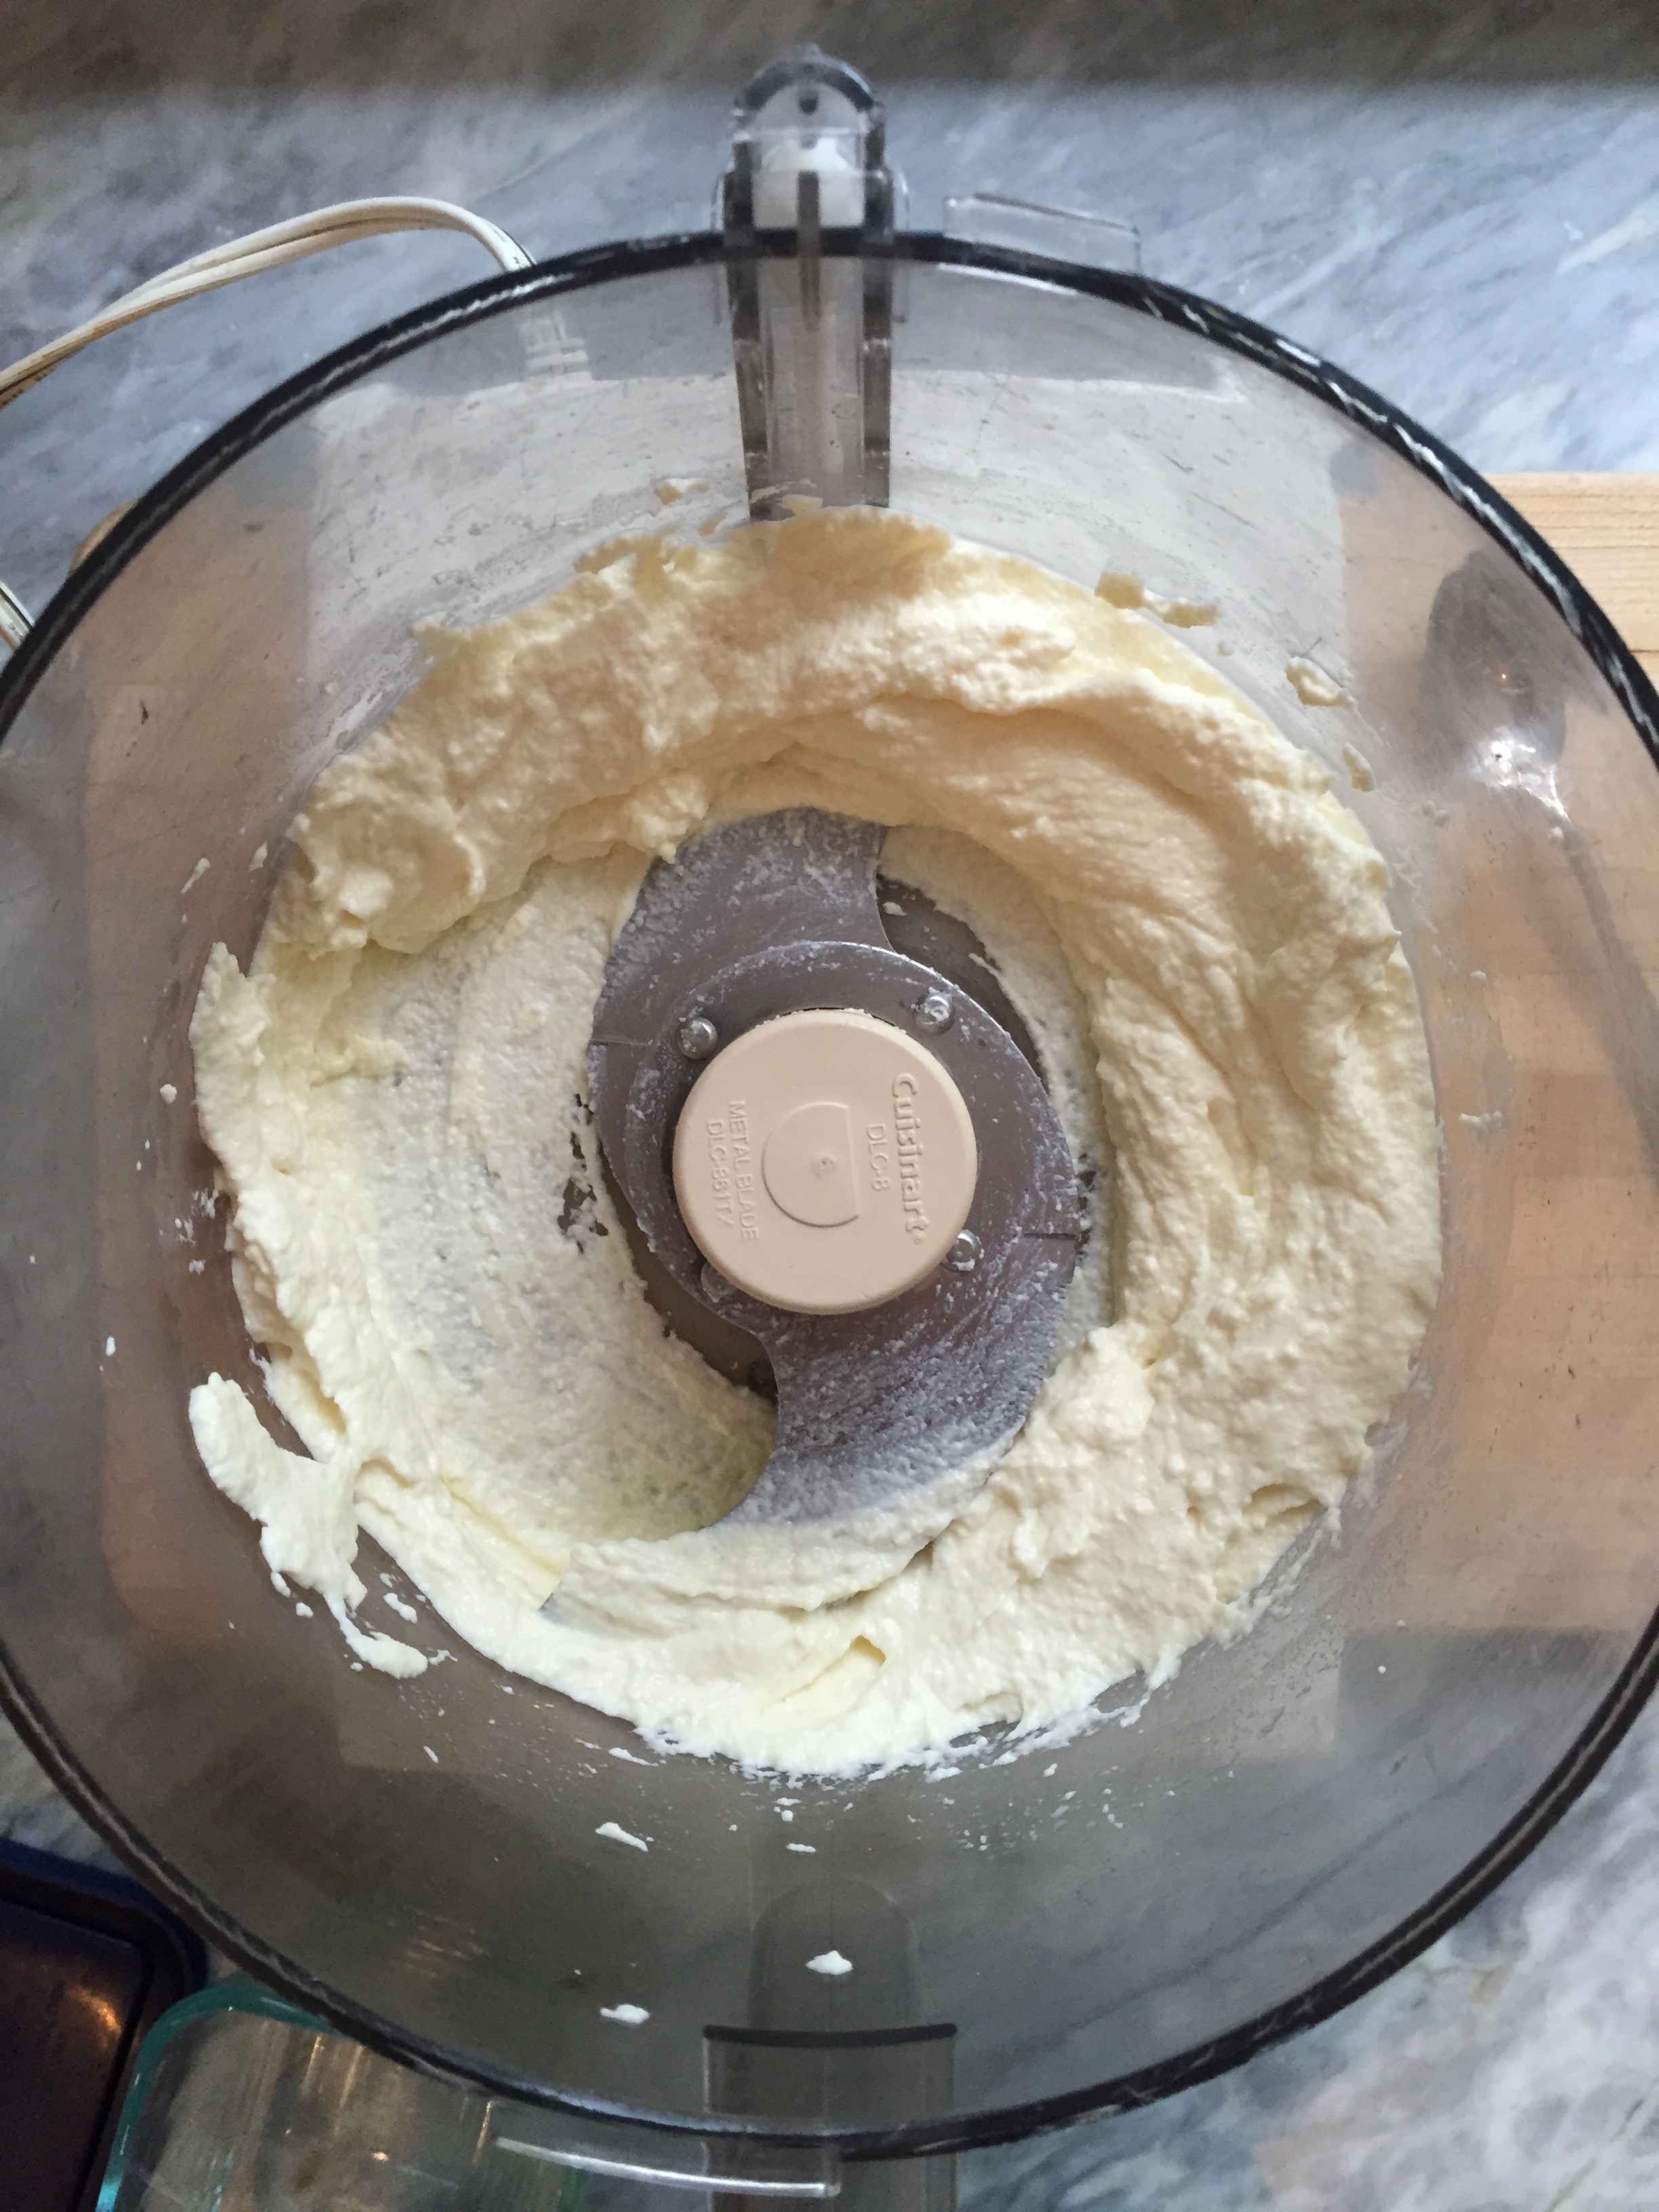
After 10 minutes, use a slotted spoon to transfer the curds to the cheesecloth lined sieve. Once the larger curds have been placed in the sieve, carefully pour the remaining curds/whey into the sieve. Let drain for at least 10 minutes, or until desired consistency is reached. The longer the ricotta drains, the firmer it will be.
Transfer to storage container and keep refrigerated until ready to use.
Enjoy as you would any ricotta, savory or sweet… in lasagna, ziti, cannoli, atop grilled bread, or just by the spoonful from the bowl!


Fantastic I think I will give it a go. I hope you enjoyed your time in Ireland too!
LikeLike
We LOVED Ireland! A post dedicated to the beautiful time we spent there is in the works… the focus on farm fresh food, the rugged beauty, the kindness of friends (and strangers) made for an amazing getaway!
Definitely give the ricotta a try. I only wish I had known how easy it was years ago.
LikeLike