Happy New Year!
Many cultures have very specific foods they eat on New Year’s Day, foods that are believed to put the odds in your favor for a wonderful year. So, if you’re superstitious, or don’t want to tempt fate, or just want to eat some delicious and healthy food, please read on! As I gathered information, digging through recipes and stories about these traditional foods, a pattern emerged. Certain humble ingredients are likely to lead you to a year full of wealth and good fortune. And though each culture’s final dish was different than another’s, the basic building blocks were the same.
 Some key elements include:
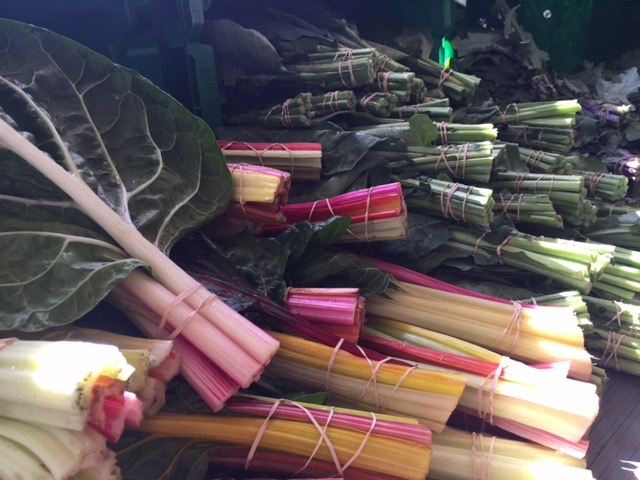
Leafy greens (kale, chard, collards): Represent economic fortune as the greens are thought to resemble paper currency.
Legumes (beans, peas, lentils): Also represent economic fortune; the tiny round legumes are symbolic of coins.
Pork: Full of flavor and fat, eating pork signifies wealth and prosperity.
When living in Virginia and North Carolina, my family and I always ate Hoppin’ John on New Year’s Day. Hoppin’ John is a traditional southern one-pot meal made with  black eyed peas, rice, and pork (bacon, ham hock, or fatback). We served it with greens on the side, usually collards. This year, after all the indulging between Thanksgiving and Christmas, my body needed a major reboot. Instead of Hoppin’ John for New Year’s Day, I tried something new. Using the same overall game plan… leafy greens, pork, and legumes, we kicked off the year with Lentil Soup with Sausage and Kale, healthy, but still full of good luck. Yes, I know there’s sausage in there, but really- it’s not a lot, less than 1oz per serving.
While the pork and kale will provide additional good fortune for the year, they are not necessary for the recipe. If you don’t want to add the sausage, don’t, but then do bump up the flavor by adding more garlic and other spices such as a bit more thyme, and perhaps red pepper flakes. Or maybe bacon or cubed ham steak is more your thing; either would be delicious. If you prefer a different green, try spinach. How about no greens? Add a bell pepper or turnips to the vegetable mix.
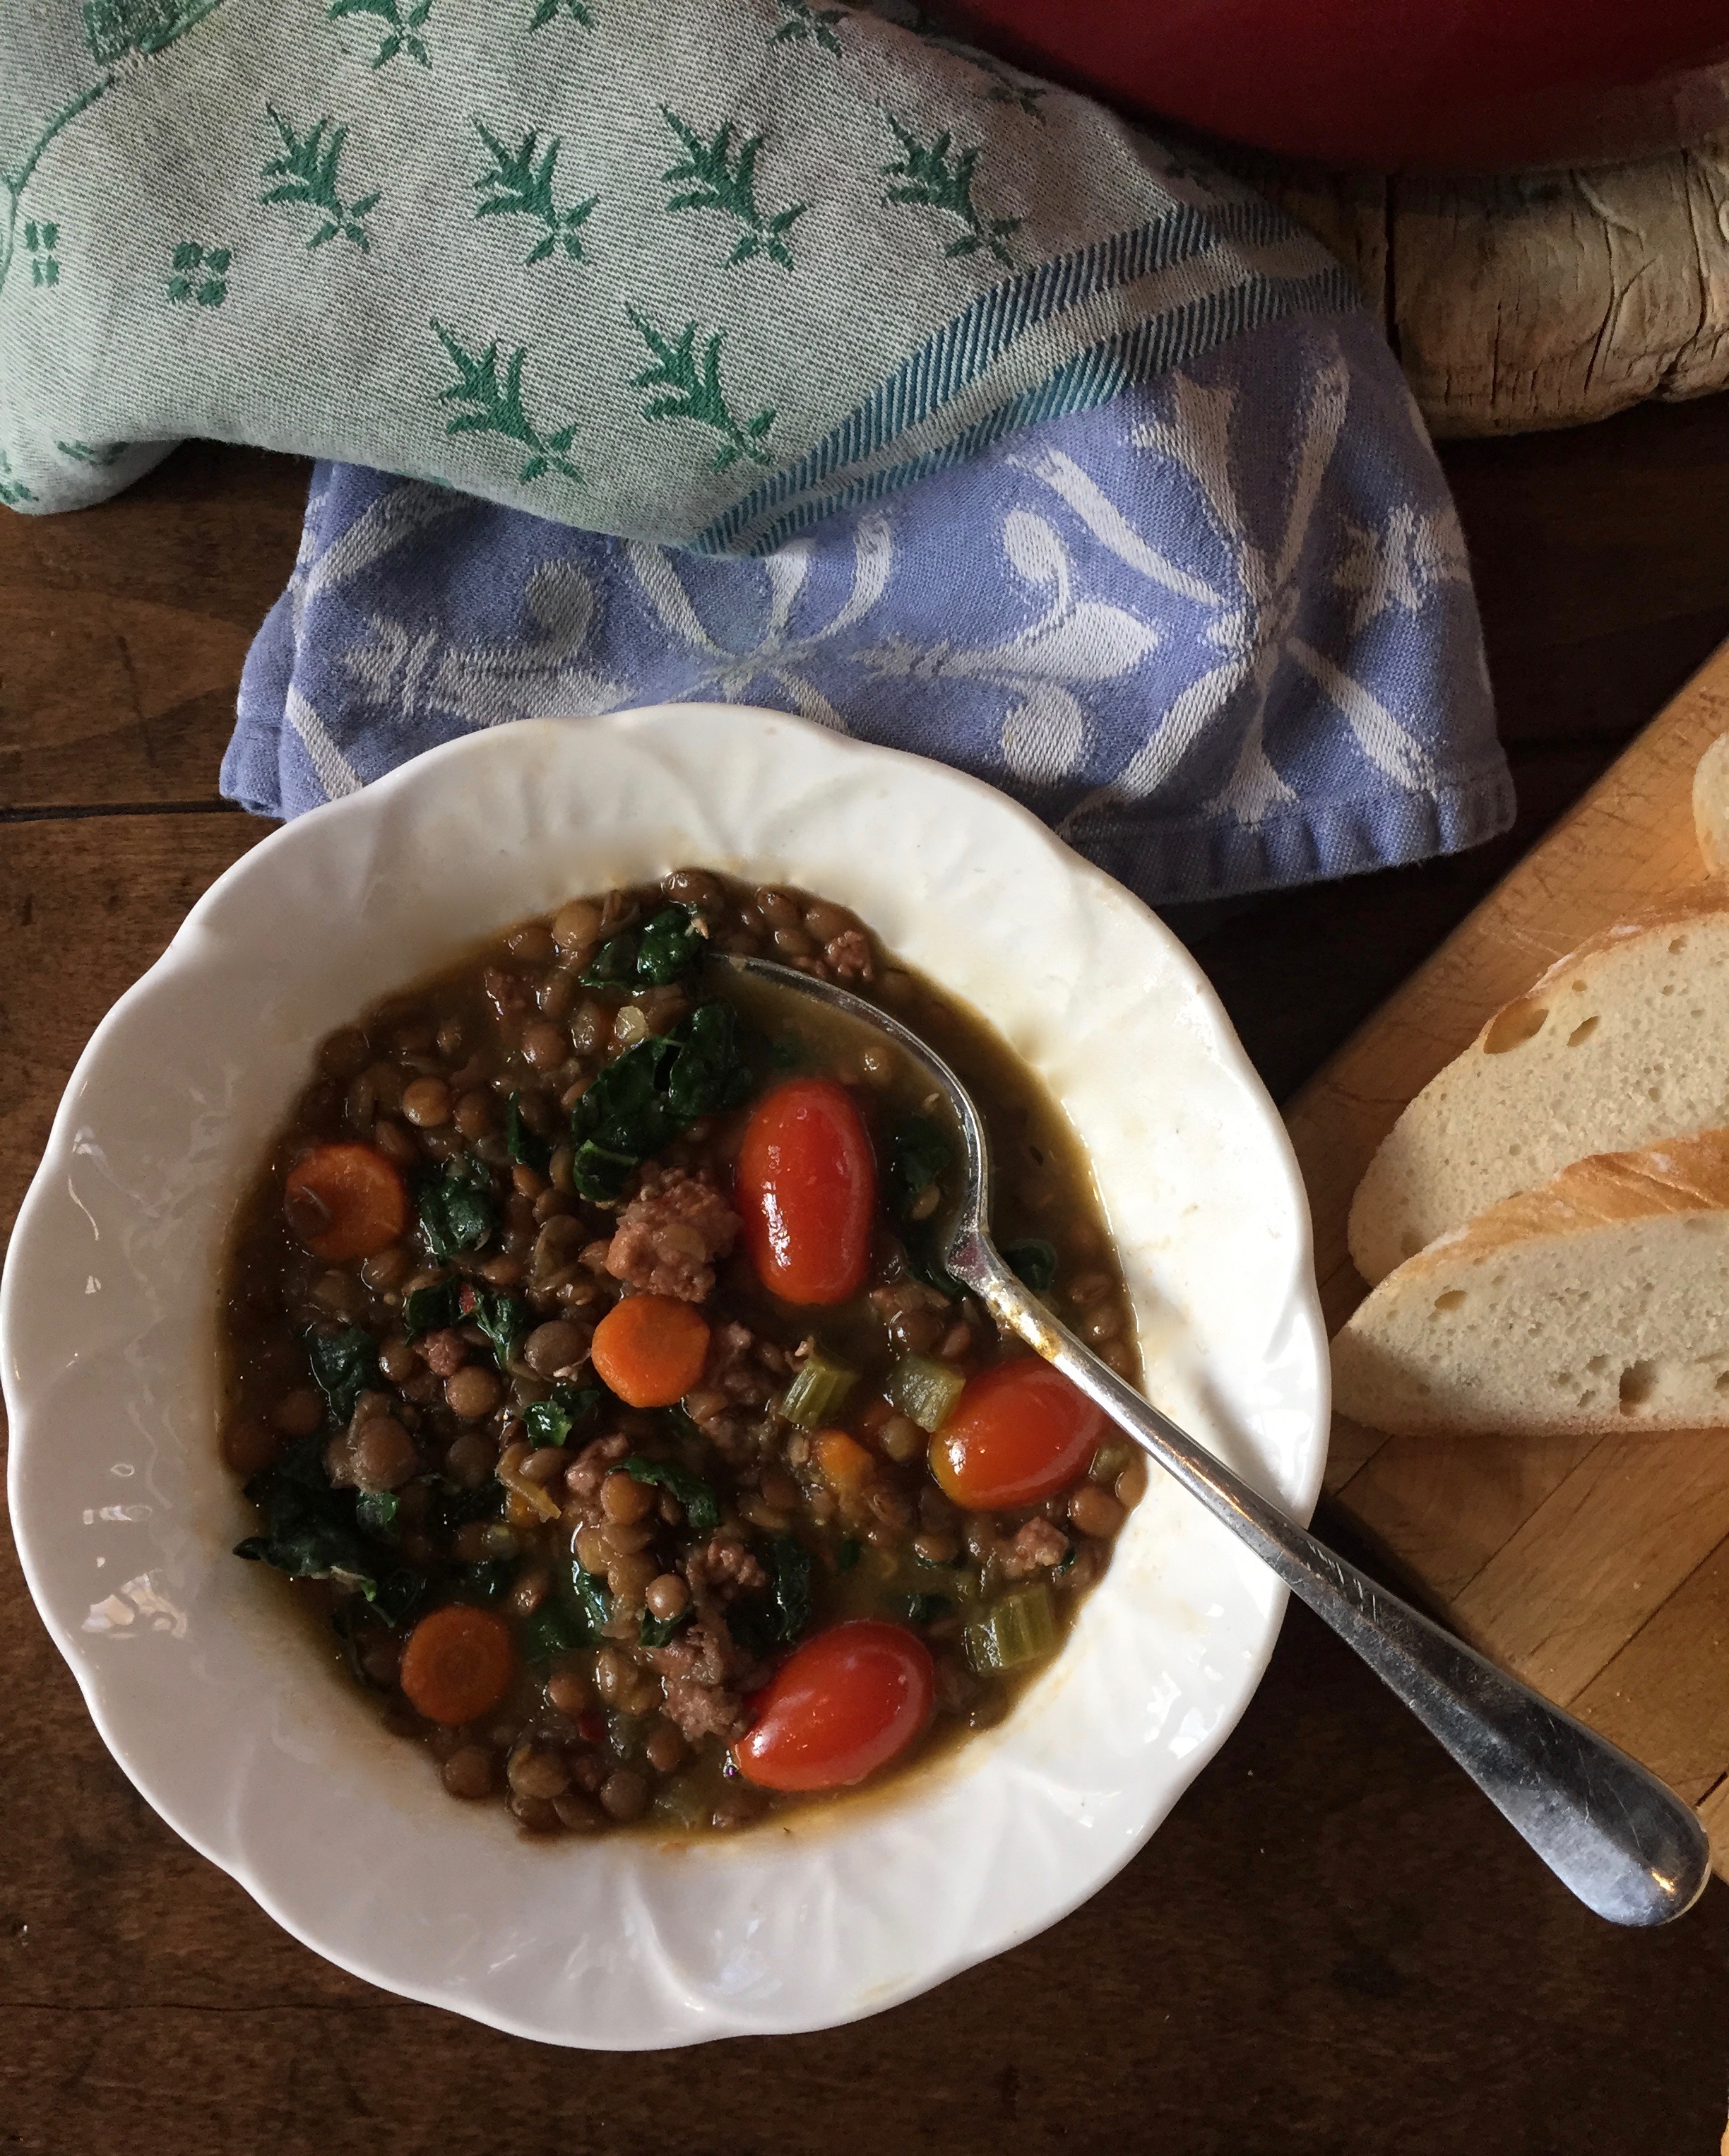 Hoppin’ John, a very special dish full of flavor and memories of our time spent down south, will remain in my arsenal of recipes, making an appearance once a year. On the other hand, this soup will be now be part of the regular rotation. Perfect for dinner with warm crusty bread, even tastier the next day for lunch at home or sent in a thermos to school or work. And who couldn’t use some help ensuring prosperity throughout the year, not just at the start?!?
I wish all of you a year full of health, good fortune, and delicious food shared with those you love!

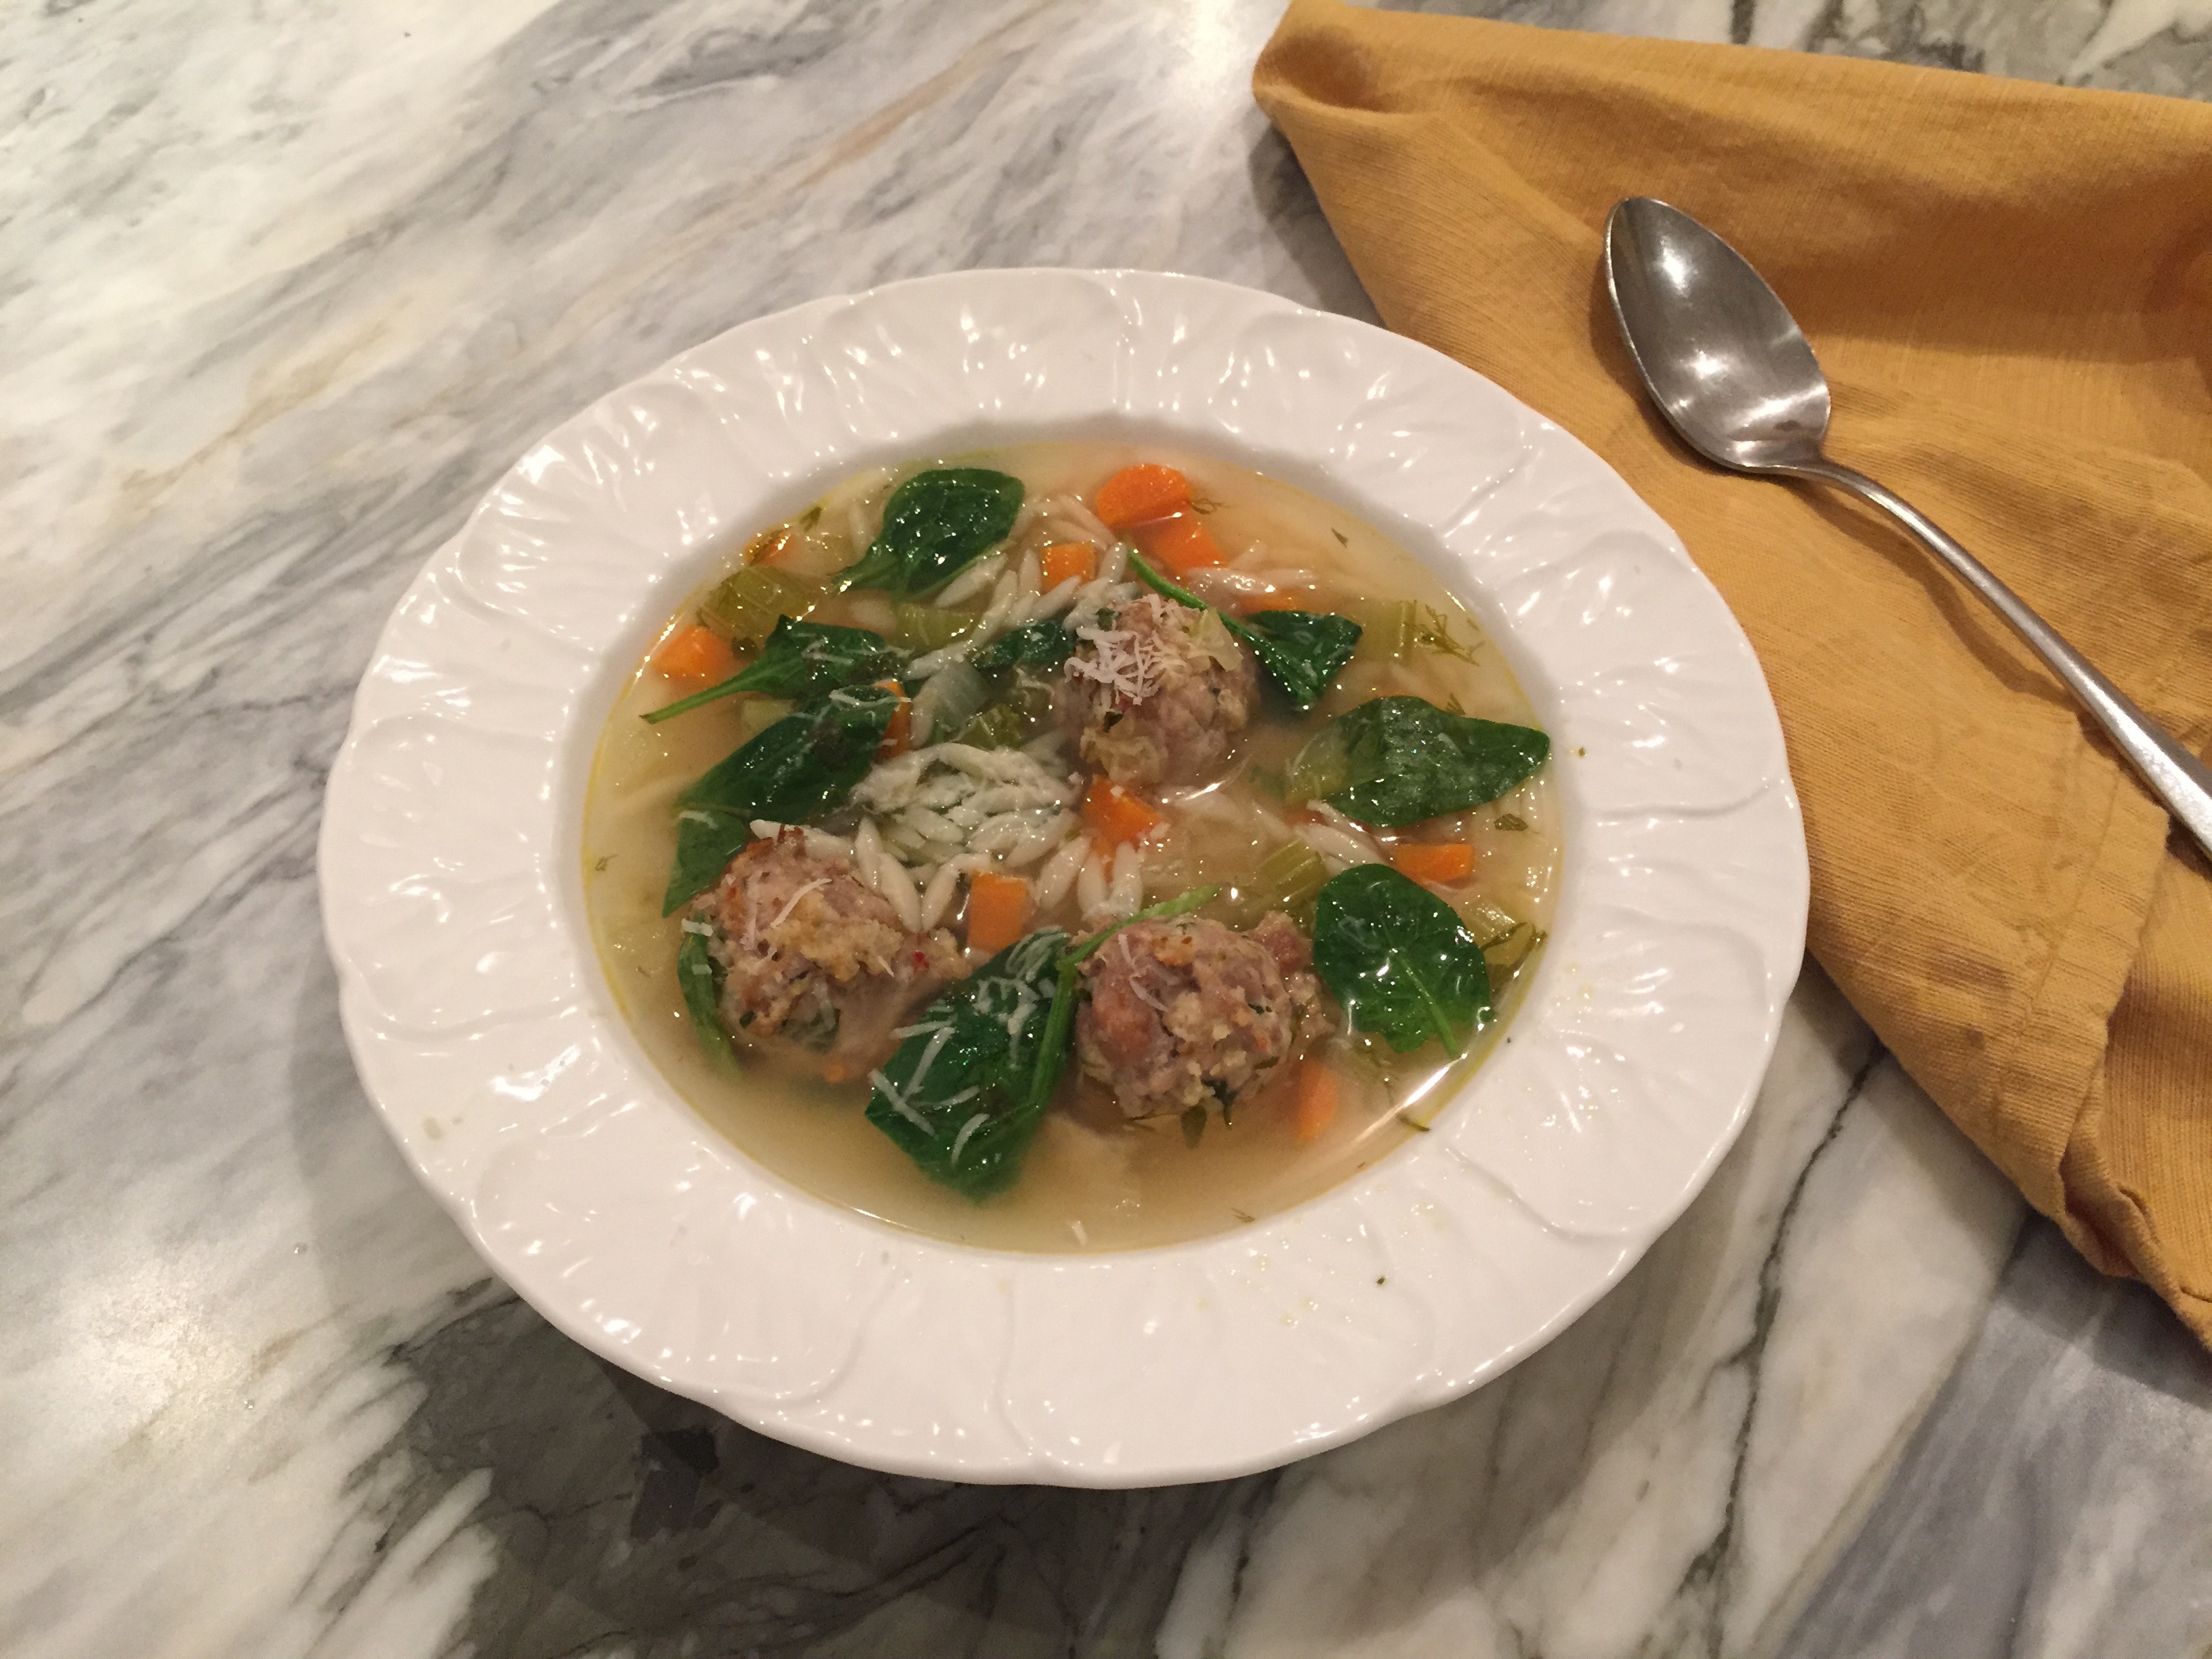
Lentil Soup with Sausage and Kale
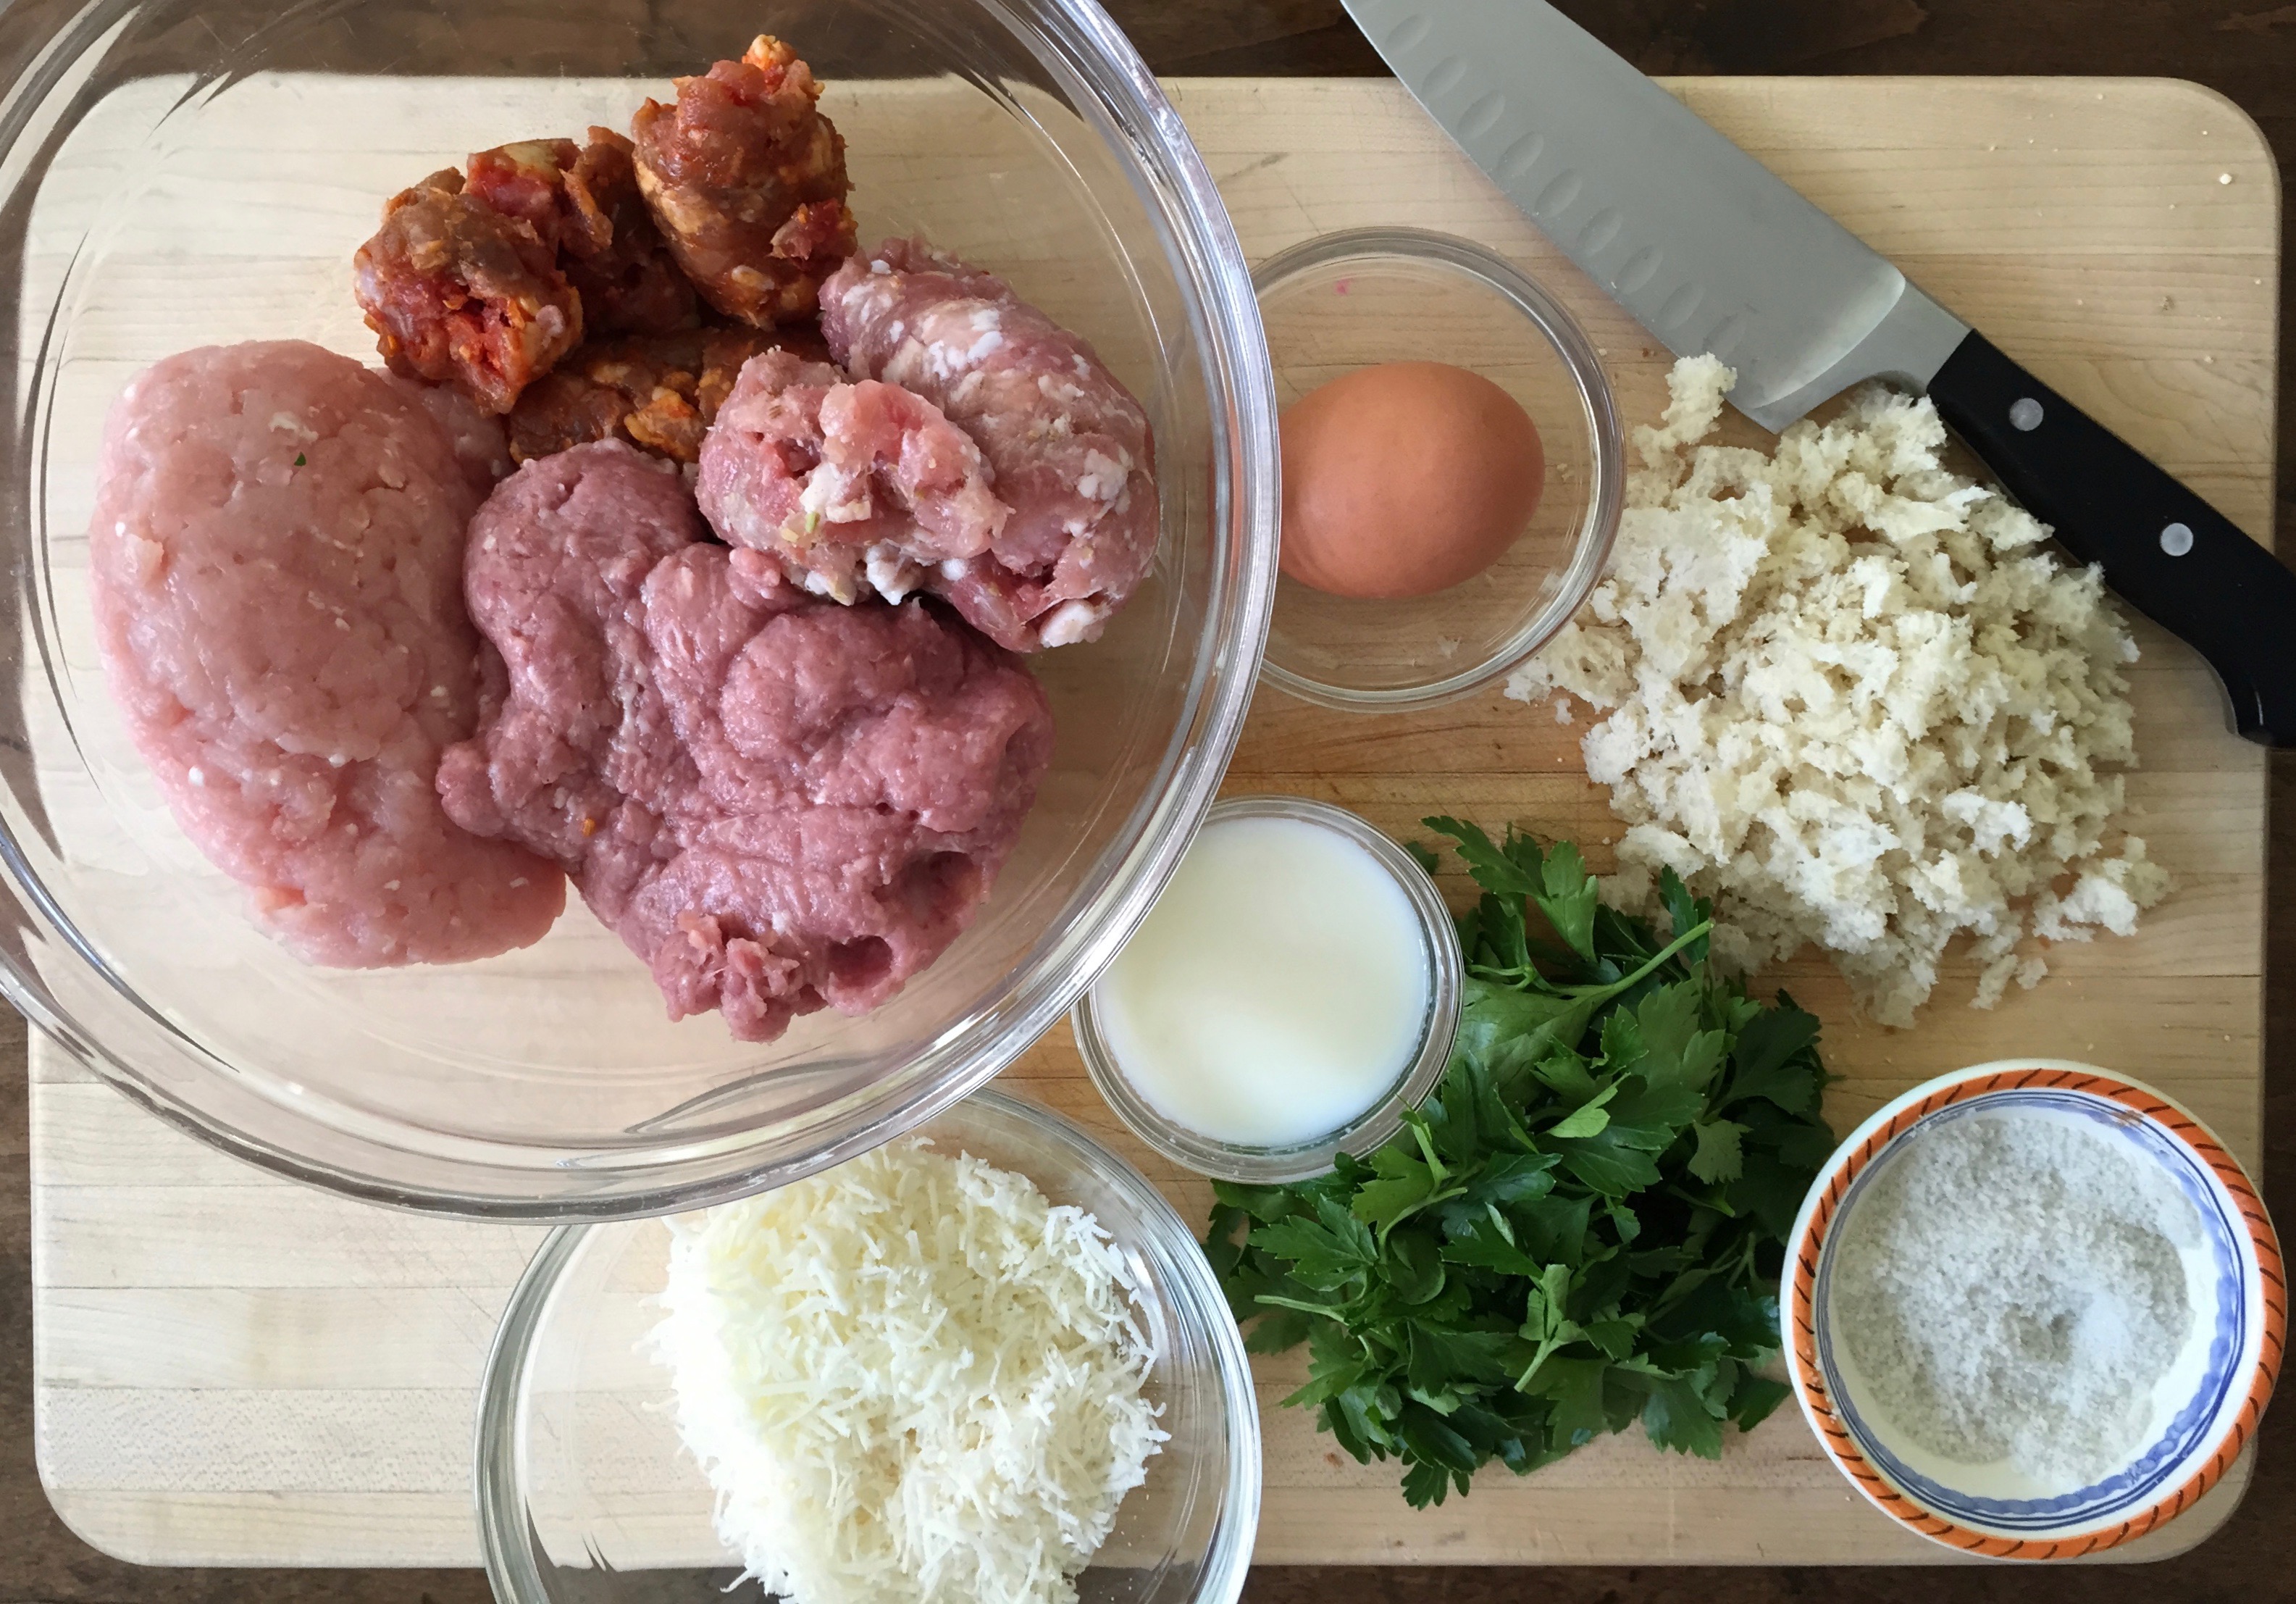
Ingredients:
2 tablespoons extra virgin olive oil
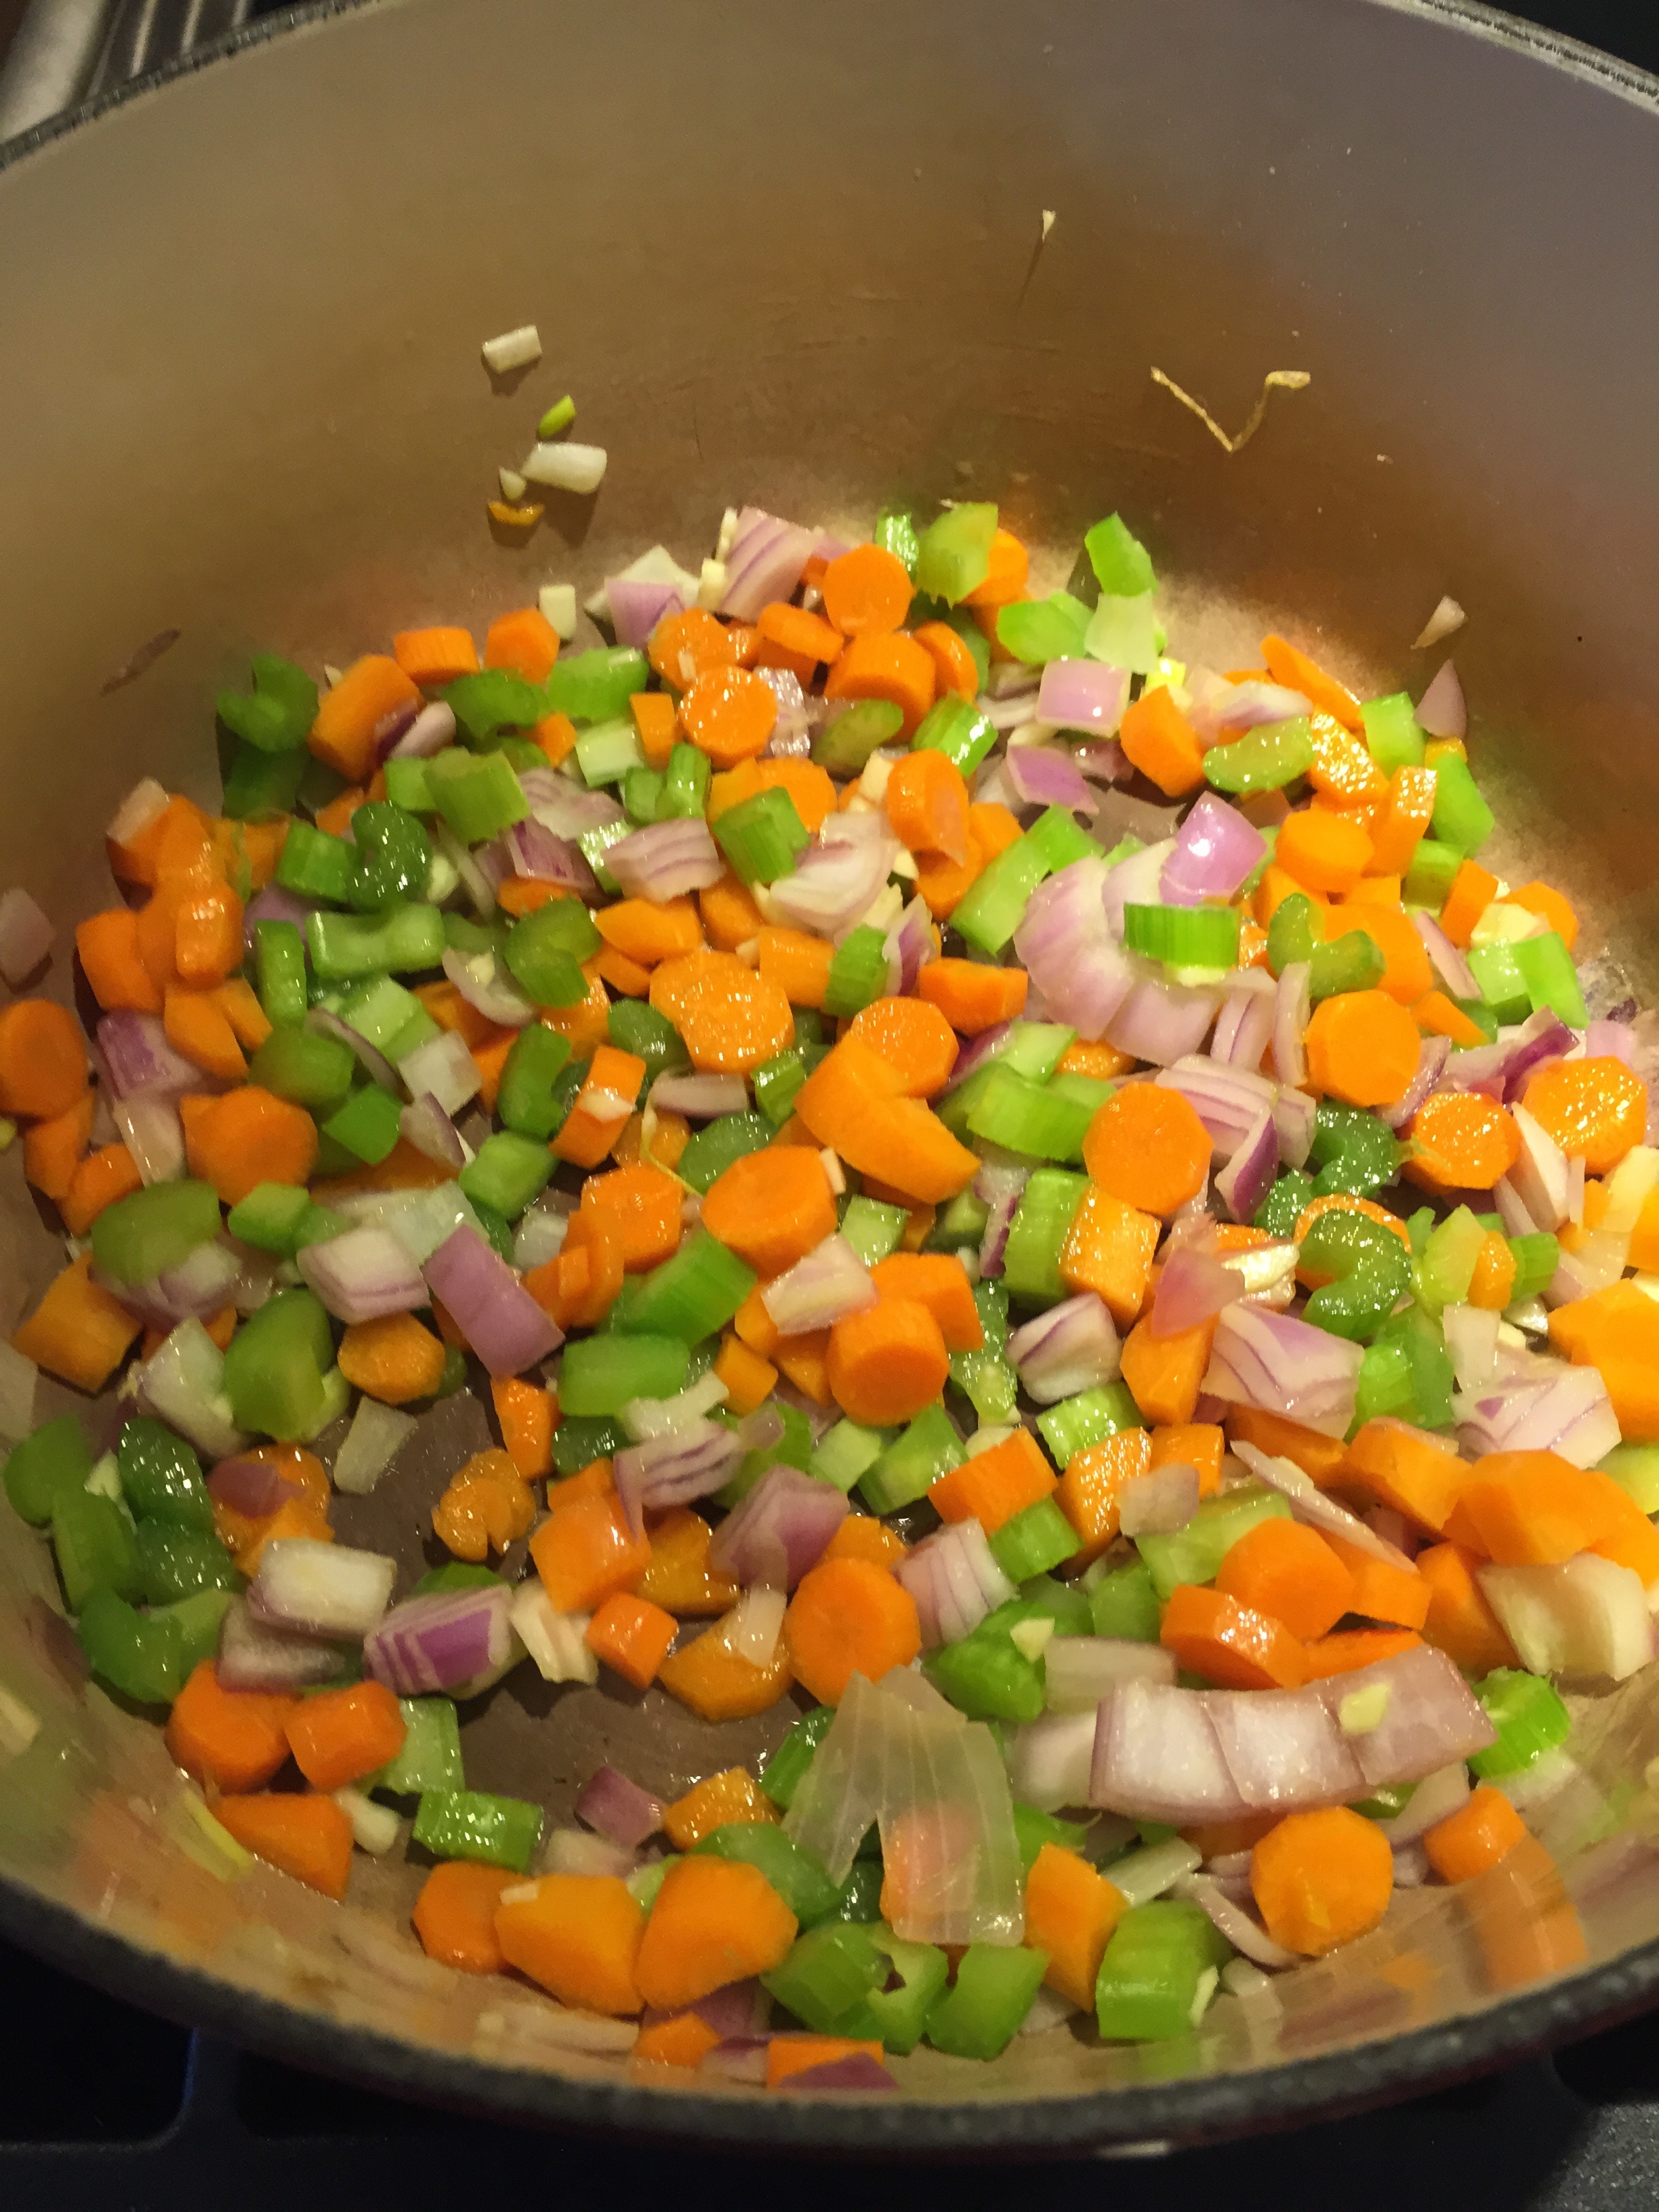
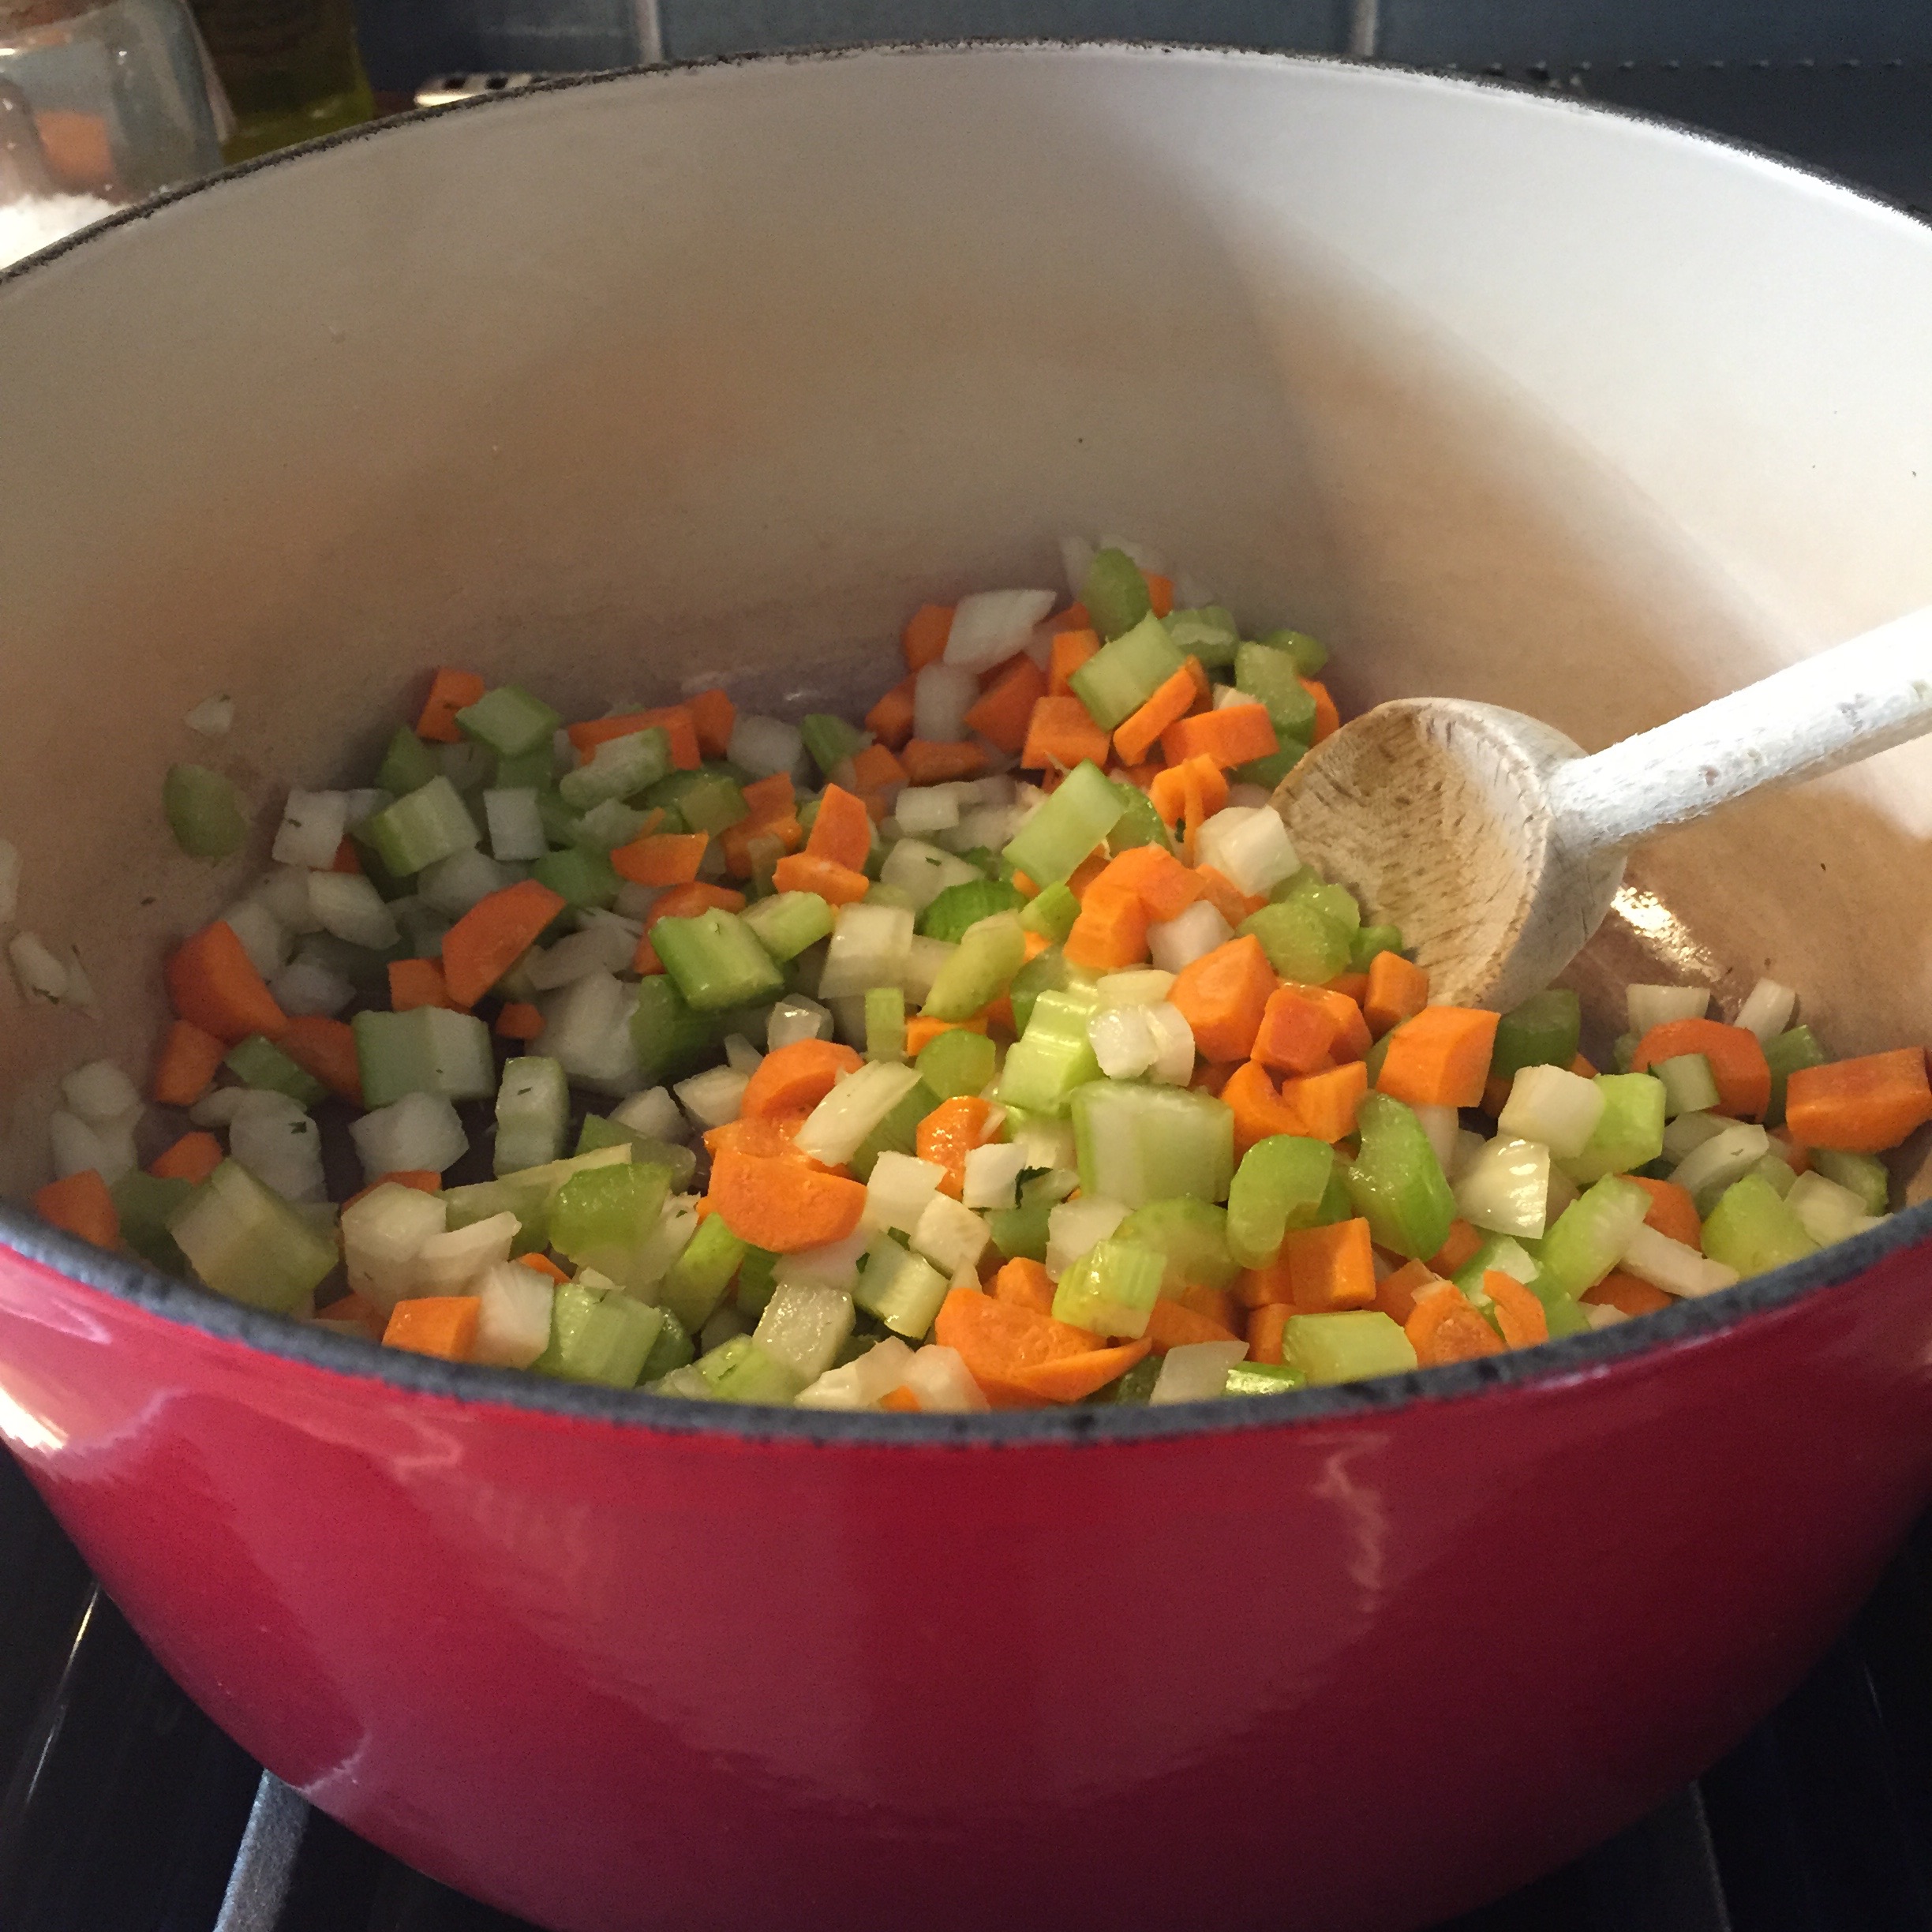
1 cup diced carrots (about 3 carrots)
1 cup diced celery (about 3 stalks)
1 cup diced onion (about 1 medium onion)
1 clove garlic, minced
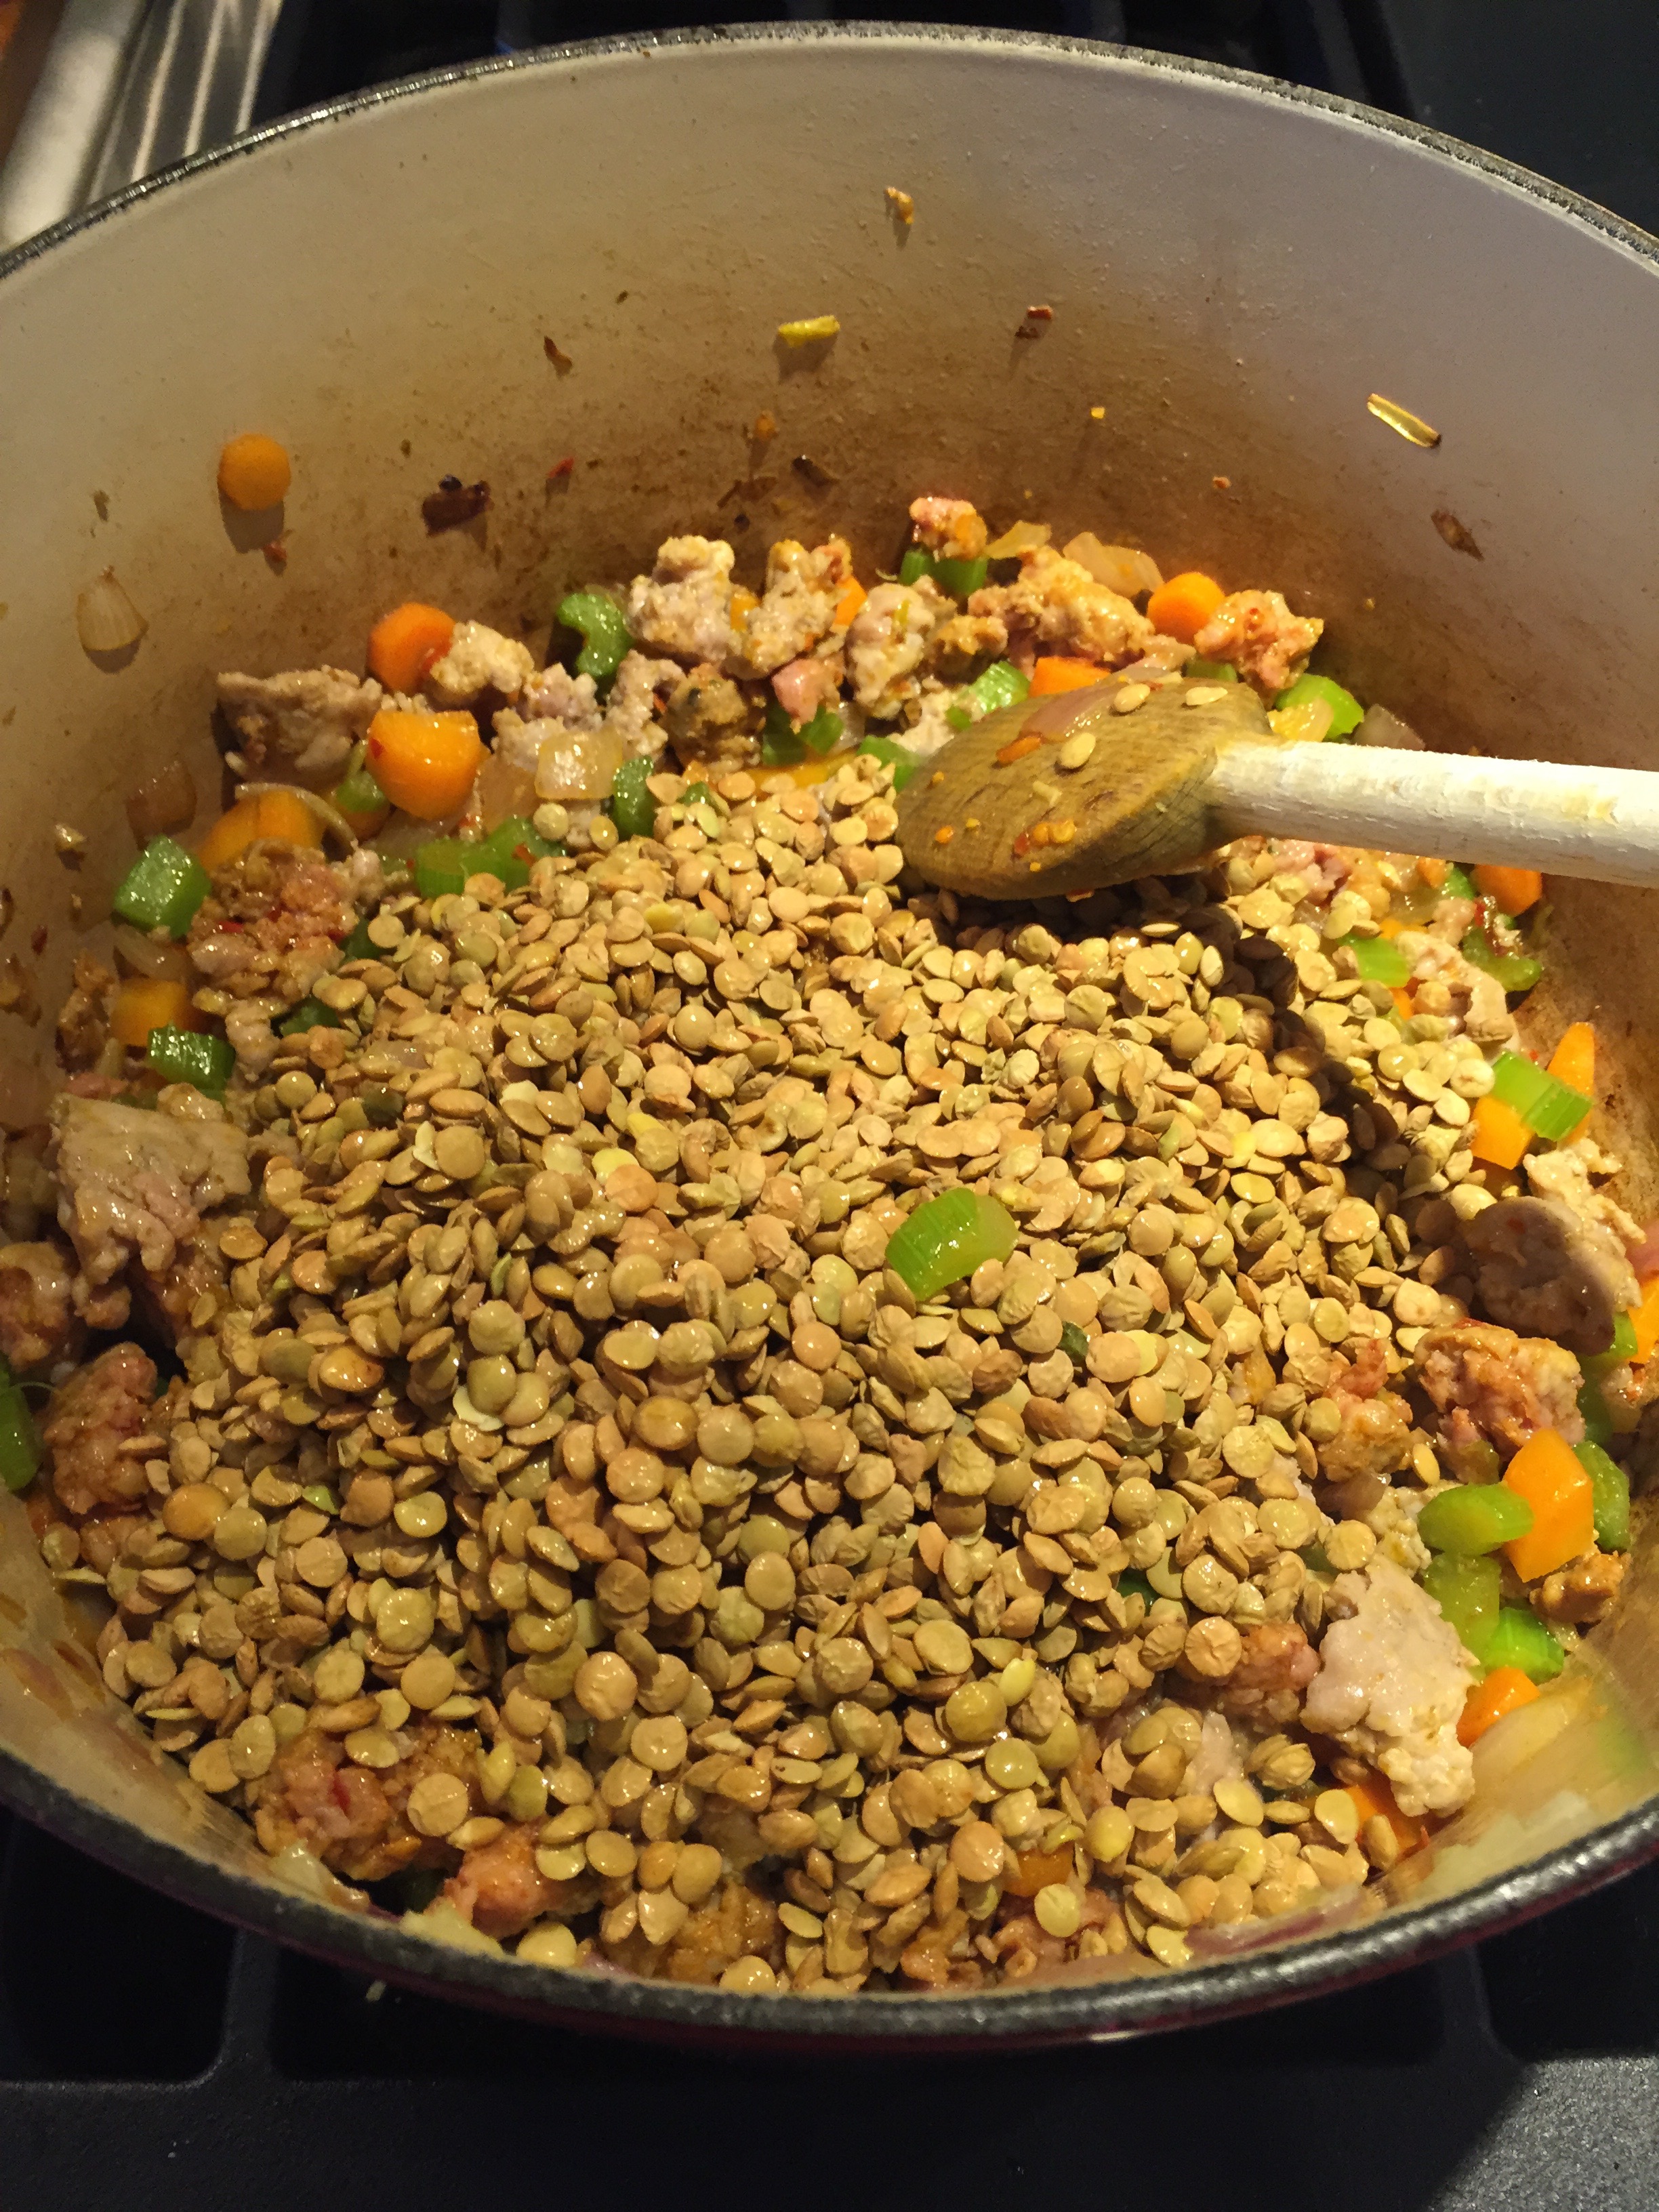
2 italian sausages, casings removed (I used 1 sweet and 1 spicy)
grape tomatoes (as many as you’d like)
2 cups green lentils, rinsed
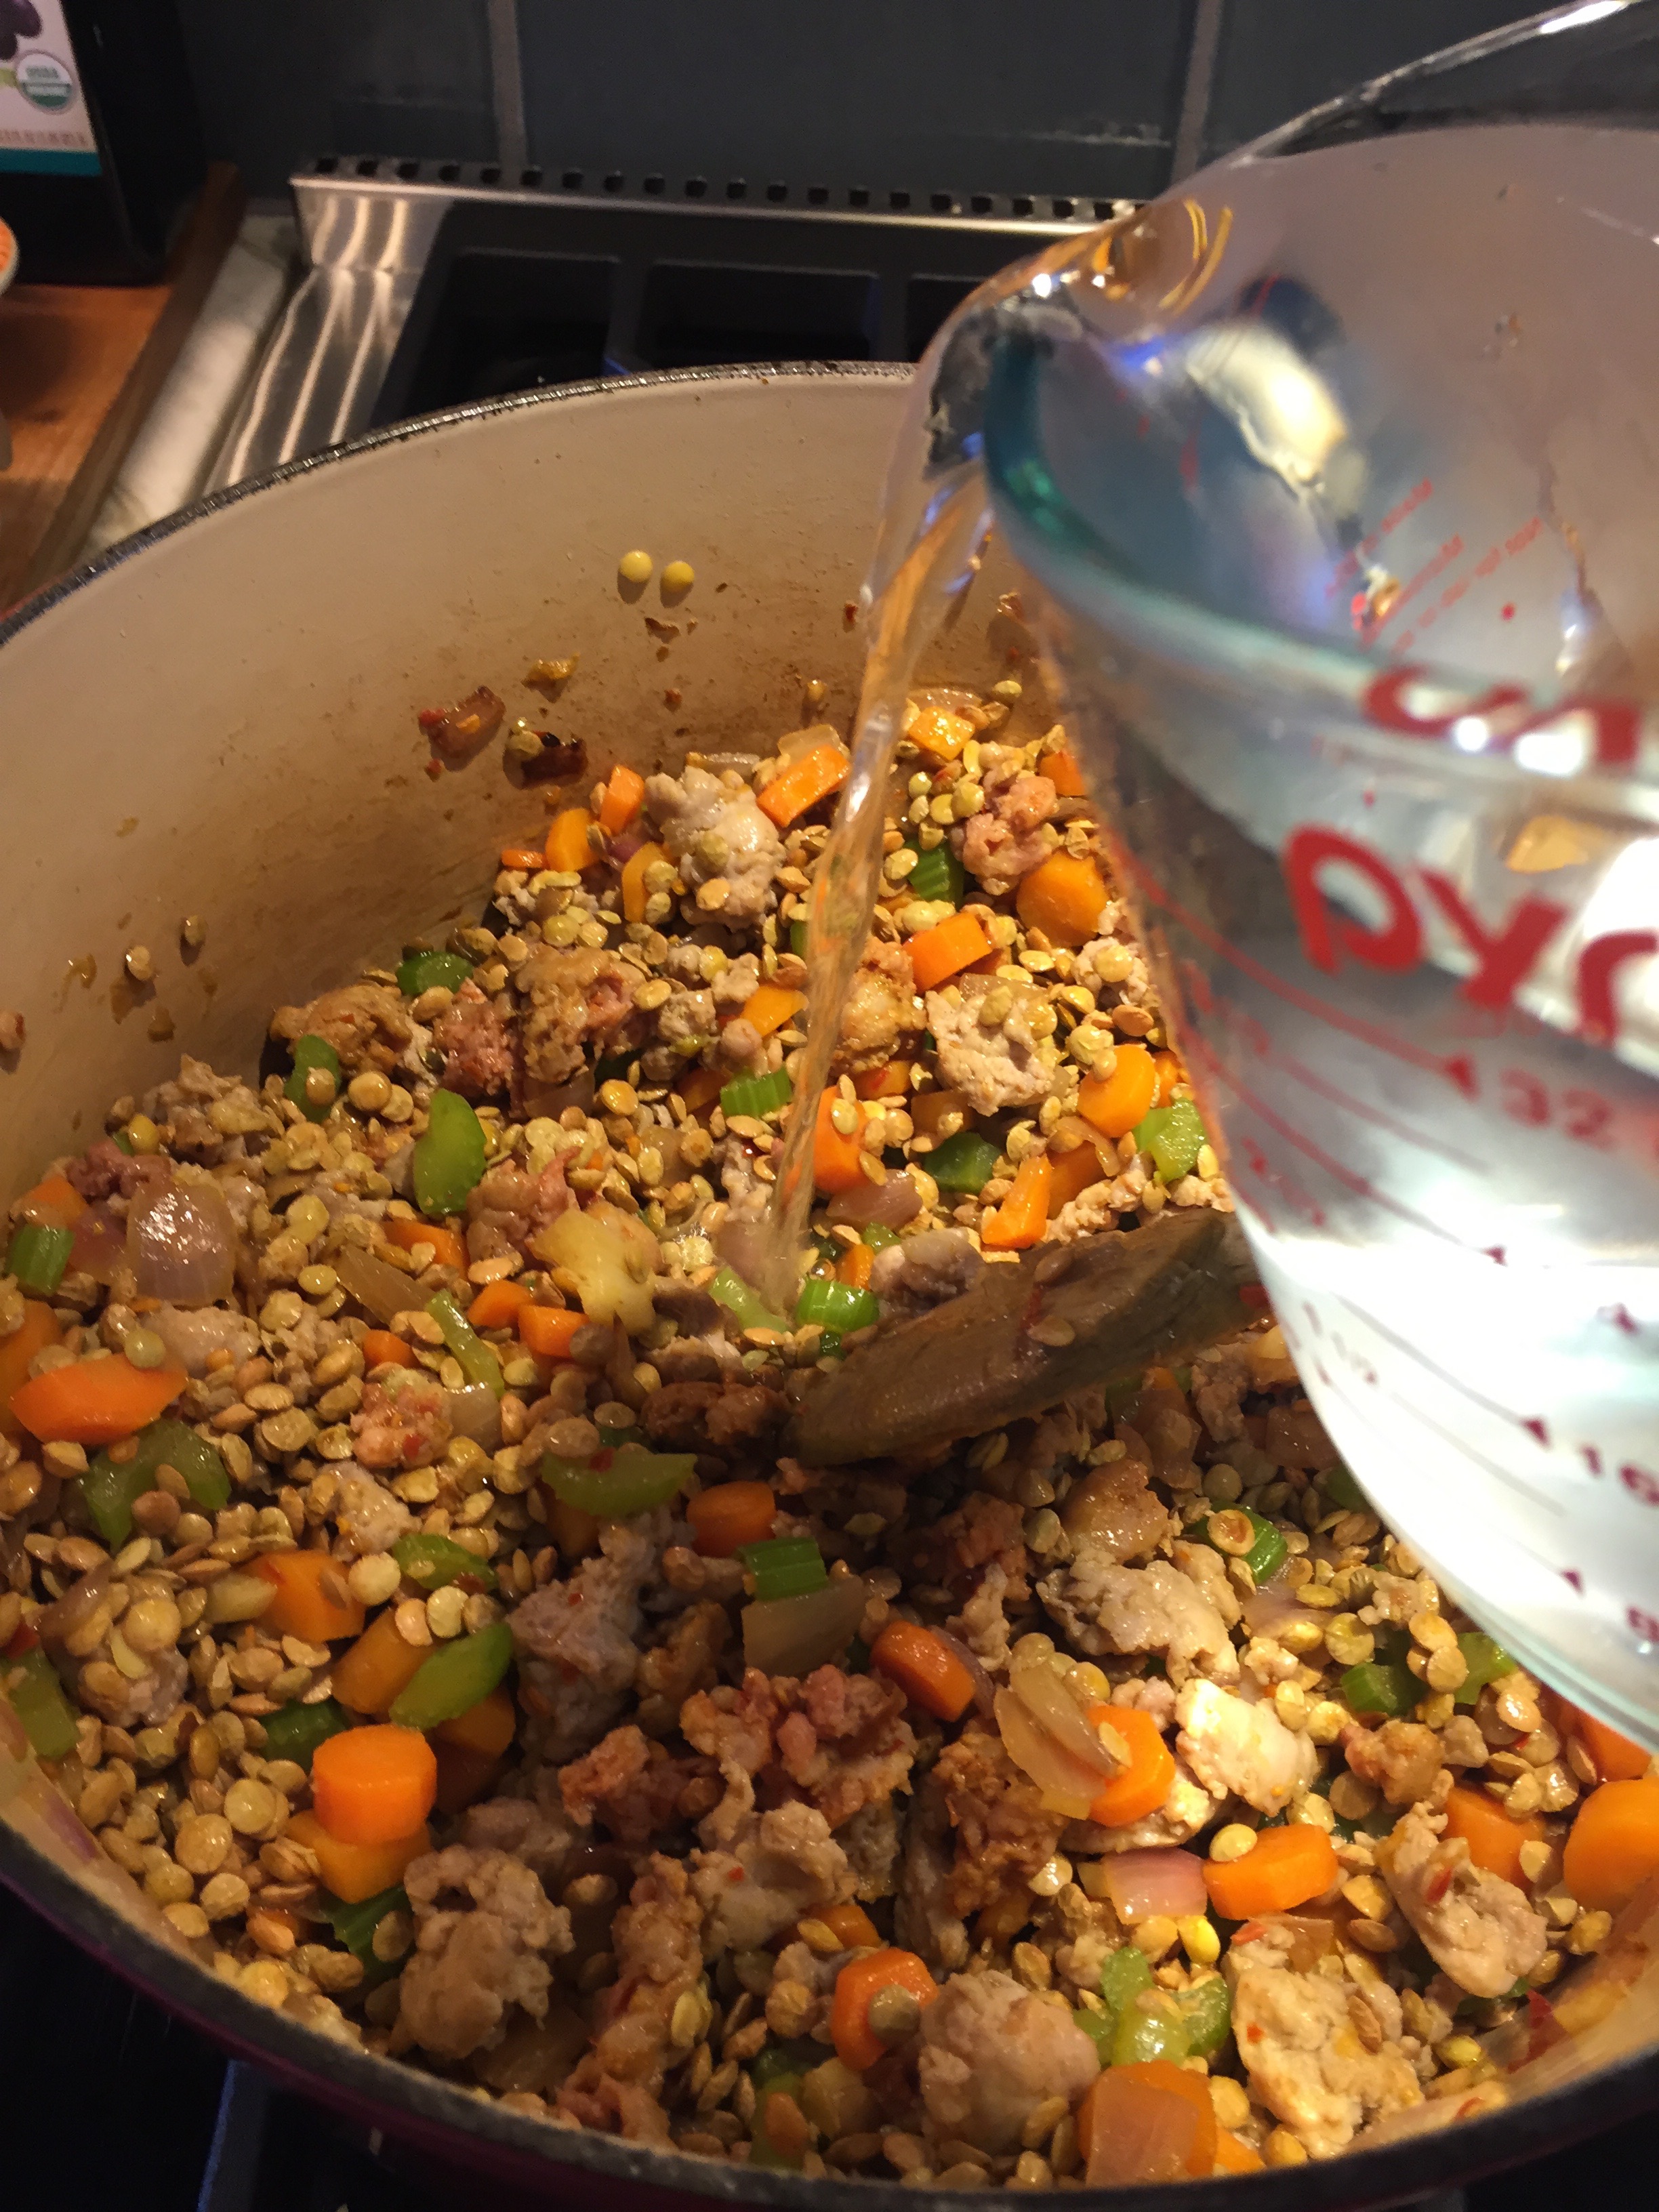
8 cups water
1 bay leaf
½ teaspoon thyme
1 bunch kale (stems removed), rinsed and chopped
salt and pepper to taste
Instructions:
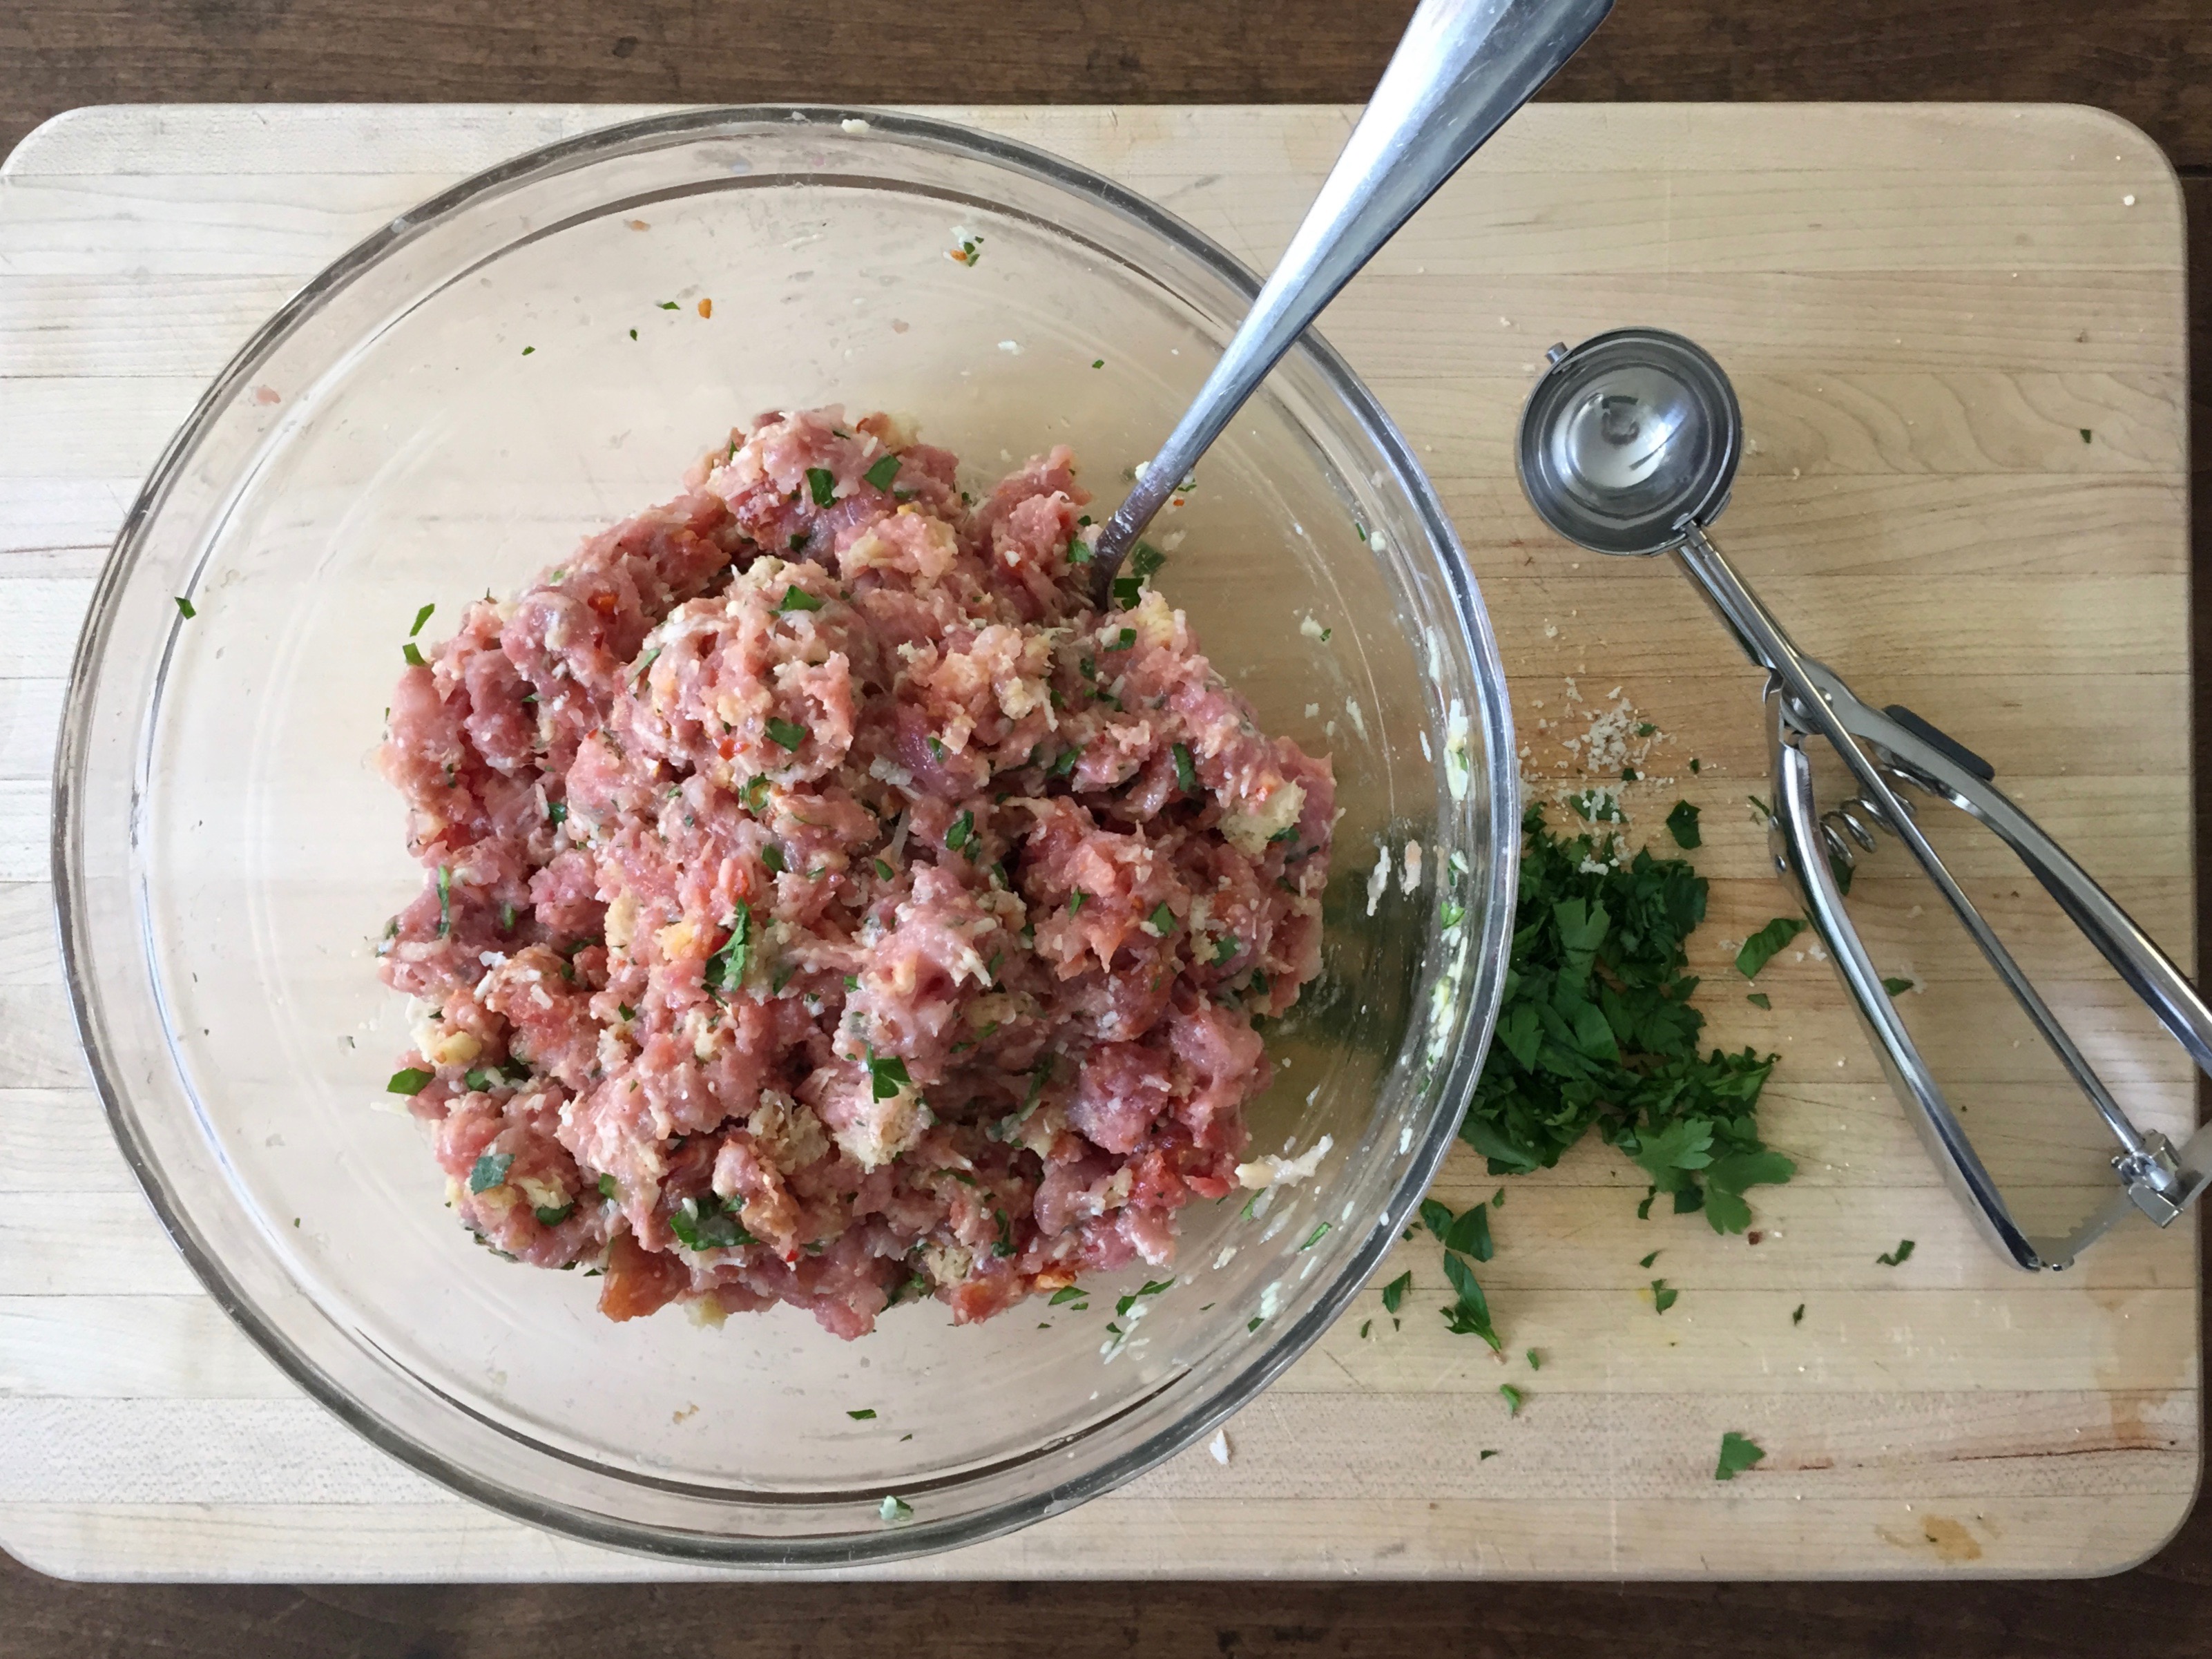
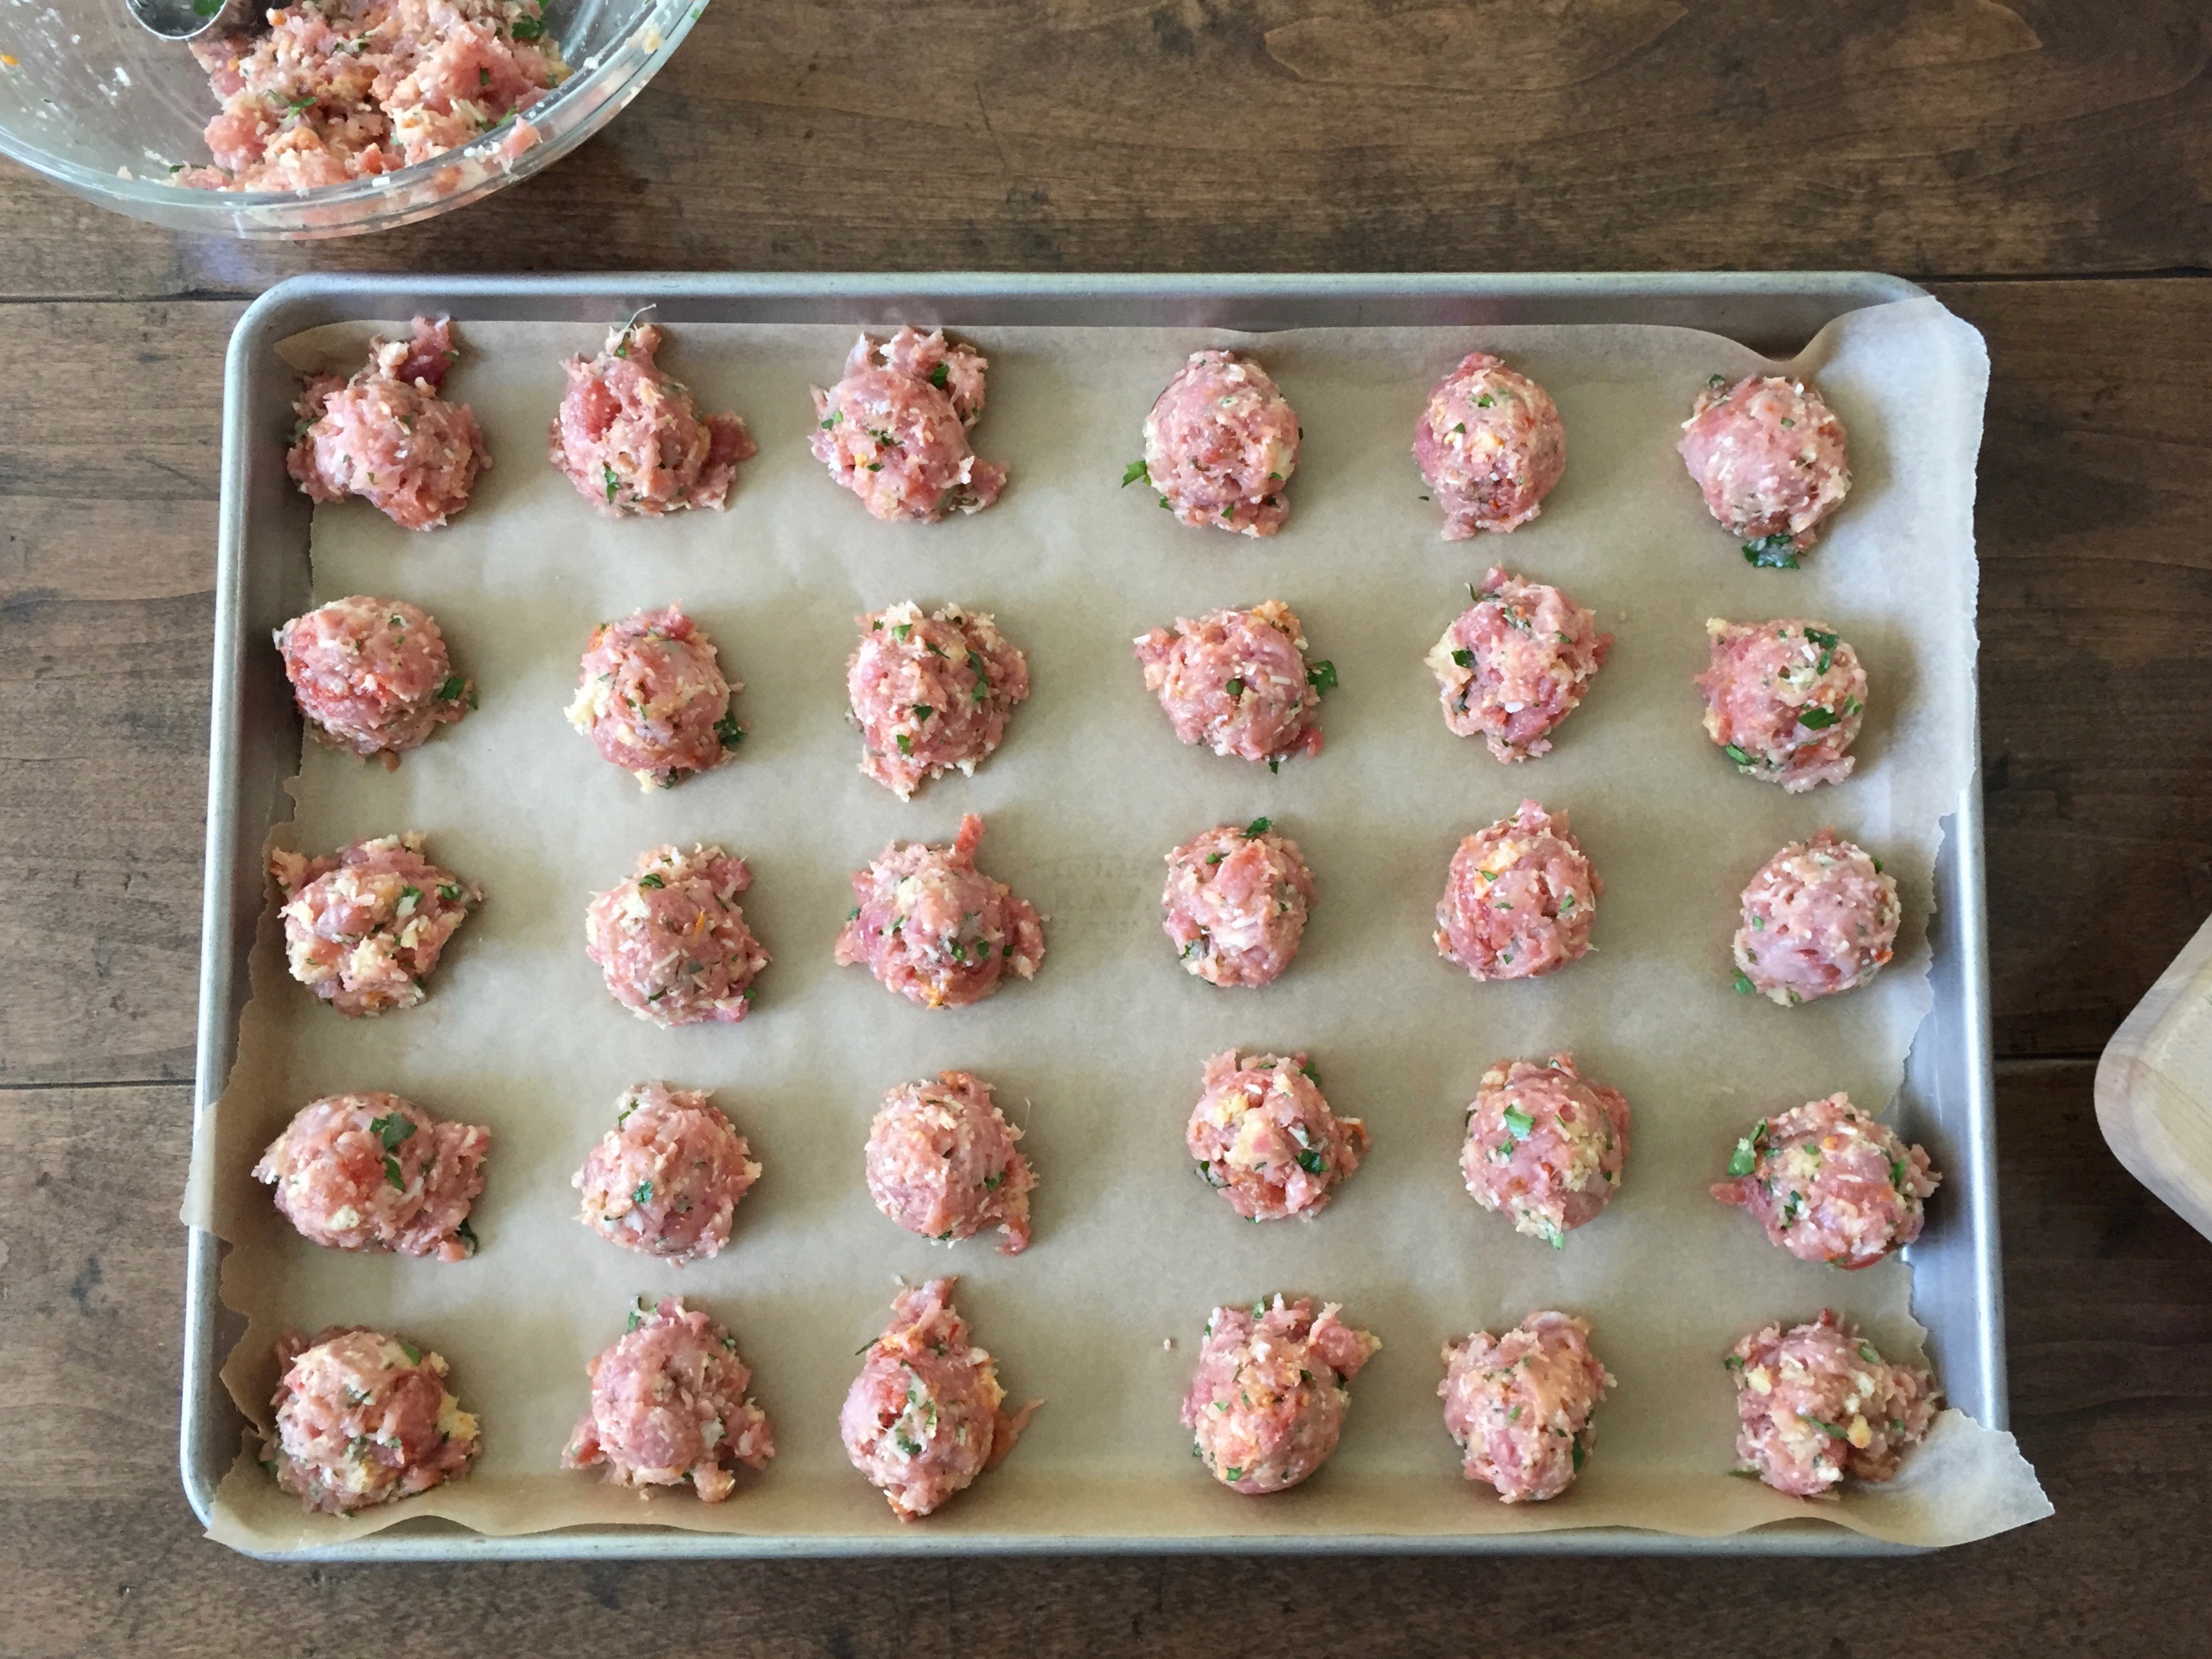
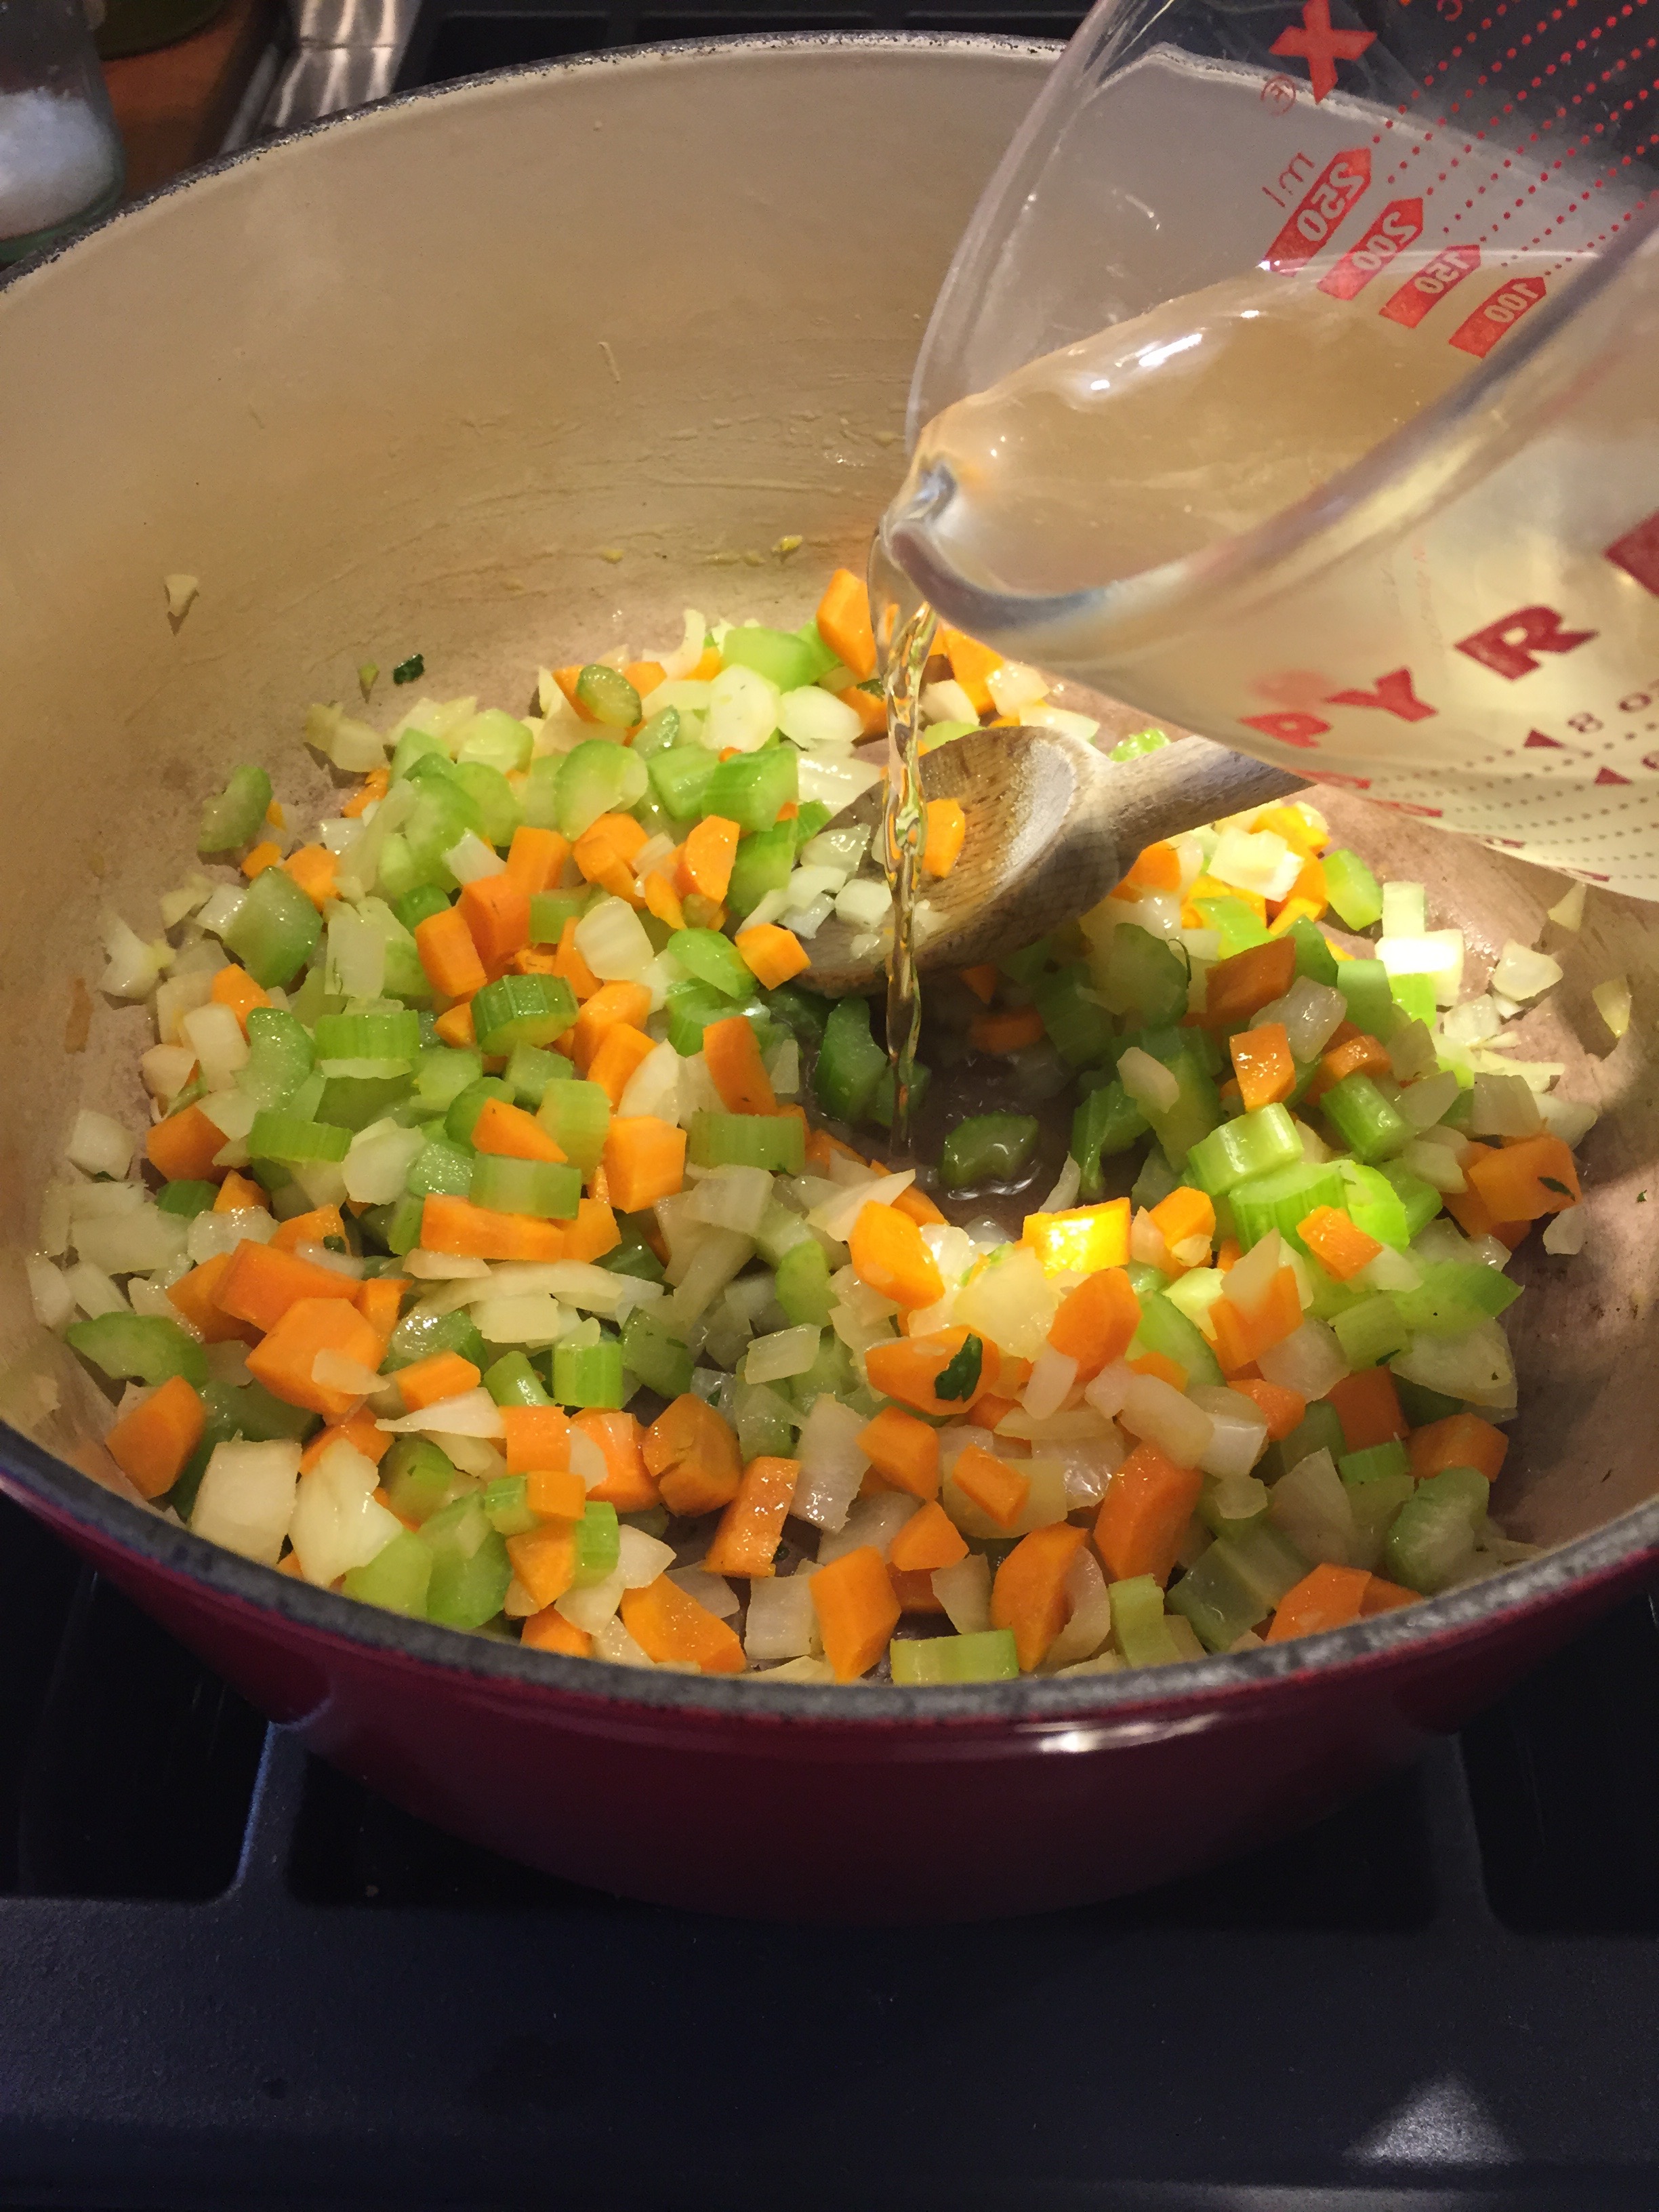
In a dutch oven over medium high heat, warm olive oil. Add carrots, celery, and onion. Sauté vegetables for 5 minutes or until just tender. Add garlic and sauté for 30 seconds, until fragrant. Add sausage, breaking meat up as it browns. When sausage is cooked, stir in tomatoes and lentils. Add water, bay leaf, and thyme. Bring to a boil, lower heat and simmer for 45 minutes-1 hour, until lentils are tender. During last 5 minutes of cooking, stir in chopped kale.
Check seasonings, adding salt and pepper to taste. Serve with crusty bread.